Proven: How Long Should Pressure Treated Wood Dry Before Painting
Pressure treated wood needs to dry for at least 30 days, and often up to 60 days or longer, before painting. This ensures proper adhesion and a lasting finish, preventing peeling or bubbling.
Hey there, fellow woodworkers! Ever stare at a beautiful piece of lumber, ready to transform it into something amazing, only to hit a roadblock with the “what next?” question? Especially when it comes to pressure-treated wood, knowing when it’s really ready for a coat of paint can feel like a mystery. Get it wrong, and you might end up with a finish that peels or bubbles, undoing all your hard work. Don’t worry, though! We’re going to break down exactly how long this special wood needs to dry, making sure your next project looks fantastic and lasts for years to come. Let’s get your project looking its best!
Why Drying Pressure Treated Wood is Crucial Before Painting
Pressure-treated wood is a fantastic choice for outdoor projects because it’s designed to resist rot, decay, and insect infestation. This protection comes from a chemical treatment process, typically involving copper-based preservatives. During this process, the wood absorbs a significant amount of moisture. If you try to paint or stain it while it’s still wet or overly damp, you’re setting yourself up for some common finishing problems.
Think of it like trying to stick a sticker onto a wet surface – it just won’t hold well. The excess moisture trapped within the wood will eventually try to escape, pushing against the paint or stain. This can lead to:
- Peeling and Flaking: The paint won’t bond properly to the damp wood, causing it to lift away in pieces.
- Bubbling: Moisture trying to escape can create small blisters or bubbles under the paint film.
- Poor Adhesion: Even if it doesn’t immediately peel, the paint won’t grip the wood as it should, leading to a less durable finish.
- Uneven Finish: Damp spots can cause the paint to absorb differently, resulting in a patchy or splotchy appearance.
The goal is to allow this excess moisture to evaporate naturally, leaving the wood in a stable state ready to accept a protective coating. This is where understanding the drying process comes in.
Understanding the Drying Process: What’s Happening Inside?
Pressure-treated lumber is typically treated using an industrial process where wood is placed in a sealed cylinder, and the preservative solution is forced deep into the wood fibers under pressure. While this makes the wood incredibly durable, it also saturates it with a water-based solution.
After treatment, the wood is often quite wet. The preservatives themselves can also affect how the wood accepts finishes. Some treatments leave a waxy or oily residue that needs time to dissipate or dry out. The goal of drying is to allow the wood to return to a moisture content closer to its natural state, but with the added benefit of the preservative.
The American Wood Protection Association (AWPA) provides standards for wood preservation, and while they focus on the treatment itself, the practical application for DIYers means understanding the post-treatment moisture. They recommend that wood be dried to a moisture content suitable for the intended application. For most exterior finishes, this means getting the moisture content down significantly from its “freshly treated” state.
How Long Should Pressure Treated Wood Dry Before Painting? The Proven Answer
So, how long do you actually have to wait? The most common and widely accepted guideline is:
Wait at least 30 days after purchase before painting or staining pressure-treated wood.
However, this is a general rule, and several factors can influence this drying time. For the best results, especially if you want that paint to last, it’s often better to wait even longer.
Factors Affecting Drying Time
Wood Species: Different wood species absorb and release moisture at different rates. Dense hardwoods might take longer than softer woods.
Treatment Level: The type and concentration of the preservative can impact how quickly the wood dries.
Storage Conditions: Where the wood is stored after you buy it makes a big difference.
Indoors vs. Outdoors: Wood stored in a dry, well-ventilated area will dry faster than wood left exposed to the elements.
Sunlight and Airflow: Direct sunlight and good airflow promote faster drying.
Humidity: High humidity levels will slow down the drying process.
Time of Year: Wood purchased in wetter seasons might be wetter than wood purchased during drier months.
Given these variables, the 30-day mark is a starting point. For optimal adhesion and durability of your paint job, waiting 45 to 60 days, or even up to 90 days in some cases, is often recommended, especially if you want a factory-perfect, long-lasting finish.
The Water Drop Test: A Simple Way to Check if it’s Dry
Instead of just relying on a calendar, you can perform a simple test to see if your pressure-treated wood is ready for paint. This is known as the “water drop test.”
How to Perform the Water Drop Test:
1. Choose a Spot: Select an area on the wood that hasn’t been directly exposed to rain or excessive moisture since you acquired it.
2. Apply a Water Drop: Place a few drops of water onto the surface of the wood.
3. Observe:
If the water beads up and sits on the surface: This is a good sign! It means the wood is dry enough to accept paint.
If the water soaks into the wood quickly: The wood is still too wet.
If the water slowly soaks in or leaves a dark, wet spot: The wood is still too damp.
Repeat this test in several spots on the wood to get a good overall assessment. If the water beads up consistently across multiple areas, you’re likely good to go.
Moisture Meter: The Most Accurate Method
For the most precise measurement, especially if you’re working on a large or important project, using a moisture meter is the best approach. These tools measure the percentage of moisture content within the wood.
Using a Moisture Meter:
1. Insert the Probes: Gently press the metal probes of the moisture meter into the surface of the wood. For accurate readings, aim to insert them about 1/4 to 1/2 inch deep.
2. Read the Display: The meter will display a percentage, which is the wood’s moisture content.
3. What’s the Target? For most exterior painting and staining projects, wood is considered dry enough when its moisture content is below 15%. Ideally, aim for 12-15%. Freshly treated wood can have a moisture content of 30-50% or even higher.
Using a moisture meter removes the guesswork and gives you a definitive answer. You can find reliable moisture meters online or at most home improvement stores.
Preparing Pressure Treated Wood for Painting: Beyond Just Drying
Once you’ve determined your pressure-treated wood is dry enough, proper preparation is key to a lasting paint job. This involves more than just waiting.
Step-by-Step Preparation Guide:
1. Clean the Surface:
Brush off any dirt, dust, cobwebs, or loose debris with a stiff brush or broom.
If there’s any mold or mildew, use a cleaner specifically designed for wood or a solution of 1 part bleach to 3 parts water. Scrub gently and rinse thoroughly. Allow the wood to dry completely after cleaning.
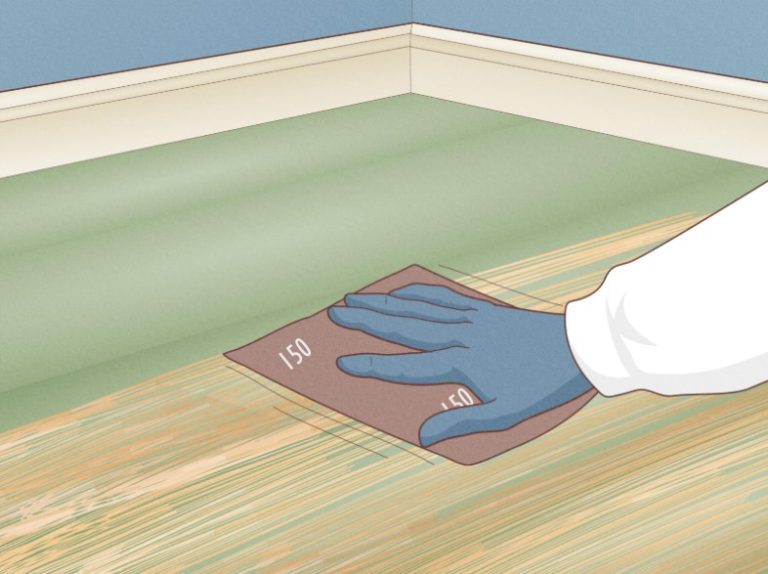
2. Sand the Wood:
Lightly sand the surface of the wood. This will help create a smoother surface for the paint to adhere to and will remove any rough spots or mill glaze (a smooth, hard surface that can form during milling, which hinders paint adhesion).
Use medium-grit sandpaper (like 80-120 grit). You don’t need to go too aggressive; the goal is just to scuff up the surface slightly.
After sanding, wipe away all the dust with a clean cloth or tack cloth.
3. Choose the Right Primer:
Not all primers are created equal, especially when it comes to pressure-treated wood. Look for a high-quality exterior primer that is specifically formulated to adhere to treated lumber.
Oil-based or stain-blocking primers are often recommended because they can help seal in any residual treatment chemicals and provide an excellent base for the topcoat. Check the primer manufacturer’s recommendations for use on pressure-treated wood.
Apply the primer evenly and allow it to dry completely according to the manufacturer’s instructions.
4. Select the Right Paint:
Use a high-quality exterior paint. Acrylic latex paints are a popular choice for their durability, flexibility, and resistance to cracking and peeling.
For pressure-treated wood, it’s generally recommended to use a paint that is specifically designed for exterior use and is compatible with your chosen primer.
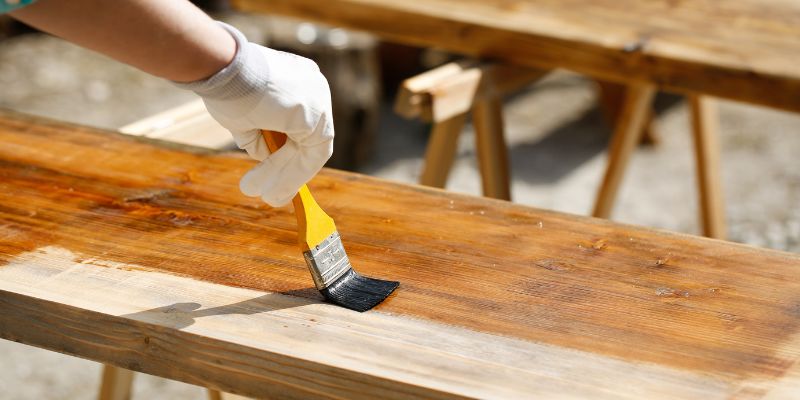
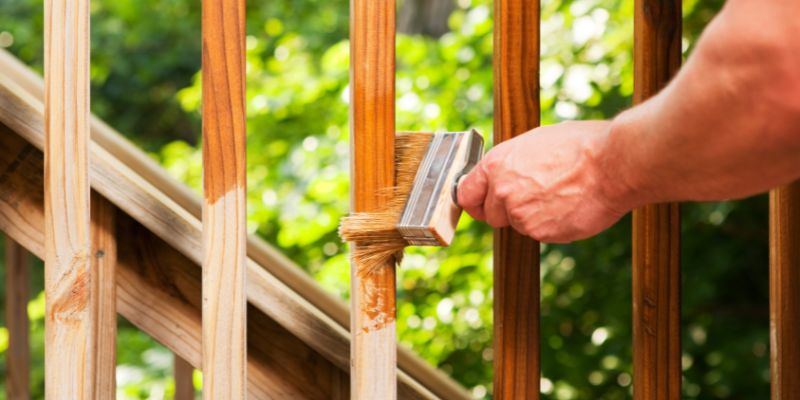
5. Apply the Paint:
Apply the paint in thin, even coats. Avoid applying paint too thickly, as this can lead to drips and uneven coverage.
Allow each coat of paint to dry thoroughly before applying the next coat. Check the paint can for recommended drying times between coats.
Usually, two coats of paint are sufficient for good coverage and durability.
Table: Drying Time Guidelines for Pressure Treated Wood
To help visualize the recommended drying times, here’s a handy table. Remember, these are guidelines, and checking with a moisture meter is the most reliable method.
| Condition/Test | Recommended Drying Time | Notes |
|---|---|---|
| General Guideline (Calendar) | Minimum 30 days | A good starting point, but variables exist. |
| Optimal for Long-Lasting Finish | 45-60 days (or longer) | Allows wood to stabilize and treatment to cure/dissipate. |
| Water Drop Test | Water beads up on the surface | Indicates wood is dry enough to accept finish. |
| Moisture Meter Reading | Below 15% (ideally 12-15%) | Most accurate method for ensuring proper dryness. |
Can You Paint Over Old Pressure Treated Wood?
Yes, you absolutely can paint over old pressure-treated wood, but proper preparation is even more critical. If the wood has been exposed to the elements for a while, it might have weathered, collected dirt, or even developed a gray patina.
Steps for Painting Old Pressure Treated Wood:
1. Clean Thoroughly: Power washing can be effective for removing dirt and mildew, but use a low-pressure setting to avoid damaging the wood fibers. Alternatively, use a garden hose with a stiff brush and a wood cleaner.
2. Remove Loose Paint: Scrape away any old, peeling, or flaking paint.
3. Sand: Sand the entire surface to create a uniform surface and remove any remaining loose paint or glossy areas. Use a medium-grit sandpaper.
4. Check for Moisture: Even though it’s old, it’s still a good idea to check the moisture content, especially if it’s been exposed to rain recently.
5. Prime: Use a high-quality exterior primer, preferably a stain-blocking one, to ensure good adhesion and coverage.
6. Paint: Apply your chosen exterior paint in thin, even coats.
When is Pressure Treated Wood NOT Suitable for Painting?
While pressure-treated wood is generally paintable, there are a few situations where you might want to reconsider or proceed with extreme caution:
Wood is Still Excessively Wet: If, after a long period, the wood still fails the water drop test or shows high moisture meter readings, it’s not ready. Forcing the issue will lead to a failed paint job.
Certain Treatments: Some older or specialized wood treatments might leave residues that are difficult to paint over. Always check with the supplier or manufacturer if you’re unsure about the specific treatment used.
Wood in Constant Contact with Water: If the wood is submerged or constantly wet (e.g., part of a dock that’s always underwater), paint is unlikely to adhere well and will likely fail quickly. In such cases, specialized coatings or leaving the wood natural might be better options.
Mold or Mildew That Won’t Go Away: If you can’t thoroughly clean off mold or mildew, it can affect paint adhesion.
Paint vs. Stain: Which is Better for Pressure Treated Wood?
Both paint and stain can be used on pressure-treated wood, but they offer different looks and levels of protection.
Paint
Pros: Offers a solid color, hides wood grain, provides a thick protective layer, wide range of colors.
Cons: Can peel or chip if not applied correctly, requires more prep work (priming), can obscure the natural beauty of the wood.
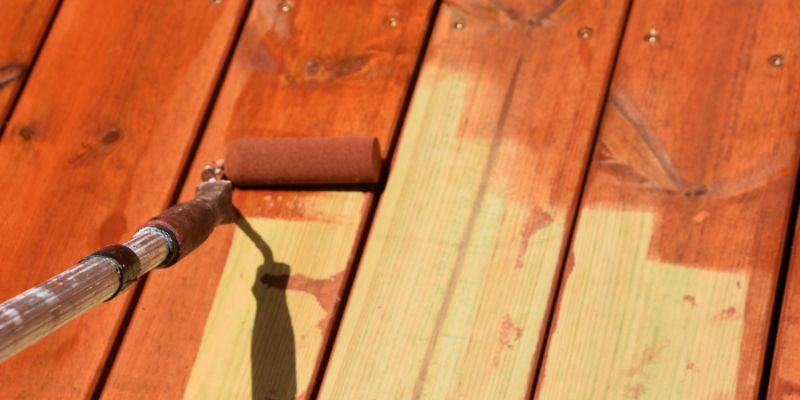
Stain
Pros: Enhances the natural wood grain, penetrates the wood for protection, often easier to apply and maintain, less prone to peeling.
* Cons: Less color variety than paint, doesn’t hide imperfections, may need reapplication more frequently than paint.
For pressure-treated wood, stains (especially semi-transparent or solid color stains) are often favored because they allow the wood to breathe and are more forgiving if the wood’s moisture content isn’t perfectly ideal. However, if you desire a specific color or a smooth, opaque finish, paint is certainly an option, provided you follow the drying and preparation steps carefully.
Frequently Asked Questions (FAQs)
Q1: How soon can I paint pressure treated wood that I just bought?
You should wait at least 30 days after purchasing pressure-treated wood before painting. This allows the wood time to dry out from the treatment process. For the best results and a longer-lasting finish, waiting 45-60 days is often recommended.
Q2: My pressure treated deck boards have been outside for a month, but it’s been very rainy. Are they dry enough to paint?
Rain will re-introduce moisture into the wood, extending the drying time. Even if a month has passed, if the wood has been exposed to rain, it’s likely still too wet. Perform the water drop test or use a moisture meter to check the moisture content. Aim for below 15%.
Q3: What kind of paint should I use on pressure treated wood?
Use a high-quality exterior paint, such as an acrylic latex paint. It’s crucial to use a primer specifically designed for exterior use and compatible with treated lumber, often an oil-based or stain-blocking primer, to ensure proper adhesion and a durable finish.
Q4: Can I use a regular house paint on pressure treated wood?
While some exterior house paints might work, it’s best to use paints specifically formulated for outdoor use and recommended for use on treated lumber. These paints are designed to withstand weather conditions and adhere better to wood surfaces.
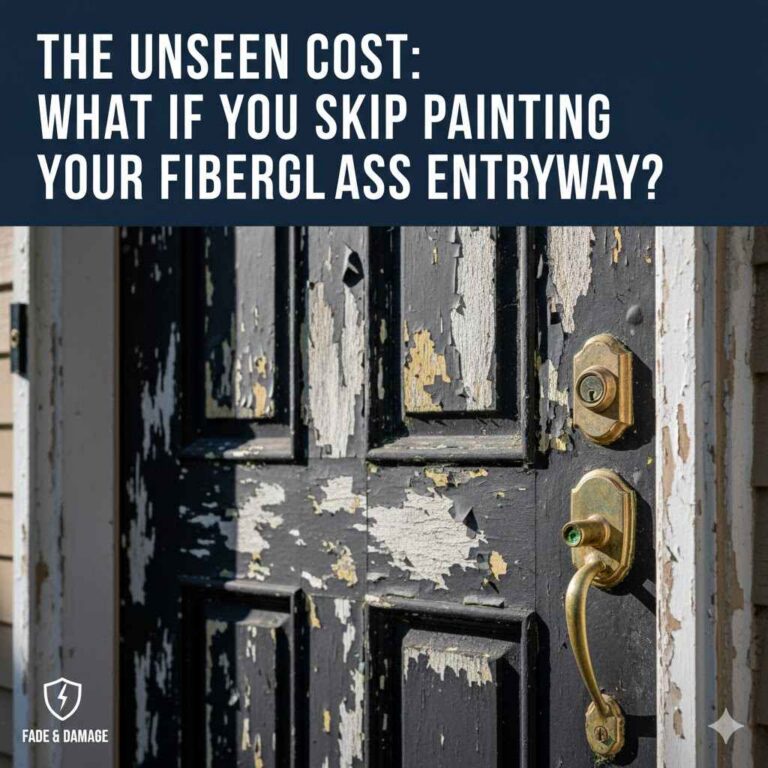
Q5: What happens if I paint pressure treated wood too soon?
Painting too soon, while the wood is still too wet, can lead to several problems. The most common issues include paint peeling, blistering, or bubbling as the trapped moisture tries to escape. This results in a poor finish that won’t last.
Q6: Does pressure treated wood need to be sealed before painting?
Yes, it’s highly recommended to use a primer on pressure-treated wood before painting. A good quality exterior primer, especially one that blocks stains, will help seal the wood, provide a uniform surface for the paint, and improve adhesion, leading to a more durable paint job.
Conclusion
Waiting for pressure-treated wood to dry before painting is a critical step that many DIYers overlook. While the general rule of 30 days is a good starting point, understanding the factors that influence drying time and using simple tests like the water drop test or a moisture meter will ensure your paint job is successful. Proper preparation, including cleaning, sanding, priming, and using the right paint, will create a beautiful, durable finish that stands up to the elements. So, be patient, follow these steps, and you’ll be well on your way to enjoying your beautifully finished projects for years to come. Happy building and happy painting!