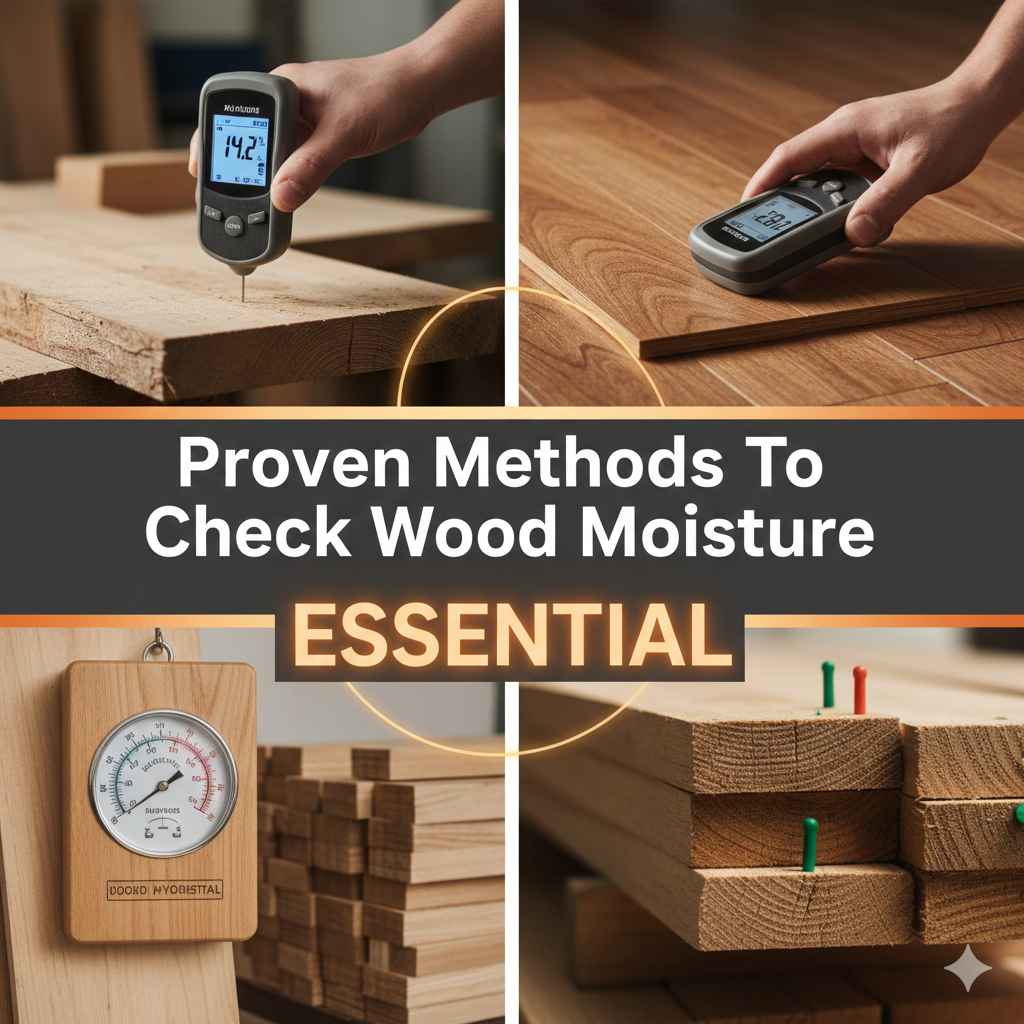
Proven Methods To Check Wood Moisture
Proven methods to check wood moisture content accurately involve using a reliable digital pin meter for quick results, performing the oven-drying test for the highest accuracy, or using visual/feel tests as a simple first check. Proper moisture control prevents warping, cracking, and failed finishes in all your woodworking projects.
Welcome, friend! If you’ve ever built something beautiful only to see it warp, crack, or split weeks later, you probably ran into the silent enemy of woodworking: improper wood moisture content. Getting wood perfectly dry before you start is the single most important step for lasting results. It can feel overwhelming, like you need a fancy science lab to measure wetness. Don’t worry! As your guide, I promise we will demystify this process. We’ll look at simple, proven tools and techniques that even a beginner can master to ensure your projects last for years. Let’s dive into how to check wood moisture the right way, keeping things easy and affordable.
Why Wood Moisture Content Matters So Much
Wood is an organic material, meaning it constantly breathes. It takes in moisture from the air (humidity) and releases it when the air is drier. This process is called absorbing or releasing moisture equilibrium. If you build a table using wood that is too wet, it will continue to dry out inside your climate-controlled house, causing it to shrink. This shrinkage leads to gaps, splits, and cracks—a real heartbreak for any DIYer!
When building, we aim for a specific moisture content (MC) range that matches the environment where the finished piece will live. For indoor furniture, 6% to 9% is usually the sweet spot. For outdoor projects, the MC will naturally be higher.
Understanding this baseline is crucial. Here is a quick look at the risks of ignoring moisture:
- Warping and Cupping: Wood swells unevenly when moisture changes rapidly.
- Finish Failure: Paint or stain may peel or bubble if applied to overly wet wood.
- Glue Joint Failure: Glue needs dry surfaces to bond correctly, leading to weak joints.
- Pest Infestation: Excess moisture attracts fungus and wood-boring insects.
Method 1: The Essential Tool – Using a Digital Moisture Meter
If you are serious about woodworking, investing in a reliable moisture meter is the best thing you can do. It takes the guesswork out of the equation and gives you a dependable number. There are two main types of meters that beginners typically use.
Understanding Pin-Type Moisture Meters (Resistance Meters)
Pin-type meters are the most common and budget-friendly option for checking wood moisture. They work by sending a small electrical current through the wood. Moisture slows this current down, and the meter translates that resistance into a percentage reading. The wetter the wood, the higher the resistance reading!
What You Need:
- A quality digital pin moisture meter (Look for models with automatic temperature/moisture compensation).
- The wood piece you want to test.
Step-by-Step Guide for Pin Meters:
- Prepare Your Meter: Turn the meter on. Most meters require you to select the wood type (e.g., softwood or hardwood) or input a specific gravity (SG) setting for accuracy. If you are unsure, read the manual; selecting the wrong setting can throw off your results by a few percentage points.
- Clean the Surface: Ensure the spot you are testing is free of dirt, paint, or heavy residue where the pins will make contact.
- Insert the Pins: Place the two metal pins firmly into the wood surface. Make sure both pins are driven in to the same depth. The distance the pins are spaced apart usually determines the measurement depth, often about 1/4 inch deep.
- Read the Display: Wait a few seconds for the reading to stabilize. You are looking for the percentage number to display on the screen.
- Test Multiple Spots: Never trust just one spot! Test the top, bottom, and middle of the board, and test across its width. Wood moisture is rarely uniform. Compare your readings; if one area is significantly higher (say, 12% vs. 8%), that area needs more drying time.
- Check End Grain (Optional but Recommended): End grain absorbs and releases moisture much faster than the flat faces. Testing the end grain can reveal if the core of a thick board is still damp even if the surface seems dry.
Pro Tip for Beginners: Since these meters use pins, they leave tiny holes. If the look of the final piece is critical, test in an area that will be cut off later (like the end of a board) or sand lightly after testing.
Understanding Pinless (Non-Invasive) Moisture Meters
Pinless meters are faster and do not damage the wood. They work by using an electromagnetic wave that passes just under the surface of the wood. Like pin meters, they measure how the wave slows down, indicating moisture presence.
Pros and Cons Comparison:
| Feature | Pin-Type Meter | Pinless Meter |
|---|---|---|
| Accuracy (Depth) | More precise, measures true internal resistance. | Less affected by surface coatings; depth is fixed (usually 3/4 inch). |
| Surface Damage | Leaves small pinholes. | No damage to the surface. |
| Best Use Case | When you need to confirm the core dryness for structural integrity. | Quickly scanning large surfaces or testing finished surfaces. |
| Cost | Generally more affordable entry point. | Often slightly higher initial investment. |
For new builders, starting with a dependable pin meter is usually the most cost-effective route to achieving accurate, deep moisture readings.
Method 2: The Oven-Drying Test (The Gold Standard for Accuracy)
If you need the absolute most precise measurement possible—perhaps for calibrating your digital meter or for a high-stakes project—the oven-drying test is the official, laboratory-grade method recognized by organizations like the American Society for Testing and Materials (ASTM). This method involves weighing the wood before and after completely drying it in an oven. This is how we determine the true “weight of water” in the wood.
Tools Needed:
- A precise digital kitchen scale that reads to at least 0.1 gram (crucial for accuracy).
- A small, oven-safe container (like a clean, ceramic mug or aluminum foil pan).
- An oven that can maintain a steady, low temperature.
- A small, representative sample of the wood (about 1/2 inch thick).
Step-by-Step Oven Drying Process:
- Measure Initial Weight (Wet Weight): Place your wood sample in the container and weigh them together. Record this as Weight A (Container + Wet Wood). Then, remove the wood and weigh the empty container; record this as Weight B (Empty Container). Subtract B from A to get the actual wet weight of the wood.
- Set the Oven: Preheat your oven to a very low, steady temperature—ideally 212°F (100°C). This temperature is hot enough to drive off the moisture but generally low enough not to scorch the wood sample immediately.
- Dry the Sample: Place the wood sample (without the container, unless it’s foil) directly on an oven rack. Bake it for several hours. The time varies based on thickness, but for a small sample, start checking after 4 hours.
- Weigh Periodically: Remove the wood sample carefully (it will be hot!), let it cool completely in a dry environment (using sealed containers helps prevent re-absorption during cooling), and weigh it again. Record this as Weight C (Container + Dry Wood).
- Repeat Until Stable: Continue drying and weighing every two hours until the weight stops changing between weighings. Once the weight is stable, you have reached the 0% moisture baseline.
-
Calculate the Moisture Content (MC): Now, use this simple formula:
$MC (%) = left( frac{text{Wet Weight} – text{Oven-Dry Weight}}{text{Oven-Dry Weight}} right) times 100$
If you are testing wood intended for indoor use, aim for an MC calculation that results in 6% to 9% before this test, or ensure your target dryness results in a final MC close to that range.
While the oven method is tedious, it provides unmatched verification. Many woodworkers use it once a year to calibrate their digital meters, ensuring they trust the tool’s readings.
Method 3: Simple Visual and Physical Tests (For Rough Estimates)
Before meters became affordable, woodworkers relied on experience, touch, and sound. These methods are not precise enough for fine cabinetmaking, but they are excellent for quickly screening lumber purchased from a hardware store or checking if firewood is ready to burn. Remember, these are only estimates, often telling you if the wood is too wet rather than providing an exact number.
The Weight Test
Dry wood weighs significantly less than wet wood. If you have handled a piece of lumber before and it feels noticeably heavier than you remember, it has likely absorbed moisture from the air.
- Practice: Handle a piece of kiln-dried wood (if you have access to some). Then, handle a piece you suspect is wet. Feel the density difference.
- Application: This works best when comparing two pieces of the same species and dimension side-by-side. The one that feels heavier is wetter.
The Fingernail/Visual Inspection Test
This test is very basic and primarily works on softwoods or very green lumber, but it’s simple!
- Press your thumbnail or a sharp tool (like a awl) into the wood surface.
- If the wood is very wet (above 15% MC), you may feel definite softness, and sometimes a small drop of moisture might become visible in the indentation, especially on end grain.
- If the wood is properly dried (below 10% MC), your nail should struggle to make a deep impression, and the wood will feel hard and solid.
The Sound Test (The “Clap” Test)
This technique is popular for checking whether lumber is dry enough for construction framing, but it can give a clue for woodworking projects too.
- The Method: Hold two identical pieces of lumber side-by-side. Gently tap the edges together.
- Wet Wood Sound: If the wood is damp, the sound will be dull, soft, and muffled, like tapping two damp sponges together.
- Dry Wood Sound: If the wood is well-dried, it will produce a sharp, bright “clack” or ringing sound, much like tapping two pieces of hard plastic.
Important Note: The “clap” test is very subjective and depends heavily on the wood species. Always use this alongside a meter if possible!
Checking Moisture in Specific Scenarios
The ideal target moisture content changes based on where the wood is going to be used. Knowing your target is just as important as knowing how to measure it. Understanding the environment helps you choose the right method and the right reading.
Moisture Content for Indoor Furniture and Cabinetry
For projects built indoors (cabinets, dressers, cutting boards, flooring), the wood needs to reach Equilibrium Moisture Content (EMC) for your home. The general rule is to aim for 6% to 9% MC.
- Why this range? Most homes stay between 30% and 55% relative humidity (RH) year-round. This range corresponds to 6% to 10% MC in common woods like oak or maple.
- Checking the Target: Once your lumber has been sitting in your shop or house for several weeks (acclimated), measure it with your pin meter. If the readings are consistently in the 6-8% range, you are ready to cut and assemble.
You can find detailed charts correlating humidity levels to wood MC on many university extension websites, such as those provided by university wood science departments (e.g., [link to a reputable forestry/wood science resource for EMC charts]).
Moisture Content for Outdoor Projects (Decks, Fences, Sheds)
Outdoor wood needs to be significantly wetter than indoor wood because it will always be exposed to higher environmental moisture. It’s nearly impossible (and undesirable) to get outdoor wood down to 6% MC.
- Target MC: Aim for 10% to 15% MC for projects like fences or pergolas.
- Why Higher? If you dry exterior wood too much indoors and then take it outside, the higher outdoor humidity will cause the wood to swell, leading to tight joints that can buckle under pressure.
- Checking: Use your meter to confirm the moisture is below the ambient air’s maximum level, but don’t worry about drying it bone-dry.
How to Check Thick Slabs vs. Standard Boards
Slabs of wood—especially those used for live-edge tables—are notoriously difficult to dry evenly. They often have a wet core long after the surface seems ready.
- Use Deep Pins: If your meter has adjustable probes or long pins, use them to measure deep into the slab.
- Test the Core: If you can, cut a small scrap piece off the end (this scrap can be sacrificed). Dry that scrap piece using the oven-drying method. If the scrap shows 12% MC and the surface of the main slab shows 8% MC, you know the core of the slab is still too wet and needs more time in the kiln or air-drying stack.
The Golden Rule: Acclimation is Key to Good Readings
No matter which method you use, you must let your wood sit in the environment where it will be built for several days, ideally weeks. This is called acclimation.
Wood naturally seeks the moisture balance of the air around it. If you measure wood fresh out of the lumberyard trailer in winter (when the air is very dry), your meter will read low (say, 7%). If you measure that same board immediately after a humid summer storm, it might read 15%.
For indoor projects, always check moisture content only after the wood has spent at least one to two weeks stacked correctly in the room where the final project will reside. This ensures your measurement reflects the true environment the finished piece will face.
To stack wood properly for acclimation, use spacers (stickers) between layers, place stickers directly over the supporting lumber underneath, and keep the stack off the floor and away from direct heat sources or vents.
FAQ: Beginner Questions About Checking Wood Moisture
Q1: What is the ideal moisture content for most indoor woodworking projects?
A: For standard indoor furniture, cabinetry, and trim, the target range is usually between 6% and 8% moisture content. This aligns with the average humidity found inside most climate-controlled homes.
Q2: Do I need a moisture meter, or can I skip that expense?
A: While you can estimate using the visual/sound tests, a quality digital pin meter is highly recommended. It is the only way to guarantee that structural joints will hold and finishes won’t fail, saving you major rework later.
Q3: What is the difference between EMC and MC?
A: MC (Moisture Content) is the exact measurement of water in the piece of wood right now. EMC (Equilibrium Moisture Content) is the moisture level the wood will eventually reach based on the temperature and relative humidity of the surrounding air. We measure MC to ensure it matches the EMC.
Q4: My meter gives me different readings in the same board. Which one should I trust?
A: Always trust the highest reading you get. Wood dries unevenly, and the highest reading indicates the wettest spot, which is the spot most likely to shrink, warp, or cause finish failure later on. Keep drying until the highest reading is acceptable.
Q5: Can a meter measure moisture through paint or finish?
A: Pinless meters are usually much better at reading through thin coats of finish or paint than pin meters, though thick finishes can still interfere. Pin meters require the metal pins to touch bare wood directly for an accurate reading.
Q6: How long does it take for lumber to acclimate to my shop?
A: It depends heavily on how far off it is. For lumber slightly damp, plan for at least one week, and ideally two to three weeks, allowing air circulation around every surface of the board.
Conclusion: Building with Confidence, Not Guesswork
Knowing how to check wood moisture content might seem like a tedious extra step, but I promise you, it is the difference between a project you love and a project you constantly have to fix. Whether you choose the precise accuracy of the oven-drying test for calibration, or you rely on the speed and convenience of a quality pin meter for daily use, the key is consistency.
Start by getting a decent meter and making it a habit: measure before you cut, measure before you glue, and measure before you finish. By incorporating these proven checks into your routine, you take control of the wood’s nature, ensuring every cut you make, and every joint you glue, has the best possible chance to create something beautiful and enduring. Happy building—you’ve got this!