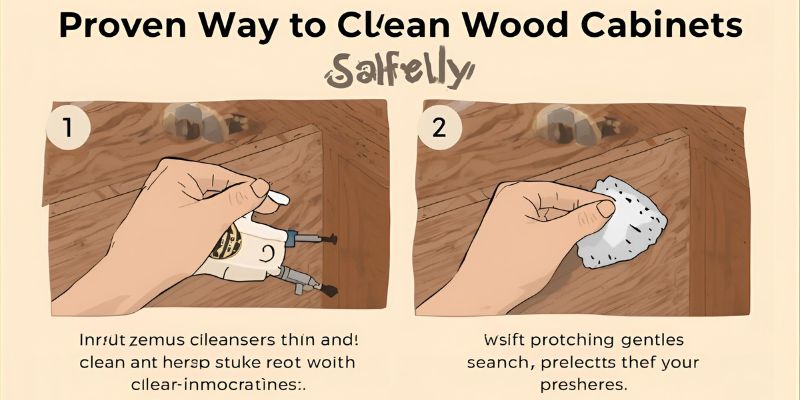
Proven Way to Clean Wood Cabinets Safely
Quick Summary: Safely clean wood kitchen cabinets without damaging the finish by using a mild soap and water solution, a soft cloth, and a gentle drying technique. Always test in an inconspicuous area first to protect your cabinet’s beauty and longevity.
Restore Your Kitchen’s Shine: A Proven Way to Clean Wood Cabinets Safely
Are your wood kitchen cabinets looking a little dull, maybe a bit grimy? It’s a common frustration! Over time, grease, food splatters, and everyday dust can build up, making even the most beautiful wood look tired. You want to get them sparkling again, but you’re worried about using the wrong cleaner and ruining that lovely finish. Don’t fret! Cleaning wood cabinets safely is simpler than you might think. We’ll walk through a proven method that’s gentle yet effective, ensuring your cabinets look their best without any damage. Get ready to see your kitchen cabinets shine like new!
Why Gentle Cleaning Matters for Wood Cabinets
Wood is a beautiful, natural material, but it can be sensitive. Harsh chemicals, abrasive scrubbers, or too much moisture can strip away the protective finish, cause discoloration, or even warp the wood itself. Think of it like this: you wouldn’t use steel wool on your favorite wooden furniture, right? The same care applies to your kitchen cabinets, which are constantly exposed to different elements. A gentle approach is key to preserving their appearance and value for years to come.
Gather Your Cleaning Supplies
Before you start, having the right tools makes the job much easier and safer. You probably have most of these items already!
- Two Soft Microfiber Cloths: Microfiber is excellent because it’s super absorbent and won’t scratch the wood’s surface.
- Mild Dish Soap: Just a tiny bit! Look for something pH-neutral if possible.
- Warm Water: Not hot, not cold – just comfortably warm.
- A Small Bowl or Bucket: For your cleaning solution.
- Optional: Wood Cabinet Cleaner (pH-Neutral): If you’re nervous or dealing with stubborn grime, a cleaner specifically designed for wood cabinets is a good choice. Always check the label to ensure it’s safe for your cabinet’s finish.
- Optional: Old Toothbrush: For getting into corners and crevices.
Step-by-Step Guide to Cleaning Wood Cabinets Safely
Let’s get those cabinets looking great. Follow these steps carefully for the best results.
Step 1: The Inconspicuous Test
This is the most crucial step to prevent any accidental damage. Before you dive into cleaning your entire kitchen, pick a small, hidden spot on one of your cabinets. This could be the inside of a door, the underside of a shelf, or a corner that’s not easily visible. Apply your chosen cleaning solution (even just a damp cloth with water) to this small area. Let it sit for a minute, then gently wipe and dry it. Check for any changes in color, texture, or finish. If everything looks good, you’re ready to proceed!
Step 2: Prepare Your Cleaning Solution
In your small bowl or bucket, mix a few drops of mild dish soap with about a cup of warm water. You want a very dilute solution – think sudsy water, not a thick lather. If you’re using a dedicated wood cabinet cleaner, follow the instructions on the bottle for dilution or application.
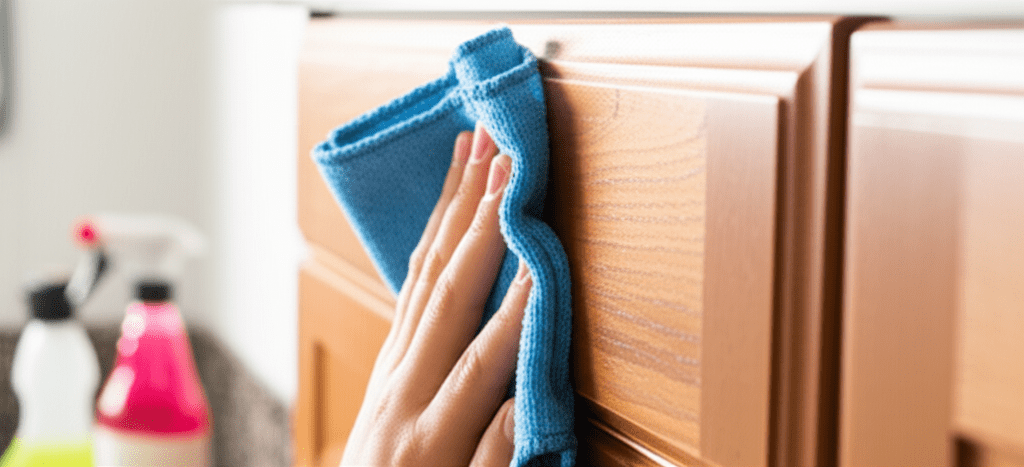
Step 3: Dampen, Don’t Soak
Take one of your microfiber cloths and dip it into the cleaning solution. Wring it out thoroughly. The cloth should be damp, not wet. Excess water is the enemy of wood, so this step is vital. A damp cloth will clean effectively without saturating the wood.
Step 4: Wipe Down the Cabinets
Start working on one cabinet door or section at a time. Wipe the surface gently in the direction of the wood grain. Don’t scrub aggressively. For areas with built-up grease or grime, you might need to go over them a few times, but always with a light touch. If you encounter stubborn spots, you can try the old toothbrush for those hard-to-reach corners and edges.
Step 5: Rinse (Yes, With a Damp Cloth!)
Now, take your second microfiber cloth and dampen it with plain warm water. Again, wring it out extremely well so it’s just barely damp. This cloth is for rinsing away any soap residue. Gently wipe down the areas you just cleaned, following the wood grain.
Step 6: Dry Thoroughly
Immediately after rinsing, use a dry microfiber cloth to gently buff the cabinet surface dry. Ensure all moisture is removed. Paying attention to corners and edges where water might linger is important. This prevents water spots and protects the wood.
Step 7: Address Stubborn Grime and Hardware
For really tough grease spots, you might need a slightly stronger approach, but still, keep it gentle. A paste made from baking soda and water can sometimes work, but test it in your hidden spot first, as baking soda can be slightly abrasive. Apply the paste, let it sit for only a minute, then gently wipe away with a damp cloth and dry thoroughly. For cabinet hardware (knobs and pulls), you can usually clean them with a separate cleaner appropriate for the material (e.g., brass cleaner for brass knobs). Be careful not to get these cleaners on the wood finish.
What to AVOID When Cleaning Wood Cabinets
Knowing what not to do is just as important as knowing what to do. Here are some common mistakes to steer clear of:
- Abrasive Cleaners: Scouring powders, steel wool, or scrub brushes can scratch and damage the finish.
- All-Purpose Cleaners: Many contain harsh chemicals that can strip or dull the wood finish.
- Ammonia or Bleach: These are too strong for wood finishes and can cause permanent damage.
- Excessive Water: Never spray water directly onto cabinets or use a soaking wet cloth.
- Steam Cleaners: The heat and moisture can be detrimental to wood finishes.
- Furniture Polish (Regularly): While a light application might be okay occasionally for some finishes, over-polishing can lead to buildup and a hazy appearance.
Understanding Different Wood Finishes
Wood cabinets can have various finishes, and some are more delicate than others. Knowing your finish can help you choose the safest cleaning method.
| Finish Type | Characteristics | Cleaning Notes |
|---|---|---|
| Varnish/Polyurethane | Durable, forms a protective film on the surface. Often has a slight sheen. | Generally forgiving with mild soap and water. Avoid harsh abrasives. |
| Lacquer | A thin, often glossy finish that dries quickly. Can be sensitive to heat and alcohol. | Requires very gentle cleaning. Avoid alcohol-based cleaners. Damp cloth and immediate drying are best. |
| Oil/Wax Finishes | Penetrates the wood, providing a natural, matte look. Can be revived with specific oils. | Very sensitive to water and detergents. Typically cleaned with a dry cloth or a specialized wood oil cleaner. Consult manufacturer recommendations. |
| Painted Wood | Opaque color layer. Can be latex, oil-based, or chalk paint. | Mild soap and water are usually safe. Avoid ammonia, as it can sometimes react with certain paints. Test first. |
If you’re unsure about your cabinet’s finish, it’s always best to err on the side of caution and use the gentlest method possible. For more information on wood finishes, you can check out resources from the Forest Products Laboratory, which offers detailed insights into wood properties and treatments.
Maintaining Your Clean Cabinets
Once your cabinets are clean, a little regular maintenance can keep them looking great:
- Wipe Up Spills Immediately: Don’t let liquids sit on the wood.
- Dust Regularly: A quick dusting with a dry microfiber cloth once a week prevents grime buildup.
- Address Grease Spots Promptly: A quick wipe with a slightly damp cloth when you notice them is easier than tackling a thick layer later.
- Avoid Direct Sunlight: Prolonged exposure can fade or damage the finish over time.
Frequently Asked Questions (FAQ)
Q1: Can I use a magic eraser on my wood cabinets?
A1: It’s generally not recommended. Magic Erasers are a type of melamine foam that works like very fine sandpaper. While they can remove stubborn marks, they can also easily remove the cabinet’s finish, especially on painted or lacquered surfaces. Always test in a hidden spot first, and use with extreme caution, if at all.
Q2: What is the best cleaner for greasy kitchen cabinets?
A2: For greasy cabinets, a solution of warm water with a few drops of mild dish soap is usually effective. For tougher grease, you can try a dedicated wood cabinet degreaser or a very dilute solution of white vinegar and water (1 part vinegar to 10 parts water), but always test in an inconspicuous area first and rinse thoroughly.
Q3: How often should I clean my wood kitchen cabinets?
A3: It’s good practice to dust them weekly with a dry cloth. For a more thorough cleaning, depending on use and how quickly they get dirty, a gentle wipe-down every 1-3 months is usually sufficient. Address spills and obvious grime as they happen.
Q4: My cabinets have water spots. How do I remove them?
A4: For minor water spots on finished wood, try gently rubbing the spot with a soft cloth dipped in mineral oil or petroleum jelly. Let it sit for a few minutes, then wipe clean with a dry cloth. For more stubborn spots, a paste of toothpaste and baking soda (equal parts) can sometimes help, but test this very carefully first as it can be abrasive.
Q5: Can I use furniture polish on my kitchen cabinets?
A5: It depends on the finish. Some furniture polishes can build up over time and leave a sticky residue on kitchen cabinets, especially those with a matte or satin finish. If you use polish, opt for a light, silicone-free formula and use it sparingly, perhaps only once or twice a year, and always buff it off completely.
Q6: What’s the difference between cleaning painted cabinets and stained cabinets?
A6: Painted cabinets can sometimes be more forgiving with slightly stronger cleaners, but you should still avoid harsh chemicals that can dull the paint. Stained cabinets, especially those with a clear finish, require a gentler approach to avoid stripping the stain or damaging the clear coat. Always refer to the “What to AVOID” section and test first.
Conclusion
Cleaning your wood kitchen cabinets doesn’t have to be a daunting task. By using simple, gentle methods and the right supplies, you can effectively remove dirt, grease, and grime while protecting the beautiful finish of your cabinets. Remember the golden rule: always test in an inconspicuous spot first! A little patience and a gentle touch will go a long way in keeping your kitchen looking its best. Enjoy your beautifully clean cabinets!