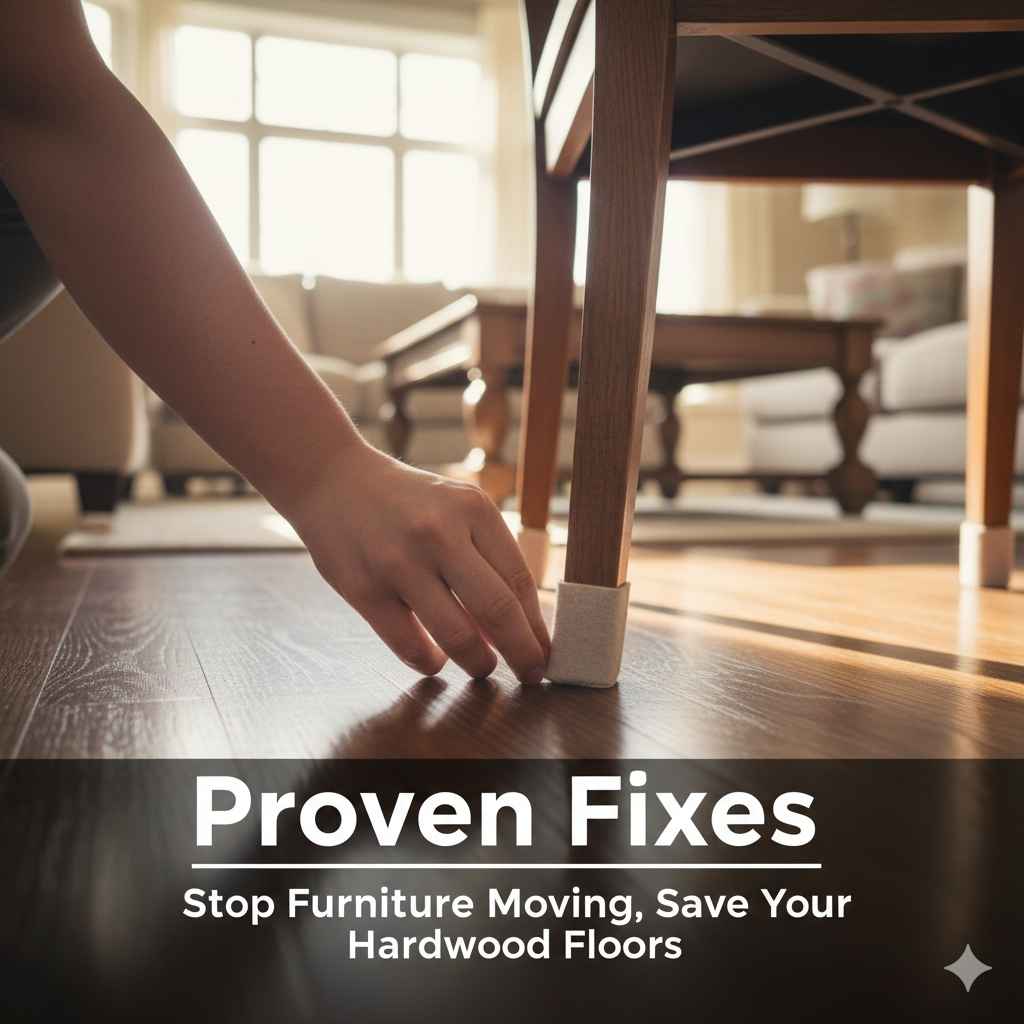
Proven Fixes: Stop Furniture Moving Hardwood Floors
The best way to stop furniture from moving on hardwood floors involves applying non-slip pads made of felt, rubber, or silicone to the furniture legs. For heavy items like sofas, anchor points or specialized rubber gripping mats offer permanent solutions. Always clean the floor and the pads before application for the strongest bond.
Hello there! I’m Md Meraj, and if you’ve ever watched your favorite armchair slide halfway across the room just trying to sit down, you know how frustrating wobbly furniture on hardwood floors can be. It’s annoying, it can damage your beautiful floors, and it certainly isn’t safe! Hardwood is gorgeous, but its smooth finish makes it the perfect surface for chairs, tables, and dressers to go for an unwanted slide. Don’t worry, though. We aren’t calling in the pros for this fix. We have simple, proven methods—some temporary and some permanent—that will keep your furniture exactly where you put it. Let’s explore how to lock down your living room, starting with the easiest fixes!
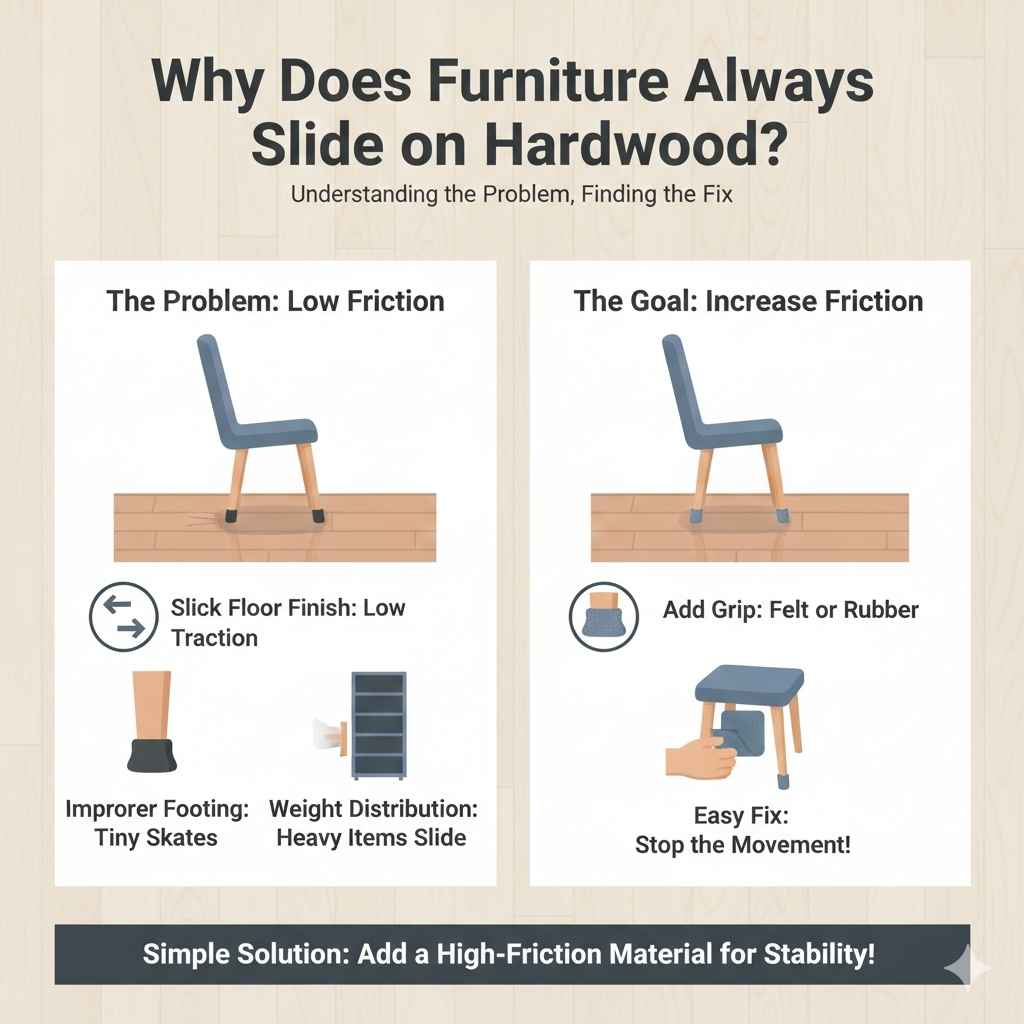
Why Does Furniture Always Slide on Hardwood?
Understanding the problem helps us find the perfect fix. Hardwood floors are usually finished with a smooth, often glossy, coating like polyurethane. This finish is fantastic for looks and durability, but it creates very low friction.
When you combine a smooth, slick surface with the weight of furniture (especially chairs that get pushed back frequently), you get sliding. Most standard furniture legs come with cheap, hard plastic caps or just raw wood ends. These materials offer almost no grip.
The goal is simple: We need to increase the friction between the furniture foot and the floor. We do this by adding a material that grips better than plastic or bare wood.
The Three Main Culprits Causing the Movement
- Slick Floor Finish: The smoother the finish (like a fresh high-gloss coat), the less traction everything has.
- Improper Footing: Cheap, hard plastic or metal feet act like tiny skates.
- Weight Distribution: Heavy, top-heavy items (like tall bookshelves) slide easily when even a slight nudge is applied.
Level 1: Quick and Easy Fixes for Minor Sliding
If you need a solution right now, or if you are renting and cannot make permanent changes, these simple stick-on fixes are your best friends. These rely on readily available household or hardware store items.
1. Felt Pads: The Classic Go-To
Felt pads are the standard first line of defense. They protect your floor from scratches and offer a bit of sliding resistance. They come in self-adhesive circles or squares.
How to Apply Felt Pads Safely:
- Clean the Feet: Turn the furniture over carefully. Wipe the bottom of the furniture legs completely clean with rubbing alcohol or a mild cleaner. Dust or debris stops the adhesive from sticking.
- Clean the Floor Area: While you aren’t sticking the pad to the floor, it’s important the area immediately around the leg base is dust-free so the pad doesn’t trap debris underneath it later.
- Measure and Stick: Choose a pad large enough to cover the entire foot of the furniture. Peel the backing off and press the pad firmly onto the bottom of the leg. Hold pressure for 30 seconds.
- Let it Cure: If possible, let the adhesive cure for an hour before moving the furniture back into place.
Pro Tip: For chairs that see heavy use, buy thick, high-density felt. Thin felt wears down quickly, exposing the hard plastic underneath, which starts the sliding all over again.
2. Rubber Bumpers and Grippers
If felt pads just slide around too easily, you need rubber! Rubber has a much higher coefficient of friction than felt, meaning it grips much better.
You can buy adhesive rubber discs. These are thicker than felt and excellent for lighter pieces or areas that don’t see constant heavy traffic, like an end table.
For a slightly more durable approach, look for small, pre-cut rubber furniture cups designed to fit over the existing leg foot. You simply press the leg into the cup.
3. The DIY Solution: Wax or Soap (Use with Caution!)
This is a temporary hack, not a permanent fix, and should only be used on furniture that rarely moves, like a stationary sofa. If you rub the bottom of wooden legs with a bar of plain soap or a small amount of paraffin wax, it can temporarily reduce movement by creating a slight tacky surface.
Safety Note: This can actually make things worse on some finishes and requires frequent reapplication. I generally recommend sticking to dedicated pads, but it’s an option in a pinch!
Level 2: Intermediate Solutions for Heavy or Moving Furniture
For dining room chairs, kitchen stools, or frequently used office chairs, the simple stick-on pads might not hold up. We need a slightly more robust solution that anchors better to the leg itself.
4. Installing Screw-In Grippers (The Professional Touch)
If your furniture legs are solid wood or thick plastic, you can upgrade to screw-in hardware. These are far superior to sticky pads because they are physically attached to the leg, not just held by glue.
You can often find specialized glides that incorporate both a plastic base (to reduce floor wear) and a rubber or silicone ring around the bottom for grip.
Tools Needed for Screw-In Fixes:
- Drill or screwdriver
- Appropriate screw-in glide hardware (check the diameter needed for your furniture)
- Pencil for marking
- Safety glasses (always!)
The Key Step: Pilot Holes. You must drill a small pilot hole before screwing in the hardware. Drilling a hole that is too large will weaken the wood and the hardware might pull out. If you aren’t comfortable drilling, consider taking the legs to a local handyman service; it’s a quick, inexpensive job for them.
5. Silicone Furniture Grippers (The Best Grip)
Silicone offers the best of both worlds: it’s slightly soft, providing grip, and it’s extremely durable against wear and tear. Look for silicone furniture leg covers that look like small, clear boots or socks that slide directly over the leg.
These work best on square or round legs where the leg shape is consistent down to the floor. They conform nicely to the shape and stay put better than any adhesive pad over time, especially when dealing with the side-to-side sliding that happens with chairs.
| Material | Best For | Grip Level (1-5, 5 is best) | Durability |
|---|---|---|---|
| Felt (Thin) | Occasional use items, light tables | 2 | Low (wears fast) |
| Felt (Thick/High-Density) | Medium weight chairs, side tables | 3 | Medium |
| Adhesive Rubber | Medium weight furniture, good traction needed | 4 | Medium-High |
| Silicone Covers | Heavy chairs, high traffic areas | 5 | High (durable and stays put) |
| Screw-In Glides (with rubber base) | Very heavy items, permanent placement | 5+ | Very High |
Level 3: Advanced Anchoring Solutions for Heavy Items
Very large, heavy pieces—like grandfather clocks, large entertainment centers, or heavy sofas—can be impossible to keep still with just pads. They require anchoring the piece to the floor or using non-slip anchors that grab the floor surface.
6. Non-Skid Rubber Mats Under Large Furniture
For large, rectangular items like a bookcase or a large dresser that you do not intend to move often, consider placing a large, thin rubber or specialized anti-slip mat underneath the entire base.
These mats are available at most hardware or flooring supply stores. They are designed for use under area rugs or heavy appliances. You simply cut the mat slightly smaller than the footprint of the furniture and slide it underneath. The rubber grips the finished hardwood, effectively locking the heavy piece in place.
This is a fantastic solution because it distributes the weight across a wider, grippy surface area, offering superb stability.
7. Furniture Anchors and Straps (For Safety and Stability)
If your furniture is tall, like an entertainment center or a china cabinet, movement isn’t just annoying—it’s a tipping hazard. This is especially crucial if you have small children.
While anti-tip straps are primarily for earthquake safety or preventing tip-overs, securing the top of the furniture to the wall stud (using hardware rated for securing furniture, following safety guidelines from agencies like the Centers for Disease Control and Prevention (CDC) on Furniture Safety) often stabilizes the entire unit so much that the bottom won’t slide easily either.
When installing these straps, ensure you locate a wall stud, as drywall anchors alone are often insufficient for heavy, sliding furniture.
Preparing Your Hardwood Floors for Treatment
No matter which fix you choose—felt, rubber, or silicone—the success of the application hinges on cleanliness. Applying anything to a dusty, dirty surface is guaranteed to fail quickly.
Step-by-Step Floor and Furniture Foot Cleaning:
- Clear the Area: Move the piece of furniture completely away from its spot. If it’s a dining set, move all chairs aside.
- Sweep and Vacuum: Thoroughly sweep or vacuum the area where the feet rested. This prevents you from trapping dirt under your new pads.
- Clean the Furniture Feet: If the feet are plastic or metal, wipe them down aggressively with a cloth slightly dampened with isopropyl (rubbing) alcohol. This removes oils, wax residue, and grime that prevents adhesives from bonding. Let them dry fully—this only takes a minute or two.
- Surface Check: If you are using sticky pads, visually inspect the bottom of the foot. It should look dry and matte, not shiny or oily.
A clean surface equals a strong bond, which means less sliding down the road!
Choosing the Right Fix Based on Furniture Type
The best solution depends entirely on what the piece of furniture is and how it’s used. Here is a simple guide to help you match the fix to the piece.
| Furniture Type | Movement Frequency | Recommended Fix | Why This Works |
|---|---|---|---|
| End Tables / Lamps | Very Low | Thick Felt Pads | Protects the floor; gentle stopping power is usually enough. |
| Dining Chairs / Stools | High (Pushed in and out constantly) | Silicone Leg Covers or Screw-In Glides with Rubber Boots | These won’t peel off under repeated sliding and lifting action. |
| Sofas / Couches | Low to Medium | Heavy-Duty Adhesive Rubber Pads or Large Rubber Matting | Weight helps press the rubber into the wood grain, maximizing grip. |
| Bookcases / Dressers | Very Low (Permanent Placement) | Non-Skid Matting Under Entire Base | Secures the entire footprint for maximum stability and zero sliding. |
Maintaining Your New Furniture Grips
Even the best solutions need a little TLC now and then. Over time, especially in high-traffic areas, the material protecting your floor can pick up dust, pet hair, or fine grit. This grit gets ground into the pad, which eventually turns the pad into a sanding block or a slick surface again.
Simple Maintenance Checklist:
- Monthly Check: Lift one corner of each major piece of furniture once a month. Run your finger across the pad. If it feels gritty or has debris stuck to it, it’s time to clean.
- Cleaning the Pads: For rubber or silicone, a quick wipe with a damp cloth (no soap needed) is often enough to refresh the grip.
- Replacing Worn Pads: Felt pads, in particular, need replacement every 6 to 12 months depending on usage. If the pad feels thin or hard, replace it immediately to prevent scratches.
Remember, taking a few minutes now to maintain these grips saves you hours of frustration later when you aren’t constantly adjusting your furniture.
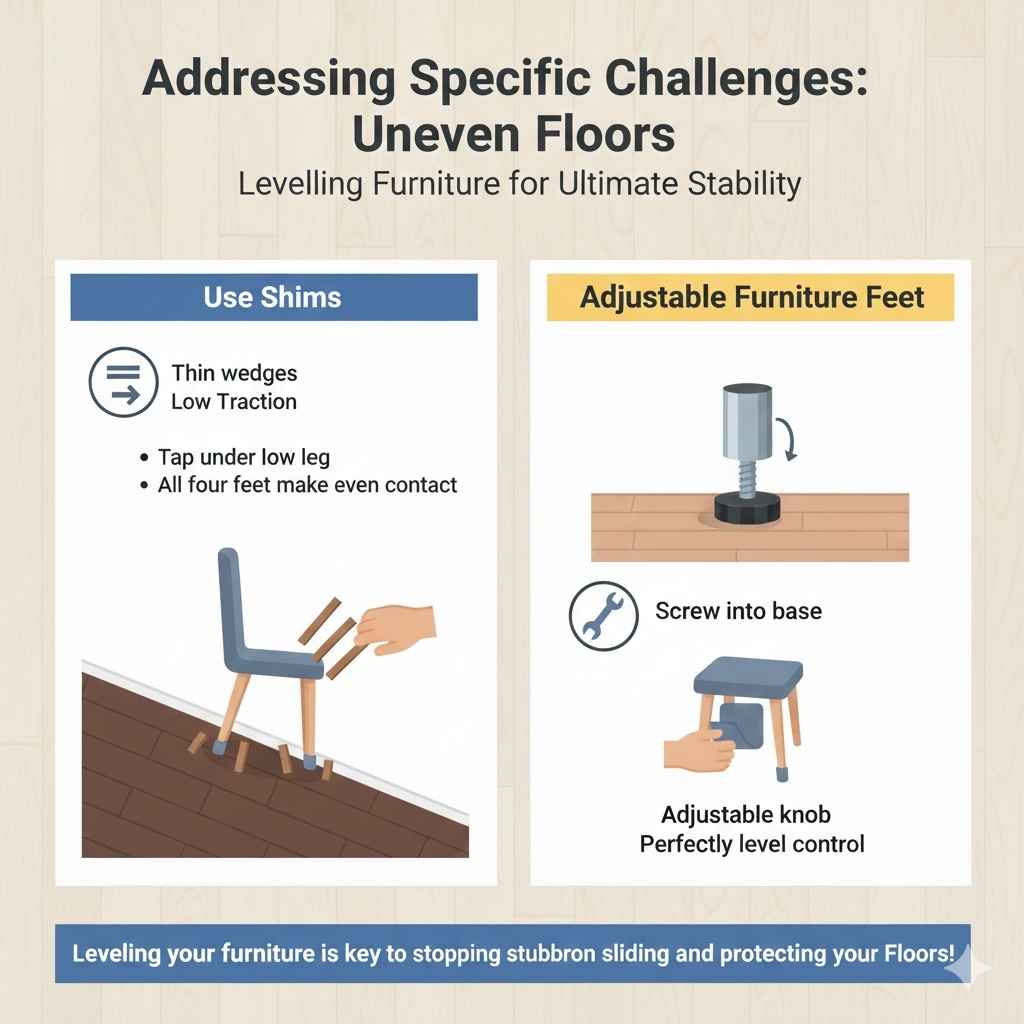
Addressing Specific Challenges: Uneven Floors
Sometimes, the furniture slides because the floor isn’t level, not just because it’s slick. If you find one leg consistently slides more than the others, your floor might be slightly uneven or warped.
If you’ve applied a quality rubber or silicone solution and the piece still shifts, you need to tackle the leveling issue:
- Use Shims: Wood or plastic shims are thin wedges you carefully tap between the bottom of the furniture leg and the non-slip pad. This raises the low side just enough so all four feet make even contact with the floor.
- Adjustable Furniture Feet: For true DIY confidence, purchase specialized furniture leveling feet. These screw into the base of the furniture and have an adjustable knob underneath that you can turn until the piece is perfectly level. This offers superior control compared to static shims. Many modern woodworking plans feature adjustable feet for this very reason!
FAQ: Quick Answers for Hardwood Floor Protection
Q1: Will furniture pads damage my sealed hardwood floor finish?
A: No. High-quality felt, rubber, or silicone pads are specifically designed to prevent scratching. The risk of damage comes from not using pads, allowing hard plastic or dirt trapped under furniture to scratch the finish.
Q2: How often do I need to replace adhesive felt pads?
A: In a low-traffic area (like a rarely used guest room cabinet), they might last two years. In a high-traffic dining room, expect to replace them every 6 to 12 months, or sooner if they look compressed or start peeling.
Q3: Can I use plain painter’s tape to stop a table from moving?
A: Painter’s tape is gentle, which is great for painting walls, but it provides almost no reliable friction for heavy furniture and will fall off almost immediately when stepped on or pushed.
Q4: What is the difference between felt and rubber for floors?
A: Felt is softer and slides a little easier, protecting the floor from scratches even if debris gets trapped. Rubber has much higher friction and stops movement better, but you must ensure the floor underneath is perfectly clean so grit doesn’t get embedded in the rubber.
Q5: Is it safe to use my vacuum cleaner attachment to clean the bottom of the furniture feet before applying pads?
A: Yes, this is a great idea! Use the crevice tool or a soft brush attachment to vacuum the leg bottoms thoroughly. This removes dust and grit, ensuring your new adhesive sticks well. Just be gentle around the wood itself.
Q6: I have carpeting pads—can I use those under my sofa on hardwood?
A: You can, but be cautious. Carpet pads are thick and designed to grip fibers, not a smooth surface. They often slide more easily than dedicated rubber pads on hardwood. Stick to rubber or silicone made for hard surfaces.
Conclusion: Confidence in Your Stationary Furniture
Seeing your beautiful hardwood floors scratched or constantly readjusting the same piece of furniture is truly maddening. But as we’ve covered, stopping furniture from moving on hardwood floors is completely within your DIY power!
The key takeaway is matching the solution to the job. For everyday protection, high-density felt is a quick win. For heavy dining chairs or areas that take a lot of bumps, upgrading to robust silicone covers or screw-in rubberized glides provides a lasting, frustration-free solution. Always start by ensuring those furniture feet are squeaky clean, and you will notice a massive improvement immediately.
Take an afternoon, grab your chosen materials—whether it’s a pack of simple stick-on pads or a set of screw-in feet—and secure your living space. You’ll be amazed at how much more stable and enjoyable your home feels when everything stays exactly where you put it. Happy fixing, and enjoy your steady, scratch-free floors!