Transition Ideas: Proven, Effortless Tile & Wood
Effortless tile and wood transitions are achievable using simple methods like reducer strips, thresholds, or slight height adjustments. These proven techniques create a seamless, professional look, even for DIY beginners combining hard surfaces in your home.
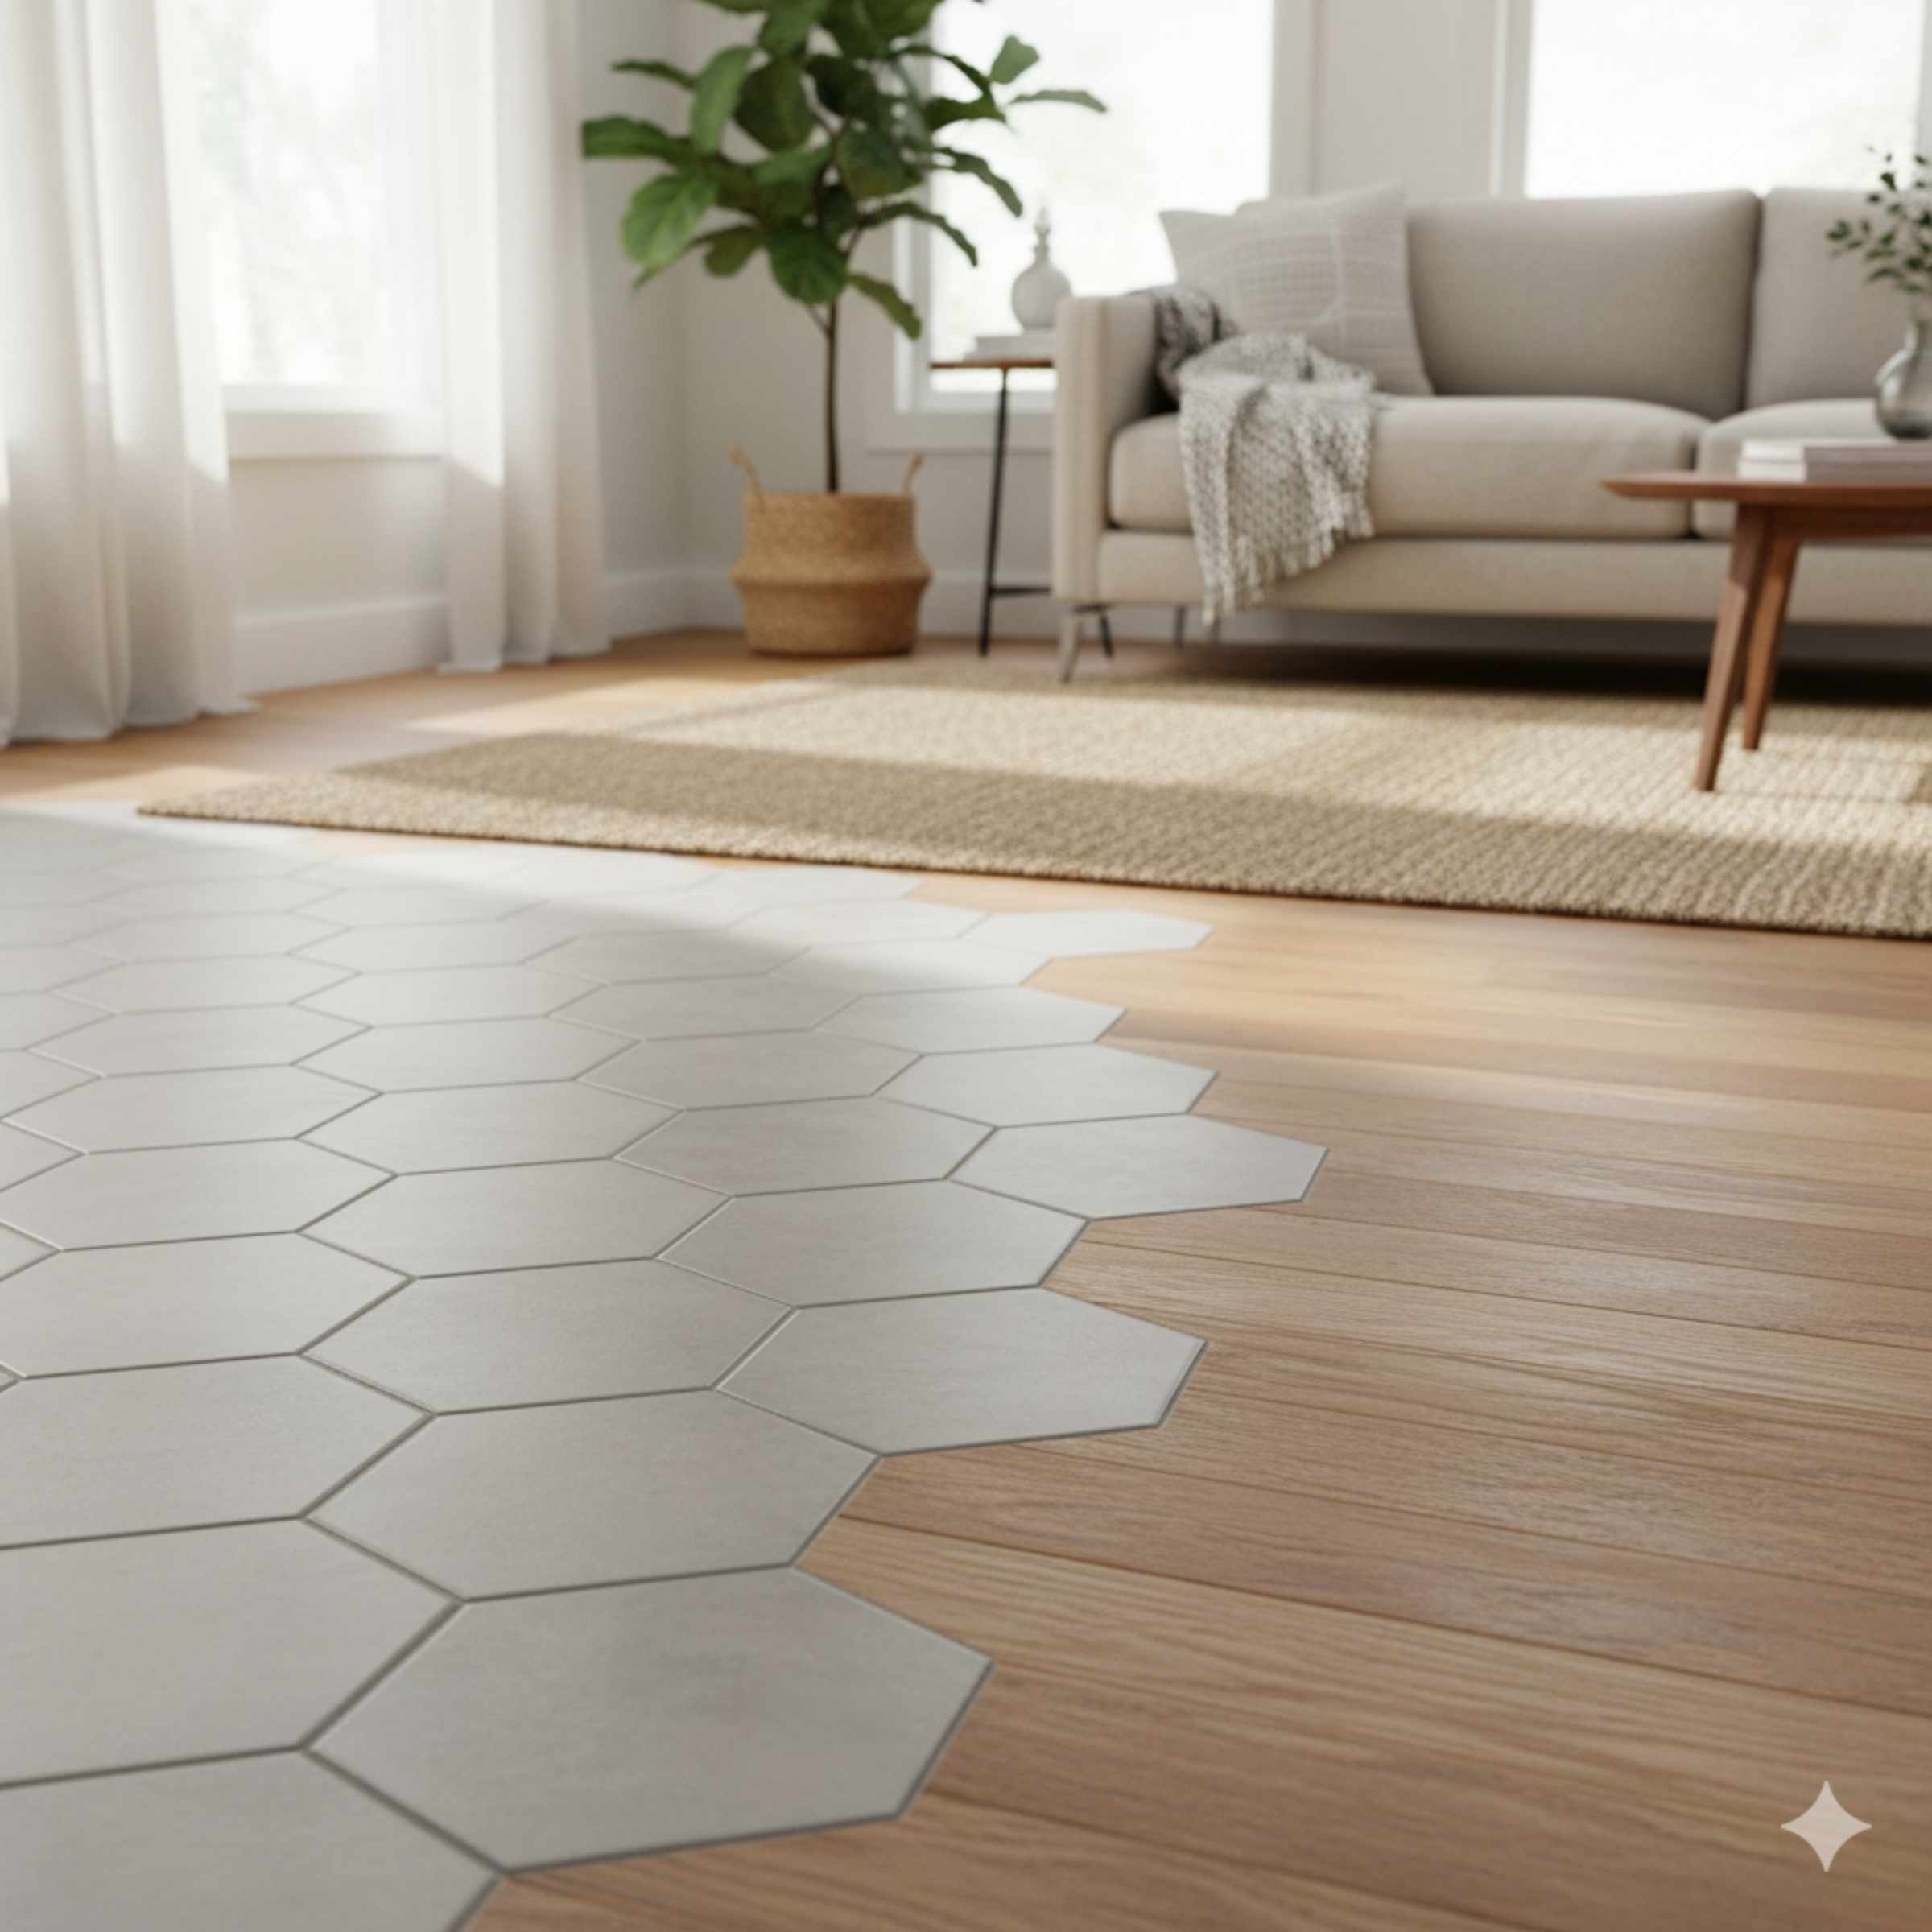
Mixing tile and wood flooring in one room, or side-by-side in adjoining spaces, is a beautiful design choice. It brings the warmth of wood together with the durability of tile. However, that meeting point—the transition—can feel tricky. You might worry about tripping hazards or an ugly gap showing up. Don’t stress! Combining these materials is easier than you think. With the right tools and a little patience, you can make that line disappear beautifully. We will walk through the best, most beginner-friendly ways to make these materials flow together perfectly.
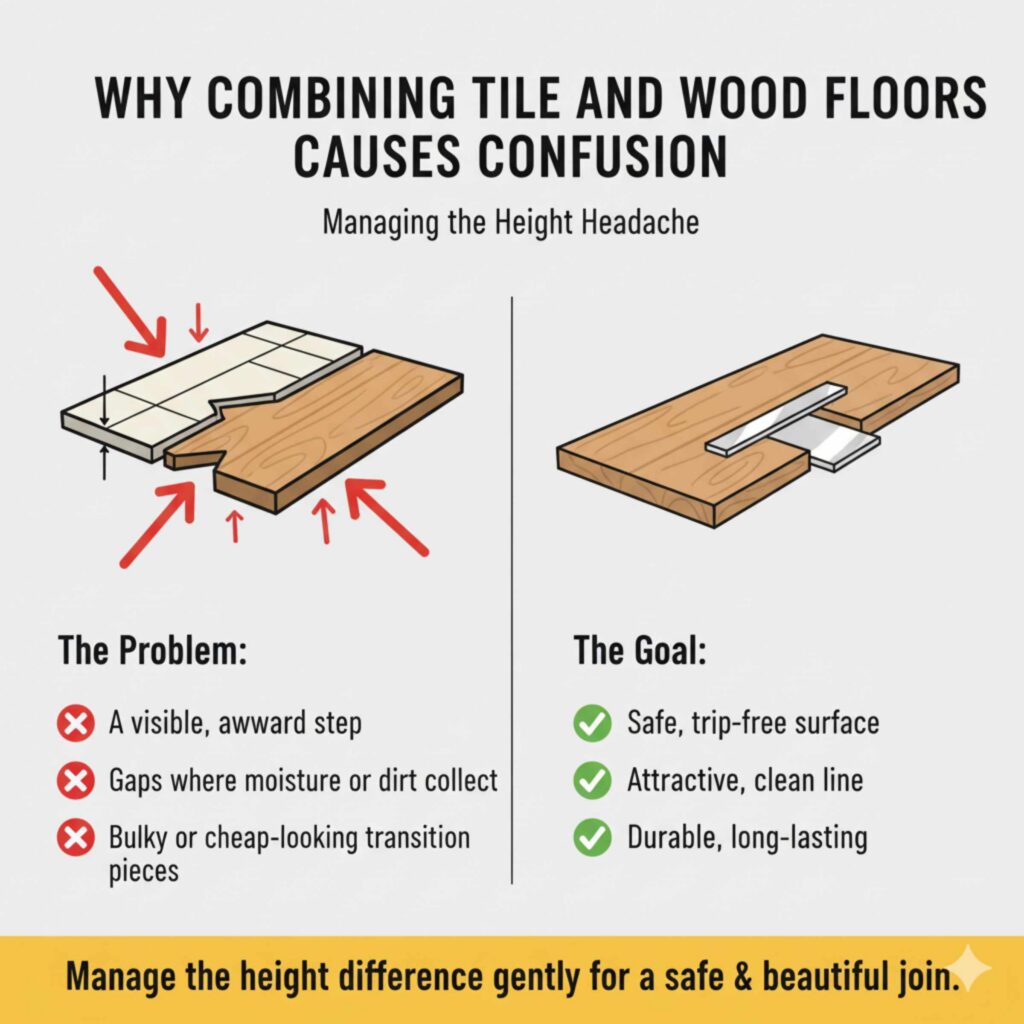
Why Combining Tile and Wood Floors Causes Confusion
Wood and tile floors rarely sit at the exact same height. Ceramic or porcelain tile, especially when installed over mortar and backer board, often sits slightly higher than solid hardwood or engineered wood flooring. This height difference is the main headache for DIYers. If the floors don’t line up well, you end up with:
- A visible, awkward step that could cause someone to trip.
- Gaps where moisture or dirt can collect.
- A transition piece that looks bulky or cheap.
The goal is to find a solution that is safe, attractive, and lasts as long as your beautiful floors. We need to manage that height difference gently.
Understanding Floor Thickness: The Key to a Smooth Transition
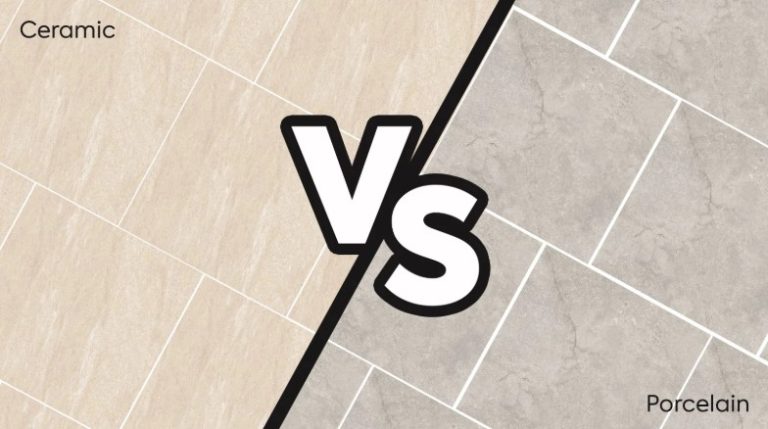
Before you buy any materials, you must measure. Knowing the exact thickness of both floor types tells you exactly what kind of transition piece you need. Wood flooring thickness can range widely, and tile thickness varies based on the type of tile (porcelain is usually thicker than ceramic).
How to Accurately Measure Your Floor Heights
Grab a reliable tape measure and a straight edge. This step is crucial for success!
- Measure the Wood Floor: Place a long, straight edge (like a level or a ruler) across the top of the wood floor. Measure from the very top surface down to the subfloor beneath it. Note this measurement carefully (e.g., 3/4 inch).
- Measure the Tile Floor: Do the same thing over the finished tile. Measure from the top surface of the tile down to the subfloor beneath it. Remember to include the thickness of the tile itself plus the mortar and any cement backer board used underneath (e.g., 1/2 inch).
- Calculate the Difference: Subtract the smaller measurement from the larger one. This difference (e.g., 3/4 inch minus 1/2 inch equals 1/4 inch) dictates the size of the transition piece you will need.
If the measurements are almost identical (within 1/8 inch), you have a much easier job ahead!
Top 3 Effortless Transition Ideas for Tile and Wood
As a fellow DIYer, I favor methods that don’t require complex milling or professional equipment. Here are the three most reliable and beginner-friendly methods for combining tile and wood.
1. The Reducer Strip (Best for Small Height Differences)
A reducer strip is a slightly sloped transition piece. It starts at the height of the taller floor and gradually slopes down to meet the shorter floor. This is the most common and often the cleanest solution when the height difference is minor (usually 1/4 inch or less).
When to Use a Reducer:
- When the wood floor is slightly higher than the tile (or vice versa).
- In doorways where you want a smooth, gentle slope.
- When using pre-finished wood that has a uniform thickness.
Installation Basics for Reducer Strips:
Reducer strips are typically made of wood (to match the floor) or metal (aluminum or brass). Metal ones are highly durable.
- Prep the Area: Clean the edges of both the wood and tile floors thoroughly. Ensure no stray grout or adhesive is sticking up.
- Dry Fit: Place the reducer strip down to ensure the slope looks right and the edges line up neatly against both surfaces.
- Secure the Strip: Depending on the strip type, you will either glue it down or screw it down using small, color-matched screws. If screwing, drill pilot holes into the subfloor beneath the strip, ensuring the screws go only through the strip and into the subfloor, not into the actual wood flooring planks, which can cause lifting.
2. The T-Molding or Threshold (Best for Equal Heights)
A T-molding (sometimes called a threshold) is flat on top and shaped like the letter ‘T’ in cross-section. This is the go-to solution when both your wood and tile floors end up at almost the exact same height after installation (less than 1/8-inch difference).
Installation Basics for T-Moldings:
T-moldings usually have a track or base that gets fastened to the subfloor between the two flooring types. The visible top cap then snaps or slides onto this base.
- Install the Base Track: This is the critical part. The base track must be secured firmly to the subfloor in the gap between the wood and the tile. Use appropriate fasteners (nails or screws) that won’t interfere with the flooring material itself.
- Apply Adhesive (Optional): A bead of strong construction adhesive (like Liquid Nails) along the base can help secure the molding and prevent rattling.
- Snap the Cap: Carefully snap or slide the decorative T-cap over the base track. This hides the fasteners and provides a smooth, narrow dividing line.
3. The Bullnose or Quarter Round (Best for Tile Edges)
If the tile edge is exposed (like where tile meets a carpet or wood in an open area, not just a doorway), using a finished tile edge can be the most elegant solution. A bullnose tile has a rounded, smooth edge that doesn’t need an awkward strip placed on top of it.
If you are ending a run of tile right up against a wood floor in an area where you don’t want a bulky strip, you can sometimes use a quarter-round molding made from the wood itself, placed right against the tile edge. This works best if the tile edge is slightly recessed or if you can get the tile perfectly flush with the wood.
Advanced Consideration: Managing Significant Height Differences
What happens if your tile is a full 3/8 inch taller than your wood floor? A standard reducer strip won’t handle that slope gracefully. This requires building up the height of the shorter floor.
Using Subfloor Material to Adjust Height
If the wood floor is too low, you can increase its height before installation. This is a more involved process, but it ensures a professional, long-lasting result. We aim to bring the wood floor height up to meet the tile.
For this, we refer to established building standards. According to organizations like the National Roofing Contractors Association (NRCA), proper subfloor preparation is vital for long-term surface stability.
Steps to Build Up Wood Subfloor Height:
- Identify the Gap: Say the tile is 1/2 inch high, and the wood subfloor needs to be 3/8 inch thick to match.
- Use Underlayment: You can use additional layers of high-quality plywood or OSB (Oriented Strand Board) cut to fit the wood floor area only.
- Secure Layers: Fasten these layers securely to the main subfloor using construction adhesive and screws before installing the final wood flooring layer on top. This effectively raises the wood floor to meet the tile more closely.
Safety Note: Always use screws designed for subflooring, ensuring they don’t poke up through the top surface. Countersink them slightly below the surface.
Tool Kit for Seamless Transitions
You don’t need a full contractor setup, but a few specific tools make this job significantly easier and safer. Remember, preparation and accuracy are the keys to success when dealing with hard surfaces like tile and wood.
| Tool | Purpose | Why You Need It (Beginner Focus) |
|---|---|---|
| Miter Saw or Chop Saw | Cutting metal, wood, or plastic transition pieces cleanly. | Allows for precise angle cuts (especially important for wood reducers) for a tight fit. Safety glasses mandatory! |
| Tape Measure & Pencil | Accurate height measurements and marking cut lines. | The entire project hinges on accurate measurements. Measure twice, cut once! |
| Power Drill/Driver | Installing screws for tracks or securing metal bases. | Makes drilling pilot holes faster and ensures screws are driven flush without stripping the heads. |
| Utility Knife | Scraping old adhesive or trimming thin underlayment pieces. | Great for cleaning up edges before placing the final molding. |
| Construction Adhesive | Gluing down tracks or wood components for a rattle-free fit. | Adds stability where fasteners alone might not be enough, especially important for metal tracks. |
Visualizing Your Transition Options
The look you choose often depends on the style of your home. Do you prefer a very clean, almost invisible seam, or do you want a clear dividing line that adds a design element?
Comparison of Transition Styles
| Transition Type | Best For Height Difference | Aesthetic Result | DIY Difficulty |
|---|---|---|---|
| Reducer Strip (Wood/Metal) | Small slope (up to 1/4 inch) | Smooth and gentle slope. | Easy to Moderate |
| T-Molding/Threshold | Nearly equal height (0 to 1/8 inch) | Clean, thin dividing line. | Easy |
| Level Transition (No Strip) | Exactly equal height (advanced install) | Completely seamless look. | Advanced (Requires perfect subfloor prep) |
Pro Tips for Long-Lasting, Professional Results
Achieving that “contractor-done” look just takes a few extra steps. Don’t rush the curing time for adhesives, and always check your work.
Tip 1: Seal the Gap First
Even if you use a perfect transition piece, there might be tiny voids where the flooring meets the strip, especially against the tile. Before placing the final molding, run a thin bead of color-matched caulk along the joint where the tile meets the subfloor gap. This seals out moisture and dirt permanently. Once the molding is installed, caulk the gap between the molding and the wood floor as well.
Tip 2: Mind Your Expansion Gaps
Wood flooring needs room to expand and contract with changes in temperature and humidity. Do not butt the wood flooring tightly against the tile or the transition piece. Leave a small expansion gap (usually about 1/4 inch, check your wood manufacturer’s guide). The transition strip or molding is designed to cover this gap beautifully. Forgetting this leads to buckling later on!
Tip 3: Cutting Transition Pieces Safely
When using a miter saw to cut metal or wood transitions, remember that metal can create sharp sparks, and wood can splinter. Always wear appropriate safety gear, including safety glasses and hearing protection. If cutting plastic or laminate strips, use a fine-tooth blade to prevent chipping the edge.

Frequently Asked Questions (FAQ) for Tile and Wood Transitions
Q1: Can I just use grout to fill the space between tile and wood?
A: No, this is a bad idea. Grout is brittle and cracks easily under the slight movement that wood floors naturally experience. You need a flexible material like caulk or a dedicated transition strip.
Q2: Which flooring should be installed first, the tile or the wood?
A: Generally, tile is installed first because it is rigid and its height is fixed by the mortar bed. Wood flooring is then installed next to the tile, allowing its thickness and required expansion gap to dictate the transition piece needed.
Q3: How wide should the gap be between the tile and the wood flooring?
A: For expansion, the gap should typically be between 1/8 inch and 1/4 inch. This space is necessary for the wood to breathe. The transition strip (like a T-molding or reducer) is designed to cover this gap neatly.
Q4: Do I need to remove the old baseboard before installing a transition strip?
A: If the transition is going in a doorway, you probably don’t need to remove baseboards. However, if the transition runs along a wall where one room meets another, you might need to remove the baseboard on the wood side to ensure the transition strip sits flush against the wall, or use a smaller trim piece (like quarter round) on the wood side to hide the seam.
Q5: Is it better to use wood or metal for a transition strip?
A: Metal (aluminum or brass) is extremely durable, resists wear well, and is excellent for high-traffic areas. Wood matches your floor color perfectly but may dent or scratch over time if not protected by a durable finish.
Q6: Can I install the wood floor directly onto the tile?
A: No, you should never install wood flooring directly over existing tile without removing the tile first, unless you are using a specialized floating floor system designed specifically for this application. The tile surface is often too uneven, and the height difference is usually too great.
Q7: What is the easiest way to ensure the wood side is the same height as the tile?
A: The easiest method is to measure both installed floor heights accurately. If they differ by less than 1/4 inch, use a reducer strip. If they differ by more, plan to build up the subfloor under the wood flooring before installing the wood itself.
Conclusion: Confident Combining of Surfaces
Seeing the beauty of tile meeting wood shouldn’t fill you with dread anymore. By respecting the inherent thickness differences between these two materials and choosing the right solution—be it a sloping reducer, a flat T-molding, or careful subfloor adjustment—you can create a flawless line where they meet. Remember to measure precisely, secure your pieces firmly into the subfloor, and always allow for the wood’s need to expand and contract. With these proven, straightforward techniques, you have the confidence to merge your flooring styles beautifully, creating a durable, cohesive look for your entire home project.