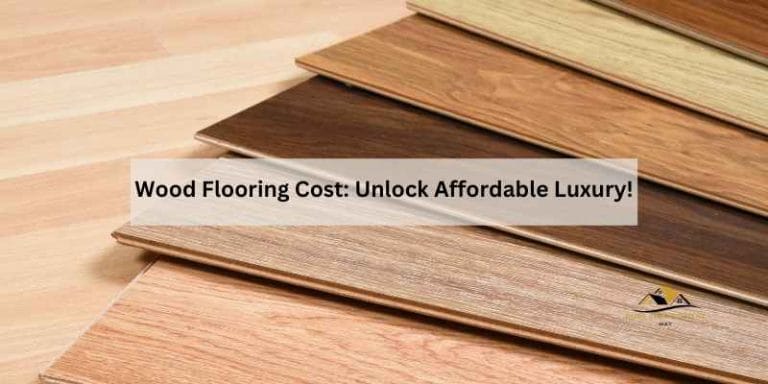
Transitioning Wood Flooring between Rooms: Expert Tips
You’re walking through your home, feeling the smooth texture of your beautiful wood flooring beneath your feet. But suddenly, you notice an awkward transition between rooms that disrupts the flow and aesthetic.
Frustrating, right? If you’ve ever wondered how to seamlessly connect wood flooring between rooms, you’re not alone. This is a common challenge that many homeowners face. Good news: you can achieve flawless transitions that enhance the beauty and value of your home.
We’ll explore simple yet effective strategies to help you create a cohesive look that will make you proud every time you step from one room to another. Discover how to turn those bothersome gaps into seamless connections, and transform your home’s interior into a harmonious masterpiece. Keep reading to unlock the secrets to perfect wood flooring transitions!

Credit: www.reddit.com
Choosing The Right Transition Strips
T-molding connects floors at the same level. Reducer strips join floors at different levels. End molding finishes edges at doorways or walls. Choose the right type for your floor needs.
Wood strips match wooden floors. Metal strips offer durability. Vinyl strips provide flexibility. Each material has its own benefits. Pick the right one for your home. Ensure it fits the room’s needs.
Color matters. Match the transition strip to your floor. Texture adds style. Pick a design that complements the room. A good choice enhances the look. Think about how it fits with your decor.
Measuring And Planning
Use a tape measure for precise results. Measure from wall to wall. Check measurements twice. Accuracy is key. Mark spots where flooring changes. Use a pencil to mark. This helps avoid errors.
Choose transition strips carefully. Wood strips work well. Use strips to connect flooring. Seamless transitions look nice. Plan where strips will go. Keep strip color similar to floor. This blends areas smoothly.
Some floors have different heights. Use ramps or reducers. Ramps help smooth level changes. Measure height differences. Plan for smooth walking. Avoid trips by leveling floors. Keep the transition safe.
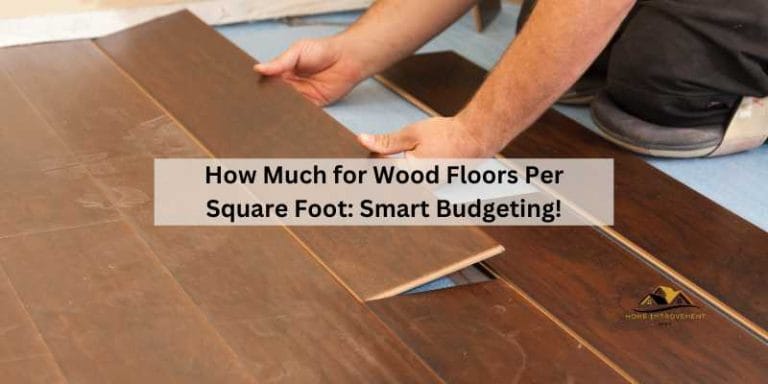
Installation Techniques
Make sure the subfloor is clean and dry. Any dirt or moisture can cause problems. Check for any cracks and fix them. Ensure the surface is level. Use a level tool for accuracy. A smooth subfloor helps the wood stay in place.
- Hammer
- Nails
- Measuring tape
- Saw
- Wood glue
- Level tool
- Spacer blocks
Start by measuring the room. Cut the wood planks to fit. Place the first plank in a corner. Use spacer blocks between the plank and wall. This helps with expansion. Nail the planks down securely. Continue adding more planks. Check the level after each row. Adjust if needed. Once done, remove the spacers. Your floor is now ready.
Handling Expansion Gaps
Wood flooring needs space to expand. Without this space, floors can buckle. Expansion gaps keep floors safe. These gaps stop damage. They help floors last longer. Proper gaps make floors look good. They prevent cracks and warping. Every room needs these gaps.
Use spacers for gaps. Measure gaps carefully. Check gap size often. Adjust gaps if needed. Use trim to hide gaps. Trim adds beauty to floors. Gap covers protect floors. They make cleaning easy. Professional help is useful. Experts know gap sizes.
Avoid gaps too small. Small gaps cause damage. Large gaps look bad. Check gap size often. Ignore gaps can ruin floors. Wrong tools make gaps tricky. Use correct tools. Measure gaps with care. Common mistakes are costly. Fix mistakes early.
Maintaining Transition Areas
Clean the floor often. Use a soft broom or a vacuum. Dust can damage the floor. Spills should be wiped immediately. Use a damp cloth. Avoid too much water. It can warp the wood. Use a gentle cleaner suitable for wood. Follow the instructions on the bottle.
Small scratches can be fixed with a crayon that matches the floor. Rub it over the scratch. Buff with a soft cloth. Deeper scratches need a wood filler. Apply it with a putty knife. Let it dry. Sand it lightly. Reapply the finish if needed. Regular checks help find issues early.
Use mats at doorways. They catch dirt and sand. Furniture pads prevent scratches. Move furniture with care. Sunlight fades wood. Use curtains or blinds. Keep humidity levels steady. Wood can expand with moisture. Regular checks help keep the floor looking good. Simple steps make a big difference.
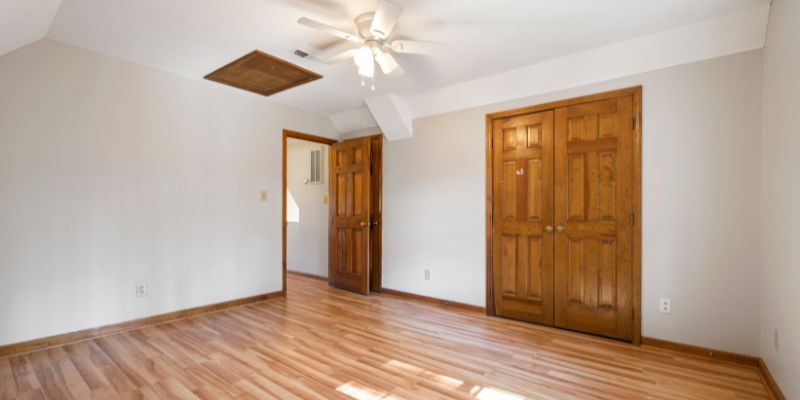
Design Considerations
Colors and styles must match for a pleasing look. Choose wood tones that are similar. This creates a smooth flow between rooms. Avoid clashing colors. They disrupt harmony. Consider the furniture in each room. Does it match the wood? This keeps the space looking unified.
Patterns add interest to flooring. Try diagonal lines or herringbone designs. These patterns catch the eye. Use them carefully. They should not overwhelm the space. A little can go a long way. Mix patterns wisely. This keeps the look balanced.
Wood floors must be pretty and useful. Choose durable wood for busy rooms. This ensures it lasts longer. Think about cleaning. Some woods need more care. Choose wisely for ease. Aesthetics should not sacrifice function. Both are important for a happy home.
Troubleshooting Common Issues
Misalignment in wood flooring can create a messy look. To fix it, ensure all planks align properly. Use spacers to maintain even gaps. Check the plank edges for straightness. If they are not straight, adjust them gently. A rubber mallet can help in aligning stubborn planks. This tool allows for gentle taps without causing damage. Proper alignment is crucial for a seamless transition.
Height differences can lead to tripping hazards. Use transition strips to level uneven surfaces. These strips bridge the gap between different floor levels. Measure the height difference accurately. This helps in selecting the right strip thickness. Install the strip securely to prevent movement. This ensures a safe walkway between rooms.
Noise can be annoying with wood floors. Use underlayment to reduce sound. This material absorbs impact noises. Install it beneath the flooring for best results. Check for gaps that may cause creaking. Tighten loose planks to minimize noise. Proper installation and maintenance can keep your floors quiet.

Credit: www.reddit.com
Frequently Asked Questions
How Do You Transition Wood Flooring Between Rooms?
Transitioning wood flooring between rooms involves using transition strips or molding. These elements help connect the two different areas seamlessly. They come in various styles, such as T-molding or reducer strips. Choose one that matches your flooring for a smooth transition that enhances the aesthetic appeal.
What Type Of Transition Strip Is Best For Wood Floors?
The best transition strip for wood floors is T-molding. It connects flooring of equal height. If the floors have different heights, consider using a reducer strip. Both options maintain a cohesive look while accommodating any height differences between adjacent rooms effectively.
Can I Use The Same Flooring In All Rooms?
Yes, using the same flooring in all rooms creates a cohesive look. It allows for easier transitions between spaces without noticeable breaks. However, consider the functionality and durability of the flooring for different room uses, such as moisture-prone areas like kitchens and bathrooms.
How To Choose The Right Transition Style?
Choose the right transition style based on your flooring type and room height differences. Consider aesthetics, functionality, and ease of installation. T-molding works well for floors of the same height. Reducer strips are ideal for connecting floors with different height levels.
Conclusion
Transitioning wood flooring between rooms needs careful planning. Consistency creates harmony. Matching colors and patterns makes spaces feel connected. Consider thresholds for a smooth transition. They bridge different floor levels. Seamless transitions enhance the beauty of your home. Don’t forget maintenance.
Clean regularly to keep floors looking fresh. Planning ensures a cohesive design. Your home will feel more inviting. Start today and enjoy a unified look. Simple steps make a big difference. Embrace the elegance of wood flooring. It transforms your living spaces.