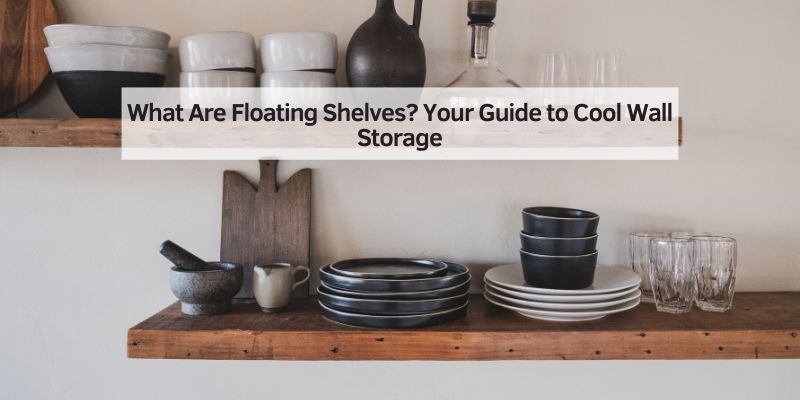
What Are Floating Shelves? Your Guide to Cool Wall Storage
I still remember my first floating shelf project—it was a total flop! I tried hanging a shelf in my tiny apartment, but it wobbled like a seesaw. Don’t worry, I’ve learned a lot since then, and I’m excited to share everything about what are floating shelves with you. This article will explain what they are, how to put them up, and fun ways to style them. Whether you’re a kid wanting a cool shelf for toys or a DIY pro looking for new ideas, you’ll find easy tips and tricks here. Let’s make your walls awesome!
Why Floating Shelves Are Awesome
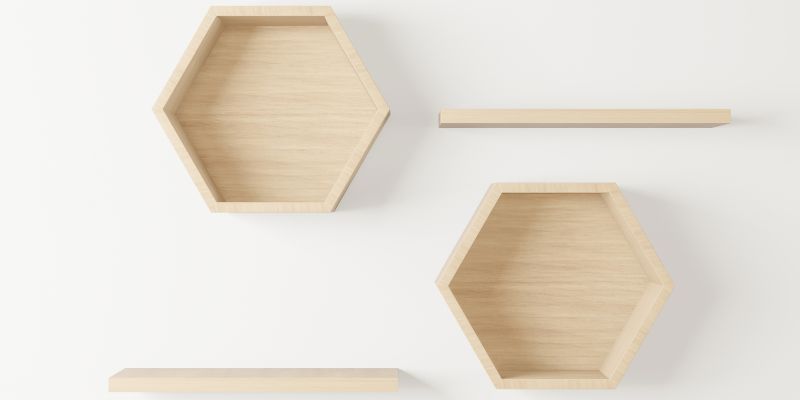
Floating shelves are super cool because they look like they’re magically stuck to the wall. They don’t have visible brackets, so they seem to float! I love how they make my living room feel open and modern. They’re perfect for small spaces or anyone who wants a clean, stylish look.
What Are Floating Shelves?
Floating shelves are boards attached to a wall with hidden brackets, making them look like they’re floating. They’re great for holding books, plants, or decorations. Unlike regular shelves with big supports, these use secret hardware inside the wall, giving a sleek, modern vibe.
Why Do People Love Them?
Floating shelves are popular because they’re easy to use and look great. Here’s why they rock:
- Save Space: They don’t take up floor room, perfect for tiny homes.
- Stylish: They fit any decor, from cozy to fancy.
- Customizable: You can pick any size, color, or material.
I once put a small floating shelf in my bathroom for candles—it made the space feel like a spa!
How to Install Floating Shelves
Putting up a floating shelf is easier than you think. My first try was messy, but now it’s a piece of cake! Here’s a simple guide to hang your shelf like a pro.
Tools and Materials You Need
You don’t need fancy tools. Here’s what I use:
- Stud Finder: Finds wooden beams (studs) in your wall.
- Drill: Makes holes for screws.
- Level: Keeps your shelf straight.
- Screws and Anchors: Hold the shelf tight.
- Floating Shelf Kit: Comes with a shelf and hidden brackets.
I got my shelf kit from The Home Depot for about $30—super affordable!
Step-by-Step Installation Guide
Follow these steps to hang your shelf:
- Find the Studs: Use a stud finder to locate wooden beams in your wall. Mark them with a pencil.
- Measure and Mark: Decide where your shelf goes. Use a level to draw a straight line.
- Drill Holes: Attach the bracket to the wall by drilling into studs. Use anchors if you miss a stud.
- Slide on the Shelf: Push the shelf onto the bracket and secure it with small screws underneath.
- Check It: Make sure it’s level and sturdy. Done!
Safety Tip: Always drill into studs for heavy shelves. My first shelf crashed because I only used drywall anchors—no fun!
Table 1: Tools for Installing Floating Shelves
| Tool | Purpose | Cost (Approx.) |
|---|---|---|
| Stud Finder | Finds wall studs | $10-$20 |
| Drill | Makes holes for screws | $30-$50 |
| Level | Ensures shelf is straight | $5-$15 |
Caption: Basic tools you need for a floating shelf project. Prices are based on common retail options.
Benefits and Drawbacks of Floating Shelves
Floating shelves are great, but they’re not perfect. Let’s look at the good and not-so-good parts.
Benefits
- Look Cool: They make any room feel modern and open.
- Easy to Clean: No bulky brackets to dust around.
- Flexible: Put them anywhere—kitchen, bedroom, or bathroom.
I love my kitchen shelves for spices—they’re easy to grab and look neat!
Drawbacks
- Weight Limits: They can’t hold super heavy stuff unless you install them right.
- Tricky Install: You need to find studs or use strong anchors.
- No Hiding Clutter: Everything’s out in the open, so keep it tidy.
Table 2: Floating Shelves vs. Traditional Shelves
| Feature | Floating Shelves | Traditional Shelves |
|---|---|---|
| Look | Sleek, modern | Bulkier, visible brackets |
| Space Used | No floor space | May take floor space |
| Weight Capacity | 50 lbs per stud | Often higher |
| Installation | Needs studs or anchors | Easier with brackets |
Caption: Compare floating shelves to traditional ones to pick the best for your home.
Fun Ways to Style Floating Shelves
Styling shelves is my favorite part—it’s like decorating a mini stage! Here are some easy ideas to make your shelves pop.
Tips for Styling
- Mix Items: Combine books, plants, and small frames for a fun look.
- Use Colors: Pick items that match your room’s vibe, like blue vases for a calm feel.
- Leave Space: Don’t cram everything on—empty space looks clean.
I once styled a shelf with a tiny cactus, a photo frame, and a colorful book. It was a total hit!
Visual Idea Suggestions
- Diagram 1: A sketch showing how to space items on a shelf (e.g., tall plant on one end, books in the middle, small decor on the other).
- Diagram 2: A drawing of a bracket inside a wall, showing how it connects to studs.
- Diagram 3: A layout of three shelves in a zigzag pattern for a cool wall display.
Note: These visuals aren’t included but would help show styling and installation clearly.
Common Mistakes to Avoid
I’ve made plenty of shelf mistakes—learn from them! Here are things to watch out for:
- Skipping Studs: Always find studs for heavy shelves, or they’ll sag.
- Overloading: Don’t pile on heavy books or gadgets—check weight limits.
- Messy Styling: Too many items make shelves look cluttered.
My first shelf looked like a yard sale because I put everything on it. Less is more!
Cost-Saving Tips
Floating shelves don’t have to break the bank. Here’s how I save money:
- DIY Shelves: Buy wood from Lowe’s and cut it yourself.
- Shop Sales: Check IKEA for budget-friendly kits.
- Reuse Decor: Use items you already own, like old books or plants, to style.
Table 3: Cost Comparison for Floating Shelves
| Option | Cost (Approx.) | Pros | Cons |
|---|---|---|---|
| DIY Wood Shelf | $15-$30 | Custom size, cheap | Needs tools, time |
| Store-Bought Kit | $25-$50 | Easy to install | Limited sizes |
| Custom Shelf | $50-$100 | Perfect fit, high quality | Expensive |
Caption: Compare costs to find the best floating shelf option for your budget.
Personal Insights from My DIY Journey
I’ve hung dozens of floating shelves, and each one taught me something. My biggest tip? Take your time finding studs—it’s a game-changer for sturdy shelves. I also learned to start small. My first shelf was a tiny 12-inch one in my hallway, and it gave me confidence to try bigger projects. Check out Shelfology for inspiration—they have awesome ideas!

Conclusion
Floating shelves are a fun, stylish way to add storage and personality to your home. They’re easy to install with the right tools and look amazing with a bit of styling. Whether you’re showing off plants or books, they’re a total win. Try hanging a small shelf this weekend—it’s no sweat! Share your shelf pics or ideas in the comments—I’d love to see them!
Frequently Asked Questions
What Are Floating Shelves Made Of?
Floating shelves can be wood, metal, or glass. Wood is popular for its warm look, while metal is sturdy. Glass looks sleek but needs strong brackets. Pick what matches your style!
How Much Weight Can Floating Shelves Hold?
A shelf holds about 50 pounds per stud it’s attached to. A 3-foot shelf on two studs can hold 100 pounds if installed right. Always check your bracket’s limit.
Can I Install Floating Shelves Without Studs?
You can use drywall anchors, but they hold less weight. For heavy items, find studs or add blocking (extra wood) in the wall for strength.
Are Floating Shelves Hard to Install?
No, they’re pretty easy with a stud finder and drill. Follow instructions, and it’s like hanging a picture frame—just a bit heavier!
How Do I Style Floating Shelves?
Mix books, plants, and small decor items. Keep it simple to avoid clutter. Add a pop of color with a vase or frame for a fun look.
Can Floating Shelves Sag Over Time?
They won’t sag if installed into studs with strong brackets. Avoid overloading, and check hardware yearly to keep them sturdy.
Where Can I Use Floating Shelves?
Use them in living rooms, kitchens, bathrooms, or bedrooms. They’re great for books, spices, or toiletries—anywhere you need storage with style!