What Is The Best Moisture Barrier For Hardwood Floors?
The best moisture barrier for hardwood floors is often a high-quality polyurethane vapor retarder sheet or a liquid-applied epoxy coating, especially when installing over concrete. The right choice depends on your subfloor type (wood vs. concrete) and the moisture level present.
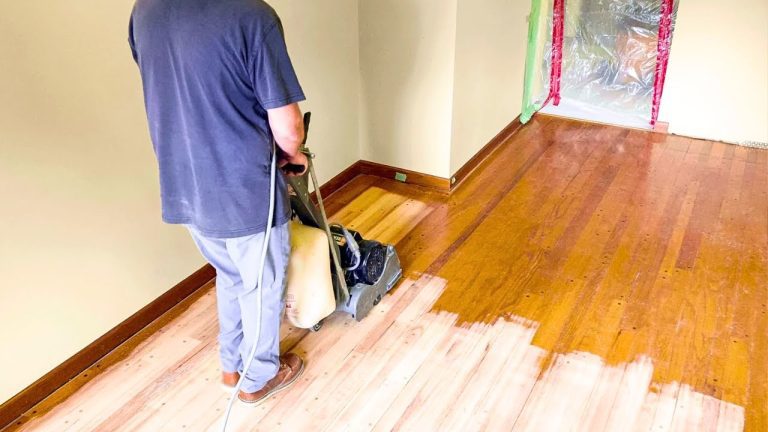
Welcome! Putting down beautiful hardwood floors is exciting, but that nagging fear of moisture damage can stop many DIYers in their tracks. Nobody wants warped boards or musty smells a year later! Dealing with moisture underneath your new floor is critical, but it can feel complicated. Don’t worry; we are going to break down exactly what moisture barriers are and which one will give your gorgeous new floor the best long-term protection. You’ve got this!
In this guide, I’ll walk you through the science in simple terms. We will compare the top materials, look at how to choose the right one for your specific home, and make sure you install it correctly for decades of worry-free enjoyment. Let’s get started on making your floor foundation bomb-proof against dampness.
Why Moisture Barriers Are Your Hardwood Floor’s Best Friend
Think of a moisture barrier like an umbrella for your new floor. Hardwood is naturally porous—it loves to soak up water from the air or, much worse, from the surface underneath it.
When wood absorbs too much moisture, it swells. When it dries out, it shrinks. This constant expanding and contracting leads to some serious problems:
- Cupping and Crowning: The edges curl up (cupping) or the middle domes up (crowning).
- Gapping: Wide cracks appear between the boards as they shrink.
- Mold and Mildew: Trapped moisture creates a perfect breeding ground for nasty, unhealthy growth.
- Warping: The floor becomes permanently distorted and uneven.
For solid hardwood, a moisture barrier is often essential when installing directly over a concrete slab, which is a huge source of rising damp. Engineered hardwood usually comes with a pre-attached backing, but sometimes you still need an extra layer, especially in basements.
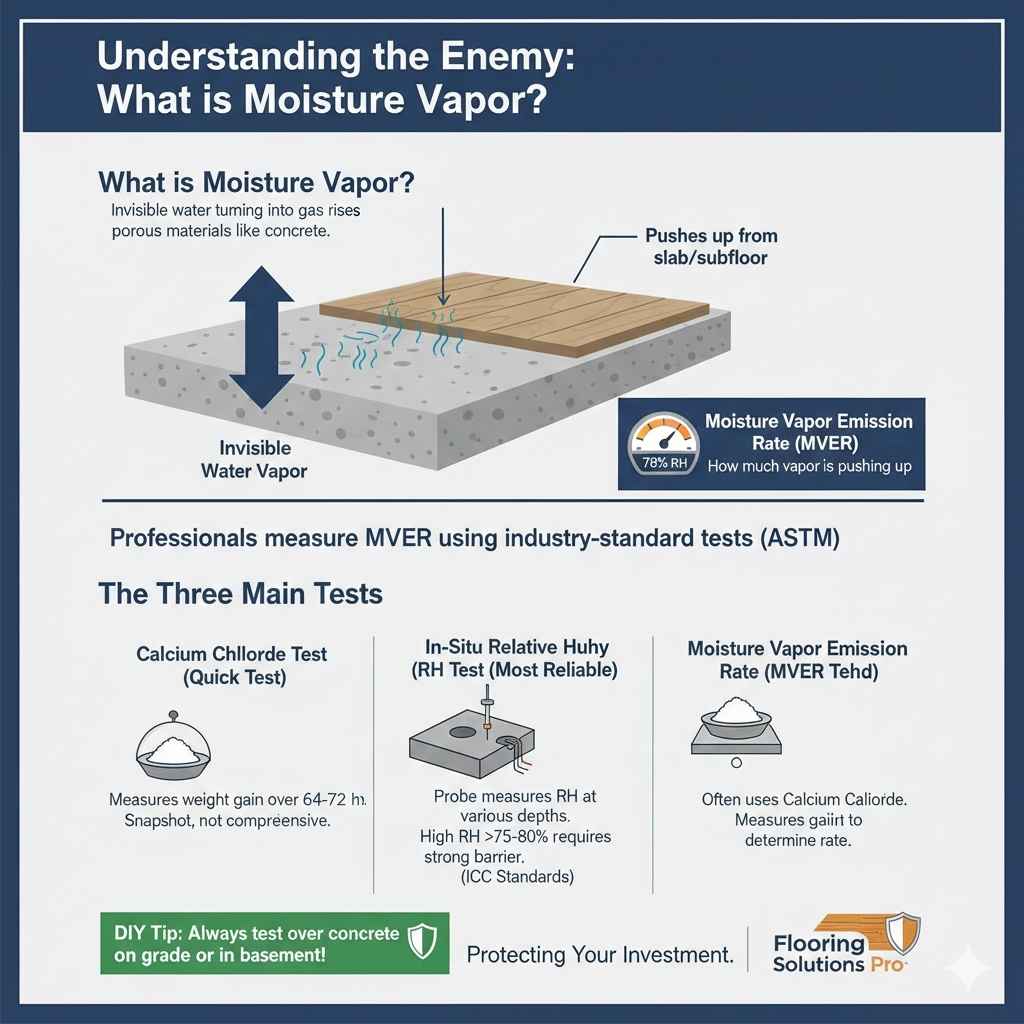
Understanding the Enemy: What is Moisture Vapor?
Before picking the best barrier, we need to understand what we are blocking. We aren’t usually stopping puddles; we are stopping vapor. Moisture vapor is invisible water turning into gas that rises through porous materials like concrete.
Moisture vapor emission rate (MVER) is how much of this vapor is trying to push up from the slab or subfloor. Builders measure this using industry-standard tests. Knowing your MVER is the key to choosing the right defense.
The Three Main Tests
Professionals use specific tests, often referenced by standards like ASTM (American Society for Testing and Materials), to determine how damp your subfloor is:
- Calcium Chloride Test (Quick Test): This measures the amount of moisture vapor passing through a specific area over 64 to 72 hours. It’s a good snapshot, but it doesn’t account for all environmental factors.
- In-Situ Relative Humidity (RH) Test: This is considered one of the most reliable. A specialized probe is drilled into the concrete, and RH is measured at various depths. High RH readings (over 75% or 80%) absolutely require a strong vapor retarder. For reference, the International Code Council (ICC) often cites standards related to these tests for building codes.
- Moisture Vapor Emission Rate (MVER) Test: This is often done using the older calcium chloride method, measuring weight gain.
DIY Tip: If you are installing over concrete in a basement or on grade (ground level), assume you have a moisture issue unless proven otherwise. Always test!
What Is The Best Moisture Barrier For Hardwood Floors? The Top Contenders
The “best” barrier is the one that matches your specific job site conditions—the subfloor material, the environment (like below-grade basement vs. above-grade), and the type of hardwood you are installing.
We generally categorize moisture protection into three main types:
Option 1: Sheet Vapor Retarders (Polyethylene Films)
These are the most common, affordable, and often simplest for DIYers when dealing with moderate moisture.
- What They Are: Thick plastic sheeting, usually 6-mil, 10-mil, or even 20-mil thick polyethylene (like heavy-duty plastic wrap).
- How They Work: They act as a physical barrier to slow down the movement of water vapor rising from the subfloor below.
- Best For: Installing over wooden subfloors (plywood/OSB) where a minor moisture concern exists, or as a supplemental layer over concrete that has already been professionally sealed but needs a little extra insurance.
The 6-mil Myth: A standard 6-mil poly sheet is often sold as a vapor barrier. However, building science experts now often classify these as only “vapor retarders” because they aren’t completely impermeable. For serious concrete moisture issues, you need something thicker or specialized.
Option 2: Liquid-Applied Epoxy or Urethane Coatings
These are the heavy-duty champions, especially when you have high measured moisture content in concrete.
- What They Are: Two-part chemical systems (like epoxy resin or specialized urethanes) that you mix and roll directly onto the clean concrete. They cure into a rock-hard, impermeable shell.
- How They Work: They chemically bond with the concrete, creating a seamless, zero-permeability seal that moisture cannot penetrate.
- Best For: Basements, ground-level concrete slabs, and any situation showing high Relative Humidity (RH) readings (typically above 85% RH, depending on the product specs).
Why They Might Be Best: They create a monolithic seal—no seams to worry about taping or failing. Many professional-grade epoxy systems can stop vapor transmission rates up to 3 lbs/1,000 sq ft/24 hours or even block 100% RH.
Option 3: Modified Asphaltic Membranes or Mastics
These products look like thick, black tar or mastic and are applied with a trowel or squeegee.
- What They Are: Highly viscous, rubberized coatings specifically formulated to block moisture migration.
- How They Work: They form a thick, flexible, and relatively impenetrable layer between the concrete and your flooring underlayment.
- Best For: Situations where you are gluing the hardwood down directly to the concrete, as they often double as the required adhesive. They provide excellent protection against ground moisture.
Comparison Table: Choosing Your Barrier
To simplify things, here is a quick look at how these main options stack up:
| Barrier Type | Best Subfloor | Moisture Stopping Power | Ease of DIY Installation | Typical Cost (Per Sq. Ft.) |
|---|---|---|---|---|
| Thick Poly Sheet (15-20 mil) | Wood or Concrete (Moderate Risk) | Good Retarder | Easy | Low |
| Liquid Epoxy/Urethane | Concrete Only | Excellent (Vapor Block) | Moderate (Requires Surface Prep) | Medium to High |
| Mastic/Asphaltic Coating | Concrete Only | Very Good | Moderate (Trowel Application) | Medium |
The Installation Context: Wood vs. Concrete
The single most important factor in determining the “best” barrier is what is sitting underneath your hardwood planks. Installing over wood is very different from installing over concrete.
Installing Over a Wood Subfloor (Plywood or OSB)
If you are laying hardwood over an existing plywood or OSB subfloor that sits above grade (like a second story or main floor over a vented crawlspace), your primary concern isn’t vapor coming up from the ground, but rather ambient humidity and minor spills.
The Best Choice Here: In this scenario, many professionals use a high-quality, heavy-duty poly sheeting (10-mil or higher) simply to act as a continuous envelope, protecting against ambient humidity fluctuations. Some modern floating floor underlayments designed for engineered wood often include an integrated vapor barrier layer that performs this function.
If you are nailing down solid hardwood over wood joists, you often don’t need a vapor barrier unless the crawlspace below is notoriously damp or poorly vented. Check the specific warranty requirements for your hardwood, as some manufacturers require 15-lb roofing felt or 6-mil poly regardless.
Installing Over Concrete: The Biggest Challenge
Concrete wicks moisture like a sponge. This is where you must be rigorous. If you skip or skimp on the barrier here, your floor warranty is likely void, and failure is almost guaranteed.
The Best Choice Here: For DIYers working on concrete (especially basement floors), the safest, most reliable choice is often a two-part liquid-applied moisture mitigation system (epoxy or urethane). Yes, they cost more upfront, but they save you from having to tear out and redo the entire floor later.
A liquid barrier provides seamless protection, adhering tightly to the slab surface. It’s much more forgiving regarding small pinholes or imperfect seams than plastic sheeting is.
How to Select the Right Barrier Based on Moisture Levels
How do you know if your moisture level is low, medium, or high? Rely on those tests we talked about. Here is a simplified guide to matching the barrier to the problem, focusing on concrete slabs, as that is where the risk is highest.
| Moisture Measurement (RH in Concrete) | Recommended Action / Best Barrier | Confidence Level |
|---|---|---|
| Below 60% RH | Minimal protection needed; good vapor retarder sheet (10-mil poly) or specialized underlayment. | Low Risk |
| 60% – 80% RH | High-quality vapor retarder (15-mil+) or basic one-part moisture sealer. | Medium Risk |
| Above 80% RH | Must use: Professional-grade two-part epoxy or heavy-duty mastic coating (meeting ASTM F3010 standards if applicable). | High Risk |
If you are gluing the hardwood directly down, ensure the barrier product is compatible with your adhesive. Some moisture mitigation products are designed to cure fully and act as the structural adhesive basecoat, simplifying the process.
Step-by-Step: Installing the Best Moisture Barrier (Focusing on Concrete Prep)
The barrier is only as good as the surface it sits on. Surface preparation is not optional—it is the most critical step for long-lasting results. This general process applies whether you are rolling on epoxy or laying down thick sheeting.
Tools You Will Need
- Safety Gear (Goggles, Respirator rated for organic vapors if using liquids)
- Wet/Dry Vacuum (Shop-Vac)
- Floor Grinder with a diamond cup wheel (for serious preparation)
- Degreaser/Concrete Cleaner
- Seam tape (for poly sheets) or Rollers/Squeegees (for liquids)
Preparation: The Foundation of Success (Step 1-3)
Step 1: Test and Assess. Never skip the moisture testing (RH test recommended). Know exactly what you are fighting. Read the technical data sheet (TDS) for your chosen barrier product to understand its specific requirements for RH and MVER limits.
Step 2: Clean the Slab Thoroughly. Remove all paint, sealers, adhesives, dirt, and grease. Concrete must be profile-ready. If the concrete is very dusty or slightly damp, use a degreaser. For epoxy application, the concrete typically needs a specific surface profile (like CSP-1 or CSP-2, which means roughened slightly, often achieved via light grinding).
Step 3: Grind or Shot-Blast (For Liquid Barriers). Liquid epoxies and urethanes cannot properly bond to slick, sealed, or smooth concrete. Renting a concrete floor grinder is often necessary. This process opens the pores of the concrete so the liquid can soak in slightly and create a mechanical lock. Always vacuum up all the dust afterward.
Installation of the Barrier (Step 4-6)
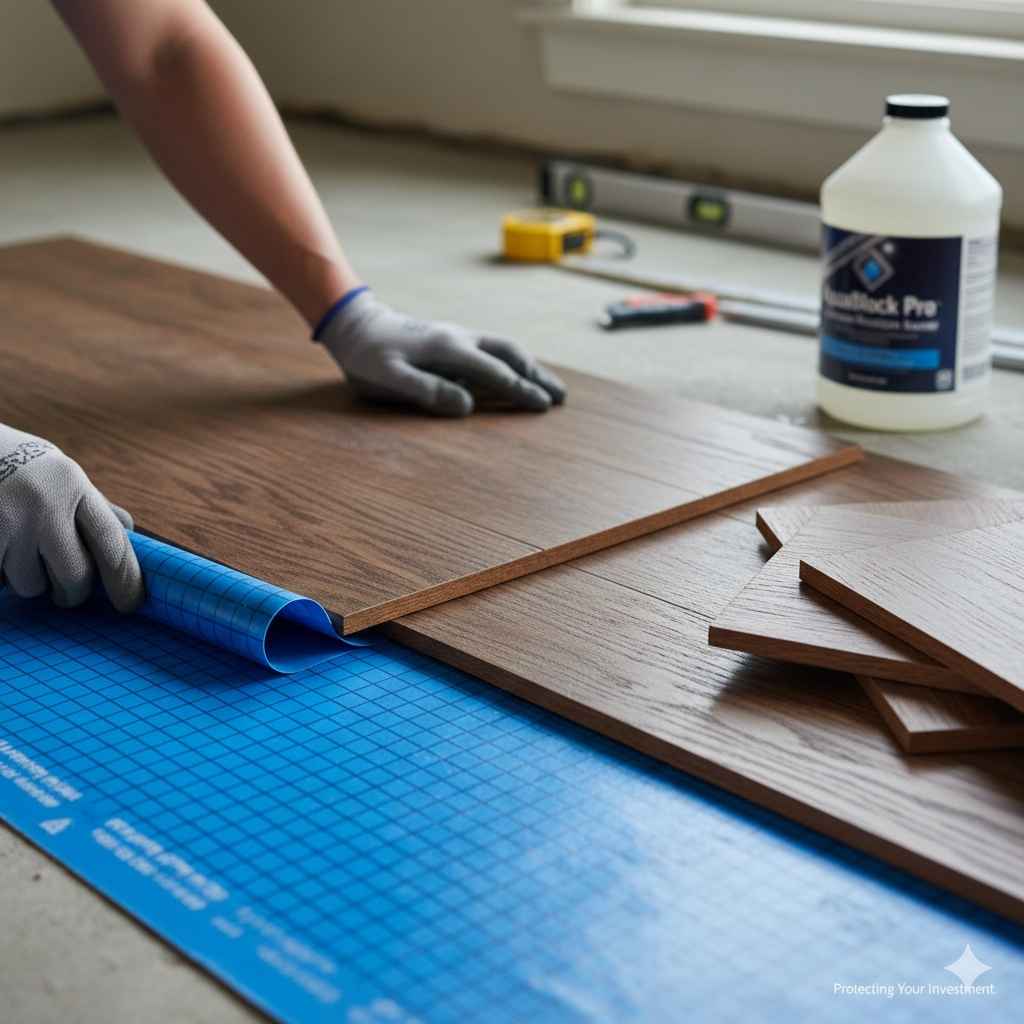
Step 4a (For Sheet Plastic): Laying Down Poly. If using thick poly sheeting, unroll the plastic and lay it over the entire concrete surface. Overlap all seams by at least 6 inches. Use specialized vapor barrier tape (not duct tape) to seal every single overlap completely. Bring the plastic up the vertical walls about 2 inches (this is often called a flange).
Step 4b (For Liquid Coatings): Mixing and Applying. Read the TDS carefully—pot life is usually very short once mixed! Mix Part A and Part B precisely according to instructions. Pour the mixed material onto the floor in stripes, then immediately spread it evenly using a notched trowel or a specialized roller. Work quickly to cover the whole area before it cures. You need a consistent thickness across the whole floor.
Step 5: Curing Time. Allow the barrier to cure completely. This is non-negotiable! If you are using a liquid system, this can take 24 to 72 hours before you can walk on it or begin the next step. Rushing this step ruins the seal.
Step 6: Install Flooring or Underlayment. Once the barrier is fully cured, you can proceed with installing your underlayment (if using a floating floor) or directly installing your hardwood. For glue-down applications, you will use the correct adhesive over the top of the cured moisture mitigation layer, following the adhesive manufacturer’s guidelines.
For further reading on subfloor preparation standards, resources like those provided by the National Wood Flooring Association (NWFA) offer detailed guidelines that are essential reading for anyone working with wood flooring over slabs.
The Role of Underlayment vs. Moisture Barrier
It is easy to confuse the two, but they serve different jobs:
- Moisture Barrier: Its sole job is to stop water vapor migration from below.
- Underlayment: Its job is to provide cushioning, sound absorption, and sometimes thermal insulation above the subfloor, and often, on top of the moisture barrier.
Many floating floor underlayments come with a thin layer of polyethylene fused onto them, making them “vapor retarders.” However, for concrete with known high moisture, this integrated layer is usually insufficient. You must add the robust barrier (sheet or liquid) first, and then place the dedicated underlayment on top.
Common DIY Mistakes to Avoid
As your guide, I want to help you avoid the pitfalls I’ve seen homeowners fall into. Avoiding these mistakes is half the battle:
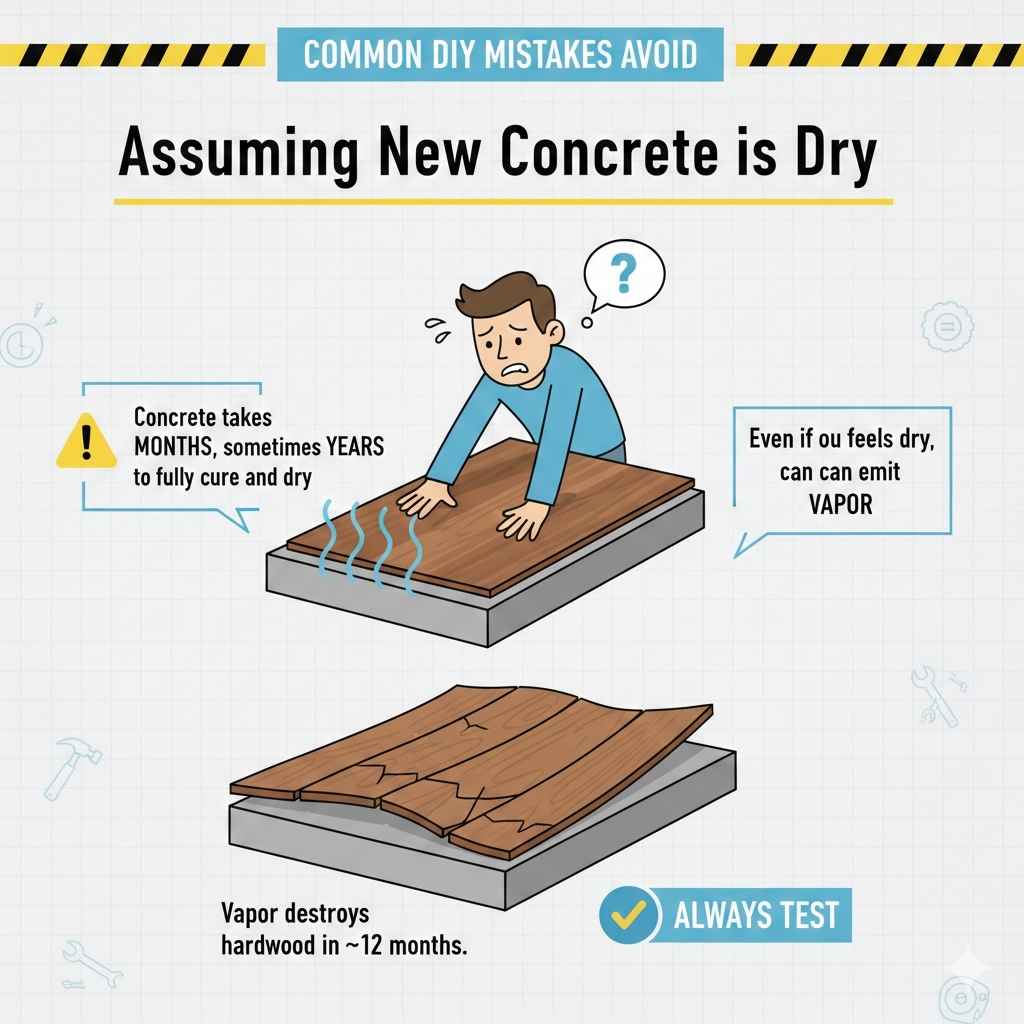
- Assuming New Concrete is Dry: Concrete takes months, sometimes years, to fully dry out from the curing process. Even concrete that feels dry to the touch can emit enough vapor to destroy hardwood in 12 months. Always test.
- Skipping the Seam Tape: If you use sheet plastic, using the wrong tape or skipping taping the overlaps guarantees a leak point. Moisture always finds the path of least resistance.
- Not Cleaning Properly: Liquid barriers need a clean, porous surface. If you apply epoxy over old paint or residue, the epoxy will bond to the weak surface layer, and when that layer fails, your expensive seal comes right up with it.
- Not Following Cure Times: Trying to install flooring 8 hours after rolling a two-part epoxy that requires 48 hours to cure risks mixing solvents and ruining the waterproof integrity. Patience saves money!
- Using Too Thin of Plastic: That cheap 3-mil plastic roll might be fine for covering furniture, but it tears too easily during the construction phase and isn’t thick enough for real vapor retardation. Stick to 10-mil minimum for insurance, or use professional-grade liquids.
FAQ: Your Moisture Barrier Questions Answered
Q1: Do I need a moisture barrier if I’m installing engineered hardwood?
A: It depends on the subfloor. If you are installing over concrete (especially basement or ground level), yes, you almost always need one underneath the manufacturer-recommended underlayment. If you are installing over a dry, existing wood subfloor above grade, check your warranty, but often, a good vapor retarder sheet is sufficient insurance.
Q2: Can I just use plastic sheeting as my only barrier on concrete?
A: You can, but it is often not the best long-term solution for concrete. Plastic sheeting (even 15-mil) is considered a vapor retarder, not a full vapor blocker. For high moisture levels common in concrete slabs, a liquid epoxy/urethane coating provides superior, zero-permeability protection that won’t shift or puncture as easily.
Q3: What is the difference between a vapor barrier and a vapor retarder?
A: A true vapor barrier (like thick epoxy) stops nearly 100% of water vapor transmission. A vapor retarder (like thinner plastic sheeting) slows down the moisture movement significantly but doesn’t stop it completely. For hardwood over concrete, we aim for a true barrier.
Q4: How long does a liquid epoxy moisture barrier last?
A: A professionally installed, two-part epoxy mitigation system that has properly adhered to prepared concrete is designed to last the lifetime of the floor above it, often carrying warranties of 15 to 25 years against moisture failure.
Q5: Can I install hardwood directly over the moisture barrier?
A: Generally, no, unless the barrier product specifically states it is a moisture mitigation system and an adhesive primer. If you use plastic sheeting, you must place an underlayment or a thin wood-based sublayer (if required by the flooring manufacturer) between the plastic and the final hardwood floor.
Q6: What is a good DIY thickness for poly sheeting used for moisture insurance?
A: For insurance purposes over wood subfloors, 10-mil is a good starting point. For high-risk areas where liquid mitigation is too costly, seek out 15-mil or 20-mil polyethylene. Thicker is better for durability during installation.
Conclusion: Building Confidence in Your Floor Base
Choosing the best moisture barrier for your hardwood floors really comes down to matching the solution to the problem. If you are working over a known dry wood subfloor, simple, high-quality sheet protection offers affordable peace of mind. However, if you are facing the universal challenge of a concrete slab—especially in a basement environment—investing in a professional, liquid-applied epoxy or urethane system is, without question, the “best” choice for long-term protection.
Remember, the barrier is the insurance policy for your entire floor investment. Taking the time to test the moisture, properly prepare the surface (grinding if necessary!), and rigorously follow the application instructions for your chosen product will give you the sturdy, beautiful foundation you deserve. You’ve learned the science, you know the materials, and now you have the steps. Go confidently into your installation knowing you are safeguarding your beautiful new hardwood for years to come. Happy flooring!