When Should You Remove Masking Tape After Painting: Best
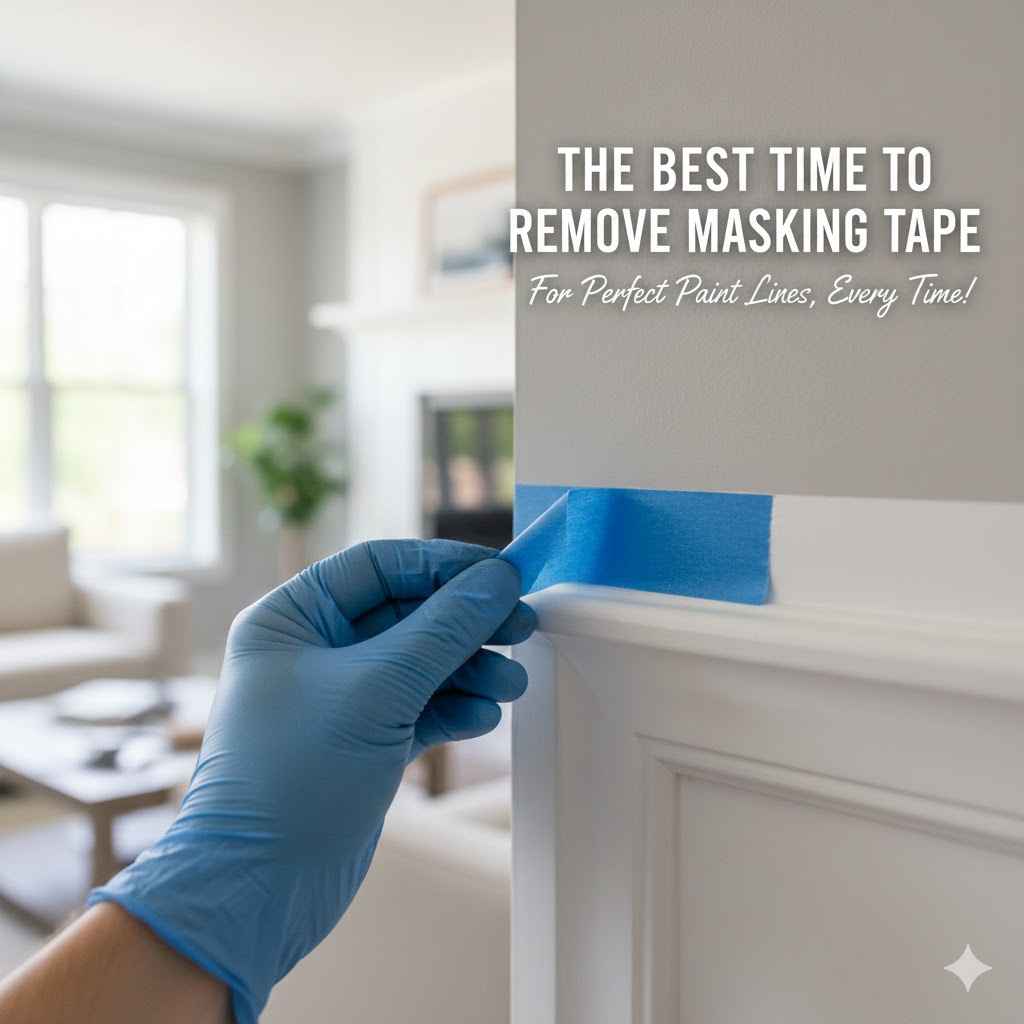
For the best results, you should remove masking tape while the paint is still wet to the touch, typically within an hour of your final coat. This helps you get the sharpest, cleanest lines and prevents the paint film from bonding to the tape, which can cause peeling when you remove it later.
Hello there, fellow DIYer! It’s Md Meraj, and today we’re tackling a small detail that makes a huge difference: painter’s tape. You’ve done all the hard work. You prepped your walls, chose the perfect color, and carefully applied the paint. The room looks amazing! But then comes the moment of truth—removing the masking tape. Do it wrong, and you can pull fresh paint right off the wall, leaving you with a jagged, frustrating mess.
Don’t worry, I’ve been there too. It’s a common problem, but thankfully, it has a simple solution. Getting that perfect, crisp paint line is all about timing. In this guide, I’ll walk you through exactly when and how to remove your tape for professional-looking results every single time. Let’s get those clean lines you’ve worked so hard for!
Why Timing Your Tape Removal is So Important
You might think tape is just tape, but when it comes to painting, timing is everything. Removing it at the right moment is the key to avoiding the two biggest frustrations in any painting project: peeling paint and sticky residue.
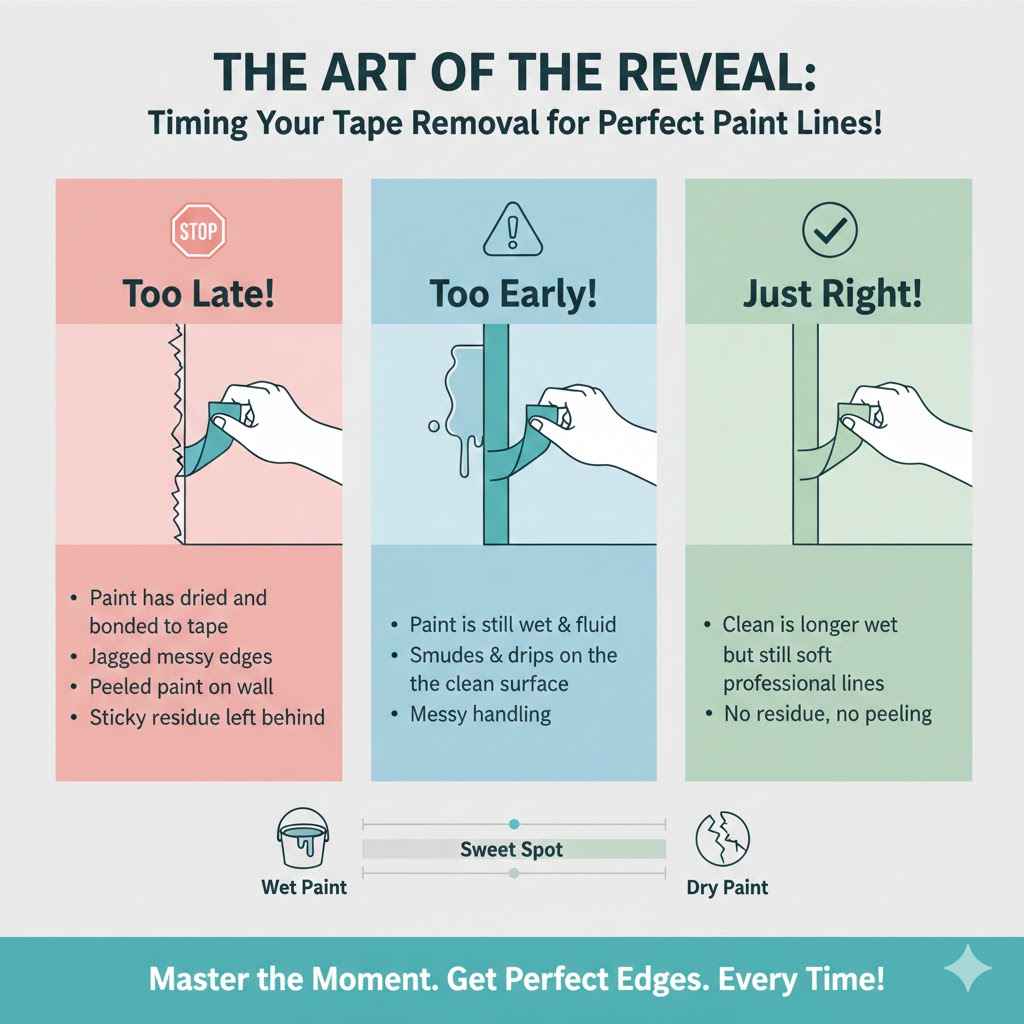
The Risk of Removing Tape Too Late
This is the most common mistake beginners make. You finish painting, admire your work, clean up, and leave the tape on to dry with the paint. It seems logical, right? Unfortunately, as latex paint dries, it forms a solid, slightly flexible film. If that film forms over both the wall and the tape, they become bonded together.
When you finally pull off the dry tape, you’re not just removing tape—you’re tearing that continuous film of paint. This results in:
- Jagged Edges: Instead of a sharp line, you get a messy, chipped edge that looks unprofessional.
- Peeled Paint: In the worst cases, you can pull off large strips of your brand-new paint job right along with the tape, forcing you to do touch-ups.
- Sticky Residue: The longer tape sits, especially in sunlight or heat, the more its adhesive can bake onto the surface, leaving behind a gummy mess that’s difficult to clean.
The Risk of Removing Tape Too Early
While less common, removing tape too early also has its pitfalls. If you pull the tape off immediately after the paint is applied, while it’s still very wet and fluid, you risk:
- Smudges and Drips: The wet paint can easily run or smudge, ruining your clean line from the other direction.
- Getting Paint on Yourself: Handling wet, painty tape is a messy job that can lead to accidental marks on your clothes, floor, or other surfaces.
The sweet spot is that magical window when the paint is no longer runny but has not yet fully hardened. Let’s explore how to find it.
The Golden Rule: Remove Tape When Paint is Wet to the Touch
For over 90% of painting projects, especially when using latex or acrylic paints, the best time to remove painter’s tape is while the paint is still damp or wet to the touch. This typically means waiting about 30 minutes to an hour after applying your final coat.
At this stage, the paint has started to set up and won’t run, but it hasn’t formed a strong, solid film yet. This allows the tape to separate from the paint line cleanly, leaving a perfectly crisp edge behind.
How to Do It Right: The Wet Removal Method
- Finish Your Final Coat: Complete painting the section you are working on. Don’t wait until the entire room is done. Work in manageable sections if you need to.
- Wait a Little: Give the paint about 30 to 60 minutes. It should still feel slightly tacky or wet if you touch it in a discreet spot, but it shouldn’t transfer onto your finger instantly.
- Pull at a 45-Degree Angle: Start at one end and begin pulling the tape back on itself at a 45-degree angle. This angle helps shear the paint cleanly along the tape line. Avoid pulling it straight out at a 90-degree angle, as this puts more stress on the edge.
- Keep it Slow and Steady: Don’t rush! Pull the tape slowly and consistently. A steady hand prevents accidental tearing of the tape or the paint film.
- Fold As You Go: As you pull the tape off, fold the sticky, painted side onto itself. This keeps the wet paint contained and prevents you from accidentally touching it to a clean wall.
When You Have to Wait: Removing Tape from Dry Paint
Sometimes, waiting for the paint to dry is unavoidable. Maybe the project is too large to remove all the tape while it’s wet, or perhaps you got interrupted and had to leave. Don’t panic—you can still get a good result, but you’ll need an extra tool and a little more care.
If you must remove tape after the paint has fully dried (typically after 24 hours), you need to break the paint seal first.
How to Do It Right: The Dry Removal Method
- Grab a Sharp Tool: You’ll need a sharp utility knife or a putty knife. A new, sharp blade is crucial for a clean cut.
- Score the Edge: Carefully run the tip of your utility knife along the edge where the tape meets the fresh paint. Apply just enough light pressure to cut through the paint film. You aren’t trying to cut into the wall, just break that paint bond.
- Pull the Tape: Once the edge is scored, you can begin pulling the tape away. Just like with the wet method, pull slowly and at a 45-degree angle.
- Watch Closely: Keep an eye on the paint edge as you pull. If you see any paint starting to lift, stop and re-score that section before continuing.
Wet vs. Dry Tape Removal: A Quick Comparison
To make it even simpler, here is a table comparing the two methods. For beginners, the “Wet Removal” method is almost always the better choice.
| Feature | Wet Removal Method (Recommended) | Dry Removal Method (When Necessary) |
|---|---|---|
| Best Time | 30-60 minutes after final coat | 24+ hours after final coat |
| Tools Needed | Your hands | Utility knife or putty knife |
| Main Advantage | Creates the sharpest, cleanest lines | Allows you to finish painting before removing tape |
| Biggest Risk | Slight risk of smudging if paint is too wet | High risk of peeling paint if not scored properly |
| Difficulty Level | Easy | Intermediate (requires a steady hand) |
Factors That Influence Paint Drying Time
The “30 to 60 minutes” guideline is a great starting point, but the actual drying time can change based on your environment and the materials you’re using. Understanding these factors will help you become a true painting pro.
- Type of Paint: Latex and acrylic paints dry much faster than oil-based paints. For oil-based paint, you will likely need to wait closer to the 24-hour mark and use the dry removal method. Always check the paint can for the manufacturer’s instructions. Paint manufacturers like Sherwin-Williams provide excellent guides on drying and curing times.
- Humidity: High humidity slows down evaporation, meaning your paint will take longer to dry. In a damp basement or on a muggy summer day, you might need to wait longer before removing the tape.
- Temperature: Paint dries best in moderate temperatures (around 70°F or 21°C). If it’s too cold, drying will slow down. If it’s too hot, the surface can dry too quickly, which might cause cracking or poor adhesion.
- Airflow: Good ventilation helps paint dry faster. Opening a window or using a fan (not pointing directly at the wall) can speed up the process and help you get to the tape-removal stage sooner.
General Drying Times by Paint Type
| Paint Type | Touch Dry Time | Recommended Tape Removal Window |
|---|---|---|
| Latex/Acrylic Paint | ~1 hour | 30-60 minutes after final coat (Wet Method) |
| Oil-Based Paint | 6-8 hours | After 24 hours (Dry Method with scoring) |
| Chalk Paint | ~30 minutes | 20-40 minutes after final coat (Wet Method) |
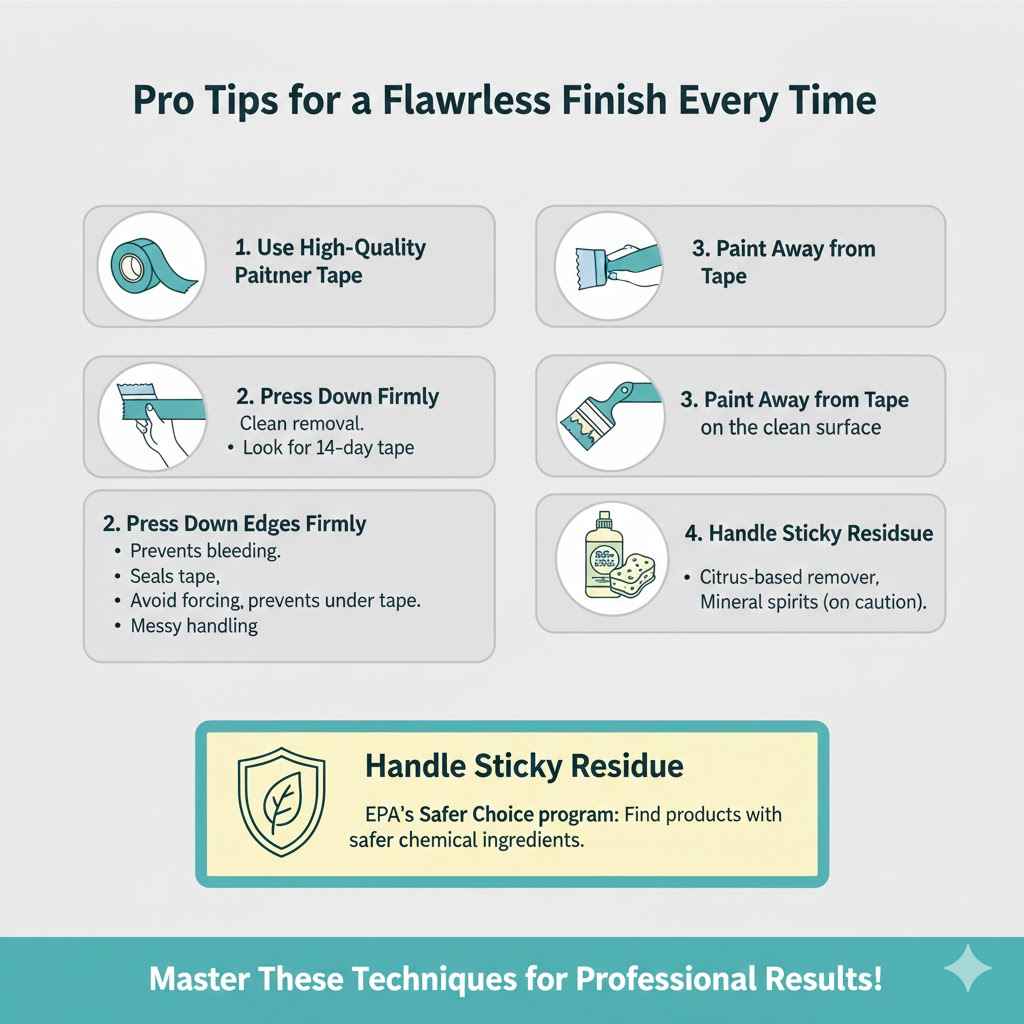
Pro Tips for a Flawless Finish Every Time
Getting perfect lines isn’t just about timing. Here are a few extra tips I’ve learned over the years that will take your painting projects from good to great.
1. Use High-Quality Painter’s Tape
This is not the place to save a few pennies. Standard, tan-colored masking tape is not the same as painter’s tape. Quality painter’s tape (from brands like FrogTape or 3M ScotchBlue) is designed with special adhesives that prevent paint from bleeding underneath and allow for clean removal. Look for tape that is rated for the number of days it can be left on a surface (e.g., 14-day clean removal).
2. Press Down the Edges Firmly
After applying the tape, run a flexible putty knife or a credit card along the edge that will be painted. This ensures the tape is fully sealed against the surface, which is the number one way to prevent paint from seeping underneath and creating a messy line.
3. Paint Away from the Tape
When you are cutting in with your brush, try to brush away from the tape edge, not towards it. Pushing paint toward the edge can force it under the tape, even if you’ve sealed it well.
4. How to Handle Sticky Residue
If you waited too long and are left with a sticky mess, don’t scrub it with an abrasive sponge, as that can damage the surface. Instead, try one of these gentle methods:
- Dab the area with a cloth soaked in warm, soapy water.
- Use a citrus-based cleaner or a commercial goo remover, but test it on a hidden spot first to make sure it doesn’t damage the finish.
- Gently rub the area with a small amount of mineral spirits on a rag (best for residue on trim or glass, not drywall). Make sure the area is well-ventilated if you use this method. The EPA’s Safer Choice program can help you find products with safer chemical ingredients.
Frequently Asked Questions (FAQ)
1. What happens if I leave painter’s tape on too long?
If you leave painter’s tape on for too long (especially longer than its rated time), two things can happen. The adhesive can bake onto the surface, leaving a sticky residue. More importantly, the paint will fully cure and bond to the tape, causing the paint to peel and tear off the wall when you remove it.
2. Can I reuse painter’s tape?
It’s not a good idea. Once you remove painter’s tape, its adhesive loses its effectiveness and won’t create a perfect seal the second time around. This will lead to paint bleeding underneath. Always use a fresh strip of tape for each application.
3. How do I get clean paint lines on textured walls?
Textured walls are tricky. After applying the tape, seal the edge with a thin bead of clear, paintable caulk. Smooth it with your finger, wipe away the excess, and then paint immediately. When you peel the tape away, the caulk will have filled all the tiny gaps, leaving a perfect line.
4. Does the brand of painter’s tape really matter?
Yes, it does. Premium brands invest in technology that creates better paint barriers (like FrogTape’s PaintBlock Technology) and adhesives that provide a better balance of stickiness and clean removal. While more expensive, a quality tape is worth the investment for the time and frustration it saves.
5. How long should I wait to tape over newly painted surfaces?
You must wait for the paint to fully cure, not just be dry to the touch. Curing is the process where the paint hardens completely. For latex paint, this can take anywhere from 3 to 30 days, depending on the paint and conditions. Check your paint can for specific cure times. If you tape over paint that isn’t cured, the tape can pull it right off.
6. What’s the best way to tape curves?
For arches or curves, use a high-quality, flexible painter’s tape. Apply it in short, overlapping strips, pressing each one down firmly as you follow the curve. This prevents the tape from buckling and allows it to conform to the shape for a clean edge.
Conclusion: You’ve Got This!
And there you have it! The secret to crisp, professional paint lines is really no secret at all—it’s just about a little bit of knowledge and perfect timing. By remembering to remove your tape while the paint is still slightly wet, pulling at a 45-degree angle, and using quality materials, you can say goodbye to jagged edges and frustrating touch-ups for good.
Every project is a chance to learn and build your skills. Don’t be afraid to experiment and find what works best for you. With a bit of practice, removing painter’s tape will become a simple, satisfying final step in all your future painting projects. Now go on and create something beautiful—I know you can do it!