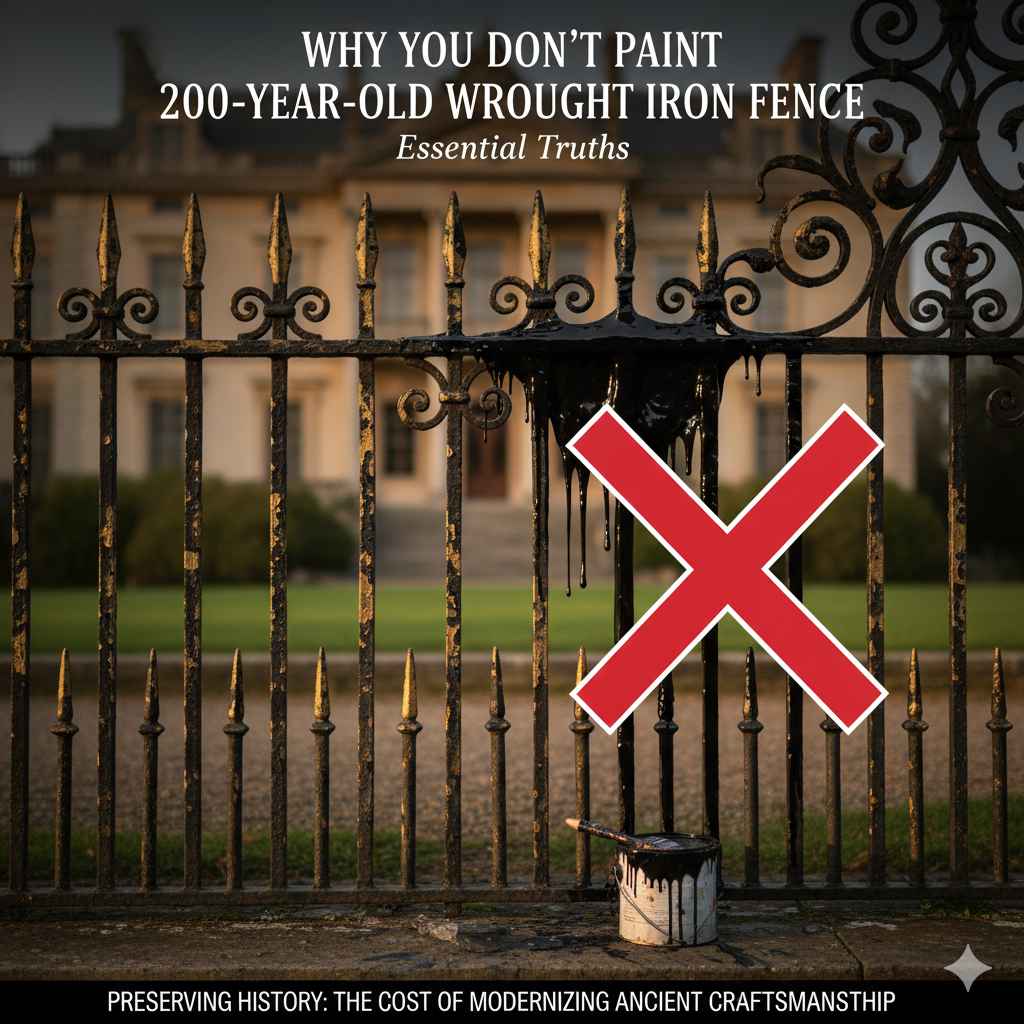
Why You Don’t Paint 200 Year Old Wrought Iron Fence: Essential
You should generally avoid painting very old (200-year-old) wrought iron fences because improper preparation ruins the historic patina, hides valuable metal characteristics, and often leads to immediate, cosmetic failure as new paint traps moisture and accelerates hidden corrosion.
Welcome, DIY friend! Are you staring at a beautiful, old, black iron fence that looks a little tired? Maybe you think a fresh coat of paint will make it look brand new. Hold on just a minute before you grab that wire brush! Painting a fence that’s two centuries old is very different from painting a brand-new aluminum gate. It is tempting to cover up flaws, but slapping paint on historic iron can actually do more harm than good. Don’t worry; I’m here to guide you through this! We will look at why skipping the paint job, or doing it very carefully, is essential for preserving your metal treasure. We’ll cover the secrets hidden beneath that old paint and how to care for it the right way.
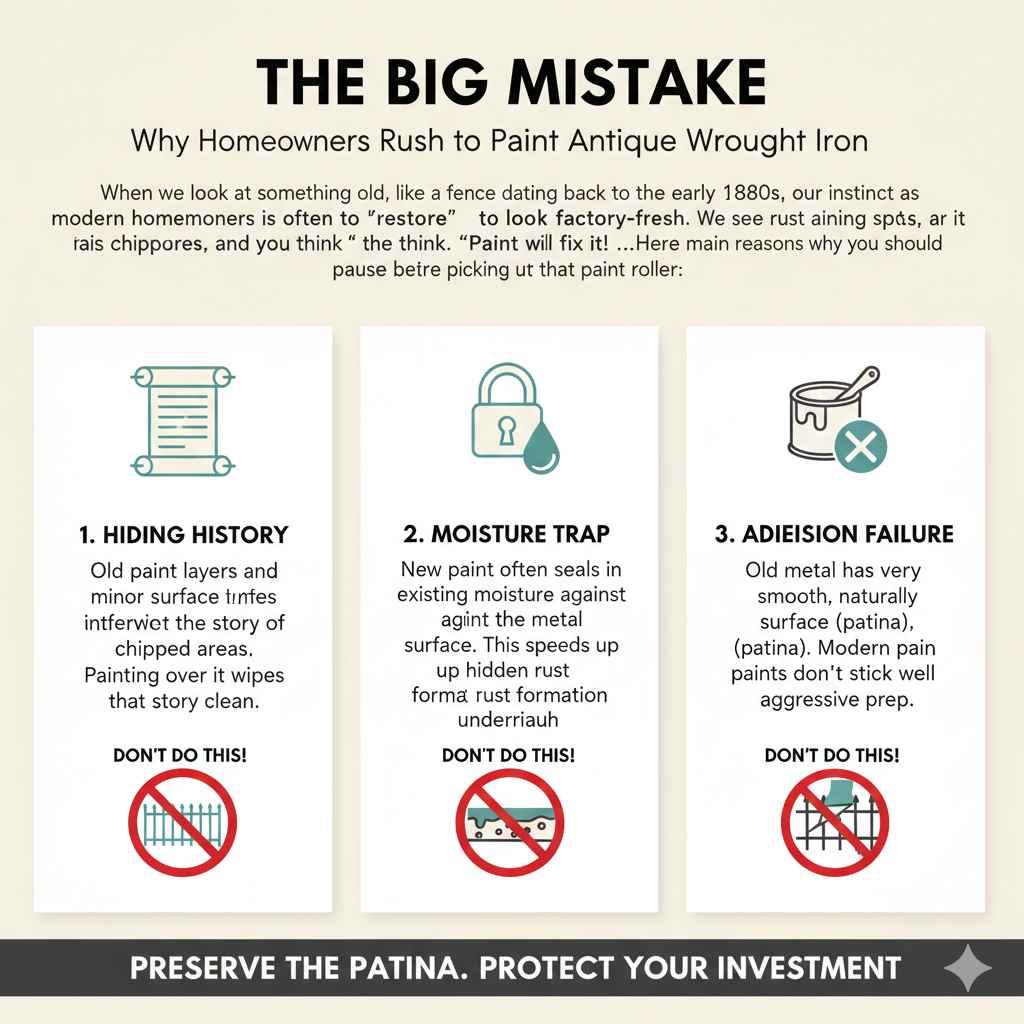
The Big Mistake: Why Homeowners Rush to Paint Antique Wrought Iron
When we look at something old, like a fence dating back to the early 1800s, our instinct as modern homeowners is often to “restore” it to look factory-fresh. We see rust spots, dullness, and chipped areas, and we think, “Paint will fix it!”
This is where we often get into trouble, especially with authentic wrought iron. Wrought iron is tough—it has survived 200 years of weather! That’s an incredible testament to its quality. But that longevity comes with certain characteristics that paint can destroy.
Here are the main reasons why you should pause before picking up that paint roller:
- Hiding History: Old paint layers and minor surface imperfections tell the story of the metalwork. Painting over it wipes that story clean.
- Moisture Trap: New paint often seals in existing moisture or traps new moisture against the metal surface. This speeds up hidden rust formation underneath the new coating.
- Adhesion Failure: Old metal often has a very smooth, almost oiled surface texture from decades of natural oxidation (patina). Modern paints don’t stick well to this surface without aggressive prep.
- Material Misidentification: Sometimes, what looks like wrought iron is actually cast iron. They react very differently to sanding and painting.
Understanding Wrought Iron vs. Cast Iron: A Crucial First Step
Before we talk about not painting, we need to be 100% sure what we are dealing with. Wrought iron and cast iron are related but behave differently when it comes to rust and finishing.
Wrought iron was shaped by hand by hammering (wrought means worked). It has long, fibrous grain lines running through it. It’s strong under tension but can be more susceptible to certain types of breakdown if stressed.
Cast iron was poured into molds. It looks chunkier and has a smoother, almost glassy surface texture when clean. It is very brittle and shatters easily if struck hard.
For a 200-year-old fence, if it’s very slender or has hand-forged elements, it’s likely true wrought iron. If it has very uniform scrollwork from a mold, it might be cast iron.
Here is a quick comparison to help you tell the difference before you decide on any surface treatment:
| Characteristic | Wrought Iron (Likely 200 Yrs Old) | Cast Iron |
|---|---|---|
| Appearance | Fibrous grain, hand-worked look, thinner elements | Molded look, chunkier, often smoother texture |
| Brittleness | More ductile (bends before breaking) | Brittle (shatters easily if hit hard) |
| Corrosion | Rusts slower; develops a deep, dark patina | Rusts faster; often develops thicker, flaky red rust |
The Importance of Patina: The Beauty of Age
When we talk about avoiding painting, we are often protecting something called “patina.” Patina isn’t just dirt or light rust; it’s a surface layer that forms naturally over centuries as the metal interacts with the air and environment.
For authentic wrought iron, this layer of oxidized metal is actually protective. It’s a stable surface that seals the deeper metal from excessive corrosion, provided the metal is not severely compromised.
Think of it like the darkening on old leather furniture. You wouldn’t sand that smooth just to put new stain on it! That dark, slightly rough texture is part of its value and endurance.
What Painting Does to the Patina
When you decide to paint, you must achieve an absolutely perfect surface for the paint to stick. For old iron, this means:
- Aggressive Sanding or Media Blasting: This removes every speck of old paint, any minor pitting, and, critically, the stable patina layer.
- Exposure of Bare Metal: Once the patina is gone, you expose fresh, raw iron to the elements immediately during your prep time.
- The Rush: You then rush to apply primer and topcoats. If any moisture is present—even humidity in the air—it immediately begins rusting the newly exposed surface under your new paint.
In short, painting destroys the natural barrier and replaces it with a fragile, cosmetic layer that will inevitably trap moisture against the iron, causing accelerated rust from beneath. This is the number one reason why professionally restored antique metal often starts peeling within a few short years.
Alternative Treatments When You Don’t Want to Paint
If your main goal is preservation, protection, and maintaining the authentic look, painting is usually the worst choice for 200-year-old metal. What should you do instead? Here are some effective, lower-impact alternatives.
1. Minimalist Cleaning and Sealing
This approach respects the age of the iron and is best if the metal is in generally good shape.
Tools You Might Need:
- Soft brass or nylon brushes (to avoid scratching the remaining patina)
- Mild soap and water
- Microfiber cloths
- A high-quality, clear metal stabilizer/sealer (look for products designed specifically for historic metal restoration).
Steps for Preservation:
- Gently clean the surface using the mild soap and water to remove dirt, bird droppings, and loose debris. Do not use high-pressure water or harsh chemicals.
- Use the soft brushes to carefully work away any flaky, actively deteriorating rust. You are cleaning the surface, not stripping it.
- Allow the iron to dry completely, ideally in direct sunlight for several hours.
- Apply a thin, even coat of clear metal preservative or a specialty wax designed for iron/steel (like Renaissance Wax, which is often used by museums). This seals the surface without changing its look.
2. Stabilization Using Specific Rust Converters
If you have specific spots of active, flaky rust that you cannot remove easily, you can use a chemical stabilizer instead of sanding down to bare metal.
Rust converters work by chemically reacting with iron oxide (rust) and turning it into a stable, inert black polymer coating (usually iron tannate or phosphate). This stops the rust process without needing aggressive mechanical removal.
For expert guidance on metal preservation techniques, resources from historical preservation groups, such as those often affiliated with the National Park Service guidelines (though we won’t link directly to a specific federal page here, searching for “historic metal rust treatment guidelines” will provide excellent educational resources), emphasize stabilization over removal for true antiques.
3. The “Maintenance Paint” Option (If You Absolutely Must)
If the fence is too structurally damaged by surface rust to be left alone, and you must apply a coating for structural survival, you need to treat it almost like an archaeological dig. This is a professional-level job, but here are the steps to minimize damage:
- Thermal Cleaning (The Safest Way): If possible, hire a professional to use thermal blasting (low-heat treatment) to remove old layers without aggressive abrasion.
- Local Spot Removal: Only remove rust down to sound metal in small, localized areas using needle guns or careful wire brushing. Do NOT strip the entire fence.
- Use Iron-Specific Primer: Apply a high-quality, oil-based etching primer that is formulated to adhere to marginally prepared surfaces (this is often called a “self-etching” primer).
- Top Coat: Use a premium, flexible coating designed for iron, like a high-quality marine enamel. These paints offer better resistance to moisture movement than standard house paint.
Even with perfect execution, this is a high-risk strategy for a 200-year-old piece. This method is best reserved for fences where the structural integrity is genuinely threatened by deep corrosion.
The Hidden Danger: Lead Paint Testing
Here is a safety point that is incredibly important when dealing with historic paint:
Any paint applied to structures built before 1978 likely contains lead. In fences this old (pre-1824), the original coatings almost certainly contained lead pigments, and subsequent coatings over the last 200 years likely did too.
Why this matters for you:
- Health Risk: When you sand, grind, or blast old paint, you create toxic lead dust that becomes an extreme inhalation hazard.
- Disposal Risk: The debris you create is hazardous waste and cannot simply be thrown in your household trash.
If you plan to do any aggressive surface preparation (like heavy sanding or blasting), you must assume lead is present and take necessary precautions:
- Wear an N95 or better respirator specifically rated for lead dust.
- Wet the surface before sanding if possible to keep dust down.
- Contain all debris using plastic sheeting underneath the work area.
- Check local regulations for lead paint debris disposal—often, this requires professional hazardous waste removal services.
If you are unsure, the easiest and safest route for a DIYer is often the “Do Not Paint” route, or sealing the existing paint layer, thereby avoiding dust creation entirely. You can purchase affordable lead test kits at most hardware stores to confirm.
Why New Paint Fails So Quickly on Old Iron
If you ignore the patina argument and decide to paint anyway, understanding failure points will help you buy the best materials possible for the job. New paint fails on old iron mainly due to moisture and chemical incompatibility.
Moisture Movement and Iron’s Porosity
Iron, especially old, pitted iron, is porous on a microscopic level. Over 200 years, it has absorbed environmental moisture.
When you apply a modern, impermeable paint layer, that trapped moisture has nowhere to go. As the temperature changes, the moisture tries to escape, pushing the paint film upwards, causing bubbling and eventual peeling. This is often called “paint blistering.”
Incompatible Primers
Different eras used different binders in their paint (like linseed oil). Modern acrylic or latex paints do not bond well chemically with old oil-based residues still clinging to the metal pores.
To bridge this gap, you need a specific type of primer—often a zinc-rich, two-part epoxy or a specialized oil-based metal primer designed to penetrate rust pits and displace moisture. A simple latex primer intended for aluminum siding will fail in months.
To summarize the required commitment if you insist on painting, notice the material requirements:
| Preparation Step | Standard DIY Fence Prep (Incorrect) | Historic Wrought Iron Prep (Necessary but Risky) |
|---|---|---|
| Cleaning Method | Wire brush and scrub | Chemical neutralization or controlled media blasting |
| Primer Type | Standard exterior latex primer | Zinc-rich epoxy or specialized etching primer |
| Top Coat Longevity | 1–3 Years | 5–10 Years (with perfect prep) |
When is the Fence Beyond Saving Through Non-Painting Methods?
While preservation is the goal, sometimes the iron is so far gone that sealing it just delays the inevitable crumbling. You have to assess the structural integrity.
Signs You Might Need to Strip or Refurbish Heavily:
- Metal Loss: If you can push a screwdriver easily through the metal or if significant chunks flake off when touched, the metal has lost too much material and needs filling or welding, which requires stripping first.
- Deep Pitting: If rust pits are deeper than one-third the thickness of the metal, the structural capacity is severely reduced.
- Compromised Joints: If rivets or welded joints are visibly separated or crumbling due to rust expansion between them, stripping down to assess the joinery is necessary.
In these severe cases, professional restoration often involves removing all paint, sometimes chemically dipping the entire piece to remove all rust, repairing breaks, and then dipping the piece in a modern protective coating like galvanization or powder coating, which is not a typical DIY paint job.
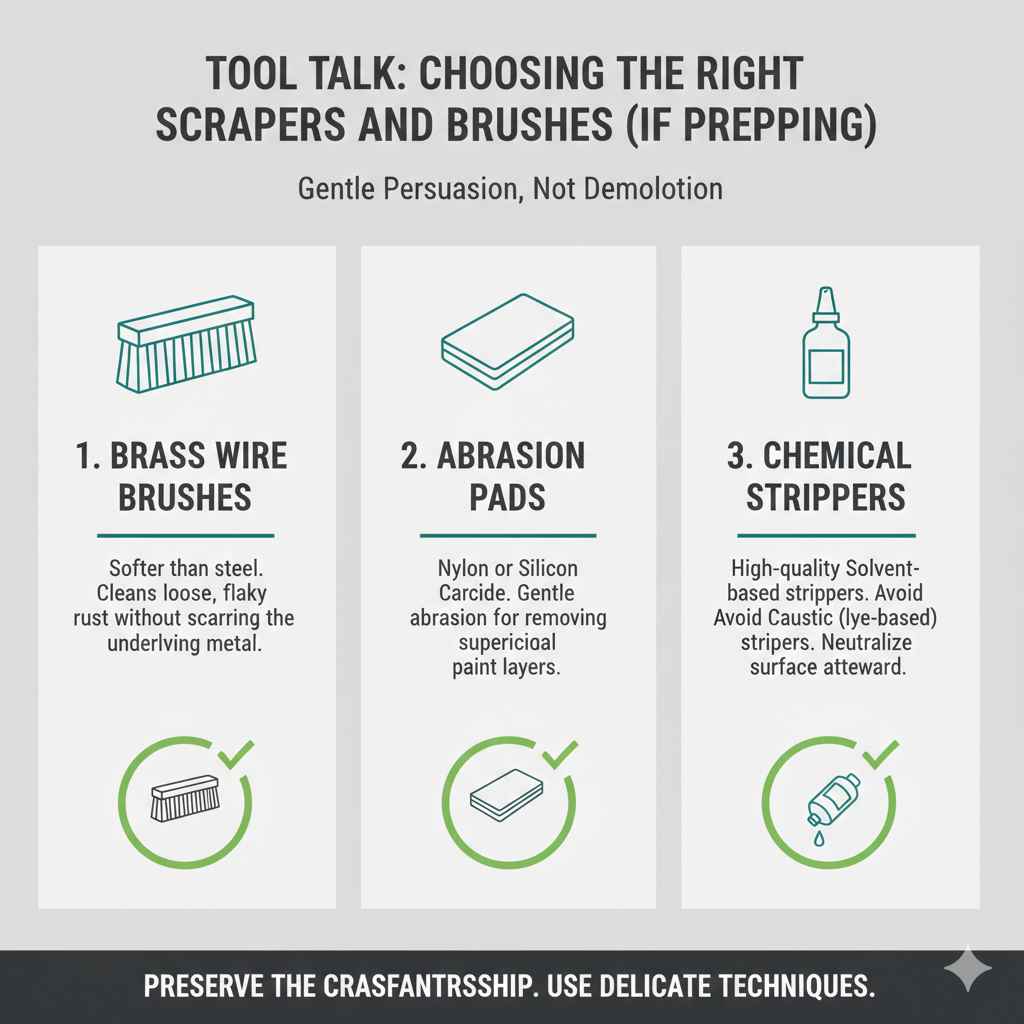
Tool Talk: Choosing the Right Scrapers and Brushes (If Prepping)
If you determine you must prepare the surface (even if just spot-treating), using the wrong tools guarantees damage to the underlying metal structure.
Forget the aggressive, high-speed power tools for this job. We are aiming for gentle persuasion, not demolition.
Recommended Tools for Delicate Iron Prep:
- Brass Wire Brushes: Brass is softer than steel. It will clean loose, flaky rust without scarring the good, sound metal underneath as badly as steel bristles do.
- Nylon or Silicon Carbide Pads: These are often used in light sanding operations. They provide gentle abrasion for removing superficial layers.
- Heat Guns (Low Setting): A heat gun can sometimes soften very old, brittle paint layers, allowing you to peel them off in larger chunks with a plastic or wood scraper, minimizing dust and abrasion.
- Chemical Strippers (Caustic vs. Solvent): If you use a stripper, opt for a high-quality solvent-based stripper. Avoid caustic (lye-based) strippers on old iron, as they can sometimes etch the metal surface unevenly. Always neutralize the surface thoroughly afterward!
Conclusion: Honoring 200 Years of Service
You are the temporary caretaker of a piece of history. That 200-year-old wrought iron fence has survived storms, freezes, heatwaves, and generations of homeowners—all without the benefits of modern corrosion protection. Its ability to last this long is due to the quality of the iron itself and the slow, natural development of its protective patina.
When we try to “fix” it quickly with a can of spray paint, we often introduce the very elements—moisture, chemical incompatibility, and abrasion—that cause rapid decay. For the long-term health and genuine beauty of your historic fence, remember these key takeaways: Skip the full paint job if you can. Clean gently, seal with a clear preservative if possible, and always test for lead before you use any power tools.
By treating this metal with respect for its age, you ensure it will be around for another 200 years, looking strong and authentic, not just superficially shiny. You’ve got this, friend. Take your time, choose preservation over cosmetic fixes, and enjoy the pride of caring for something truly timeless.
Frequently Asked Questions (FAQ) About Old Wrought Iron Fences
Q1: How do I know if my old fence is truly wrought iron or just heavily rusted steel?
A: True wrought iron often shows signs of being hand-forged, like slight imperfections in shape or visible, fibrous grain structure if you sand a tiny spot. Steel rusts red and flakes off; wrought iron often forms a darker, more stable surface corrosion (patina) unless it is heavily damaged.
Q2: Can I just pressure wash a 200-year-old fence instead of painting?
A: Be extremely cautious with high-pressure washing. While it removes surface dirt, high pressure can easily force water deep into metal pores and even compromise weak joints or existing paint, leading to faster internal corrosion. If you must wash, use the lowest pressure setting possible.
Q3: Is it safe to use regular metal rust-oleum on old iron?
A: It is generally not recommended as the first choice for true antiques. Standard paints lack the flexibility and penetrating ability needed to adhere successfully to old metal and trapped moisture without aggressive chemical preparation. Clear sealants are safer for historic surfaces.
Q4: If I see lead paint flakes, what is the safest way to clean them up?
A: Safety first! Never dry sweep or use a vacuum without a HEPA filter. Lightly wet the flakes with a mist of soapy water to keep dust down, carefully scoop them up with paper towels or a shop vacuum (if HEPA equipped), and place them into a sealed plastic bag for hazardous waste disposal according to local rules.
Q5: What is the best finish if I absolutely must use color?
A: If stabilization fails and you need color, opt for a two-part epoxy coating or a high-quality alkyd (oil-based) paint specifically designed for marine or heavy-duty iron structures. These are more flexible and offer superior moisture barriers compared to standard exterior acrylics.
Q6: Should I use a wire brush on the entire fence?
A: No. A steel wire brush is too harsh for stable, old iron. Use a soft brass brush or a nylon abrasive pad only on areas where the rust is actively peeling or heavily flaking off. Aggressive brushing removes valuable patina.
Q7: If I seal the fence with wax, how often do I need to reapply it?
A: Clear waxes, like museum-grade microcrystalline wax, usually need reapplication every 1 to 3 years, depending on how much direct weather exposure the fence receives. It’s a minimal effort for maximum preservation.