10 Cedar Wood Projects DIY for Rustic Charm
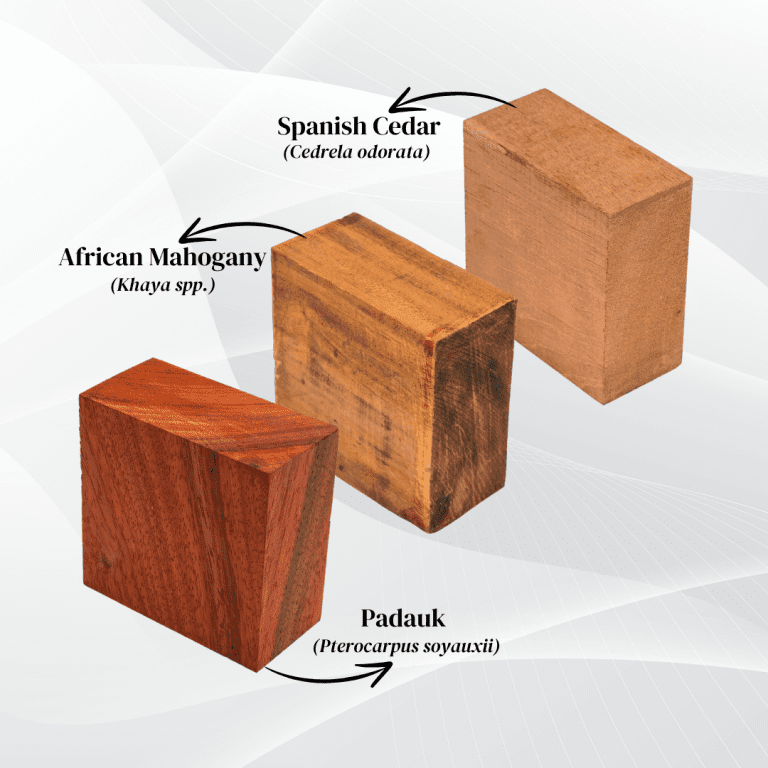
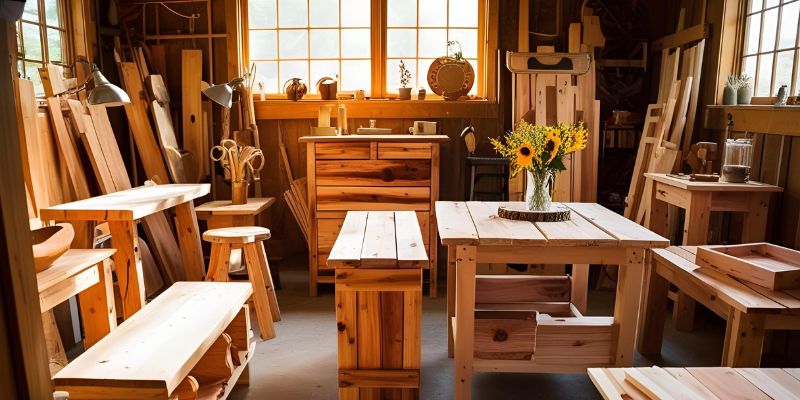
Cedar wood, with its warm reddish-brown tones, natural aroma, and durability, is a favorite for DIY enthusiasts looking to add rustic charm to their homes and gardens. Its resistance to rot, insects, and weather makes it perfect for hands-on projects, while its rich grain and cozy aesthetic create an inviting, timeless look. Whether you’re a beginner or an experienced crafter, these DIY cedar wood projects offer a chance to unleash your creativity and bring rustic elegance to your space.
This article explores 10 cedar wood projects you can tackle yourself, providing step-by-step inspiration, practical tips, and design insights to achieve that rustic charm. Each project is designed for ease and impact, ensuring you can enjoy the satisfaction of creating something beautiful and functional. Get ready to transform your home with these DIY ideas!
- Cedar Wood Coasters: Rustic Tabletop Touches
DIY cedar wood coasters are a simple, beginner-friendly project that protects your tables while adding rustic charm. Their warm color and natural grain make them perfect for casual gatherings or everyday use.
Inspired by lodge and country styles, these coasters bring warmth to any surface.
- Gather red cedar scraps, cut into 4-inch squares or circles.
- Sand smooth with medium-grit sandpaper, then fine-grit for a polished finish.
- Seal with a food-safe finish like mineral oil to protect against moisture.
- Burn or paint simple designs like stars, leaves, or initials for personalization.
- Stack with a twine or metal holder for storage and display.
Pro Design Tip: Distress the edges slightly for a weathered, rustic look.
Budget Consideration: Use cedar offcuts from larger projects to minimize waste.
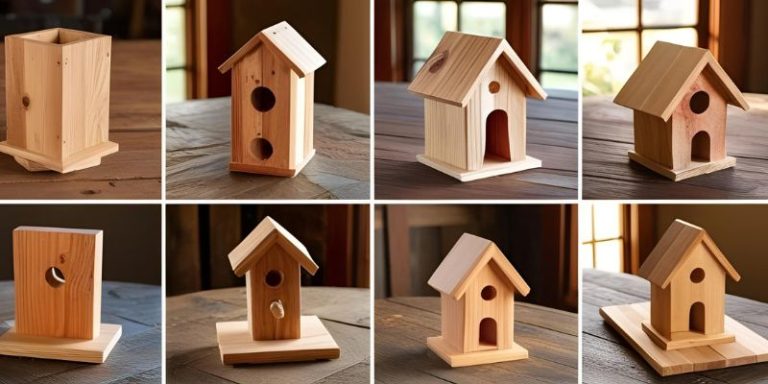
- Cedar Wood Planter Boxes: Garden Charm
Build DIY cedar wood planter boxes to bring rustic warmth to your patio or garden. These boxes resist weather and pests, making them ideal for showcasing flowers, herbs, or succulents.
Drawing from farmhouse and countryside aesthetics, this project is both functional and charming.
- Cut red cedar planks into pieces for a rectangular box (e.g., 12x12x8 inches).
- Sand and seal with an outdoor varnish to protect against moisture.
- Drill drainage holes in the bottom and assemble with wood glue and galvanized screws.
- Line with plastic or fabric if using for edible plants.
- Fill with soil and plants, arranging in groups for a cozy look.
Pro Design Tip: Add decorative cutouts like hearts or stars for a personal touch.
Budget Consideration: Source cedar from local lumberyards or reuse old fencing.
- Cedar Wood Wall Art: Rustic Indoor Accent
Create DIY cedar wood wall art to add texture and warmth to your walls, perfect for living rooms, bedrooms, or hallways. This project showcases cedar’s natural beauty and brings rustic charm indoors.
Inspired by Scandinavian and cabin styles, it’s a great way to personalize your space.
- Collect thin red cedar planks or reclaimed pieces, cutting into shapes like trees or stars.
- Sand smooth and seal with a clear coat to enhance the wood’s warmth.
- Burn or paint designs like woodland scenes or abstract patterns.
- Attach to a backing board or mount directly with picture hangers.
- Hang in a group for a gallery effect, pairing with neutral decor.
Pro Design Tip: Add LED strip lights behind the art for a warm, inviting glow.
Budget Consideration: Use cedar scraps or salvaged wood to keep costs low.
- Cedar Wood Picture Frames: Charming Displays
DIY cedar wood picture frames let you showcase photos or artwork with rustic elegance. Their warm tones and natural grain make them ideal for creating a cozy gallery wall.
Drawing from country and vintage styles, this project is both simple and impactful.
- Cut red cedar into thin strips (e.g., 1×2 inches) and assemble into squares or rectangles.
- Sand and seal with a clear finish for protection.
- Add glass or acrylic fronts and cardboard backings for photos.
- Secure corners with wood glue and nails, ensuring tight joints.
- Group in varying sizes on a wall, styling with rustic decor.
Pro Design Tip: Burn leaf or tree patterns into the wood for a natural charm.
Budget Consideration: Look for cedar offcuts or buy small quantities from craft stores.
- Cedar Wood Shelves: Rustic Storage Solution
Build DIY cedar wood shelves to add warm, functional storage to any room. Their natural durability makes them perfect for books, plants, or decor, bringing rustic charm to kitchens, bathrooms, or living areas.
Inspired by cottage and farmhouse designs, this project is both practical and stylish.
- Cut red cedar planks to desired lengths (e.g., 24-36 inches) and use metal brackets for support.
- Sand and seal with an outdoor finish for durability.
- Mount on walls with anchors and screws, ensuring stability.
- Style with woven baskets, jars, or books for a lived-in look.
- Pair with neutral walls and earthy textiles for cohesion.
Pro Design Tip: Leave some edges rough for a raw, rustic texture.
Budget Consideration: Use cedar plywood or panels for a more affordable option.
- Cedar Wood Bench: Outdoor Seating
Craft a DIY cedar wood bench for your patio, deck, or garden, creating a cozy spot for relaxation. Its warm tones and durability make it perfect for outdoor use, adding rustic charm to your landscape.
Drawing from farmhouse and garden aesthetics, this project is both functional and inviting.
- Cut thick red cedar planks for the seat, back, and legs (e.g., 2×4 or 2×6).
- Sand and seal with an outdoor varnish for weather resistance.
- Assemble with galvanized screws, ensuring sturdy joints.
- Add cushions or pillows in neutral tones for comfort and warmth.
- Position near a garden or fire pit for a scenic, rustic touch.
Pro Design Tip: Distress the wood for a weathered, vintage charm.
Budget Consideration: Check local classifieds or sustainable suppliers for affordable cedar.
- Cedar Wood Candle Holders: Cozy Ambiance
Make DIY cedar wood candle holders to bring warm, rustic light to your space, perfect for mantels, tables, or patios. Their natural scent pairs beautifully with candlelight, creating a cozy atmosphere.
Inspired by lodge and cabin decor, this project is simple yet charming.
- Hollow out small red cedar blocks or use branches, sanding smooth.
- Seal with a heat-resistant finish to protect against candle heat.
- Insert tea lights or votives, using metal liners for safety.
- Wrap with twine or burlap for extra rustic appeal.
- Group in sets on a tray or shelf for a layered look.
Pro Design Tip: Burn simple designs like stars or hearts for a festive touch.
Budget Consideration: Use cedar scraps or fallen branches to minimize costs.
- Cedar Wood Cutting Board: Kitchen Warmth
Create a DIY cedar wood cutting board for your kitchen, combining functionality with rustic charm. Its natural oils resist bacteria, and its warm grain makes it perfect for meal prep or serving.
Drawing from country kitchen aesthetics, this project is both practical and decorative.
- Cut red cedar into a thick rectangle or oval (e.g., 12×18 inches).
- Sand smooth and seal with food-safe mineral oil for protection.
- Burn or carve designs like leaves or initials for personalization.
- Use for serving cheese, bread, or as a trivet.
- Pair with other wooden kitchen tools for a cohesive look.
Pro Design Tip: Add rubber feet to prevent slipping and protect countertops.
Budget Consideration: Use cedar offcuts from larger projects to save money.
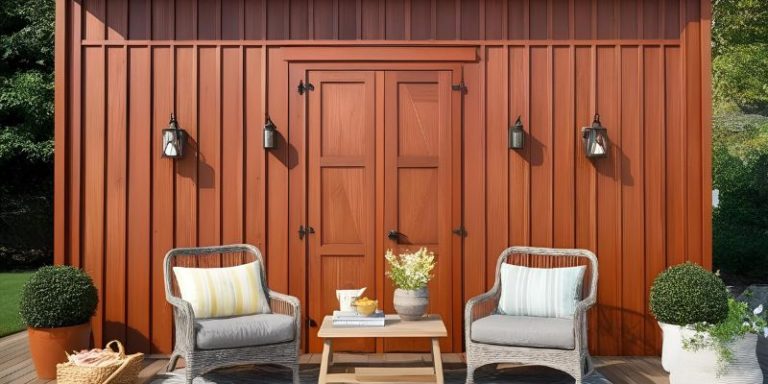
- Cedar Wood Welcome Sign: Inviting Entry
Build a DIY cedar wood welcome sign to greet guests with rustic charm, perfect for your front porch or garden gate. Its warm color and natural texture make it a cozy, inviting focal point.
Inspired by farmhouse and cabin styles, this project adds personality to your entrance.
- Cut thick red cedar planks into a sign shape (e.g., rectangular or arched).
- Sand and seal with a clear coat to enhance the warm tones.
- Carve or paint “Welcome” or “Home” in a bold, rustic font.
- Add rustic hardware like wrought iron hooks or rope for hanging.
- Pair with potted plants or lanterns for a cohesive look.
Pro Design Tip: Distress the edges for a weathered, vintage charm.
Budget Consideration: Source cedar scraps from lumberyards or repurpose old fencing.
- Cedar Wood Wall Hooks: Rustic Organization
Craft DIY cedar wood wall hooks for stylish storage in entryways, bathrooms, or kitchens. Their warm tones and natural beauty make them perfect for hanging coats, towels, or decor, adding rustic charm.
Drawing from cottage and industrial styles, this project is both functional and charming.
- Cut red cedar into small blocks or planks (e.g., 4×4 inches).
- Sand and seal with a clear finish for protection.
- Drill holes and insert metal or wooden hooks securely.
- Mount on walls with screws or anchors for stability.
- Style with neutral decor and natural fibers for cohesion.
Pro Design Tip: Burn simple patterns like lines or dots for a personalized touch.
Budget Consideration: Use cedar offcuts or buy small pieces from craft stores.
Conclusion
DIY cedar wood projects are a rewarding way to bring rustic charm and warmth to your home and garden. This article has showcased 10 ideas, from coasters to wall hooks, each highlighting cedar’s natural beauty and ease of use for DIY enthusiasts. Whether you’re a beginner or an experienced crafter, these projects offer inspiration to create functional, stylish pieces that enhance your space with timeless appeal.
Consider how each project fits your skill level, budget, and design vision, and don’t hesitate to experiment with finishes or details. With cedar’s durable, warm aesthetic, your DIY creations will not only add charm but also become cherished features of your rustic retreat.