A Night of a Thousand Lights: Essential Tips
A Night of a Thousand Lights: Essential Tips
Transform your home into a magical wonderland with smart lighting strategies. This guide offers simple, actionable tips for creating a stunning “Night of a Thousand Lights” effect, from choosing the right bulbs to safe installation, ensuring a beautiful and memorable experience for any occasion.
Ever dreamed of transforming your home into a breathtaking spectacle of light for a special occasion or just to add a touch of magic? The idea of “A Night of a Thousand Lights” sounds magical, but setting it up can feel overwhelming, especially if you’re new to outdoor decorating or electrical work. Many homeowners feel unsure where to start, worrying about safety, the right types of lights, and how to make it all look cohesive without breaking the bank. Don’t worry! With a few straightforward tips and a little planning, you can achieve that stunning, illuminated ambiance safely and beautifully. We’ll walk through everything you need to know to make your “Night of a Thousand Lights” a dazzling success.
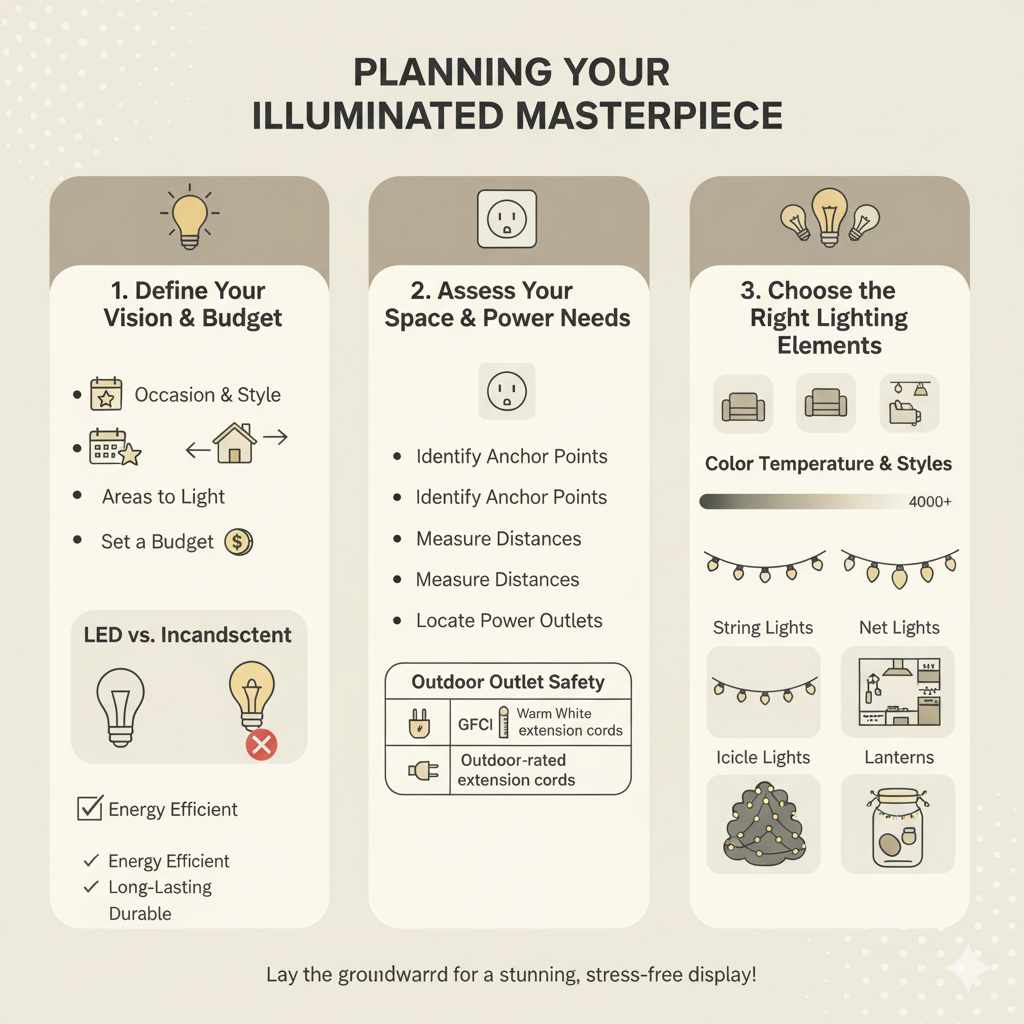
Planning Your Illuminated Masterpiece
Before you even think about plugging in a single string of lights, a little planning goes a long way. This is where you lay the groundwork for a successful and stress-free decorating experience. Think of it like sketching out a woodworking project before you make your first cut – it ensures everything fits together perfectly.
Define Your Vision and Budget
What kind of “Night of a Thousand Lights” are you aiming for? Are you thinking subtle, elegant fairy lights woven through trees, or a more vibrant, festive display? Consider the mood you want to create.
Occasion: Is this for a holiday, a party, or just to enhance your home’s curb appeal?
Style: Do you prefer warm white, cool white, or colorful lights? Modern or classic?
Areas to Light: Focus on specific areas like pathways, the roofline, trees, bushes, or windows. Trying to light everything can be expensive and look cluttered.
Budget: Outdoor lighting can range from affordable string lights to more elaborate LED systems. Set a realistic budget early on to guide your choices. Remember to factor in extension cords, timers, and any necessary hardware.
Assess Your Space and Power Needs
Take a walk around your home, especially at dusk. This is the best time to see where light is needed and where it would have the most impact.
Identify Anchor Points: Look for sturdy places to hang lights – gutters, roof edges, trees, fences, or posts.
Measure Distances: Knowing the lengths you need to cover will help you buy the correct amount of lights and the right length extension cords.
Locate Power Outlets: Figure out how many outlets you have available and where they are. Outdoor-rated extension cords and power strips are crucial for safety. You might need more than you think!
Choose the Right Lighting Elements
The type of lights you select will significantly impact the final look and feel.
LED vs. Incandescent: LEDs are the clear winner for modern decorating. They use significantly less energy, last much longer, and are more durable and weather-resistant than traditional incandescent bulbs. While the upfront cost might be slightly higher, they save you money on electricity and replacement bulbs in the long run. For a great overview of LED benefits, check out the U.S. Department of Energy’s page on LED Lighting.
Color Temperature:
Warm White (2700K-3000K): Mimics the glow of traditional incandescent bulbs. It’s cozy, inviting, and perfect for a classic look.
Cool White/Daylight (4000K-6500K): Brighter and bluer. It offers a more modern, crisp feel and can make colors pop.
Light Styles:
String Lights (Mini Lights): Classic for rooflines, trees, and railings.
Net Lights: Great for covering bushes and shrubs quickly.
Icicle Lights: Perfect for eaves and rooflines, mimicking dripping icicles.
Pathway Lights: Illuminate walkways and driveways, adding safety and guidance.
Projector Lights: Can cast patterns or static images onto your house for a dramatic effect.
Lanterns/Fairy Lights in Jars: Add a whimsical touch to patios or garden areas.
Essential Tools and Materials for Success
Having the right gear makes the job easier, safer, and more enjoyable. Think of these as your essential toolkit for creating a beautiful light display.
Your Lighting Toolkit
Lights! (Of course!) Make sure you have enough for your planned areas. It’s often better to have a little extra than to run short.
Outdoor-Rated Extension Cords: Crucial for safety. Ensure they are specifically designed for outdoor use and are the appropriate gauge for the power draw of your lights. Look for heavy-duty cords.
Outdoor-Rated Power Strips/Timers: These allow you to connect multiple light strands safely and control when they turn on and off. Smart plugs can offer even more control via an app.
Light Clips or Hooks: These small but mighty tools are essential for securely attaching lights to surfaces like shingles, gutters, siding, or branches without causing damage. There are many types available, from simple plastic clips to more robust metal hooks.
Ladder: For reaching higher areas like rooflines. Safety is paramount here – ensure your ladder is stable and you have a spotter if possible.
Zip Ties or Twist Ties: Handy for neatly securing wires and bundles of lights.
Duct Tape (or Electrical Tape): For temporarily securing wires or making minor repairs, though it’s best to use dedicated clips.
Gloves: To protect your hands, especially when working with wires or in cold weather.
Measuring Tape: For accurate planning.
Safety First, Always
Working with electricity, especially outdoors, requires caution. Following these safety guidelines will prevent accidents and ensure your display is enjoyable without worry.
Inspect All Lights and Cords: Before you even unpack them, check for frayed wires, cracked sockets, or loose connections. If anything looks damaged, do not use it.
Use Outdoor-Rated Everything: This cannot be stressed enough. Indoor lights and extension cords are not designed to withstand moisture, temperature fluctuations, or outdoor wear and tear, creating a significant fire and shock hazard.
Do Not Overload Circuits: Be mindful of how many strands of lights you connect to a single outlet or extension cord. Check the wattage of your lights and the capacity of your power source. A good rule of thumb is not to exceed 80% of the outlet’s or cord’s capacity.
Keep Connections Dry: Use outdoor-rated connectors and ensure all connections are protected from rain and snow. Many LED lights have waterproof seals.
Unplug Before Adjusting: Always unplug lights before hanging, adjusting, or taking them down.
Ladder Safety: If using a ladder, ensure it’s on stable ground, at the correct angle, and that you maintain three points of contact (two hands and one foot, or two feet and one hand) whenever possible. Never overreach. If you’re uncomfortable with heights, consider using extendable tools or focusing on lower-level decorating.
Consider Timers: Using timers not only adds convenience but also reduces the risk of lights being left on unnecessarily for extended periods, saving energy and reducing wear.
Step-by-Step Guide to Hanging Your Lights
Now for the fun part! Let’s get those lights up and shining.
Step 1: Layout and Preparation
1. Test Your Lights: Before you go climbing ladders, plug in each string of lights to ensure they all work. This saves a lot of frustration later.
2. Organize Your Strands: Untangle them and lay them out in the areas where you plan to hang them. This helps you visualize and estimate lengths.
3. Gather Your Tools: Have your clips, extension cords, and any other tools ready.
Step 2: Hanging Lights on the Roofline
This is a classic look for “A Night of a Thousand Lights.”
1. Use Appropriate Clips: For shingles, shingle clips are ideal. They slide under the shingle and hold the wire securely without damaging the roof.
2. Attach Along the Eaves: Work your way along the roofline, spacing clips every 6-12 inches, depending on the light strand’s weight and your preference.
3. Connect Strands: Connect your light strands as you go, or connect them all at one end before you start hanging if the total length is manageable. Ensure connections are secure and protected from the elements.
4. Manage Cords: Run extension cords to the nearest outdoor outlet, using clips to secure the wire along the house siding or to a downspout.
Step 3: Lighting Trees and Bushes
This adds depth and natural beauty to your display.
1. Start from the Top or Bottom: For trees, you can either start at the base and spiral upwards, or start at the top and work your way down. Spiral wrapping is often easiest for a uniform look.
2. Wrap Tightly but Not Too Tightly: Wrap the lights around branches, ensuring they are snug enough to stay put but not so tight that they constrict the tree’s growth or damage the bark.
3. Use Net Lights for Bushes: Drape net lights over bushes for a quick and even coverage.
4. Secure with Zip Ties: Use zip ties sparingly to secure light strands to thicker branches or trunks if needed, being careful not to overtighten.
Step 4: Illuminating Pathways and Entrances
This guides guests and enhances the welcoming feel.
1. Use Pathway Lights: Stake pathway lights along driveways and walkways. Ensure they are spaced evenly for a consistent look.
2. Drape Lights on Railings: Wrap string lights around porch or deck railings.
3. Highlight Doors and Windows: Outline doorways or window frames with string lights for an inviting glow.
Step 5: Connecting to Power and Timing
1. Plan Your Power Runs: Determine the most discreet and safest way to run extension cords to your power source.
2. Use Outdoor-Rated Connections: Ensure all connections to extension cords and power strips are secure and protected from moisture.
3. Set Your Timer: Plug your lights into an outdoor timer. Set it to come on at dusk and turn off late at night. This saves energy and is a great convenience. Many smart timers can be controlled via your smartphone.
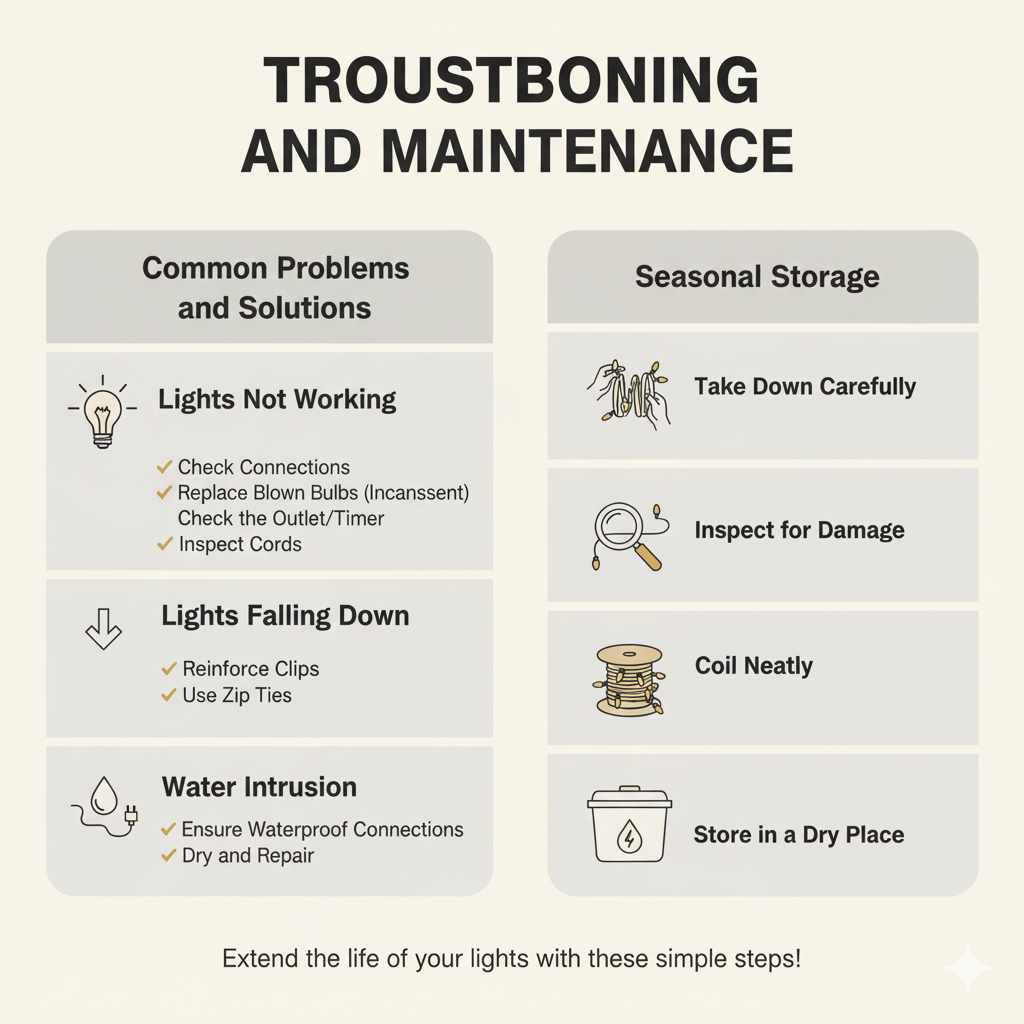
Troubleshooting and Maintenance
Even with the best planning, you might encounter a few hiccups. Here’s how to handle them.
Common Problems and Solutions
Lights Not Working:
Check Connections: Ensure all plugs are fully inserted.
Replace Blown Bulbs (Incandescent): If you’re using older incandescent lights, one blown bulb can take out a whole section. Look for the small fuse in the plug and check for burnt-out bulbs. For LEDs, a single faulty bulb usually doesn’t affect the others, but a bad connection could.
Check the Outlet/Timer: Ensure the power source is working and the timer is set correctly.
Inspect Cords: Look for any signs of damage.
Lights Falling Down:
Reinforce Clips: Add more clips or ensure they are properly secured.
Use Zip Ties: For temporary fixes or extra security on branches.
Water Intrusion:
Ensure Waterproof Connections: If your lights are rated as waterproof, ensure all connection points are sealed.
* Dry and Repair: If you find water in a socket or connection, unplug immediately, dry thoroughly, and inspect for damage before reusing.
Seasonal Storage
Proper storage will extend the life of your lights.
1. Take Down Carefully: Untangle as much as possible while taking them down.
2. Inspect for Damage: Check for any frayed wires or broken bulbs.
3. Coil Neatly: Wrap lights around a piece of cardboard, a dedicated light storage reel, or even just coil them loosely. Avoid tight wrapping that can stress wires.
4. Store in a Dry Place: Use original boxes, plastic bins, or sturdy bags to protect them from dust and moisture. Store in a garage, shed, or basement.
Comparison of Lighting Types
Choosing the right type of light can make a big difference in your setup. Here’s a quick look.
| Lighting Type | Pros | Cons | Best For |
|---|---|---|---|
| LED Mini Lights | Energy-efficient, long-lasting, durable, bright colors, cool to touch. | Can be more expensive upfront. | Rooflines, trees, bushes, outlining features. |
| LED Icicle Lights | Creates a classic icicle effect, easy to hang. | Limited to horizontal applications. | Eaves, gutters, porches. |
| LED Net Lights | Quick and easy coverage for bushes and hedges. | Less versatile for shaping. | Shrubs, bushes, hedges, fences. |
| LED Pathway Lights | Illuminates walkways, adds safety and direction. | Requires staking into the ground, needs individual power source or long cords. | Driveways, garden paths, walkways. |
| Fairy Lights (often battery-operated) | Very flexible, small, create a delicate glow, no cords needed. | Battery life can be limited, less bright than mains-powered options. | Indoor/outdoor decorative accents, jars, small trees, patios. |
Frequently Asked Questions About “A Night of a Thousand Lights”
Q1: How many lights do I need for my house?
This really depends on the size of your house and the look you’re going for. A good starting point is to measure the length of the area you want to cover (like your roofline) and then buy lights in lengths that match or slightly exceed that. For a fuller look, you might use more strands or lights with denser bulb spacing. Many people aim for roughly 100 bulbs per 10 feet of coverage for a noticeable effect.
Q2: Are LED lights worth the extra cost?
Absolutely! While LED lights can have a higher upfront cost, they consume up to 80% less energy than traditional incandescent bulbs. They also last significantly longer – often 25 times longer or more. This means lower electricity bills and fewer replacements, saving you money and hassle over time. They are also more durable and cooler to the touch, which is a great safety benefit.
Q3: What is the safest way to hang lights on my roof?
Safety is key! For rooflines, the safest method is to use dedicated roof clips (like shingle clips) that attach to the shingles or gutters without drilling. This avoids damaging your roof. Always use a stable ladder on level ground, ideally with a spotter. If you’re not comfortable with heights, consider focusing on ground-level decorations or hiring a professional.
Q4: Can I connect multiple strands of lights together?
Yes, most modern LED light strands are designed to be connected end-to-end. However, it’s crucial not to exceed the manufacturer’s recommended number of connections per circuit to avoid overloading the system and creating a fire hazard. Always check the packaging for maximum connection limits.
Q5: How do I protect light connections from weather?
Always use outdoor-rated extension cords and power strips. Ensure that all connection points between light strands, extension cords, and power sources are secure and, if possible, protected by weatherproof covers or placed in areas where they won’t be directly exposed to rain or snow. Many LED lights are designed with waterproof seals on their connectors.
Q6: What is the difference between warm white and cool white lights?
Warm white lights (around 2700K-3000K) have a yellowish, cozy glow, similar to traditional incandescent bulbs, and are great for creating a welcoming, classic ambiance. Cool white lights (around 4000K-6500K) have a brighter, bluer tone, offering a more modern and crisp look that can make colors stand out.
Q7: How should I store my lights after the season?
To ensure your lights last for many seasons, store them neatly coiled (not tightly wound) in a dry, protected location like a bin or box. Before storing, inspect them for any damage. Proper storage prevents tangling, crushing, and exposure to moisture, which can degrade the wires and bulbs.
Conclusion: Let Your Home Shine
Creating “A Night of a Thousand Lights” is a rewarding project that can bring immense joy and beauty to your home. By taking the time to plan, selecting the right materials, prioritizing safety, and following these straightforward steps, you can achieve a stunning illuminated display that you’ll be proud of. Remember, it’s not about having the most lights, but about using them thoughtfully to enhance your home’s features and create a magical atmosphere. So, gather your tools, embrace the process, and let your home shine brightly! Your efforts will undoubtedly create memorable moments for you, your family, and your guests. Happy decorating!