A Warning Light Jeep: Essential Fixes
A warning light on your Jeep can be unsettling, but often, simple fixes are within reach. This guide breaks down common Jeep warning lights, offering clear, step-by-step solutions for DIY homeowners. We’ll help you identify the issue and empower you with the knowledge to tackle many common problems yourself, saving time and money.
Hey there, fellow Jeep enthusiasts! Md Meraj here. Seeing a dashboard warning light pop up on your Jeep can feel a bit daunting, like a little red flag saying something’s not quite right. It’s a common worry for many of us who love hitting the trails or just cruising around town in our trusty Jeeps. But don’t let that light dim your excitement! Many of these indicators are designed to give you a heads-up about issues that are often straightforward to address, especially if you’re comfortable with a few basic DIY steps.
Think of me as your friendly guide, here to demystify those glowing symbols. We’ll go through what some of the most common Jeep warning lights mean and, more importantly, how you can approach fixing them yourself. We’ll keep things simple, safe, and focused on getting you back on the road with confidence. Ready to shine a light on those dashboard mysteries? Let’s get started!
Understanding Your Jeep’s Dashboard: What Do Those Lights Mean?
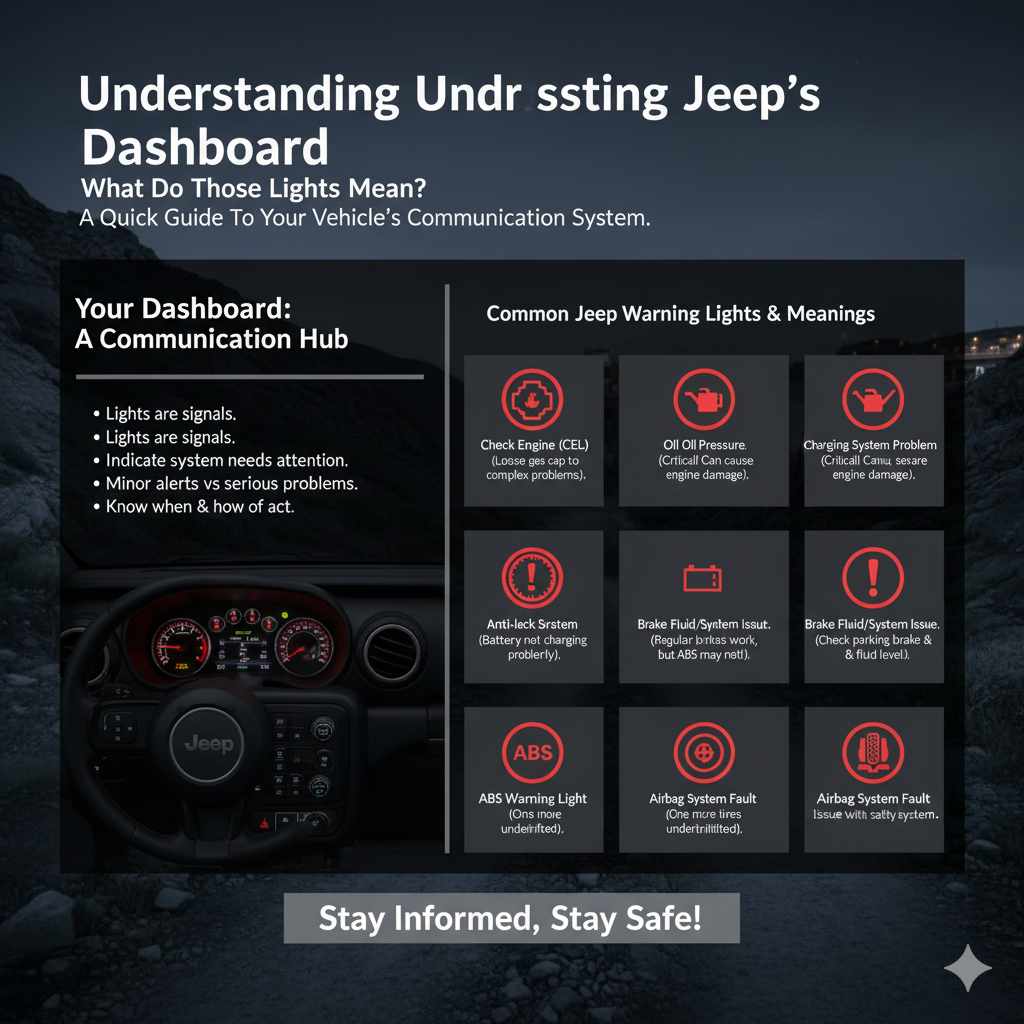
Your Jeep’s dashboard is like its communication center, and those little lights are its way of talking to you. When a warning light illuminates, it’s usually a signal that a specific system needs attention. Understanding what each light signifies is the first crucial step in diagnosing and resolving the issue. Some are minor alerts, while others indicate a more serious problem that needs prompt attention. We’ll break down the most common ones you might encounter, making it easier to know when to act and what action to take.
The Most Common Jeep Warning Lights and Their Meanings
Let’s take a look at some of the warning lights you’re most likely to see and what they’re telling you. Knowing these will give you a significant head start in troubleshooting.
- Check Engine Light (CEL): This is probably the most common and often the most concerning. It can indicate a wide range of issues, from a loose gas cap to more complex engine or emissions system problems.
- Oil Pressure Warning Light: This light, often shaped like an oil can, signals low oil pressure. This is a critical warning, as insufficient oil pressure can quickly lead to severe engine damage.
- Battery Warning Light: Typically looks like a battery symbol. This light indicates a problem with your Jeep’s charging system, meaning the battery might not be charging properly.
- Brake System Warning Light: Usually a circle with an exclamation mark inside, or the letters “BRAKE.” This can mean your parking brake is engaged, or there’s a more serious issue with your brake fluid level or the braking system itself.
- ABS Warning Light: An “ABS” in a circle. This indicates a problem with your Anti-lock Braking System. While your regular brakes will still work, the ABS feature may not function.
- Tire Pressure Monitoring System (TPMS) Light: Often looks like a flat tire with an exclamation mark inside. This means one or more of your tires are significantly underinflated.
- Airbag Warning Light: Usually a silhouette of a person with a circle in front. This indicates a potential issue with your Jeep’s airbag system.
DIY Fixes for Common Jeep Warning Lights
Now that we know what some of the lights mean, let’s dive into how you can tackle some of these issues yourself. Remember, safety first! Always ensure your Jeep is parked on a level surface, the engine is off, and you have any necessary safety equipment like gloves and eye protection.
1. The Loose Gas Cap Conundrum
This is one of those fixes that sounds too simple to be true, but it’s incredibly common! A loose, damaged, or missing gas cap can trigger the Check Engine Light. The cap is part of your Jeep’s evaporative emission control system (EVAP), which prevents fuel vapors from escaping into the atmosphere.
Steps to Fix:
- Locate your gas cap.
- Inspect it for any cracks or damage to the seal.
- Ensure the seal is clean and free of debris.
- Screw the gas cap back on firmly until it clicks several times. This ensures a proper seal.
- Drive your Jeep for a bit. Sometimes, the Check Engine Light will turn off on its own after a few driving cycles once the system detects the seal is fixed. If it doesn’t, you might need to clear the code with an OBD-II scanner.
2. Addressing the Oil Pressure Warning Light
This is a critical warning. If the oil pressure light comes on while you’re driving, pull over safely as soon as possible and turn off the engine. Continuing to drive could cause catastrophic engine damage.
Initial Checks:
- Check the oil level: Wait for the engine to cool down. Pull out the dipstick, wipe it clean, reinsert it fully, and pull it out again. Check the oil level against the markings. If it’s low, add the correct type of oil for your Jeep. Refer to your owner’s manual for the specific type and amount.
- Inspect for leaks: Look under your Jeep for any signs of oil leaks.
When to Seek Professional Help:
If the oil level is correct, you don’t see any obvious leaks, and the light remains on after adding oil or starting the engine, the issue could be with the oil pump or the oil pressure sensor. These are more complex repairs, and it’s best to have a qualified mechanic diagnose and fix them.
3. Investigating the Battery Warning Light
This light indicates a problem with your Jeep’s charging system. This could be a faulty alternator, a worn-out battery, or loose/corroded battery terminals or cables.
DIY Checks and Fixes:
- Inspect Battery Terminals: Ensure the battery terminals (where the cables connect) are clean and tight. If you see white or bluish powdery corrosion, you can clean it. Disconnect the negative cable first, then the positive. Use a wire brush or a dedicated battery terminal cleaner. You can make a paste of baking soda and water to help neutralize the corrosion. After cleaning, reconnect the positive cable first, then the negative.
- Check Belt Tension: The alternator is usually driven by a belt. Ensure this belt is properly tensioned and not frayed or cracked. A loose or damaged belt won’t allow the alternator to spin effectively to charge the battery.
- Test the Battery (with a multimeter): With the engine off, you can check the battery’s voltage. A healthy, fully charged battery should read around 12.6 volts. You can find many helpful guides online for using a multimeter, such as those from Portland State University.
When to Seek Professional Help:
If cleaning the terminals and checking the belt doesn’t resolve the issue, the alternator itself might be failing, or the battery may need replacement. These are common parts that can be tested and replaced by a mechanic.
4. Understanding the Brake System Warning Light
This light is serious and directly relates to your safety. It can illuminate for a few reasons:
- Parking Brake Engaged: The simplest reason is that your parking brake is still on. Make sure it’s fully released.
- Low Brake Fluid: Check your brake fluid reservoir under the hood. If the fluid level is low, it could indicate a leak in the brake lines or that your brake pads are excessively worn.
- System Malfunction: The light can also come on if there’s an issue with the brake master cylinder, ABS module, or other components of the braking system.
Initial Checks:
- Release Parking Brake: Double-check that the parking brake lever or pedal is completely disengaged.
- Check Brake Fluid Level: Locate the brake fluid reservoir (usually a translucent plastic container near the brake master cylinder). Ensure the fluid level is between the MIN and MAX lines. If it’s low, add the correct type of brake fluid specified in your owner’s manual. Be cautious: low brake fluid is often a sign of a leak or worn pads needing replacement.
When to Seek Professional Help:
If releasing the parking brake doesn’t turn off the light, and the brake fluid level is adequate, it’s crucial to have your brake system inspected by a professional immediately. Driving with compromised brakes is extremely dangerous.
5. Diagnosing the ABS Warning Light
The ABS warning light means your Anti-lock Braking System has a fault. While your conventional brakes will still work, the ABS system, which helps prevent wheel lock-up during hard braking, won’t be active. This can affect your stopping distance and control, especially in slippery conditions.
Possible Causes:
- Faulty Wheel Speed Sensor: These sensors monitor the rotation of each wheel. If one fails, the ABS light will often come on.
- Wiring Issues: Damaged or corroded wiring to the ABS components can cause problems.
- ABS Control Module Failure: The main computer for the ABS system can sometimes fail.
- Low Brake Fluid: In some cases, very low brake fluid can trigger the ABS light as well as the brake warning light.
DIY Checks (Limited):
- Check Brake Fluid: As mentioned above, ensure your brake fluid level is correct.
- Inspect Visible Wiring: Carefully look for any obvious signs of damage or disconnection in the wiring harnesses connected to the wheel hubs or near the ABS module.
When to Seek Professional Help:
Diagnosing ABS issues often requires specialized diagnostic tools to read specific ABS fault codes. It’s generally recommended to take your Jeep to a mechanic or a dealership for proper diagnosis and repair of the ABS system.
6. The Tire Pressure Monitoring System (TPMS) Light
This light is a helpful reminder that your tire pressure is low. Properly inflated tires are crucial for safety, fuel efficiency, and tire longevity.
Steps to Fix:
- Check Tire Pressure: The first step is to check the air pressure in all your tires using a reliable tire pressure gauge. You can find the recommended tire pressure for your Jeep on a sticker located on the driver’s side doorjamb or in your owner’s manual.
- Inflate Tires: Add air to any tires that are low until they reach the recommended pressure.
- Reset the TPMS: On many Jeep models, the TPMS light will turn off automatically after driving a short distance once the tires are properly inflated. However, some Jeeps have a specific reset procedure. Consult your owner’s manual for instructions. This might involve pressing a button on the dashboard or going through a menu on the instrument cluster.
When the Light Persists:
If the light stays on after inflating the tires, it could indicate a faulty TPMS sensor in one of your wheels or an issue with the TPMS control module. These issues typically require professional diagnosis.
Tools You Might Need for DIY Jeep Warning Light Fixes
While many fixes are simple, having a few basic tools can make the job easier and more effective. You don’t need a professional mechanic’s garage, just some common items.
| Tool | Purpose | Why It’s Helpful |
|---|---|---|
| Owner’s Manual | Reference for specifications, procedures, and light meanings. | The ultimate guide specific to your Jeep model. Essential for correct fluid types and procedures. |
| Tire Pressure Gauge | Measuring tire inflation. | Crucial for the TPMS light and general tire maintenance. Digital gauges are often very accurate. |
| Basic Socket Set & Wrenches | Tightening or loosening bolts and nuts. | Useful for battery terminal clamps, and potentially for accessing sensors or components. |
| Wire Brush | Cleaning corrosion from battery terminals. | Essential for ensuring good electrical connections at the battery. |
| Gloves and Eye Protection | Personal safety. | Always protect your hands and eyes when working on your vehicle. |
| OBD-II Scanner (Optional but Recommended) | Reading diagnostic trouble codes (DTCs). | This is key for the Check Engine Light. It tells you exactly what the car’s computer is detecting. Many affordable options are available for home use. You can find great resources on how to use them from automotive sites like AutoZone. |
| Torque Wrench (Optional) | Tightening bolts to specific specifications. | Ensures components like wheel lug nuts or battery terminals are secured correctly, preventing damage. |
When to Call a Professional Jeep Mechanic
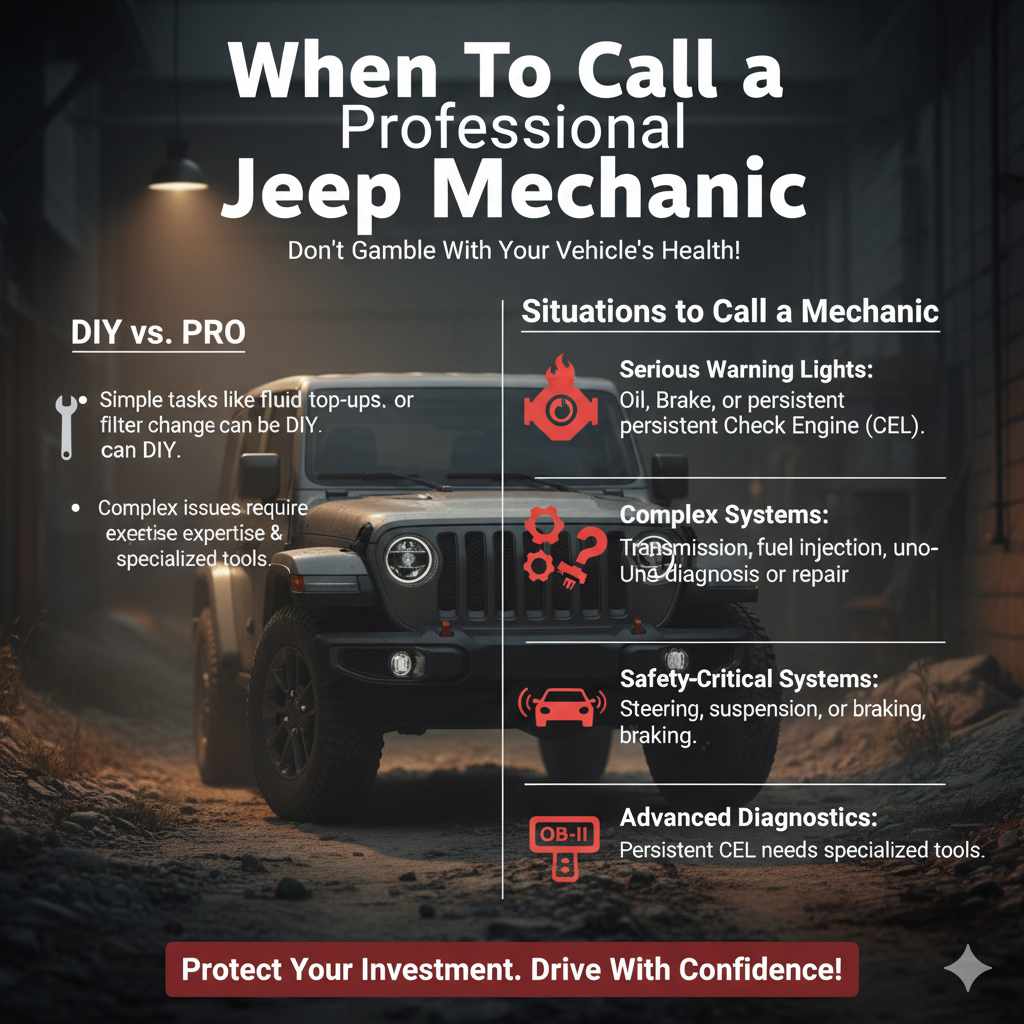
While DIY is empowering, there are times when it’s best to leave the work to the experts. Here are some situations where you should definitely consult a qualified Jeep mechanic:
- Serious Warning Lights: Lights like the oil pressure or brake system warnings that persist after simple checks require immediate professional attention.
- Complex Systems: Issues with the transmission, engine internals, fuel injection system, or advanced electronics are best handled by those with specialized knowledge and tools.
- Lack of Confidence or Tools: If you’re unsure about a diagnosis, don’t have the right tools, or feel uncomfortable performing a repair, it’s safer and often more cost-effective in the long run to seek professional help.
- Persistent Check Engine Light: After addressing simple issues like the gas cap, if the CEL remains on, an OBD-II scanner will provide codes that might require further in-depth diagnosis that a mechanic is equipped for.
- Safety-Critical Systems: For anything related to steering, suspension, or critical braking components, it’s always best to have a professional verify the integrity of the repair.
Don’t hesitate to reach out to a trusted mechanic. They have the advanced diagnostic equipment and experience to pinpoint complex issues quickly and accurately. For example, the official Jeep service page can help you find authorized service centers.
Frequently Asked Questions (FAQs) about Jeep Warning Lights
Q1: How soon should I address a warning light on my Jeep?
It depends on the light. For critical warnings like oil pressure or brake system, stop driving and address it immediately. For less critical lights like TPMS or a persistent Check Engine Light after checking the gas cap, it’s best to get it checked within a few days.
Q2: Can I just ignore a warning light?
It’s strongly advised not to ignore warning lights. Even seemingly minor lights can indicate problems that could worsen over time, leading to more expensive repairs or safety hazards.
Q3: What does it mean if my Check Engine Light flashes?
A flashing Check Engine Light usually indicates a more severe problem, often a misfire that could be damaging your catalytic converter. If your CEL is flashing, you should reduce speed and avoid heavy acceleration, and get it diagnosed as soon as possible.
Q4: How can I reset my Jeep’s Check Engine Light?
The most common way is to fix the underlying issue and then drive the vehicle for a few cycles. Some OBD-II scanners also have a function to clear codes. However, clearing the code without fixing the problem will likely cause the light to return.
Q5: Do I need a special scanner for my Jeep?
For most Jeeps made after 1996, you’ll use a standard OBD-II scanner. These are widely available and connect to a port usually found under the dashboard. Some Jeep-specific issues might require more advanced professional tools.
Q6: My TPMS light is on, but my tires look fine. What should I do?
Your tires might look fine, but the pressure could still be below the recommended level. Use a tire pressure gauge to check each tire, including the spare if it has a sensor. If they are all correctly inflated, the TPMS sensor itself might be faulty or the system may need recalibration.
Conclusion
Seeing a warning light on your Jeep doesn’t have to be a cause for panic. By understanding what those symbols mean and knowing some basic troubleshooting steps, you can often identify and resolve common issues yourself. From tightening a gas cap to checking tire pressure, many of these fixes are well within the reach of a DIY homeowner. Remember to always prioritize safety, consult your owner’s manual, and don’t hesitate to seek professional help when a problem seems beyond your comfort level or requires specialized tools.
Empowering yourself with this knowledge not only saves you money but also builds your confidence in maintaining your Jeep. Keep these tips in mind, and you’ll be better equipped to handle those dashboard alerts, ensuring your Jeep remains a reliable companion for all your adventures. Happy trails!