How to Install an LED Ceiling Light (Wiring + Box-Rating Guide)
Installing an LED ceiling light means turning off the breaker, matching black-to-black, white-to-white, and green-to-ground wires, then mounting the fixture to the ceiling box — but only if that box is rated for the fixture’s weight, since most plastic boxes cap out around 6 lbs. Skipping that check is why a new fixture can sag or short out within weeks. This guide covers removing the old fixture, checking the box rating, wiring it correctly, and testing the result safely.
📊 ENERGY STAR-certified LED bulbs use at least 75% less energy and last about 25 times longer than the incandescent bulbs they replace. That difference is what makes a one-time fixture swap pay for itself in lower electric bills — Source: U.S. Department of Energy, Guide to Energy-Efficient Lighting
Preparation and Tools
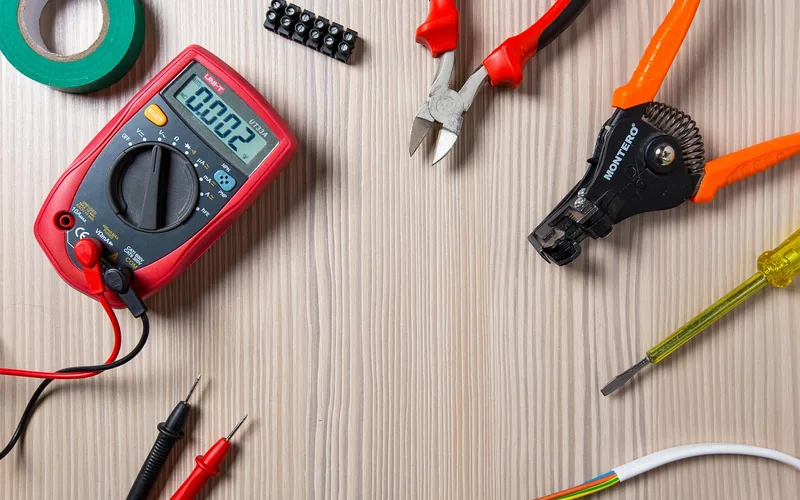
Before you start, gather a non-contact voltage tester, wire strippers, a Phillips screwdriver, and wire connectors sized for 14–12 AWG wire — orange connectors handle up to three 14-gauge wires, yellow connectors handle up to three 12-gauge wires. A sturdy stepladder rated for at least 250 lbs and a helper to hold the fixture while you wire it round out the list.
Turn off power at the breaker box before touching anything, then confirm with the voltage tester at the fixture itself — do not just flip the wall switch, since some fixtures are wired to a switched outlet instead of the fixture. Keep one hand in your pocket while testing live circuits as a habit, and never touch bare wire until the tester confirms zero volts.
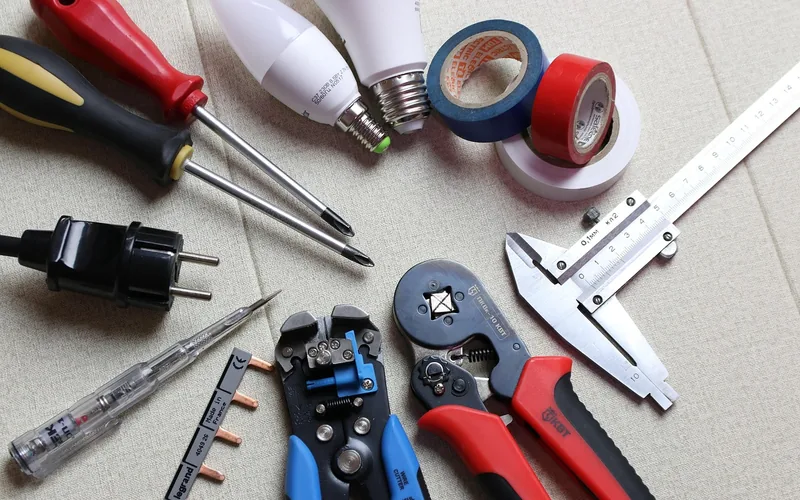
Best LED Flush Mount Pick
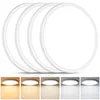
Brightever 12″ LED Flush Mount, Dimmable – $35.99
Dimmable output pairs well with a standard dimmer switch if you are upgrading wiring at the same time, and the flush profile fits most standard ceiling boxes covered in the box-rating check above.
- Best for: bedrooms and living rooms wanting adjustable brightness
- Why we picked it: dimmable, and the 12″ canopy matches most standard ceiling boxes
- Main drawback: needs a dimmer-compatible switch to use the dimming feature
Compare more LED ceiling light options
 Option 1 – Budget TALOYA 12″ 5CCT Selectable – $14.99
|
 Option 2 – Larger Rooms hykolity 13″ 5CCT – $23.74
|
 Option 3 – Slim Profile hykolity 12″ Flat Panel – $15.99
|
As an Amazon Associate we earn from qualifying purchases.
Removing the Old Light Fixture
Turn off power at the breaker, then confirm with your voltage tester at the fixture itself. Unscrew the old light fixture from the ceiling box and let it hang by the wires. Loosen the wire connectors and separate the wires, noting which color went where — a quick phone photo of the original connections is the fastest reference if anything looks unfamiliar later.
Inspecting the Ceiling Box
Inspect the ceiling box for cracks, rust, or loose mounting screws before hanging anything new — a damaged box cannot support a fixture’s weight and may pull loose from the ceiling joist entirely. Most plastic “old-work” boxes are rated for fixtures up to about 6 lbs; anything heavier needs a metal box rated for at least 50 lbs and secured directly to a joist or a brace bar.
Confirm the new fixture’s wire gauge matches what is already in the ceiling — 14 AWG or 12 AWG in most homes. Mismatched gauges need a properly rated wire connector, not just a tighter twist, and the rating is printed right on the box of connectors.
Assembling the LED Light Fixture
Assemble the new fixture on a table before it ever goes near the ceiling — connecting wires and mounting the canopy is far easier at waist height than overhead on a ladder. Connect the wires, matching colors for safety, and keep the power off until every connection is made.
Reading Manufacturer Instructions
Read the included instructions fully before starting, even if you have installed a light before — LED driver placement and canopy depth vary by model. Diagrams typically show which wire nuts are pre-attached versus which connections you make yourself, which avoids guessing at the ladder.
Pre-Assembly Steps
Lay out every part — canopy, mounting bar, globes or diffuser, and hardware bag — and confirm nothing is missing before you climb the ladder. Keep the work area clear of clutter; a dropped screw at height is how most minor injuries during this job happen.
Installing the Mounting Bracket
Position the mounting bracket over the ceiling box and mark the screw holes with a pencil. Hold a level against the bracket to keep it square, then drive the screws into the box’s threaded holes — not just the drywall — since drywall alone will not support a fixture’s weight. Snug is enough; over-tightening can crack a plastic box.
Connecting Electrical Wires
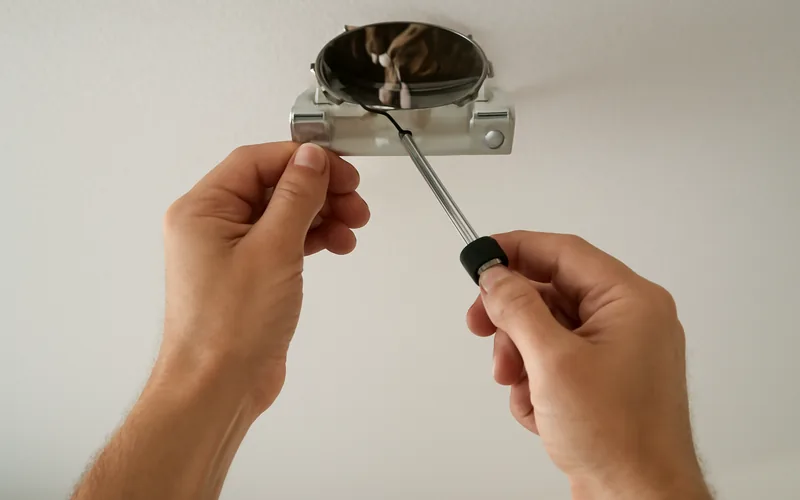
Match each wire by color: black to black (hot), white to white (neutral), and green or bare copper to the ground screw or ground wire. Twist matching wires together clockwise with pliers, then twist on a wire connector until no bare copper shows below the connector’s skirt — tug gently on each wire afterward to confirm it is seated. An exposed strand here is the most common cause of a breaker tripping the first time you flip the switch.
“We’ve found that skipping the ceiling box weight rating is the number one reason a DIY LED fixture install fails within the first month — check the rating stamped inside the box before you hang anything heavier than a bare bulb holder.”
Attaching the LED Light Fixture
Aligning the fixture matters for a proper fit. Hold the fixture against the ceiling, line it up with the mounting bracket holes, and confirm the wires are not pinched or twisted behind it. Keep it level and centered for a smooth final mount.
Tightening the screws secures the fixture. Start with one side and move to the other so the canopy sits flush, rather than tightening one screw all the way first. Snug, not over-tightened — too much torque can crack the fixture’s mounting points.
Final Checks and Power Restoration
Confirm all connections are secure before restoring power to the newly installed LED ceiling light. Flip the breaker back on, then test the switch.
Testing Light Functionality
Turn on the switch and check that the light comes on without flickering. If it does not work, recheck the wire connections first — a loose wire nut is the most common cause — and confirm the bulb, if separate, is screwed in fully.
Restoring Power Safely
Before restoring power, double-check that every connection is tight. Watch for sparks when the breaker goes back on — if you see any, cut the power immediately and call a licensed electrician rather than troubleshooting a live circuit yourself.
Frequently Asked Questions
Are LED Ceiling Lights Easy to Install?
Yes, LED ceiling lights are easy to install if you are replacing an existing fixture on a properly rated ceiling box. They come with straightforward instructions and require only basic tools. Always confirm power is off with a voltage tester before starting, and call a licensed electrician if the box needs replacing or the wiring looks damaged.
How Do You Install an LED Ceiling Light Fixture on a Ceiling?
Turn off power at the breaker, remove the old fixture, and inspect the ceiling box for damage. Mount the bracket to the box, connect wires by color — black to black, white to white, green to ground — then attach the new fixture and restore power to test it.
How Are LED Ceiling Lights Wired?
LED ceiling lights are wired the same way as standard fixtures: black (hot) to black, white (neutral) to white, and green or bare copper to the ground screw or wire. Twist matching wires together, secure each pair with a properly sized wire connector, and test the connection with a gentle tug before mounting the fixture.
Do I Need an Electrician to Install LED Lights?
Not always. Swapping an existing fixture for a new LED one on a properly rated box is a manageable DIY project. Hire a licensed electrician if the ceiling box is damaged, undersized, or unrated, if the wiring looks old or frayed, or if you need to add a new circuit rather than replace an existing fixture.
What Size Wire Nuts Do I Need for an LED Ceiling Light?
Match the connector to your wire gauge and count: orange connectors typically join two to three 14-gauge wires, while yellow connectors handle three to four 12-gauge wires. Most household ceiling circuits run 14-gauge wire on a 15-amp breaker. Check the packaging on your specific connectors, since the exact rating varies slightly by brand.
Conclusion
Installing an LED ceiling light comes down to four things: cut the power and confirm it with a tester, check that the ceiling box is rated for the fixture’s weight, match wires by color, and test the switch before you climb down the ladder for good. Most DIY swaps take under an hour once the old fixture is off.
For switches, dimmers, and other fixture types, browse our full lighting and ceiling fan guides.
Sponsored / affiliate links. As an Amazon Associate I earn from qualifying purchases. I may earn additional commission from eligible campaigns.