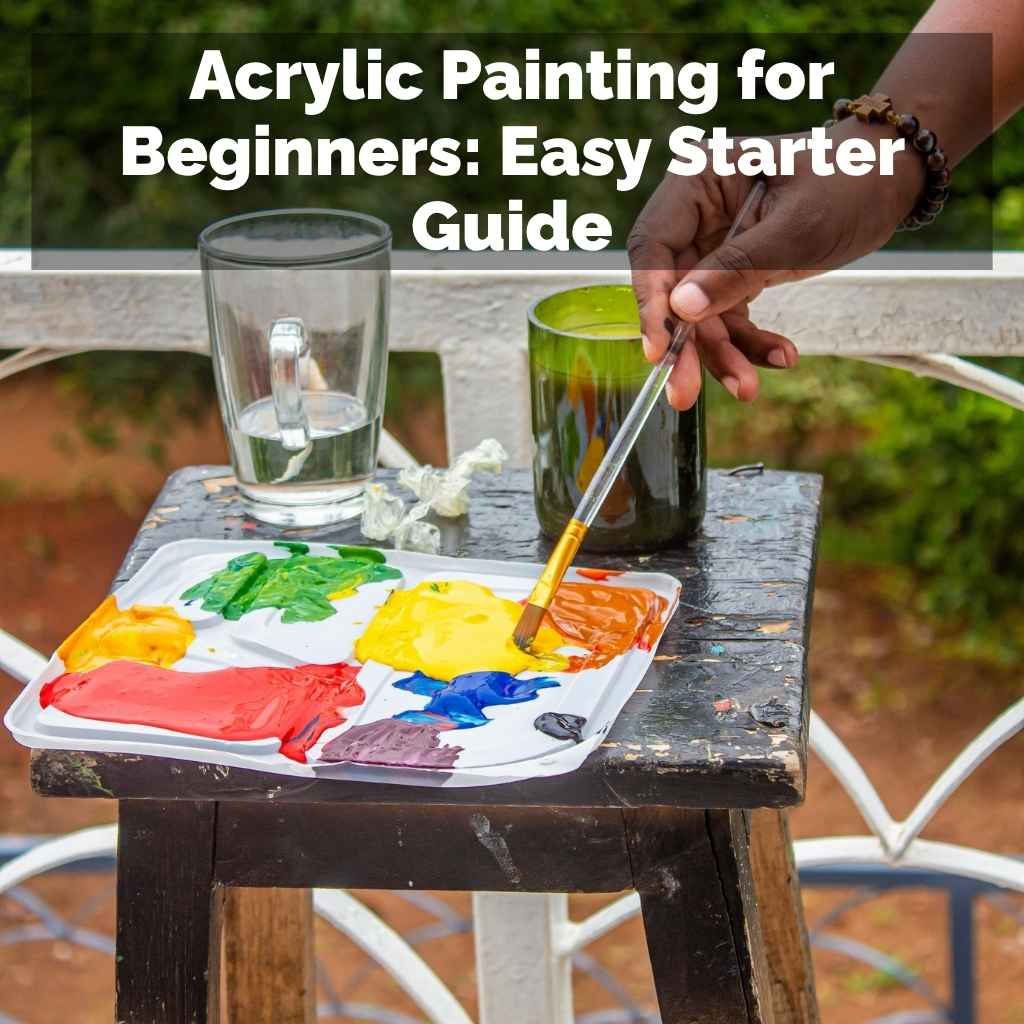
Acrylic Painting for Beginners: Easy Starter Guide
Learning to paint with acrylics can feel a little tricky at first. Lots of people wonder where to start with Acrylic Painting for Beginners: Easy Starter Guide. It might seem like there are so many colors and brushes to choose from.
Don’t worry! This guide will make it super simple. We’ll go step-by-step so you can start creating your own beautiful art right away.
Let’s get your brushes ready to paint!
Acrylic Painting for Beginners Easy Starter Guide
This guide is made for anyone who wants to start painting with acrylics. We will cover everything from the basic tools you need to simple techniques that will help you create your first paintings. Acrylics are great for beginners because they dry fast and are easy to clean up.
We’ll show you how to mix colors, apply paint smoothly, and even how to fix small mistakes. You’ll learn how to make your paintings look great without feeling overwhelmed.
What Are Acrylic Paints?
Acrylic paints are made of pigment suspended in an acrylic polymer emulsion. This means they are water-based when wet but become water-resistant when dry. This is a big plus for beginners.
If you get paint on your clothes or brushes, you can wash it off with water. But once it dries, it stays put. This quick drying time allows for layering colors very efficiently.
You can add another layer of paint on top without disturbing the layer underneath.
The binder, which is the acrylic polymer, is a plastic substance. It’s what makes the paint dry into a flexible film. This film can adhere to many different surfaces.
Unlike oil paints, which require solvents and take a long time to dry, acrylics offer a much more immediate and forgiving painting experience. This makes them ideal for learning and experimenting.
Choosing Your First Acrylic Paint Set
When you’re starting out, you don’t need to buy the most expensive paints. A good starter set is usually enough. Look for sets that offer a range of basic colors.
These typically include red, yellow, blue, white, and black. Sometimes, you’ll find a green and brown too. These primary colors are all you need to mix almost any color you can imagine.
A basic set might have tubes of paint that are around 12ml or 22ml. This is plenty for practice. The quality of beginner paints is usually good enough for learning the basics.
As you paint more and discover what colors you use most often, you can buy larger tubes or more professional grades of paint. For now, focus on getting a good variety of colors to play with.
- Primary Colors: Red, yellow, and blue are the building blocks of color mixing. Mastering how these three colors combine to create secondary colors (green, orange, purple) and tertiary colors is a fundamental skill in acrylic painting.
- Black and White: These are essential for adjusting the value and saturation of your colors. White can lighten colors, making tints, while black can darken them, creating shades.
- Secondary Colors: While you can mix these, having a pre-mixed green, orange, or purple in your starter set can be very convenient for quick work or for learning how they interact with other colors.
Essential Brushes for Acrylic Beginners
Having the right brushes makes a big difference. You don’t need a huge collection when you start. A few basic types will cover most of your needs for simple paintings.
Look for brushes made for acrylics, as they are designed to handle the paint’s consistency. Synthetic brushes are a great choice for beginners because they are durable and affordable.
You’ll want a few different sizes and shapes. A medium-sized round brush is good for details and lines. A larger flat brush is perfect for covering large areas with color, like backgrounds or skies.
A smaller detail brush is useful for fine lines, highlights, or small elements. Having at least three to five brushes in various sizes will give you a lot of flexibility.
- Flat Brushes: These have a square tip and are good for broad strokes and filling in areas. They can also create sharp edges.
- Round Brushes: These have a pointed tip and are excellent for drawing lines, details, and creating outlines.
- Filbert Brushes: A filbert brush is a hybrid, with a rounded flat tip. It can do a bit of both flat and round brush work, offering versatility.
Other Helpful Supplies
Besides paints and brushes, there are a few other items that will make your painting experience much smoother. You’ll need something to paint on. Canvas panels or stretched canvases are popular choices.
For practice, even thick paper designed for painting can work well. You also need a palette to mix your colors on. An old plate, a piece of plastic, or a disposable palette pad will do.
Water cups are crucial for rinsing your brushes. It’s a good idea to have two: one for initial rinsing and one for a final clean. Paper towels or a rag are also necessary for drying your brushes and wiping up any spills.
Some artists use a spray bottle of water to keep their paints from drying out too quickly on the palette.
- Palette: A surface for mixing paint. Disposable palette paper pads are convenient as you can just peel off a sheet when done.
- Water Containers: Two cups are recommended. One for washing off the bulk of the paint and another for a cleaner rinse.
- Paper Towels or Rags: For drying brushes and cleaning up.
Getting Started With Acrylic Painting Techniques
Now that you have your supplies, let’s talk about how to use them. Acrylic painting involves several fundamental techniques that are easy to learn and can be applied to many subjects. We’ll go over how to mix colors properly, how to apply paint for different effects, and some basic ways to build up your paintings.
These techniques are the foundation for creating a wide range of artwork, from simple still lifes to more complex scenes.
The key is to practice these techniques consistently. Don’t be afraid to experiment. Acrylics are forgiving, so if something doesn’t look right, you can often paint over it once it’s dry.
This allows you to try new things without fear of ruining your work. We’ll break down each technique into simple steps that you can follow along with.
Color Mixing Basics
Mixing colors is one of the most exciting parts of painting. With just red, yellow, and blue, you can create a vast spectrum of colors. Let’s start with the basics:
- Primary Colors: Red, yellow, and blue are the foundation.
- Secondary Colors: Mixing two primary colors creates a secondary color. Yellow and blue make green. Yellow and red make orange. Red and blue make purple.
- Tertiary Colors: Mixing a primary color with a neighboring secondary color creates a tertiary color, like red-orange or blue-green.
White is used to lighten colors and create tints. Adding more white makes a color lighter and less saturated. Black is used to darken colors and create shades.
Be careful with black; it can easily make colors muddy or dull if too much is used. It’s often better to mix a dark color using other colors, like a dark blue-green, rather than using pure black.
Adding a little bit of the color’s opposite on the color wheel (its complement) can make a color duller or create brown tones. For example, adding a tiny bit of green to red will make the red less bright. This is called neutralizing a color.
Understanding these simple mixing rules will give you immense control over your palette.
Application Techniques
How you apply the paint to the surface creates different textures and effects. Here are some common techniques:
- Flat Wash: This is when you apply a thin, even layer of diluted paint. It’s perfect for backgrounds or skies. To do this, load your brush with a good amount of diluted paint and make smooth, overlapping strokes. Work from top to bottom to avoid drips.
- Glazing: This involves applying a thin, transparent layer of color over a dried layer of paint. Glazing can be used to subtly shift the color of an area, deepen shadows, or add luminosity. You’ll typically use paint mixed with a glazing medium or just water to make it very transparent.
- Impasto: This technique involves applying paint thickly, so that brush strokes or palette knife marks are visible. It adds texture and dimension to your painting. You can use the paint straight from the tube or add a thickening medium.
- Dry Brushing: This technique uses a brush that has very little paint and is almost dry. When you drag it across the surface, it creates a broken, textured effect. It’s great for depicting rough surfaces like wood, hair, or grass.
Layering and Building Up Your Painting
Acrylics are fantastic for layering because they dry so quickly. This means you can add new layers of color without disturbing the ones underneath. This is a key advantage for beginners.
You can build up your painting in stages, refining areas as you go.
Start with your background or large areas of color. Let these layers dry completely. Then, you can start adding mid-tones, shadows, and highlights.
If you make a mistake or want to change an area, you can simply paint over it. This is why acrylics are so forgiving. You can keep adjusting and refining until you are happy with the result.
For example, imagine you are painting a landscape. You might start with a blue sky, then add green for grass, and brown for trees. Once these base colors are dry, you can add white and light blue streaks to the sky for clouds.
You can add darker greens to the grass for shadows and highlights. You can then paint the details of tree bark and leaves on top of the brown tree shapes.
Acrylic Painting for Beginners Easy Starter Guide: Common Challenges and Solutions
Even with a great starter guide, beginners often run into a few common challenges. These can include paint drying too fast, colors looking muddy, or not knowing how to fix mistakes. The good news is that with a few simple tips and tricks, these issues are easily overcome.
Understanding these potential hurdles and their solutions will help you maintain enthusiasm and keep your creative flow going.
Many beginners feel frustrated when their paint dries before they can blend colors properly. This is a natural characteristic of acrylics. However, there are ways to manage this.
Also, issues with color mixing can lead to dull or unexpected results. We will provide practical advice to help you achieve vibrant colors and clean blends.
Managing Fast Drying Times
The quick drying time of acrylics is a double-edged sword. It’s great for layering, but it can make smooth blending challenging. If you are trying to create soft transitions between colors, like in a sunset or a smooth gradient, you need to work fast or use specific mediums.
One simple solution is to keep a spray bottle of water handy. Lightly misting your palette and your canvas can keep the paint workable for a bit longer. Another very effective tool is a “stay-wet” palette.
This is a palette that has a sponge and special paper that keeps the paints moist for hours, even days.
You can also use acrylic mediums that are designed to slow drying time, like “retarder” or “flow aid” mediums. Mix these with your paint in small amounts. They will make the paint stay wet longer, giving you more time to blend.
Always add them gradually, as too much can affect the paint’s binder and durability.
Avoiding Muddy Colors
Muddy colors often happen when too many colors are mixed together or when colors are overworked. When you mix colors on your palette, try to keep the movements clean. Don’t over-stir the paints.
If you are mixing colors directly on the canvas, work from light to dark or dark to light in distinct strokes. Avoid constant back-and-forth scrubbing, which can cause colors to blend into a dull brown or gray.
It’s also important to clean your brushes thoroughly between colors. If you pick up a blue paint and then go straight into yellow without cleaning your brush, you’ll get green. But if there’s still some red on your brush from a previous mix, you might end up with a duller, more brownish green than you intended.
- Clean Brushes Regularly: Always rinse your brush thoroughly in water between colors, especially when transitioning between contrasting hues.
- Use Limited Palette Mixing: Try to mix only the colors you need for a specific area. This prevents accidental over-mixing of colors that can lead to muddiness.
- Work from Light to Dark: Often, it is easier to build up darks from lighter layers than to try and lighten dark, muddy areas. This approach can help maintain color clarity.
Fixing Mistakes
One of the best things about acrylics is how easy it is to correct mistakes. Since they dry to a water-resistant finish, you can simply paint over an area you don’t like. Wait for the incorrect paint to dry completely, then apply a new layer of paint on top.
For larger areas, you might need to apply a few layers to fully cover the old color. If you’ve made a mistake with a very dark color, you might need to use a lighter color and build it up slowly. White paint is your friend here; it can be used to cover up and create a base for new colors.
You can also use a palette knife to scrape off wet paint if you catch a mistake very early. However, this is less common with acrylics due to their fast drying time compared to oils. Painting over is the most reliable method for correcting errors.
Painting on Different Surfaces
Acrylic paints adhere well to a variety of surfaces. The most common are stretched canvases and canvas panels. These are made of cotton or linen canvas that is stretched over a wooden frame or mounted on cardboard.
You can also paint on wood, paper, fabric, and even some plastics, provided they are properly prepared. For porous surfaces like paper or unprimed wood, you might want to apply a layer or two of gesso first. Gesso is a primer that seals the surface and gives the paint something to grip onto.
It also creates a nice, consistent painting ground.
- Canvas Panels: These are rigid boards covered with canvas. They are economical and great for practice or smaller works.
- Stretched Canvases: These are canvases stretched over wooden stretcher bars. They offer a more traditional look and feel, and are available in many sizes.
- Wood Panels: These can be MDF, plywood, or solid wood. They offer a very smooth and rigid surface, good for detailed work. Ensure they are sealed to prevent warping.
Creating Your First Simple Acrylic Painting
With your tools ready and basic techniques in mind, it’s time to paint something simple. The goal here is not perfection, but to gain confidence and experience the joy of creating. Let’s aim for a simple subject that allows you to practice color mixing and basic brushwork.
A simple landscape, a fruit bowl, or even abstract shapes can be great starting points.
We’ll walk through a basic example, like a simple sunset. This subject uses a range of colors and offers opportunities for blending. Remember, this is your painting, so feel free to adapt and experiment.
The process is as important as the final outcome when you are just starting out.
Simple Sunset Painting Example
Let’s paint a basic sunset over a distant horizon. You’ll need red, yellow, orange, blue, and white paints.
- Prepare Your Surface: Make sure your canvas or panel is ready.
- Mix Your Sky Colors: On your palette, mix some yellow and red to create orange. Also, have pure yellow and pure red ready. Mix white with blue to create a light blue for the lower sky.
- Paint the Sky Base: Using your larger flat brush, start by applying the light blue at the very top of your canvas. Then, blend it down into yellow, then orange, and finally a rich red at the horizon line. Work quickly while the paint is wet to blend the colors smoothly.
- Add Sun Rays (Optional): If you want, you can add thin white or light yellow lines radiating from where the sun would be.
- Paint the Horizon: Below the red, paint a dark silhouette for land or mountains. You can mix a dark brown or use black. Make sure this layer is solid.
- Refine and Dry: Let your painting dry completely. You can go back and add more layers if needed, or soften the blends.
This simple exercise will help you practice blending colors and applying paint in broad strokes. The quick drying time means you can add details or corrections as soon as the base layer is dry. This builds confidence in your ability to achieve desired effects.
Tips for Success
Keep your expectations realistic for your first few paintings. The goal is to learn and enjoy the process. Don’t compare your work to professional artists.
Every artist started somewhere.
Clean your brushes as you go. This is crucial for keeping your colors bright and your work looking clean. Have your reference image or idea in front of you.
This helps guide your color choices and composition.
- Work in Good Light: Natural light is best, but if not possible, use bright, even artificial light. This helps you see your colors accurately.
- Step Back Frequently: Every so often, step back from your painting to see it from a distance. This helps you spot errors in proportion or color balance you might miss up close.
- Don’t Overwork It: Sometimes, less is more. Avoid fussing over every little detail, especially when starting. Let the paint and your instincts guide you.
Acrylic Painting for Beginners Easy Starter Guide Frequently Asked Questions
Question: What kind of surface is best for acrylic painting beginners?
Answer: For beginners, canvas panels are excellent because they are affordable, rigid, and easy to handle. Stretched canvases are also a great option, offering a more traditional feel and coming in many sizes.
Question: Do I need to use a lot of water with acrylic paints?
Answer: A little water can help thin acrylic paints for smoother application and easier blending. However, using too much water can weaken the paint’s binder, making it less durable and prone to flaking once dry. It’s best to use water sparingly or in conjunction with acrylic mediums.
Question: How can I make my acrylic paint dry slower?
Answer: You can slow down acrylic drying time by using a “stay-wet” palette, misting your paints with water, or mixing in acrylic retarder mediums. These methods give you more time for blending colors.
Question: Is it hard to clean acrylic paint brushes?
Answer: Acrylic paint cleans up easily with soap and water when it’s wet. It’s important to rinse your brushes thoroughly after each painting session, and if paint dries in the bristles, it can be very difficult to remove and may ruin the brush.
Question: What is the difference between student-grade and artist-grade acrylic paints?
Answer: Student-grade paints are more affordable and contain less pigment, often using more filler. Artist-grade paints are more expensive but have higher pigment concentration, leading to richer colors and better lightfastness (resistance to fading).
Summary
Starting your art adventure with Acrylic Painting for Beginners: Easy Starter Guide is a wonderful choice. You’ve learned about the essential tools, how to mix colors, and basic painting techniques. Remember that practice is key, and don’t be afraid to make mistakes; acrylics make them easy to fix.
Grab your paints and brushes, and let your creativity flow!