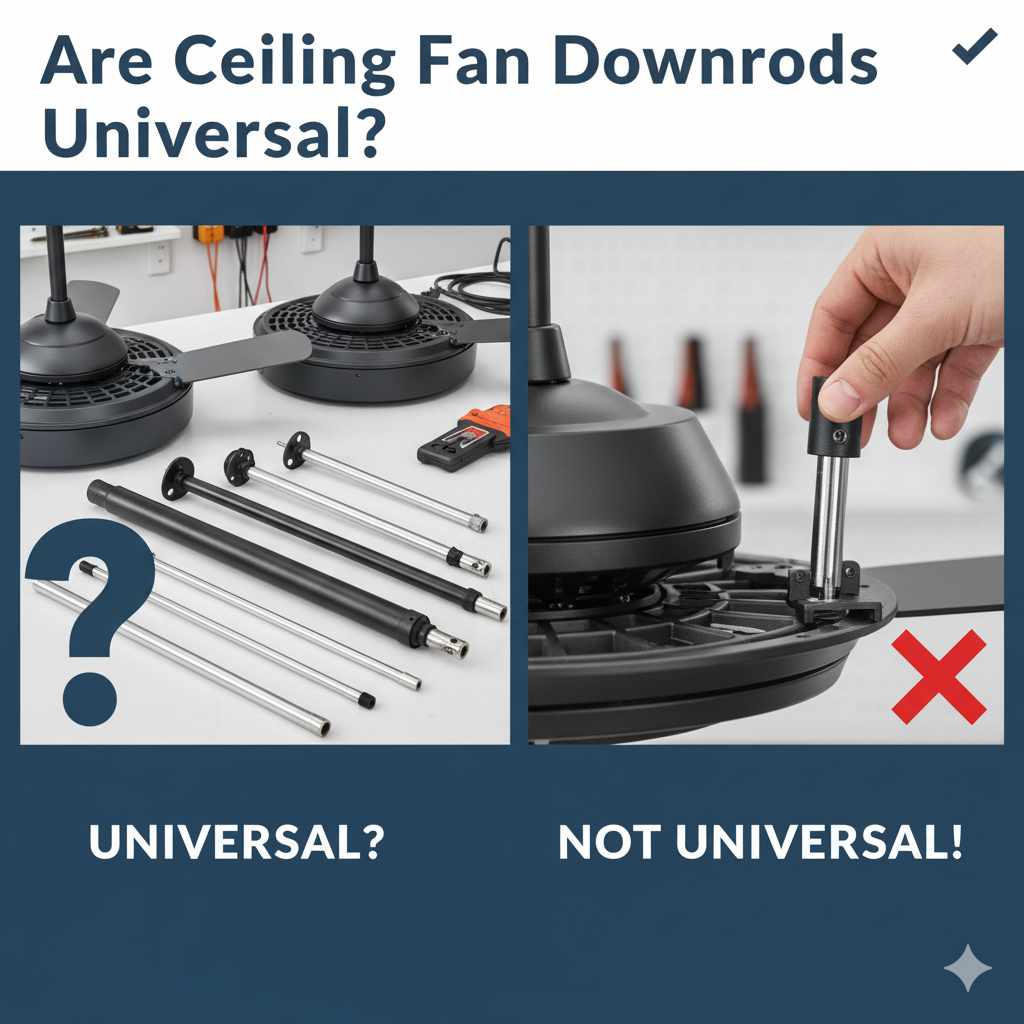
Are Ceiling Fan Downrods Universal? Essential Guide
Quick Summary:
No, ceiling fan downrods are not universally interchangeable. While many share similar threading and mounting styles, variations in diameter, length, and connection types mean you can’t assume any downrod will fit any fan. Always check compatibility with your specific fan model and the downrod manufacturer’s specifications.
Hey there, DIY friends! Md Meraj here. Ever look up at your ceiling fan and think, “I’d love to hang this a bit lower to get better air circulation,” or maybe you’re installing a new fan and the included downrod just isn’t the right length? It’s a common thought, and it leads to a big question: are ceiling fan downrods universal? It would be so convenient if they were, right? You could just grab any old downrod and screw it in. But as with many home improvement projects, the reality is a little more nuanced. Don’t worry, though! We’re going to break down exactly what you need to know to find the right downrod for your fan. We’ll cover everything from common sizes to how to make sure you get a safe and secure fit. Let’s get your fan looking and working just right!
Understanding Ceiling Fan Downrods: More Than Just a Stick
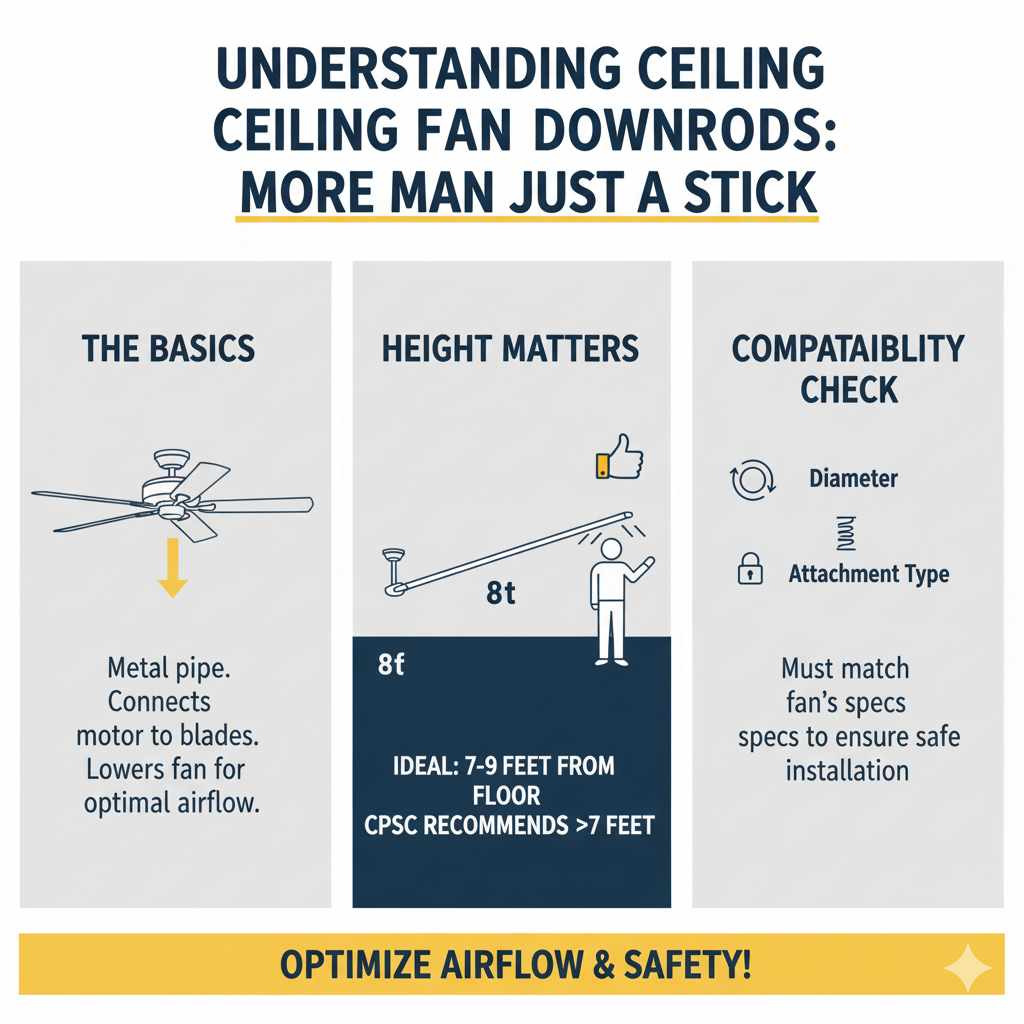
A ceiling fan downrod, sometimes called a down rod or extension rod, is the metal pipe that connects the ceiling-mounted motor housing of your fan to the fan blades. Its primary job is to lower the fan from the ceiling, which is crucial for optimal air movement. A fan hung too close to the ceiling won’t circulate air effectively throughout the room. Conversely, a downrod that’s too long can make the fan look a bit out of place or even pose a safety hazard if it’s not securely mounted.
The length of the downrod is determined by your ceiling height. For standard 8-foot ceilings, a short downrod (3-6 inches) or the one often included with the fan is usually sufficient. For higher ceilings, you’ll need longer downrods to bring the fan down to the ideal height. The ideal height for a ceiling fan is generally considered to be between 7 and 9 feet from the floor. This ensures the blades are low enough to create a good breeze but high enough to avoid hitting anyone walking underneath. The U.S. Consumer Product Safety Commission (CPSC) recommends that fan blades should be at least 7 feet from the floor to prevent injuries.
So, while the concept of a downrod seems simple, there are several factors that determine its compatibility with a specific fan. These include the diameter of the rod, the threading at both ends, and the way it attaches to the motor housing and the ceiling mount. Understanding these differences is key to avoiding frustration and ensuring a safe installation.
Why Downrods Aren’t Always Universal: The Key Differences
The main reason ceiling fan downrods aren’t universal is due to variations in design and manufacturing across different brands and models. Here are the primary factors that cause incompatibility:
1. Diameter and Threading
This is one of the most common points of confusion. While many downrods might look similar, the diameter of the pipe can vary. More importantly, the threading at the top (where it connects to the fan motor) and the bottom (where it might connect to a canopy or decorative cover) can differ. Some use standard pipe threads, while others might have proprietary threading specific to a brand. Even a slight difference in thread pitch or size can prevent a secure connection.
2. Mounting Mechanism
How the downrod attaches to the fan motor can also vary. Most modern fans use a ball-and-socket system. The top of the downrod has a ball that fits into a corresponding socket in the fan’s mounting bracket. However, the size of this ball and socket can differ. Some older or specialized fans might use a different attachment method altogether, such as a direct bolt-on connection.
3. Internal Wiring
The downrod isn’t just a piece of metal; it also serves as a conduit for the fan’s electrical wiring. The hole inside the downrod needs to be large enough to accommodate the wires coming from the motor housing. If a downrod’s internal diameter is too small, you won’t be able to thread the wires through, making it impossible to connect the fan.
4. Weight and Support
Ceiling fans, especially larger ones, can be quite heavy. Downrods are designed to support this weight. While most standard downrods are made of steel, the thickness of the metal and the overall construction need to be robust enough for the fan they are intended for. Using a downrod not rated for the fan’s weight could lead to a dangerous failure.
5. Brand-Specific Designs
Many major ceiling fan manufacturers (like Hunter, Casablanca, Monte Carlo, Westinghouse, etc.) design their fans and accessories with specific dimensions and connection types. This ensures that customers purchase replacement parts or extensions directly from the brand, maintaining their product’s integrity and offering a consistent aesthetic. While some aftermarket universal downrods exist, they often come with caveats or require adapters.
Common Downrod Sizes and Types
Even though they aren’t universal, there are common standards and sizes that make finding a compatible downrod easier. Understanding these can help you identify what you might need.
Standard Diameters
The most common diameter for ceiling fan downrods is 3/4 inch. This size is widely used by many manufacturers. However, you can also find downrods in diameters like 1/2 inch or even larger for very substantial fans. Always measure the diameter of your existing downrod or check your fan’s manual to confirm the required size.
Common Lengths
Downrods come in a wide range of lengths to accommodate different ceiling heights. Here are some typical lengths you’ll encounter:
- 3 inches (often used for very low ceilings or flush-mount conversions)
- 6 inches
- 12 inches
- 18 inches
- 24 inches
- 36 inches
- 48 inches
- 60 inches
- 72 inches
Remember, the goal is to have the fan blades 7-9 feet from the floor. You can calculate the required downrod length by subtracting the distance from the ceiling to the mounting bracket (which can vary) and the fan’s motor housing height from your total ceiling height, then ensuring the final fan height is within the ideal range.
Materials and Finishes
Downrods are typically made of steel for strength. They come in various finishes to match your ceiling fan and decor, such as brushed nickel, polished brass, oil-rubbed bronze, white, black, and stainless steel. When buying a new downrod, try to match the finish of your existing fan for a cohesive look.
Specialty Downrods
Some fans might require specialized downrods, especially those designed for sloped ceilings or specific mounting systems. Sloped ceiling adapters are often used in conjunction with a downrod to ensure the fan hangs vertically and safely on an angled surface. You can find adapters for ceilings with a slope up to 45 degrees or even more, depending on the product. For example, fans designed for very high ceilings or grand rooms might have longer, more robust downrods, sometimes even requiring additional support cables.
How to Determine the Right Downrod for Your Fan
Finding the correct downrod doesn’t have to be a guessing game. Follow these steps to ensure you get a compatible and safe fit:
- Consult Your Fan’s Manual: This is your absolute best resource. The owner’s manual for your ceiling fan will specify the recommended downrod diameter, length, and any brand-specific requirements. If you don’t have the physical manual, search online for your fan’s model number along with “manual” or “specifications.”
- Measure Your Existing Downrod (if applicable): If you’re replacing a downrod or extending an existing setup, carefully remove the old one. Measure its total length from end to end. Also, measure its diameter using a tape measure or calipers. Check the threading at both ends to see if it appears standard or unusual.
- Check the Fan Motor Housing: Look at where the downrod connects to the fan motor. Is there a ball joint? What is its approximate diameter? Does the downrod screw in? Are there any visible brand names or model numbers on the motor housing?
- Measure Your Ceiling Height: Use a reliable tape measure to determine the height of your ceiling from the floor.
- Calculate Required Length: Based on your ceiling height and the desired fan height (7-9 feet from the floor), calculate the necessary downrod length. Subtract the distance from the floor to the fan’s mounting point on the ceiling from your ceiling height. Ensure the result falls within the ideal range. For instance, if you have a 12-foot ceiling and want the fan blades 8 feet from the floor, you need a downrod that, when combined with the mounting hardware and motor housing, results in an 8-foot drop.
- Identify the Mounting Type: Most modern fans use a hanger ball and bracket system. The downrod has a ball on top that seats into a swivel bracket. Ensure the downrod you choose is compatible with this system.
- Consider Wiring: Make sure the internal diameter of the downrod is sufficient for the fan’s electrical wires to pass through easily. Most standard downrods have ample space, but it’s worth noting.
- Contact the Manufacturer or a Specialist: If you’re still unsure after checking your manual and measuring, don’t hesitate to contact the ceiling fan manufacturer’s customer support. They can provide precise information about compatible accessories. Alternatively, a reputable lighting or fan store can offer expert advice.
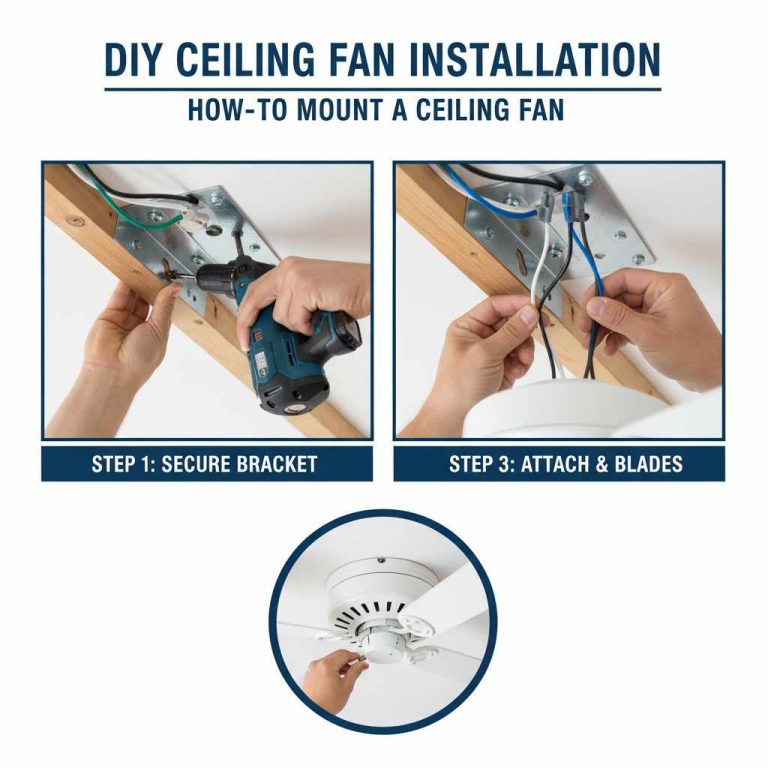
DIY Installation: Attaching a New Downrod
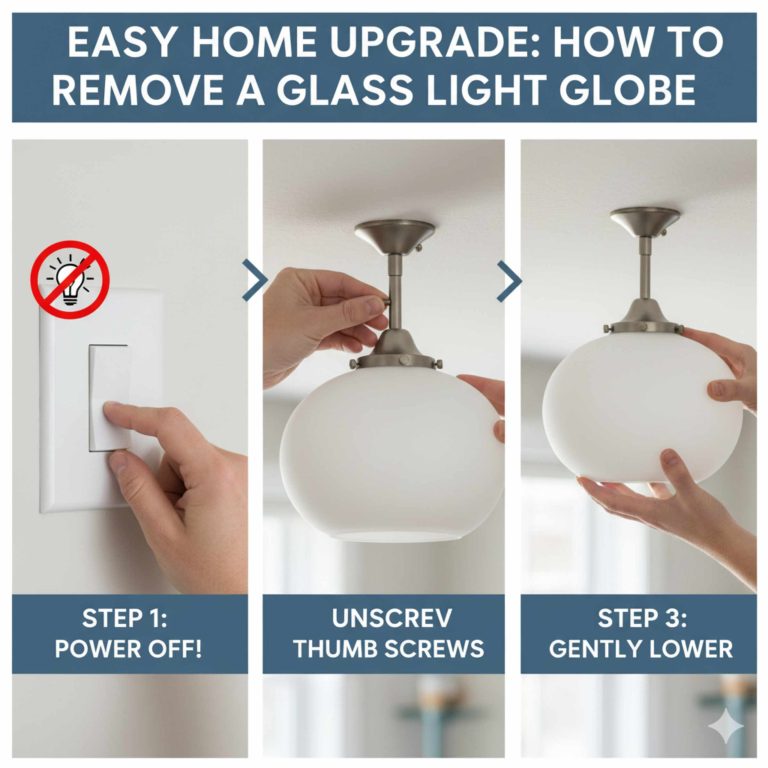
Installing a new downrod is a straightforward DIY task, but it requires careful attention to safety. Always turn off the power to the fan circuit at the breaker box before you begin. Working with electricity can be dangerous.
Tools You’ll Likely Need:
- Screwdriver set (Phillips and flathead)
- Wire strippers/cutters
- Pliers
- Adjustable wrench
- Voltage tester (non-contact is easiest)
- Ladder
- Your new downrod and any included hardware
- Wire nuts (usually included with new fans or downrods)
Step-by-Step Installation Guide:
- Turn Off Power: Go to your home’s electrical panel and switch off the breaker that controls the ceiling fan circuit. Double-check that the power is off by trying to operate the fan or its light. A non-contact voltage tester is a great way to confirm no power is present at the ceiling box.
- Disassemble the Old Fixture (if applicable): If you’re replacing an old downrod, carefully remove the canopy (the decorative cover at the ceiling), the old downrod, and the fan motor assembly. You may need to disconnect wires. Take pictures as you go to help with reassembly.
- Prepare the New Downrod: Thread the electrical wires from the fan motor through the new downrod. Some downrods have a set screw to secure them to the motor collar, while others rely on the ball joint fitting snugly. Follow the manufacturer’s instructions for your specific downrod.
- Attach the Downrod to the Motor: Slide the canopy and any decorative trim onto the downrod first (you’ll do this before attaching it to the motor if the downrod screws into the motor housing). Then, attach the downrod to the fan motor assembly according to the manufacturer’s instructions. This usually involves inserting a pin and securing it with a cotter pin or set screw. Make sure it’s very secure.
- Hang the Fan Assembly: Lift the fan motor assembly and hang it onto the mounting bracket in the ceiling electrical box. Most systems have a hook or a groove that allows the fan to hang temporarily while you connect the wires. The ball at the top of the downrod should seat correctly into the swivel bracket.
- Connect the Wires: Following your fan’s wiring diagram, connect the wires from the ceiling box to the wires from the fan motor. Typically, this involves connecting black to black (hot), white to white (neutral), and green or bare copper to green or bare copper (ground). Use wire nuts to secure the connections.
- Secure the Canopy: Once the wiring is complete and tucked neatly into the electrical box, slide the canopy up to the ceiling and secure it according to the fan’s instructions. This usually involves screwing it into the mounting bracket.
- Restore Power and Test: Turn the power back on at the breaker box. Test the fan at all speeds and check the light (if applicable). Ensure there are no wobbles or unusual noises.
When an “Aftermarket” or “Universal” Downrod Might Work
While not truly universal, some companies do offer “universal” downrods. These are typically designed to fit the most common 3/4-inch diameter downrod systems with standard ball-and-socket mounts. They often come with adapters or instructions to help them work with a wider range of fans.
However, it’s crucial to approach these with caution:
- Check Specifications Carefully: Always verify the downrod’s diameter, threading, and mounting style against your fan’s requirements.
- Weight Capacity: Ensure the aftermarket downrod is rated to support the weight of your specific fan model.
- Reputable Brands: Stick to well-known brands that specialize in ceiling fan parts.
- Potential for Issues: Be aware that using a non-OEM (Original Equipment Manufacturer) part could potentially void your fan’s warranty.
For most homeowners, the safest and most reliable approach is to purchase a downrod specifically designed or recommended for your ceiling fan brand and model. This ensures compatibility, maintains safety standards, and often provides a better aesthetic match.
Safety First: Ensuring a Secure Installation
A ceiling fan is a significant fixture, and its secure installation is paramount for safety. A fan that is not properly installed, or uses incompatible parts, can wobble excessively, become noisy, or, in the worst-case scenario, detach from the ceiling. Here are key safety considerations when dealing with downrods:
- Secure the Set Screw/Pin: If your downrod uses a set screw or pin to attach to the motor collar, ensure it is tightened securely. Many downrods also come with a locking pin and a cotter pin to prevent the downrod from loosening over time. Do not skip these safety features.
- Proper Ceiling Support: The electrical box in your ceiling must be rated for ceiling fan support. Standard light fixture boxes are not strong enough. If you’re unsure, have an electrician check or replace the box. The CPSC offers guidance on ceiling fan safety.
- Avoid Over-Tightening: While you want connections to be secure, over-tightening screws or fittings can strip threads or damage components.
- Balance Your Fan: Even with the correct downrod, fans can wobble if the blades are not balanced. Most fans come with a balancing kit. If wobbling persists after installation, use the kit to correct it.
- Regular Checks: Periodically check that all screws and fittings related to the downrod and mounting bracket are still tight. This is especially important in homes with frequent vibrations.
Troubleshooting Common Downrod Issues
Even with careful planning, you might encounter a few snags. Here’s how to address common downrod-related problems:
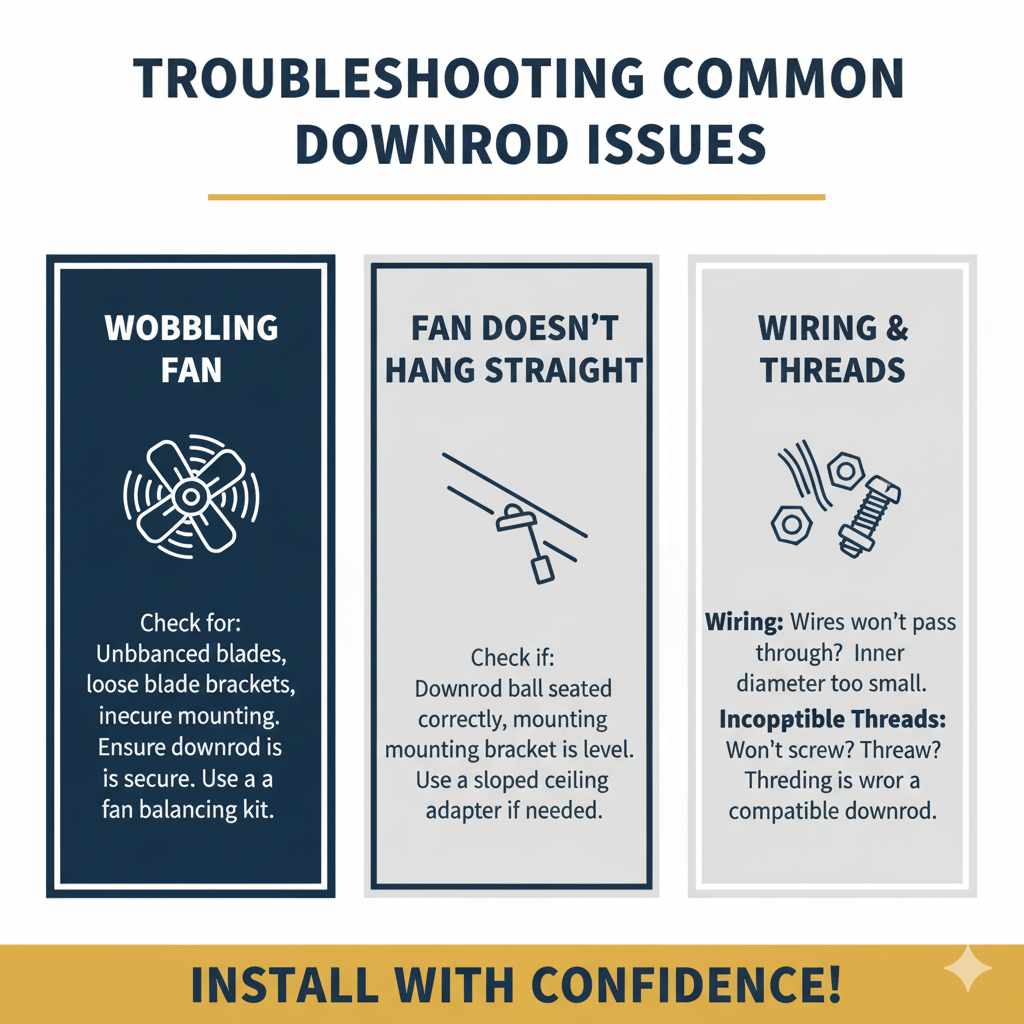
Wobbling Fan
If your fan wobbles, it’s rarely the downrod itself unless it’s extremely loose or bent. Most often, wobbling is due to unbalanced blades, loose blade brackets, or an insecure mounting system. Ensure the downrod is securely attached to both the motor and the mounting bracket, and then use your fan’s balancing kit.
Fan Doesn’t Hang Straight
This can happen if the downrod ball isn’t seated correctly in the swivel bracket or if the mounting bracket is not installed level. For sloped ceilings, ensure you are using the correct sloped ceiling adapter and that the downrod is compatible with it.
Wiring Issues
If wires won’t pass through the downrod, the internal diameter might be too small for your fan’s wiring harness. This is a clear sign that the downrod is not compatible. You’ll need a downrod with a larger internal diameter.
Incompatible Threads
If the downrod won’t screw into the motor housing or the canopy, the threading is likely incompatible. Double-check the specifications of both your fan and the downrod. Sometimes, adapters can be found, but it’s usually better to get a compatible downrod.
Frequently Asked Questions (FAQ)
Q1: Can I use a downrod from a different brand of ceiling fan?
Generally, no. While some aftermarket downrods are designed to be compatible with common mounting systems, it’s best to use a downrod specifically made for your fan brand and model to ensure a secure fit and maintain warranty. Always check the specifications.
Q2: How do I know if my ceiling fan downrod needs replacing?
You might need to replace your downrod if you’re installing a fan on a higher ceiling and need a longer extension, or if the existing one is damaged, bent, or has worn threads. Always prioritize safety and ensure the replacement is compatible.
Q3: What is the standard diameter for a ceiling fan downrod?
The most common diameter for ceiling fan downrods is 3/4 inch. However, other sizes exist, so it’s crucial to measure your existing downrod or check your fan’s manual for the correct specification.
Q4: Can I paint a ceiling fan downrod?
Yes, you can paint a downrod to match your decor. Ensure the downrod is clean and dry. Lightly sand it for better adhesion, then use a spray primer followed by spray paint designed for metal. Allow it to dry completely before installation. Ensure the paint doesn’t interfere with any set screws or internal mechanisms.
Q5: Do I need a special downrod for a sloped ceiling?
For ceilings with a significant slope (typically more than 15-20 degrees), you usually need a sloped ceiling adapter along with a downrod. The adapter allows the fan to hang vertically. Ensure both the adapter and the downrod are compatible with your fan model. Some fans come with built-in sloped ceiling capability.
Q6: How long should my downrod be?
The ideal downrod length depends on your ceiling height. The goal is to position the fan blades 7 to 9 feet from the floor for optimal air circulation. Measure your ceiling height and subtract the desired fan height to estimate the required downrod length, accounting for the fan’s motor housing and mounting hardware.
Conclusion
So, to circle back to our main question: are ceiling fan downrods universal? The short answer is no, they are not. While many share common dimensions like a 3/4-inch diameter, critical differences in threading, mounting styles, and internal wiring mean you can’t just grab any downrod and expect it to work. It’s essential to consult your fan’s manual, measure carefully, and purchase a downrod that is specifically compatible with your model.
Choosing the right downrod is more than just an aesthetic choice; it’s about ensuring your ceiling fan operates safely and efficiently. By understanding the factors involved and following the steps outlined in this guide, you can confidently select and install the perfect downrod, bringing comfortable airflow and a stylish touch to your home. Remember, when in doubt, always reach out to the manufacturer or a lighting professional. Happy installing, and enjoy that perfect breeze!