Can You Drill Into Concrete Without a Hammer Drill? Smart
Yes, you can drill into concrete without a hammer drill for small to medium-sized holes. The key is to use a high-quality carbide-tipped masonry drill bit with your regular drill. The process requires patience, applying steady pressure, and periodically clearing dust from the hole. This method works well for hanging shelves, pictures, or installing small fixtures.
Hello, fellow DIY enthusiasts! It’s Md Meraj here, your guide to making home improvement projects simple and successful. Have you ever been ready to hang a beautiful new shelf or mount a TV, only to be stopped by a solid concrete wall? It can feel like your project has hit a literal wall. Many people think you need a powerful, expensive hammer drill for any task involving concrete. I’m here to tell you that’s not always true!
For many common household jobs, your trusty regular drill can get the job done. You just need the right technique and one special tool. In this guide, I’ll walk you through everything, step-by-step. We’ll turn that “I can’t” into “I did it!” You’ll learn how to drill into concrete safely and effectively, saving you time, money, and a trip to the tool rental store. Let’s get you ready to conquer that concrete!
Why Is Concrete So Tough to Drill?
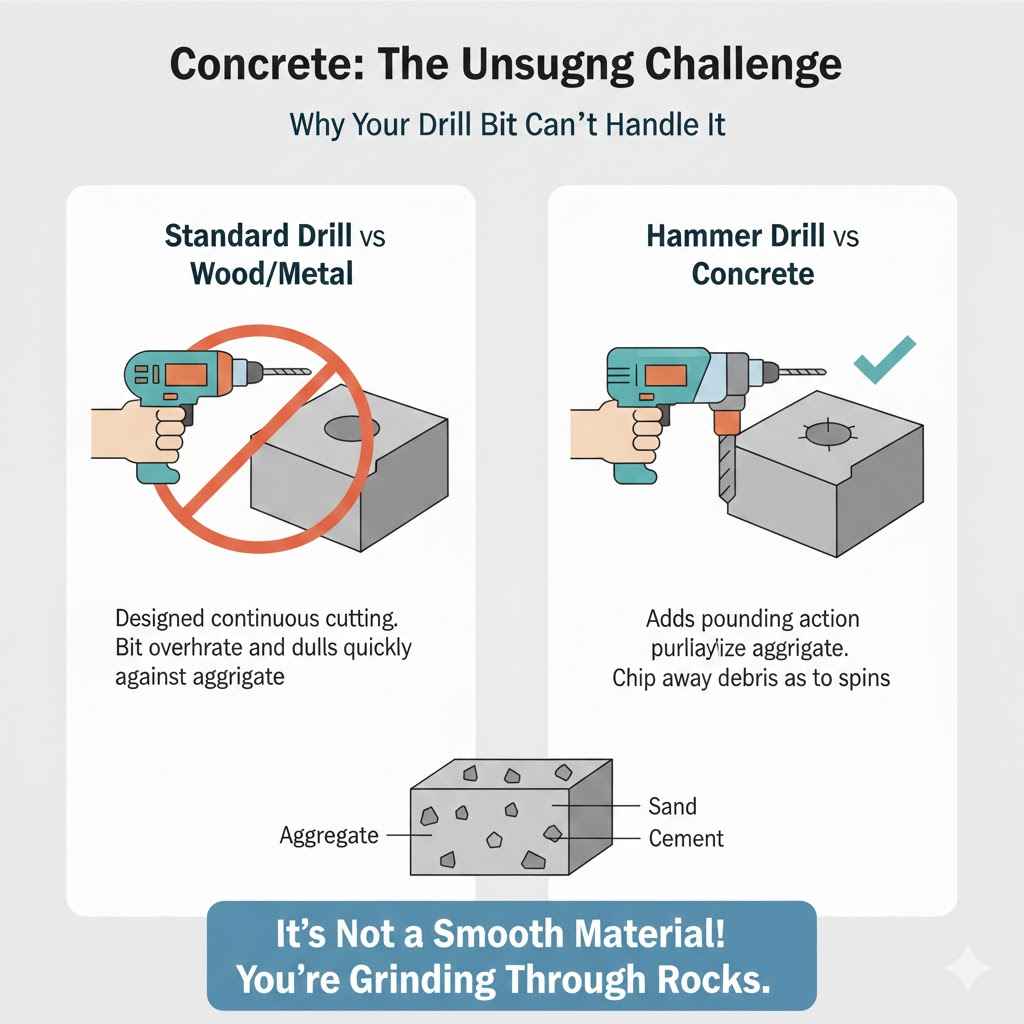
Before we dive into the “how,” let’s quickly understand the “why.” Why does concrete laugh at our regular drill bits? It’s not just a solid gray block. Concrete is a mix of cement, sand, and larger, harder rocks called aggregate. When you drill, you’re not just cutting through a smooth material; you’re trying to grind through tiny, super-hard stones.
A standard drill bit, designed for wood or metal, just spins against these rocks. It can’t bite in, and it quickly overheats and becomes dull. A hammer drill solves this problem by adding a rapid hammering or chiseling action as it spins. This pulverizes the concrete and aggregate, allowing the bit to clear out the debris.
But don’t worry! We can achieve a similar (though slower) result with a regular drill by using the right kind of drill bit and a bit of patience. Our goal is to grind away at the material bit by bit, and it’s completely doable for smaller tasks.
The Essential Tools for Drilling Without a Hammer Drill
You don’t need a whole new toolbox for this job. You likely already have the main tool. The real hero of this story is the drill bit. Here’s what you’ll need to gather.
1. Your Regular Power Drill
Any standard corded or cordless drill will work. A corded drill often provides more consistent power, which can be helpful for a tough material like concrete. If you’re using a cordless drill, make sure your battery is fully charged. You’ll be asking a lot from your drill, so give it all the power it can get!
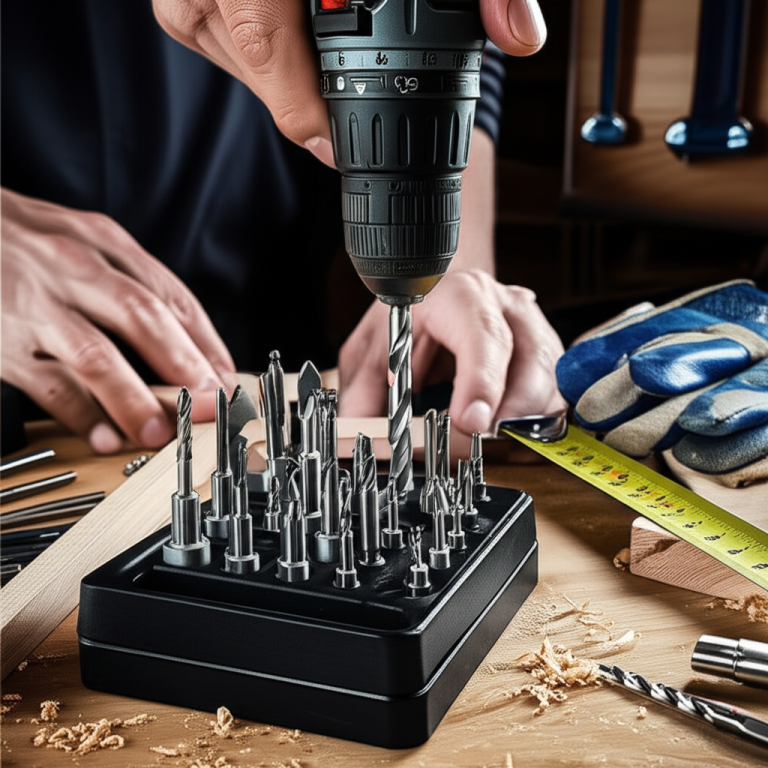
2. Carbide-Tipped Masonry Drill Bits
This is the non-negotiable part of the equation. You absolutely must use a drill bit designed for masonry. These bits are easy to spot. They have a special, arrowhead-shaped tip made from tungsten carbide, an extremely hard material that can grind away at concrete and stone.
- Look for the Tip: The tip is wider than the shaft of the bit. This unique shape allows it to pulverize the concrete effectively.
- Buy a Set: It’s a good idea to buy a small set of masonry bits in different sizes. This gives you options and a backup if one becomes dull.
- Don’t Use a Wood or Metal Bit: I can’t stress this enough. Using a regular bit will destroy the bit and you won’t make a dent in the concrete.
3. Essential Safety Gear
Working with concrete creates fine, sharp dust that you do not want in your eyes or lungs. Safety is always our first step in any project. According to the Occupational Safety and Health Administration (OSHA), concrete dust can be hazardous, so protection is key.
- Safety Goggles: Protect your eyes from flying dust and debris.
- Dust Mask or Respirator: A simple N95 mask is a good choice to prevent inhaling silica dust.
- Work Gloves: Protect your hands and improve your grip on the drill.
4. Other Handy Items
- Measuring Tape & Pencil: For marking your spot accurately.
- Shop-Vac or Vacuum Cleaner: For cleaning up the dust as you go.
- A Can of Compressed Air or a Small Squeeze Blower: For clearing dust out of the hole.
- A Cup of Water: To help keep your drill bit cool during the process.
- Masking Tape: A simple trick to help your drill bit get started without slipping.
Step-by-Step: How to Drill Into Concrete With a Regular Drill
Alright, you’ve gathered your tools and you’re ready to go. Let’s walk through this process one simple step at a time. Remember, the key here is patience, not power.
Step 1: Put on Your Safety Gear
Before you even plug in the drill, put on your safety goggles, dust mask, and gloves. Your well-being is the most important part of any DIY project. Make sure your workspace is clear and you have stable footing.
Step 2: Mark Your Drilling Spot
Use your measuring tape to find the exact spot where you need the hole. Mark it clearly with a pencil or a marker. A small “X” is perfect. For extra precision, you can use a nail set or a large nail and a hammer to create a tiny indent right in the center of your mark. This small divot will give your drill bit a place to sit and prevent it from “walking” or skittering across the surface when you start.
Step 3: Apply a Piece of Masking Tape
Here’s a great little trick for beginners. Place a small piece of masking tape over your mark. This provides a bit of extra grip for the drill bit, further ensuring it doesn’t slip as you begin drilling. You can drill right through the tape.
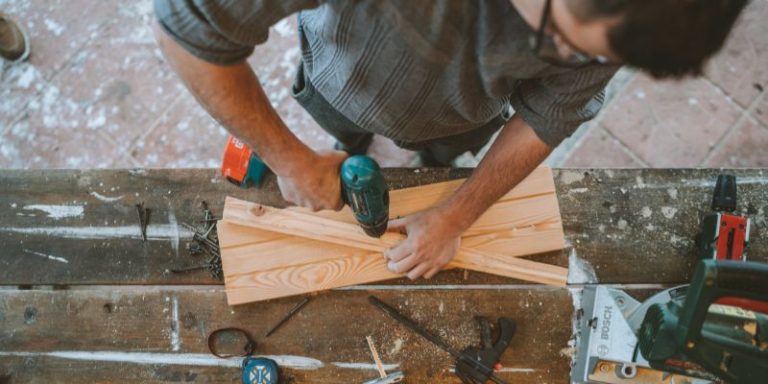
Step 4: Start Drilling Slowly
Insert the masonry bit into your drill and tighten the chuck securely. Set your drill to its lowest speed setting. Place the tip of the bit directly on your mark. Hold the drill perfectly straight, perpendicular to the wall. Begin drilling with light pressure at a slow, controlled speed. The goal here is just to get the hole started.
Step 5: Increase Speed and Apply Steady Pressure
Once the hole is started and the bit is securely seated (about 1/4 inch deep), you can increase the drill speed. Now, lean into the drill with your body weight, applying firm, steady pressure. Let the drill and the specialized bit do the work. Don’t force it or try to jam it in. You’ll feel the bit grinding away at the concrete.
Step 6: Pull Back to Clear Dust
This is the most critical step for success. After every 15-20 seconds of drilling, pull the spinning drill bit all the way out of the hole. This action clears out the concrete dust that builds up inside. If you don’t do this, the dust will clog the hole, causing friction and intense heat. This will burn out your drill bit and can even damage your drill’s motor.
You can use a can of compressed air or a hand blower to puff the remaining dust out of the hole. A shop-vac held near the hole while you drill also works wonders.
Step 7: Keep the Bit Cool
Drilling concrete generates a lot of heat. An overheated bit becomes dull very quickly. Have a small cup of water nearby. After clearing the dust, you can dip the tip of the drill bit into the water for a few seconds to cool it down. A cool bit is an effective bit! Just be careful not to get water near the drill itself.
Step 8: Repeat Until You Reach the Desired Depth
Continue this cycle: drill for 15-20 seconds with steady pressure, pull the bit out to clear dust, cool the bit if needed, and repeat. Use a piece of tape wrapped around your drill bit as a depth gauge. Once the tape reaches the wall, you know you’ve drilled deep enough. It’s a slow and steady process, but it works every time.
When to Use a Regular Drill vs. When You Need a Hammer Drill
While a regular drill is fantastic for many tasks, it does have its limits. Knowing when to use which tool will save you a lot of frustration. Here’s a simple breakdown:
| Scenario | Use a Regular Drill with a Masonry Bit | Use a Hammer Drill |
|---|---|---|
| Hanging Pictures or Small Shelves | Perfectly fine. The holes are small and shallow. | Overkill, but it will work faster. |
| Installing Curtain Rod Brackets | Good choice. These require small screws and anchors. | Works well, but not necessary. |
| Mounting a Mailbox or House Numbers | Yes, this is a great application. | Faster, but a regular drill is sufficient. |
| Drilling Many Holes (e.g., more than 10) | Possible, but will be very time-consuming and hard on your drill. | Highly recommended. It will save a lot of time and effort. |
| Drilling Large Diameter Holes (over 1/2 inch) | Not recommended. Your drill may not have enough power and will overheat. | Necessary. The hammer action is required for larger holes. |
| Drilling into Very Old, Hard Concrete | It may struggle or be impossible. Old concrete can be incredibly dense. | Necessary. The power and impact are needed here. |
| Anchoring Heavy Items (e.g., a handrail, large TV mount) | Not recommended. These require larger, deeper holes for secure anchoring. | Highly recommended for safety and stability. |
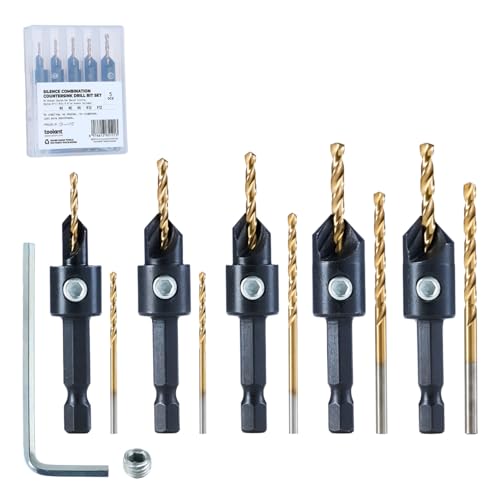
Choosing the Right Masonry Drill Bit
Not all masonry bits are created equal. For our purposes with a regular drill, the standard carbide-tipped bit is king. However, it’s good to know what else is out there.
| Bit Type | Best For | Pros | Cons |
|---|---|---|---|
| Carbide-Tipped Masonry Bit | Brick, mortar, and most concrete blocks/slabs. The best choice for regular drills. | Affordable, widely available, effective for small jobs. | Wears out faster on very hard concrete, not ideal for rebar. |
| Multi-Material Bit | Drilling through a combination of materials, like tile then concrete, or wood then brick. | Very versatile, sharp diamond-ground edges, good for clean holes. | More expensive than standard masonry bits. |
| SDS/SDS-Plus Bit | Rotary hammers and some hammer drills. They do not fit in a standard drill chuck. | Extremely durable, designed for heavy-duty hammering action. | Incompatible with regular drills. |
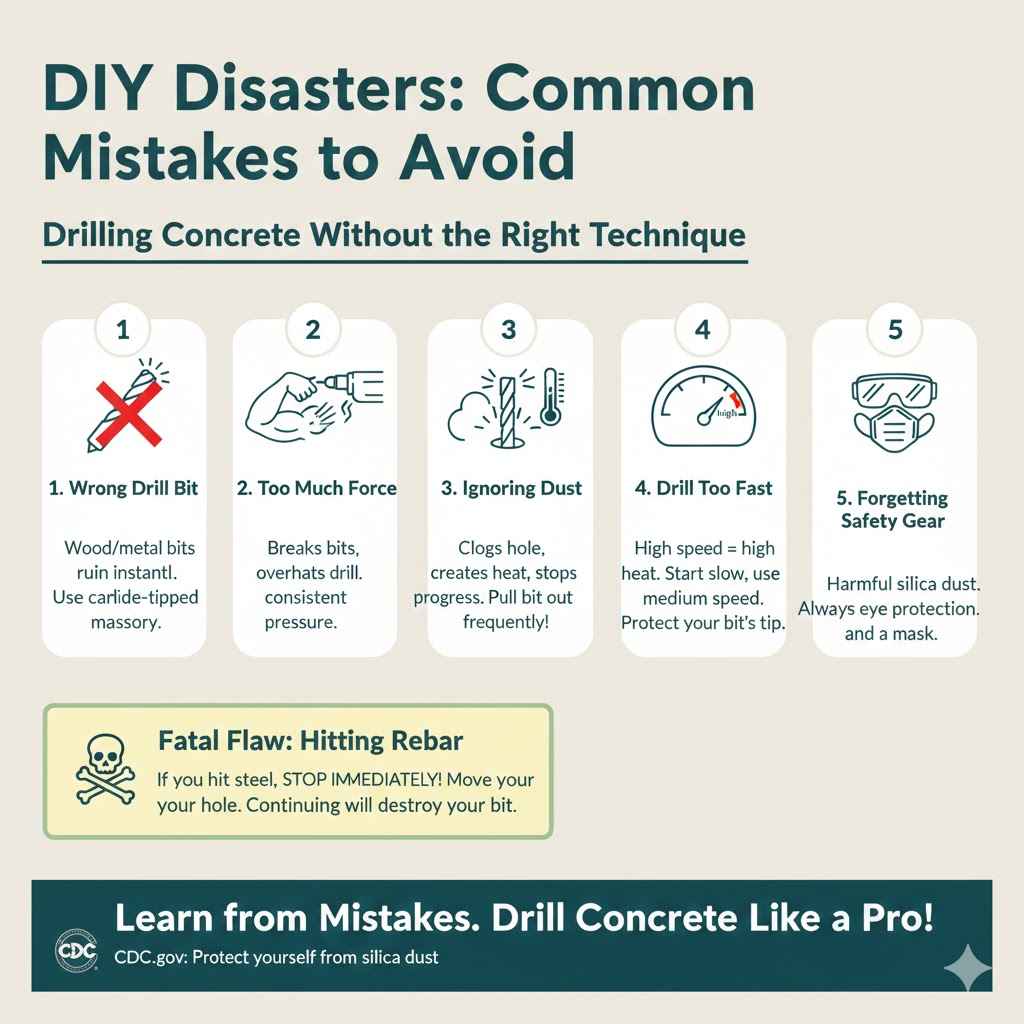
Common Mistakes to Avoid
Even with the right steps, a few common mistakes can trip you up. Here’s what to watch out for:
- Using the Wrong Drill Bit: This is the number one mistake. A wood or metal bit will be ruined in seconds and won’t drill into the concrete. Always use a carbide-tipped masonry bit.
- Applying Too Much Force: Don’t try to muscle your way through. Let the bit do the work. Too much pressure can snap the bit or overheat your drill. Steady, consistent pressure is the key.
- Forgetting to Clear the Dust: This is a close second for the most common mistake. Clogged dust creates extreme heat and friction, stopping your progress and damaging your tools. Pull the bit out frequently!
- Running the Drill Too Fast: High speed creates more heat, not more progress. Start slow and use a medium speed once the hole is established. High RPMs can burn out the tip of your bit.
- Ignoring Safety Gear: Concrete dust is not just messy; it’s harmful. The CDC emphasizes the importance of protecting yourself from silica dust. Always wear your goggles and mask.
- Continuing to Drill if You Hit Rebar: If you suddenly hit something your drill can’t get through, you’ve likely hit a piece of steel rebar used for reinforcement. Stop immediately. Continuing to drill will destroy your bit. You will need to move your hole to a different location.
Frequently Asked Questions (FAQ)
1. Can I use a cordless drill to drill into concrete?
Absolutely! A good quality cordless drill with a fully charged battery can handle drilling smaller holes into concrete. The process is the same. Just be aware that it will drain the battery faster than drilling into wood, so having a spare battery on hand is a great idea.
2. How long does it take to drill a hole in concrete with a regular drill?
Patience is key. For a small hole (e.g., 1/4 inch diameter and 1.5 inches deep), it could take anywhere from 2 to 5 minutes depending on the hardness of the concrete. This is significantly longer than with a hammer drill, which might do it in 20 seconds. Just focus on the process, not the clock.
3. What’s the best drill bit size for hanging pictures?
The drill bit size depends entirely on the size of the wall anchor you are using. The packaging for the screw and anchor will tell you exactly what size drill bit to use. A common size for hanging medium-weight items is a 1/4-inch anchor, which requires a 1/4-inch masonry bit.
4. My drill bit is getting really hot and turning blue. What should I do?
Stop immediately! A blueish color means the bit has become extremely overheated, which ruins its hardness (the temper). This is usually caused by not clearing dust often enough or drilling at too high a speed. Let the bit cool down completely. If it’s discolored, it is likely ruined and should be replaced for best results.
5. Can I use the same technique for drilling into brick or mortar?
Yes, this technique works perfectly for brick and even better for mortar. Mortar (the stuff between the bricks) is much softer and easier to drill than concrete or brick. If you have the choice, drilling into the mortar joint is always the easiest option.
6. What do I do if my drill bit gets stuck?
If your bit gets stuck, don’t try to force it out by running the drill forward. Stop the drill, switch it to the reverse setting, and slowly pull the trigger to back the bit out. If it’s really stuck, you may need to gently wiggle it as you reverse the drill.
7. Do I need to use special screws for concrete?
Yes. You cannot just put a regular wood screw into a concrete hole. You need to use a plastic or lead wall anchor, which you tap into the hole first. The screw then expands the anchor, creating a tight, secure fit. Alternatively, you can use specialized concrete screws (like Tapcons) which are designed to cut their own threads into the concrete.
You’ve Got This!
Drilling into concrete might seem like a job reserved for the pros with heavy-duty tools, but that’s simply not the case for most everyday tasks around the house. By equipping your regular drill with a quality masonry bit and following the patient, step-by-step process we’ve outlined, you have everything you need to succeed.
Remember the keys to success: use the right bit, apply steady pressure, keep your speed moderate, and—most importantly—clear out that dust regularly. Taking your time is not a sign of weakness; it’s the sign of a smart DIYer who knows how to get the job done right without damaging their tools or their project.
So go ahead and plan that project. Whether you’re hanging a floating shelf, securing a cabinet to the wall, or finally putting up that gallery of family photos, you are now fully prepared to face that concrete wall with confidence. Happy building!