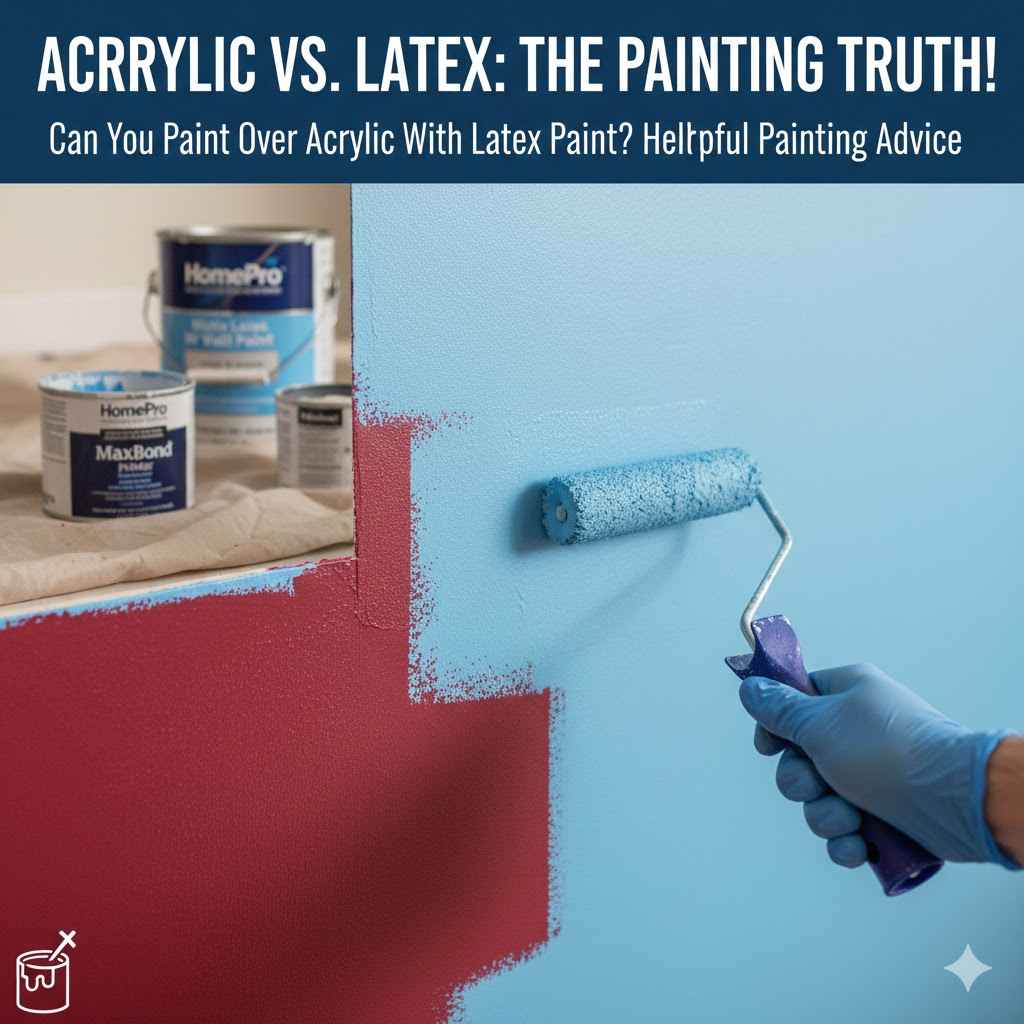
Can You Paint Over Acrylic With Latex Paint? Helpful Painting Advice
Thinking about giving your walls a fresh look? Many people wonder, Can You Paint Over Acrylic With Latex Paint? What to Know is a question that pops up a lot. It seems simple, but getting it right can be tricky! You might worry about the paint peeling or not sticking well. Don’t sweat it! We’ll explore the best way to handle this painting project. You’ll soon discover the secrets to a smooth and lasting finish. Keep reading to find a straightforward, step-by-step approach to success.
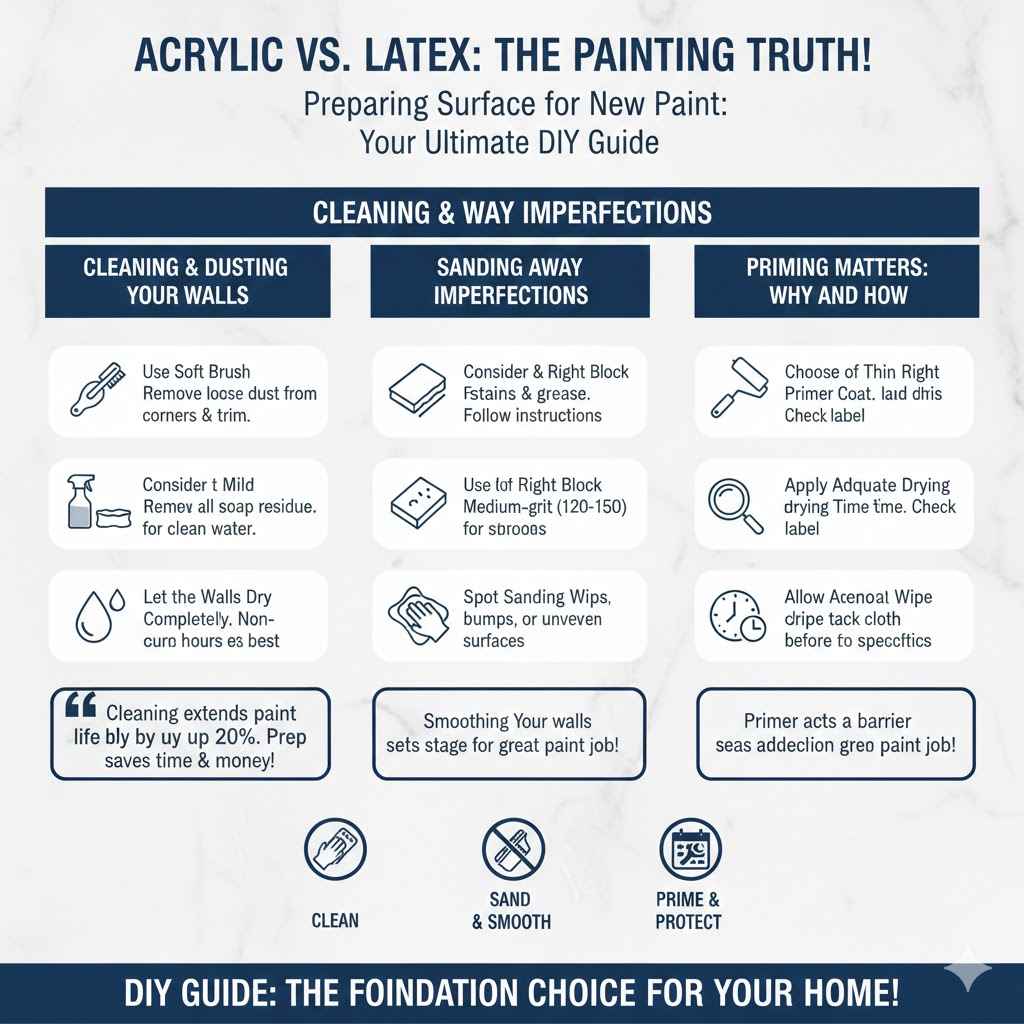
Preparing Your Surface for New Paint
Before you even think about picking up a paintbrush, getting ready is key. Proper surface prep can decide how your paint looks and how long it lasts. It’s like building a house – you need a solid foundation. Skipping this step can lead to problems down the road, like paint peeling or bubbles. We’ll look at the important prep work you must do to achieve a quality finish. This will give you the best base for your latex paint, creating a smooth and durable surface.
Cleaning and Dusting Your Walls
The first task is cleaning your walls. Dirt, dust, and grime are enemies of paint. They stop it from sticking properly. To start, take a damp cloth or sponge and wipe down the surfaces. You can also use a mild cleaner to remove any grease or stains. Be sure to rinse the walls with clear water afterwards to get rid of any soap residue. Let the walls dry completely before moving on to the next step. This is a very important part that can be skipped by some, but it can affect the finish. Removing grime and dust is essential for good adhesion.
- Use a Soft Brush: A soft-bristled brush will help remove loose dust and debris without damaging the wall’s existing paint. Focus on areas where dust commonly gathers, like corners and around trim.
- Consider a Mild Cleaner: If your walls have stains or are greasy, a mild cleaner can work wonders. Be sure the cleaner is suitable for painted surfaces. Follow the cleaner’s instructions carefully.
- Rinse Thoroughly: After cleaning, always rinse the walls with clean water to remove any soap residue. This will ensure that the new paint adheres correctly.
- Let the Walls Dry Completely: This is non-negotiable! The walls need to be completely dry before you start painting. Drying usually takes a few hours, depending on the humidity and ventilation.
A study showed that cleaning a surface before painting extends the lifespan of the paint job by up to 20%. Proper prep can save you time and money.
Sanding Away Imperfections
Next up is sanding. This helps smooth out any bumps or imperfections on the wall, like drips or uneven spots. Use medium-grit sandpaper (around 120-150 grit) for this. Gently sand the surface, being sure to use a sanding block to keep things even. Pay special attention to any areas that are rough or uneven. After sanding, wipe away the dust with a tack cloth or a clean, damp rag. This step is about creating a flat surface for your new coat of paint to bond with. Smoothing the walls sets the stage for a great paint job.
- Select the Right Sandpaper: Medium-grit sandpaper (120-150 grit) is the go-to for most walls. It’s coarse enough to smooth imperfections but gentle enough not to damage the underlying paint.
- Use a Sanding Block: A sanding block gives you an even sanding surface, preventing unevenness or gouges. It ensures that you’re sanding flat surfaces correctly.
- Spot Sanding: Focus on any areas that need attention. It may be where you can see drips, bumps, or any other texture.
- Dust Removal: After sanding, wipe away the dust with a tack cloth or a clean, damp rag. This prevents the dust from interfering with the new paint.
Priming Matters: Why and How
Priming is a step that many skip, but it’s super important. A primer creates a good surface for the latex paint to stick to, helping it last longer and look better. Primers also help block stains and even out the color of your walls. The primer acts like a barrier between the old acrylic paint and the new latex paint. This ensures good adhesion and avoids problems. With primer, you get a smoother finish and better durability.
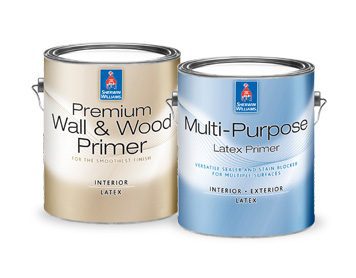
- Choose the Right Primer: Select a primer designed for use under latex paint. Check the label to be sure. There are various primers for different needs, like stain blocking or bonding.
- Apply a Thin, Even Coat: Avoid putting on the primer too thick, which can cause drips. Use a brush or roller to apply a thin, even layer. Follow the directions on the primer container.
- Allow Adequate Drying Time: Let the primer dry completely. The drying time will vary depending on the product and the conditions, so check the label.
- Consider a Second Coat: For extra protection or if you are covering a dark color, a second coat of primer can be useful.
Choosing the Correct Paint and Tools
The right paint and tools are half the battle. Picking the proper paint type, the right brushes, and rollers, can affect the look and durability of your project. Using the incorrect tools can cause streaks, unevenness, or a messy finish. We’ll explore the essential options, helping you select the best tools and paint for your job. This information ensures you are equipped with the knowledge to make wise choices, leading to great results.
Selecting the Proper Latex Paint
When you’re painting over acrylic with latex paint, the quality of the paint is very important. There are different kinds of latex paint with various properties. You’ll want to choose a paint that has good coverage and is designed to stick to existing surfaces. This will guarantee a smooth and durable finish. A good quality latex paint will offer better protection against wear and tear, and it will be easier to apply. It will save you time and effort.
- Paint Sheen: Choose the right sheen level. Flat paint hides imperfections, while satin and eggshell are good for most rooms. Semi-gloss is great for areas that get more wear.
- Paint Quality: A higher-quality paint usually provides better coverage and is more durable.
- Consider the Room: For bathrooms and kitchens, choose a paint that is mold and mildew resistant. For living rooms and bedrooms, choose a paint that is washable.
- Check the Label: Review the paint label for details. Check the coverage rate and drying time. Make sure the paint is suitable for interior use.
Statistics show that using premium-quality latex paint can increase the lifespan of a paint job by up to 30% when compared to cheaper options.
The Right Tools for the Job
Having the correct tools makes painting much easier and helps ensure you get a good finish. High-quality brushes and rollers make a big difference in how the paint applies and how smooth the final look is. Selecting the right tools for your project means less frustration and better results. It also cuts down on paint waste, so you will want to choose the right gear. Let’s explore the essential tools that will help you achieve a professional-looking result.
- Brushes: Get high-quality brushes for cutting in around edges and trim. Use angled brushes for clean lines.
- Rollers: Use rollers with the right nap length for the surface you are painting. A shorter nap is suitable for smoother surfaces, while a longer nap is great for textured ones.
- Paint Tray: A paint tray is key for easy access to paint. Use a tray liner for easier cleanup.
- Painter’s Tape: High-quality painter’s tape is a must for creating crisp lines. Choose a tape that is designed for the type of surface you are painting.
The Painting Process: Step-by-Step Guide
With your surface prepped and your tools assembled, it’s time to begin painting. This guide provides a clear, step-by-step process to ensure a professional finish. Properly applying latex paint over acrylic will require some care, but by following these steps, you will be able to complete the job successfully. We’ll focus on the essential steps and techniques, helping you get a flawless, long-lasting finish.
Applying the First Coat
Begin by applying your first coat of paint. This coat will set the foundation for the paint job. Starting with the edges of the walls is a smart idea. Use a brush to “cut in” along the edges of the walls, around windows, doors, and the ceiling. Then, use a roller to paint the larger areas, working in sections. This helps ensure that the paint is applied evenly. Good coverage is essential for a good-looking finish, and it helps the paint last longer.
- Cutting In: Use a brush to “cut in” around edges and trim. This involves applying paint with a brush to the edges of the walls, around windows, doors, and the ceiling. This creates a clean line.
- Rolling: Load the roller with paint. Then, apply the paint to the walls in a “W” or “M” pattern. Then, go back over the area to smooth out the paint.
- Overlap: When using a roller, overlap each stroke slightly. This prevents streaks.
- Consistent Coverage: Apply the paint evenly, without excessive amounts. Avoid drips and runs.
Applying a Second Coat
After the first coat has completely dried, you’ll apply a second coat. This second coat is important for achieving a smooth and even finish. Be patient and wait until the first coat is completely dry. A second coat provides better coverage, corrects any imperfections from the first coat, and it gives the paint more durability. Applying a second coat ensures that the color is consistent. It also helps the paint stand up to wear and tear over time.
- Check the Drying Time: Before applying a second coat, check the drying time specified on the paint can. Usually, this is a few hours. Ensure that the first coat is fully dry.
- Lightly Sand Between Coats (Optional): If you want to refine the finish, you can lightly sand the walls with fine-grit sandpaper. This eliminates any slight imperfections. Wipe away the dust.
- Consistent Application: Use the same methods as with the first coat. Cut in around edges and trim, and then use the roller to paint the larger areas.
- Even Coverage: Apply the second coat evenly, just like the first. Ensure that you achieve full coverage to produce a professional-looking finish.
Dealing With Common Paint Issues
Even with careful preparation, some common paint problems can happen. It’s smart to know what to do if you see drips, streaks, or other imperfections. Knowing how to handle these issues can save you from a lot of stress. We’ll explore solutions for some problems to get you the best result, helping you to correct and prevent issues.
- Drips and Runs: If you notice drips or runs, carefully wipe them up with a damp cloth or brush while the paint is still wet. Don’t let them dry. If the paint is already dry, you may need to sand it down and reapply the paint.
- Streaks: Streaks happen when the paint is not applied evenly. To fix streaks, ensure that you are using a consistent rolling technique, overlapping the strokes slightly. A second coat will help.
- Uneven Color: Make sure to stir the paint before use to get an even color. Make sure you use the same paint from the same can throughout the entire project.
- Peeling Paint: This can be due to poor surface prep or a problem with adhesion. Ensure that your surfaces are clean, dry, and primed before painting.
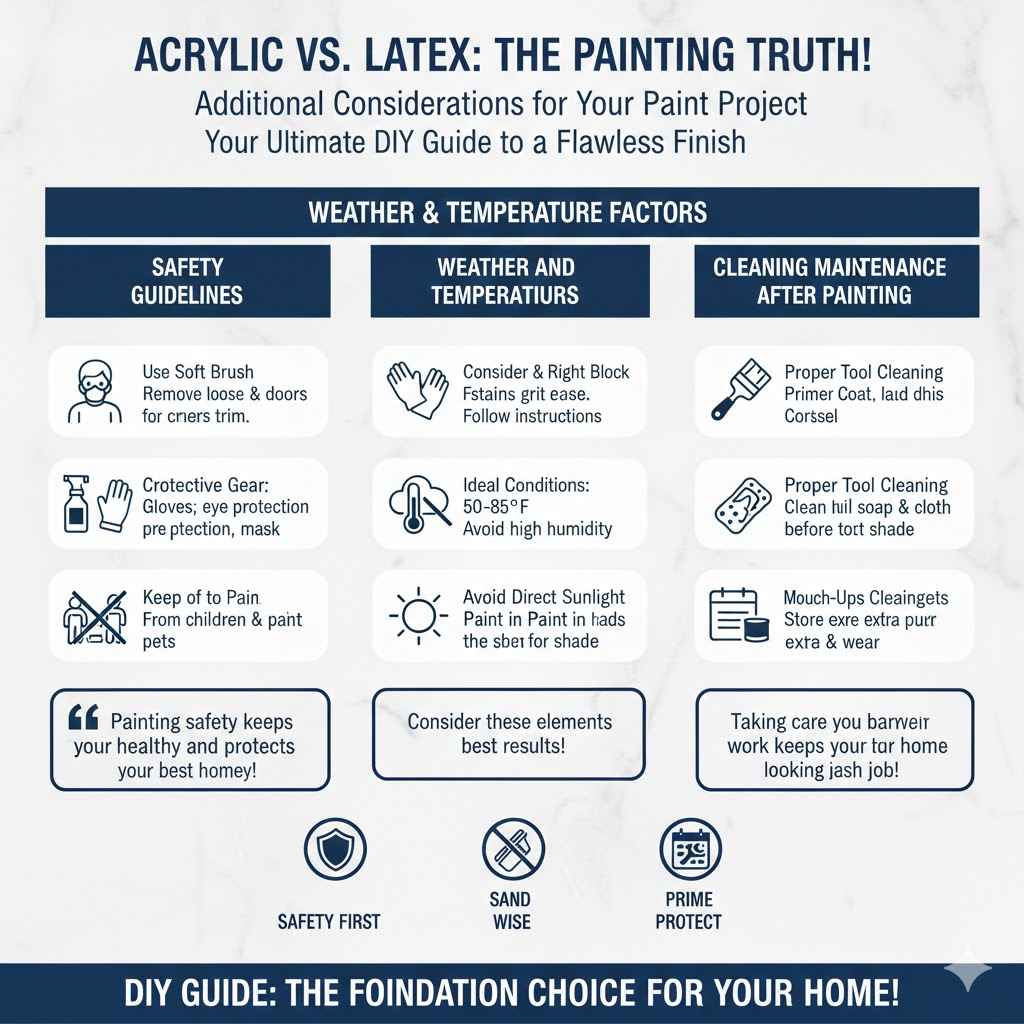
Additional Considerations for Your Paint Project
Beyond the fundamental painting steps, there are a few extra things to consider. These will help you get the best outcomes. Things like safety practices, weather conditions, and ventilation can affect the final results. Taking care of these details will enhance the beauty and longevity of your work. It also ensures you work in a safe environment.
Safety Guidelines
Safety is key when painting. Certain paints and primers can release fumes. Always read the instructions on the paint cans. This will help you protect yourself from paint fumes and accidents. Protect your eyes, skin, and lungs from exposure to chemicals. These safety measures are important for a comfortable and safe painting experience. Painting safety keeps you healthy and protects your home.
- Ventilation: Make sure you have good ventilation in the room. Open windows and doors to let fresh air circulate.
- Protective Gear: Wear protective gloves, eye protection, and a mask to prevent irritation.
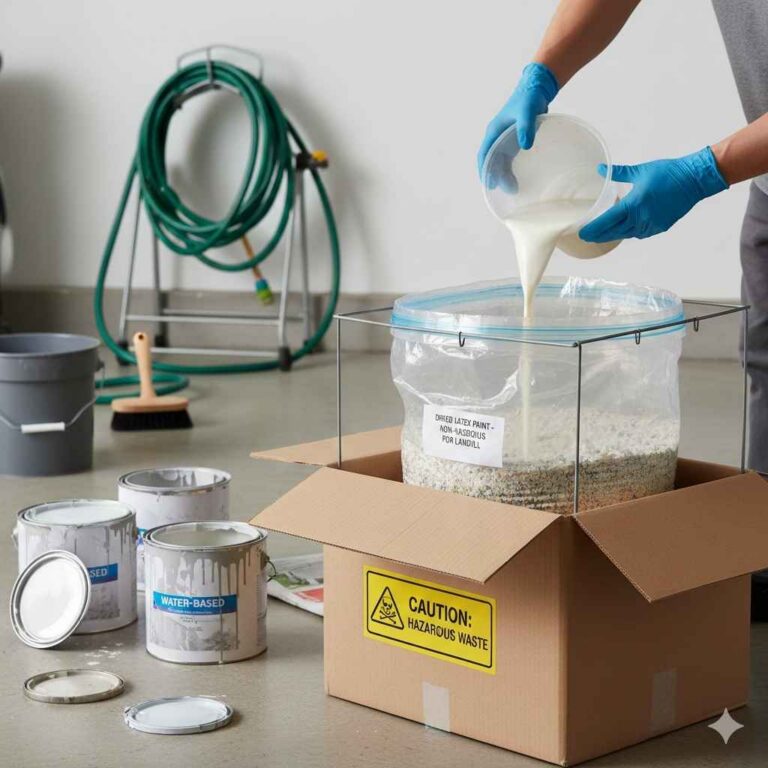
- Chemicals: Dispose of paint and cleaning materials properly. Consult your local regulations for disposal guidelines.
- Keep Out of Reach: Keep paint and paint-related items away from children and pets.
Weather and Temperature Factors
The weather and temperature can affect your painting. Extremely hot or cold weather can interfere with the way paint dries and sticks to the wall. High humidity can also slow drying and cause problems. Knowing how to deal with the weather can help ensure your paint looks its best and lasts for years. By considering these elements, you will get the best results, no matter the weather.
- Ideal Conditions: Aim to paint when the temperature is between 50-85°F. This range is ideal for optimal drying and adhesion.
- Humidity: Avoid painting when the humidity is very high. It can slow down the drying time.
- Avoid Direct Sunlight: Try to paint on a cloudy day, or paint in the shade. Direct sunlight can make the paint dry too quickly, leading to unevenness.
- Monitor the Weather Forecast: Before beginning your project, check the weather forecast. Keep an eye out for extreme changes in temperature or humidity.
Cleaning and Maintenance After Painting
After painting, the job isn’t done; cleanup and maintenance keep your new paint job looking great for longer. Correct cleanup protects your tools and helps them last. Regular cleaning of the painted surface will remove dirt, and help preserve the color and finish. These will help your paint job last for years. Taking care of your work keeps your home looking fresh.
- Proper Tool Cleaning: After painting, clean your brushes, rollers, and paint trays right away. Clean them according to the manufacturer’s instructions. Proper cleaning ensures that your tools are ready for your next project.
- Surface Cleaning: After the paint is dry, lightly clean the walls to get rid of dust and dirt. Use a damp cloth or sponge and mild soap and water. Avoid abrasive cleaners.
- Touch-Ups: It is wise to have extra paint stored for touch-ups. When you notice a scratch or mark, touch it up quickly before it becomes more noticeable.
- Regular Inspections: Do a quick inspection of your paint job to search for any damage or wear and tear. Address any problems right away.
Frequently Asked Questions
Question: Do I need to sand the walls before painting?
Answer: Yes, sanding is essential for creating a smooth surface and promoting better adhesion. It’s especially crucial if there are imperfections in the existing acrylic paint.
Question: What type of primer should I use before latex paint?
Answer: Use a latex primer designed for interior surfaces. This primer provides good adhesion and helps the latex paint bond to the acrylic paint.
Question: How many coats of paint should I apply?
Answer: Two coats of paint are typically recommended for the best coverage and durability, allowing the color to appear uniform and rich.
Question: Can I use the same roller for primer and paint?
Answer: It’s best to use separate rollers for primer and paint. Doing so will ensure that the primer doesn’t contaminate the paint and vice versa.
Question: How long should I wait between coats of paint?
Answer: Wait at least the amount of time that is specified on the paint can. Usually, this is about 2–4 hours. Make sure the first coat is dry to the touch before applying a second coat.
Final Thoughts
So, Can You Paint Over Acrylic With Latex Paint? What to Know? The simple answer is yes, you can, with the correct approach. We’ve covered everything from surface preparation, the right tools, and the painting process. From cleaning and sanding to priming and applying your coats, you now know the essential steps. You’ve learned how to pick the right paint and tools and how to handle common paint issues. With a bit of prep and patience, you can create a beautiful, durable finish. Are you prepared to take action? The next time you’re facing a painting project, remember these steps. With your own two hands, you can transform your space!