Canopy Kit For Pendant Light: Essential Upgrade
Canopy kits are a simple yet powerful upgrade for pendant lights, transforming messy wires into a clean, professional look. They securely cover electrical connections and add a decorative touch, making your lighting instantly more polished and safe.
Hanging a beautiful pendant light can really brighten up a room, but sometimes the wires and connections look a bit messy. It’s a common sight, and it can make even the most stylish light fixture seem unfinished. The good news is, there’s a straightforward fix that makes a big difference! This guide will show you how a simple canopy kit can transform your pendant light setup from “DIY project” to “designer look.” We’ll walk through everything you need to know to make this easy upgrade yourself, ensuring a safe and beautiful result. Get ready to see your pendant light in a whole new, polished light!
Why a Canopy Kit is an Essential Upgrade for Your Pendant Light
As a woodworking and home improvement enthusiast, I’ve seen firsthand how small details can elevate a project. A pendant light is often a focal point in a room, and the way its electrical components are managed plays a huge role in its overall aesthetic. That’s where a canopy kit comes in – it’s not just a cover; it’s an essential upgrade for safety, style, and a professional finish.
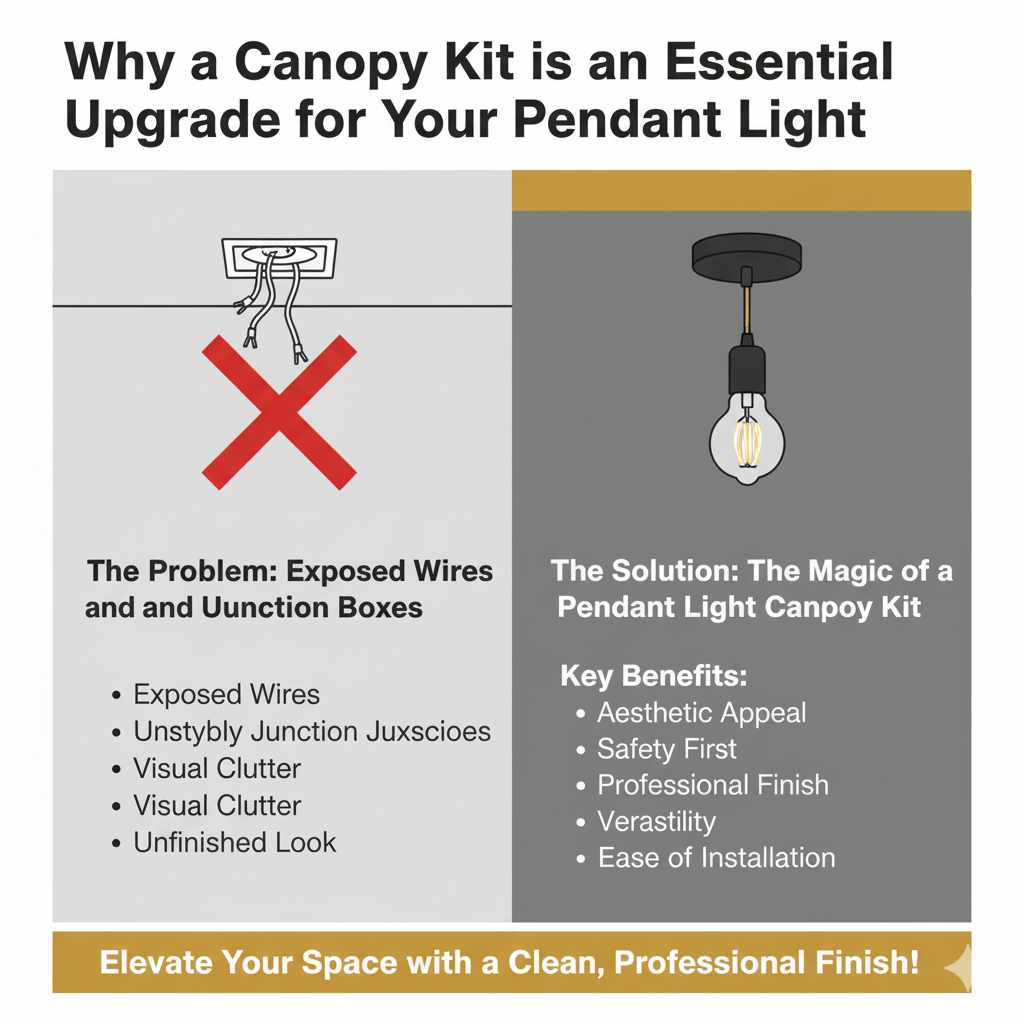
The Problem: Exposed Wires and Unsightly Junction Boxes
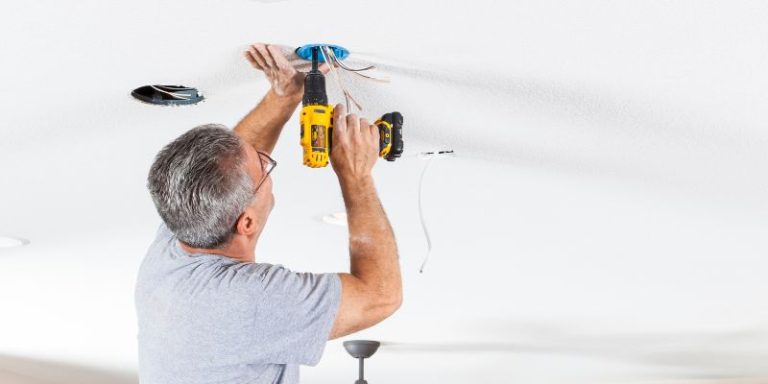
When you install a pendant light, the wires connecting to your home’s electrical system need to be housed somewhere. Often, this means a basic junction box is exposed on the ceiling. Without a proper cover, these wires and the box itself can be an eyesore. This is especially true if the wiring isn’t neatly tucked away or if the junction box isn’t designed to be seen. It’s a common frustration for homeowners who want their lighting to look as good as it functions.
The Solution: The Magic of a Pendant Light Canopy Kit
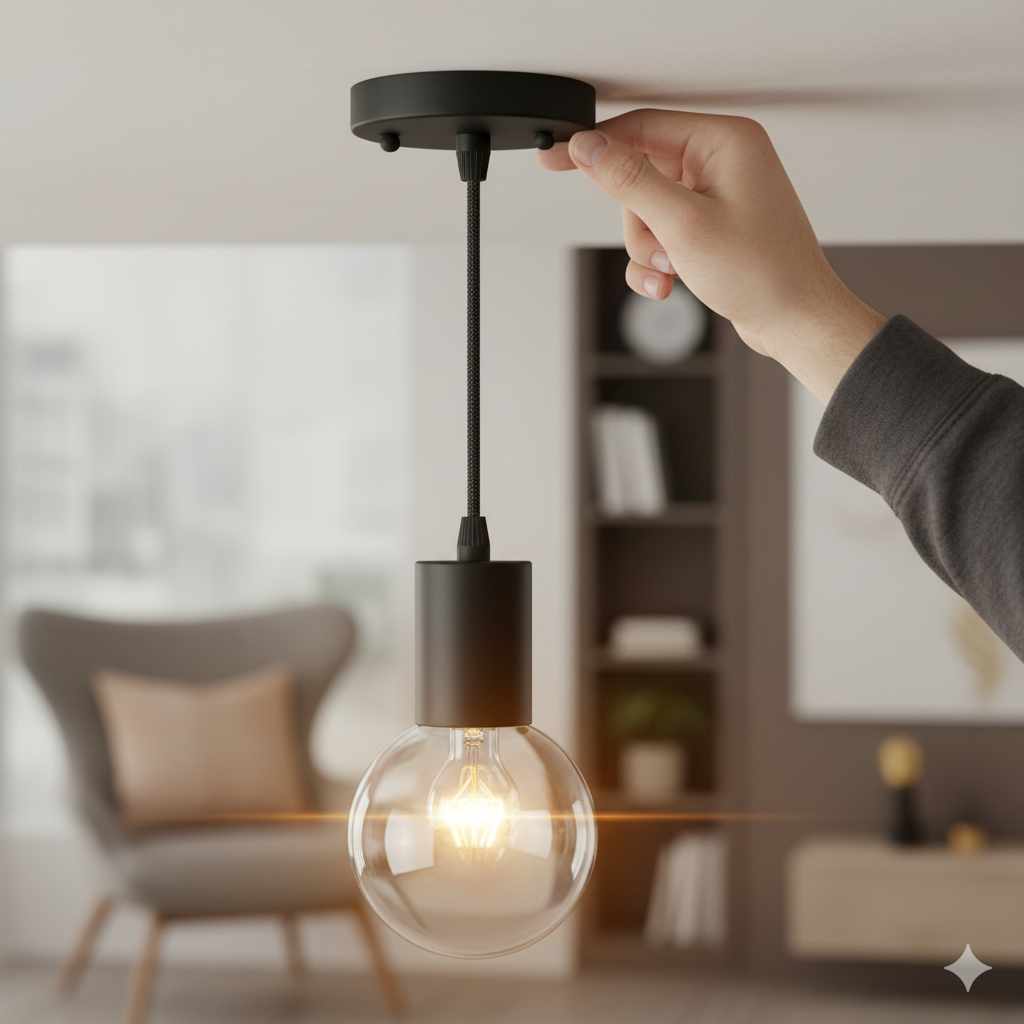
A canopy kit is designed specifically to solve this problem. It’s a decorative cover that attaches to the ceiling and neatly encloses the electrical connections. Think of it as the stylish hat for your pendant light’s ceiling connection. It provides a clean, finished look, hiding all the utilitarian parts and blending seamlessly with your ceiling or complementing your light fixture’s design.
Key Benefits of Using a Canopy Kit:
- Aesthetic Appeal: Instantly upgrades the look of your pendant light by hiding unsightly wires and junction boxes.
- Safety First: Securely covers electrical connections, reducing the risk of accidental contact and protecting the wiring from dust and damage.
- Professional Finish: Gives your lighting installation a polished, “finished” look, similar to what you’d see in a professionally designed space.
- Versatility: Available in a wide range of styles, finishes, and sizes to match any decor and pendant light design.
- Ease of Installation: Most canopy kits are designed for straightforward DIY installation, even for beginners.
Understanding Canopy Kit Components and Types
Before you dive into upgrading your pendant light, it’s helpful to understand what makes up a canopy kit and the different options available. This knowledge will help you choose the perfect kit for your specific needs and style.
What’s Inside a Typical Canopy Kit?
While designs vary, most canopy kits include a few core components:
- The Canopy: This is the main decorative cover. It’s usually a dome or cup-shaped piece made from metal, plastic, or sometimes even glass or wood. It’s designed to attach to the ceiling.
- Mounting Bracket: A metal bracket that screws into the ceiling’s electrical box. The canopy then attaches to this bracket.
- Hardware: Screws, wire nuts (for connecting electrical wires), and sometimes decorative screws or caps to hold everything together and provide a finished look.
- Strain Relief/Cord Grip (sometimes included): This helps support the weight of the pendant light and prevent stress on the electrical connections.
Types of Canopy Kits to Consider
The “best” canopy kit depends on your pendant light and your room’s style. Here are some common types:
- Standard Round Canopies: The most common type, these are simple, circular covers. They come in various diameters and depths to accommodate different junction boxes and wire lengths.
- Square or Rectangular Canopies: Offer a more modern or geometric look. They can be particularly useful if your existing junction box is not perfectly centered or if you want to create a different visual balance.
- Low-Profile Canopies: These are shallower than standard canopies and sit closer to the ceiling, offering a more minimalist appearance.
- Canopies with Integrated Hooks or Arms: Some kits include a hook or a decorative arm that extends from the canopy. This is useful for swag-style pendant lights where you want to hang the cord from a specific point on the ceiling.
- Dimmable Canopies (less common as a standalone kit): While not usually a “kit” in itself, the wiring behind the canopy can be set up for dimming. Ensure your pendant light and dimmer switch are compatible.
Materials and Finishes: Matching Your Style
The material and finish of your canopy kit are crucial for coordinating with your pendant light and your room’s decor.
| Material | Common Finishes | Best For |
|---|---|---|
| Metal (Steel, Aluminum, Brass, Iron) | Brushed Nickel, Polished Chrome, Matte Black, Oil-Rubbed Bronze, Brass (Antique, Polished), White, Silver | Most pendant lights; versatile for modern, traditional, industrial, or farmhouse styles. |
| Plastic | White, Black, Beige, sometimes faux metal finishes | Budget-friendly options, often for simpler or more utilitarian fixtures. Can be painted. |
| Wood | Natural wood tones, painted, stained | Farmhouse, rustic, Scandinavian, or bohemian styles. Often paired with Edison bulbs or natural material fixtures. |
| Glass | Clear, Frosted, Colored | Decorative applications where the canopy itself is a design element, often with minimal wiring visible. |
Choosing the Right Canopy Kit for Your Pendant Light
Selecting the correct canopy kit is key to a successful and beautiful upgrade. It’s not just about picking one that looks nice; it needs to be functional and compatible with your existing setup.
Key Factors to Consider:
- Size Matters:
- Diameter: Measure the diameter of your existing junction box cover or the area where the light fixture attaches to the ceiling. Your new canopy should be at least as wide as, and ideally slightly wider than, the junction box to fully conceal it.
- Depth: Consider how much wire you have to tuck away. If you have a lot of slack or a bulky connection, you’ll need a deeper canopy.
- Style Compatibility: The finish and design of your canopy should complement your pendant light and the overall style of your room. A sleek, modern fixture might look best with a minimalist brushed nickel or matte black canopy, while a rustic fixture might pair well with an oil-rubbed bronze or wood canopy.
- Mounting Type: Most canopy kits are designed for standard electrical boxes in ceilings. Ensure the mounting bracket included in the kit is compatible with your box type.
- Cord Type: If your pendant light uses a fabric-covered cord, a decorative canopy can really enhance its charm. For standard plastic-coated wires, a functional canopy is still essential for a clean look.
- Weight Support: For heavier pendant lights, ensure the mounting bracket is robust and securely fastened to the ceiling joist or electrical box. Some kits come with specialized bracing for heavier fixtures.
When to Use a Larger or Deeper Canopy:
You have a lot of excess wire from the pendant light that needs to be hidden.
The existing electrical box is larger than standard or has an unusual shape.
You are using a swag hook and want a more substantial base to anchor it.
The pendant light itself is quite large, and a smaller canopy would look disproportionate.
When a Low-Profile Canopy Might Be Best:
You have minimal excess wire.
You prefer a minimalist look and want the canopy to be as unobtrusive as possible.
The pendant light has a very slim or delicate cord.
Step-by-Step Guide: Installing Your Canopy Kit
Installing a canopy kit is a rewarding DIY project that can significantly improve the look of your pendant light. Safety is paramount, so always remember to turn off the power at the breaker before you begin.
Safety First! Before You Start:
- Turn Off Power: Locate your home’s electrical panel and flip the breaker that controls the circuit for the light you’re working on. To be absolutely sure, you can also flip the main breaker if you’re unsure which one it is.
- Test for Power: Use a non-contact voltage tester to confirm that the power is off at the light fixture’s wires. Touch the tester to each wire; it should not light up or beep.
- Gather Your Tools and Materials: Ensure you have everything ready before you start.
Tools You’ll Need:
- Canopy Kit (with mounting bracket and hardware)
- Screwdriver set (Phillips and flathead)
- Wire strippers/cutters
- Wire nuts (usually included, but have extras)
- Non-contact voltage tester
- Ladder or sturdy step stool
- Pliers (optional, for gripping wires)
- Safety glasses
- Work gloves (optional)
Installation Steps:
1. Remove the Old Cover (if any): If your pendant light currently has a basic plate or no cover, you might need to detach the existing mounting hardware. Unscrew any decorative nuts or screws holding the fixture in place. Gently lower the fixture to expose the wiring and the electrical box.
2. Disconnect Old Wiring (if applicable): If you’re replacing an old canopy or fixture, carefully unscrew the wire nuts connecting the wires from the fixture to the house wiring. Separate the wires.
3. Install the New Mounting Bracket: Most canopy kits come with a universal mounting bracket. Align this bracket with the screw holes on your electrical box. Secure it firmly to the electrical box using the screws provided with the kit. Ensure the bracket is flush against the ceiling.
4. Prepare the Pendant Light Wires: If your pendant light’s wires are not already stripped, use wire strippers to expose about 1/2 to 3/4 inch of copper at the end of each wire. Ensure there are no frayed ends.
5. Connect the Wires:
Identify Wires: You’ll typically have a black (hot), white (neutral), and a bare copper or green (ground) wire from the house wiring. The pendant light will have corresponding wires.
Connect Ground Wire: Connect the bare copper or green ground wire from the house to the ground wire from the pendant light. Use a wire nut. If the mounting bracket has a green screw, connect the ground wire from the house to that screw, and then connect the pendant’s ground wire to the bracket as well.
Connect Neutral Wires: Connect the white wire from the house to the white wire from the pendant light using a wire nut.
Connect Hot Wires: Connect the black wire from the house to the black wire from the pendant light using a wire nut.
Tuck Wires: Gently push all the connected wires and wire nuts up into the electrical box.
6. Attach the Canopy:
Most canopies have a threaded nipple or a way to attach to the mounting bracket. Some might screw directly onto the bracket, while others use decorative screws or a central nut.
Feed the pendant light’s cord through the center of the canopy.
Align the canopy with the mounting bracket and secure it according to the kit’s instructions. This might involve screwing it onto a central threaded rod, or attaching it with small screws.
Ensure the canopy sits flush against the ceiling and completely hides the electrical box and wiring.
7. Install Strain Relief (if applicable): If your kit includes a cord grip or strain relief, adjust it to gently grip the pendant cord where it enters the canopy. This prevents the cord from being pulled directly against the electrical connections.
8. Restore Power and Test: Go back to your electrical panel and flip the breaker back on. Turn on your light switch to test the pendant light.
For a visual guide, consider checking out resources from reputable organizations like the U.S. Consumer Product Safety Commission (CPSC) for general electrical safety tips.
Troubleshooting Common Issues
Even with the clearest instructions, DIY projects can sometimes hit a snag. Here are a few common issues you might encounter when installing a canopy kit and how to fix them.
Issue 1: Canopy Doesn’t Sit Flush Against the Ceiling
Possible Cause: Wires or wire nuts are not fully tucked into the electrical box, or the mounting bracket is not sitting flat.
Solution:
Turn off the power again.
Gently pull the canopy away from the ceiling.
Carefully push the wires and wire nuts further into the electrical box. You might need to slightly rearrange them.
Ensure the mounting bracket is screwed in tightly and is flat against the ceiling.
If the wires are still too bulky, you might need a deeper canopy.
Another Cause: The electrical box is recessed too far into the ceiling, or the canopy is too shallow.
Solution: You might need a canopy extender or a deeper canopy. Some kits allow for minor adjustments in how the canopy attaches to the bracket.
Issue 2: Light Flickers or Doesn’t Turn On
Possible Cause: Loose wire connection. This is the most common reason for a light not working or flickering.
Solution:
Turn off power!
Carefully remove the canopy.
Check all wire nut connections. Ensure they are tight and that no bare wire is exposed around the wire nut. Give each wire a gentle tug to confirm it’s secure.
If a connection seems loose, remove the wire nut, re-strip the wire slightly if necessary, and re-attach the wire nut securely.
Ensure the house wires and pendant wires are correctly matched (e.g., black to black, white to white).
Another Cause: The light bulb might be loose or faulty.
Solution: Ensure the bulb is screwed in properly. Try a different, known-working light bulb.
Issue 3: Canopy Screws Don’t Align with Mounting Bracket
Possible Cause: The mounting bracket is installed incorrectly, or the canopy itself is not oriented properly.
Solution:
Double-check that the mounting bracket is installed with the correct side facing out and that it’s securely fastened to the electrical box.
Some canopies have a specific orientation. Ensure you’re not trying to attach it upside down or backward.
If the canopy has slots for screws, try loosening the screws slightly, aligning the canopy, and then tightening them.
Issue 4: Pendant Light Seems to Hang Unevenly
Possible Cause: The mounting bracket is not level, or the pendant cord is not centered in the canopy.
Solution:
Ensure the mounting bracket is perfectly level when installed.
Adjust the position of the pendant cord within the canopy. Some canopies have a central hole that allows for slight adjustment.
If the pendant itself is weighted unevenly, you might need to adjust the position of the shade or bulb.
Always prioritize safety. If you’re ever unsure about electrical work, it’s best to consult a qualified electrician. You can find great resources on electrical safety and DIY projects from organizations like the National Fire Protection Association (NFPA).
Maintaining Your Pendant Light Canopy
Once your canopy kit is installed, it’s relatively low maintenance. However, a little care will keep it looking its best and ensure its longevity.
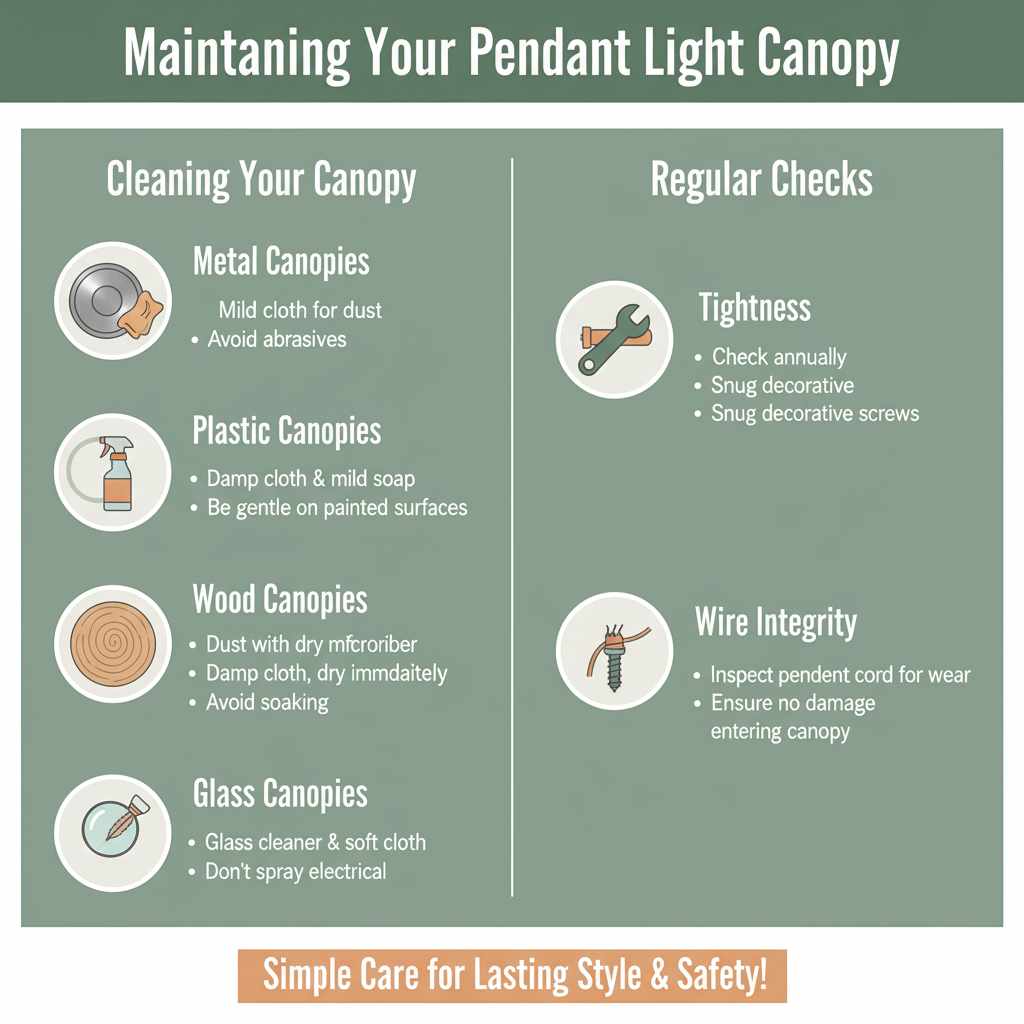
Cleaning Your Canopy:
The best way to clean your canopy depends on the material it’s made from.
- Metal Canopies: For most metal finishes (like brushed nickel, chrome, matte black), a soft, damp cloth is usually sufficient for regular cleaning. For tougher grime or fingerprints, you can use a mild soap and water solution, then wipe dry with a clean, soft cloth. Avoid abrasive cleaners or scouring pads, which can scratch the finish. For brass or bronze finishes, you might use specialized metal polishes, but always test in an inconspicuous area first.
- Plastic Canopies: These are generally easy to clean with a damp cloth and mild soap. If painted, be gentle to avoid chipping the paint.
- Wood Canopies: Dust regularly with a dry microfiber cloth. For more thorough cleaning, use a slightly damp cloth and dry immediately. Avoid soaking wood, as it can warp or be damaged.
- Glass Canopies: Treat them like any glass fixture. Use a glass cleaner and a soft cloth, being careful not to spray cleaner directly onto any electrical components behind the glass.
Regular Checks:
Tightness: Periodically (perhaps once a year, or when changing a bulb), check that the canopy is still securely attached to the ceiling and that any decorative screws holding it in place are snug.
Wire Integrity: While the canopy protects the wires, it’s good practice to ensure the pendant cord isn’t showing signs of wear or damage where it enters the canopy.
Frequently Asked Questions About Pendant Light Canopy Kits
What is a canopy kit for a pendant light?
A canopy kit is a decorative cover that attaches to the ceiling to neatly conceal the electrical connections and junction box for a pendant light, providing a clean, finished, and safe look.
Do I need a canopy kit if my pendant light already has a cord?
Yes, typically. While the pendant light comes with a cord, the point where the cord connects to your home’s wiring (usually in a ceiling electrical box) needs to be covered for safety and aesthetics. The canopy kit provides this essential cover.
Can I use any canopy kit with any pendant light?
Generally, yes, but you need to ensure compatibility. The canopy must be large enough to cover your existing electrical box and deep enough to hold the wiring. The style and finish should also complement your pendant light and room decor.
How do I choose the right size canopy?
Measure the diameter of your existing electrical box cover or the area where the light attaches. Choose a canopy that is at least that size, preferably slightly larger, to ensure it completely hides the box and wiring.
Is installing a canopy kit difficult?
No, installing a canopy kit is usually a straightforward DIY project. The main steps involve attaching a mounting bracket to the electrical box and then securing the canopy over it, after connecting the wires. Always remember to turn off the power at the breaker before starting.
What if my ceiling has a slope?
For sloped ceilings, you’ll need a canopy kit designed for angled ceilings, often called an “angled ceiling mount” or “sloped ceiling adapter.” These kits have a canopy that can pivot or are designed with a special canopy that allows the pendant to hang straight down despite the angle of the ceiling.
Can I paint a canopy kit to match my ceiling?
Yes, most metal and plastic canopy kits can be painted. For metal, use a metal primer followed by your chosen paint color. For plastic, a plastic-specific primer and paint are recommended. Always ensure the power is off and the canopy is clean and dry before painting.
Conclusion
Upgrading your pendant light with a canopy kit is a small change that makes a significant impact. It’s a perfect example of how a little attention to detail can transform a functional necessity into a stylish design element. From hiding unsightly wires and junctions to adding a polished, professional finish, a canopy kit is truly an essential upgrade.
As we’ve explored, choosing the right kit involves considering size, style, and material, and installation is a manageable DIY task for most homeowners, provided you prioritize safety by turning off the power. With the right tools and a clear understanding of the steps, you can confidently install your canopy kit and enjoy a cleaner, more sophisticated look for your pendant lighting. Don’t let messy wires detract from your beautiful fixtures – embrace the canopy kit for an instant, impactful improvement to your home’s ambiance. Happy upgrading!