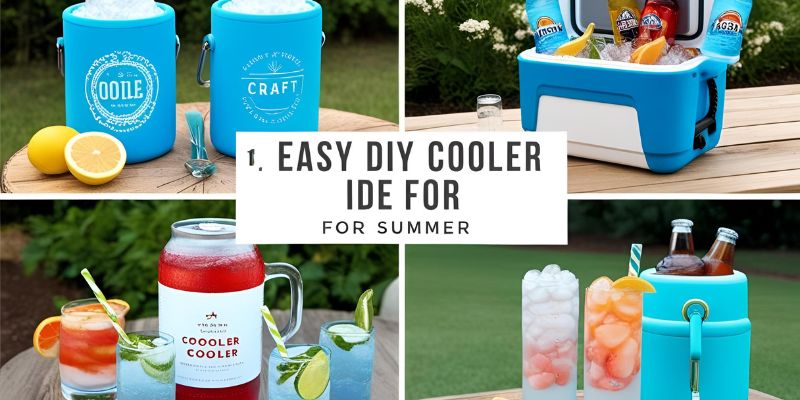
Craft Your Own: Easy DIY Cooler Ideas For Summer
In the realm of thermodynamics, the principles governing heat transfer and insulation efficiency play pivotal roles in enhancing the performance of a DIY cooler. Utilizing materials such as polystyrene and aluminum foil can optimize thermal retention, while innovative designs can significantly improve airflow circulation. Crafting a cooler from readily available resources not only fosters creativity but also allows enthusiasts to fine-tune their cooling solutions to meet specific needs.
As outdoor activities beckon during the summer months, mastering the art of DIY cooler construction could be your ticket to enjoying refreshments at the ideal temperature for extended periods. Read on to discover the essential steps and materials needed for your own custom cooler creation.
Creative And Fun DIY Cooler Ideas For Every Occasion
Creating your own DIY cooler can be a rewarding project that combines functionality with creativity. This summary highlights the essential steps and materials needed to build an effective cooler tailored to your needs. From selecting the right container and insulation materials to exploring innovative designs, a DIY cooler not only saves money but also allows for personalization. Whether for camping trips, beach outings, or backyard gatherings, a homemade cooler enhances your experience while keeping your beverages refreshingly cold.
Understanding Different Types of DIY Coolers
Explore various designs: foam coolers, wooden coolers, and PVC pipe coolers. Benefits of each type: insulation, durability, and purpose.
Coolers come in different styles, each with its own superpowers. Foam coolers are lightweight and great for short trips. They keep your drinks cold, just like an ice wizard!
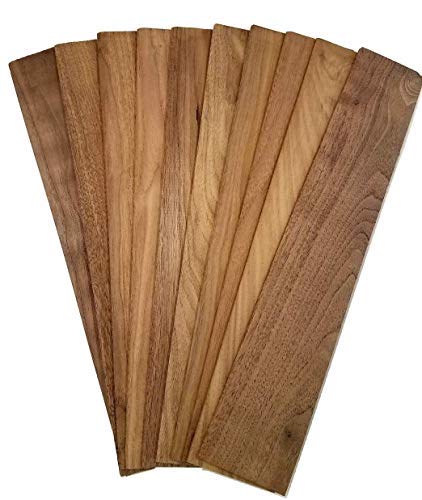
Wooden coolers look fancy and are super durable, perfect for parties. Last, we have PVC pipe coolers, which are sturdy and can handle rough adventures.
| Type | Benefit |
|---|---|
| Foam Coolers | Lightweight & good insulation |
| Wooden Coolers | Durable & stylish |
| PVC Pipe Coolers | Rugged & reliable |
No matter what you choose, each cooler can help keep your snacks and drinks icy. It’s like having your own personal snowman on the go!
Essential Materials for Crafting Your DIY Cooler
List of required materials: insulation, containers, tools, and accessories. Recommendations for sustainable and costeffective options.
For your DIY cooler, gather these essential materials:
- Insulation: Foam board or recycled materials work well.
- Containers: A sturdy box or cooler base is important.
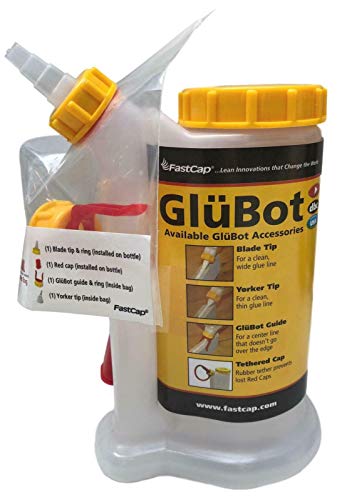
- Tools: You’ll need a saw, glue, and a measuring tape.
- Accessories: Consider hinges, a handle, or wheels for easy movement.
Choose sustainable options like second-hand items or leftover materials to save money and help the environment.
Step-by-Step Guide to Building a Foam Cooler
Detailed instructions on creating a basic foam cooler. Tips for enhancing insulation and functionality.
Building a foam cooler is easy and fun! Follow these steps:
- Gather materials: foam sheets, a box cutter, and duct tape.
- Cut foam sheets to fit a container. Make walls and a lid.
- Assemble the cooler with duct tape to secure edges.
To enhance insulation:
- Add an extra layer of foam on the inside.
- Seal any gaps to keep cold air in.
This simple DIY project helps keep your drinks and snacks cool!
Unconventional DIY Cooler Ideas
Innovative designs using repurposed materials. Examples: beer barrel coolers, painted ice buckets, and picnic table coolers.
Get creative with coolers by using materials you already have! Here are some fun ideas:
- Beer barrel cooler: Transform an old barrel into a unique cooler for outdoor events.
- Painted ice buckets: Use a plain bucket and add bright colors or designs for a stylish look.
- Picnic table cooler: Build a cooler right into your picnic table for easy access during meals.
These ideas not only look awesome but also keep drinks cold in a fun way!
Customizing Your DIY Cooler
Creative ways to personalize your cooler (paint, decals, and accessories). Importance of branding for social settings and events.
Personalizing your cooler makes it stand out. You can use paint to add bright colors or fun designs. Decals are another great choice.
They come in different shapes and sizes, letting you show off your favorite sports teams or hobbies. Don’t forget about cool accessories like bottle openers and cup holders.
Branding your cooler is also important when you’re at parties or events. It helps others remember you and your style.
A unique cooler can even spark fun conversations!
- Use vibrant paint for a fresh look
- Add unique decals that reflect your personality
- Incorporate practical accessories for added flair
- Stand out in social gatherings with a custom design
Maintenance and Care for Your DIY Cooler
Best practices for cleaning and storing your cooler. Tips for keeping the cooler in optimal condition longterm.
Keeping your DIY cooler happy is easier than you think! First, always clean it after a fun outing. A little soap and water go a long way. Remove any stubborn stains with a gentle scrub.
For storage, find a cool, dry place. Avoid direct sunlight; it’s not sunscreen for coolers! Long-term care is key.
Check seals and hinges regularly. They love a little oil now and then. Below are some best practices:
| Task | Frequency |
|---|---|
| Clean after use | Every time |
| Inspect seals | Monthly |
| Store in a dry place | Always |
| Oil hinges | Every 3 months |
With these tips, your cooler will be the coolest one around!
Frequently Asked Questions about DIY Coolers
Common queries and detailed answers to customer concerns. Advice on troubleshooting common issues and pitfalls.
Many people have questions about making their own cooler. Here are some common concerns:
- How can I keep my ice from melting too quickly? Use insulation materials like foam or reflectors.
- What size cooler should I make?It depends on your needs, but a medium size works well for most outings.
- How can I troubleshoot leaks? Check for gaps in seals and use waterproof tape for repairs.
Avoiding these common mistakes will help you create a better DIY cooler!
Showcasing Your DIY Cooler: Events and Parties
Ideas for using your cooler at parties, tailgates, and outdoor activities. Suggestions on cooler organization and drink selection for events.
Your DIY cooler can be the star of any event! Use it for tailgates, birthday parties, or picnics to keep drinks cool and refreshing.
- Plan a themed drink station: Fill your cooler with colorful drinks that match the party vibe.
- Organize drinks: Use dividers or small baskets to separate sodas, juices, and water.
- Add snacks: Keep chips and fruits in the cooler for quick munchies.
- Label items: Use stickers to show what drink is inside.
This way, your cooler stays neat, and everyone can find what they want easily!
Conclusion
In conclusion, crafting your own DIY cooler is not only a fun project but also a practical solution for keeping your beverages chilly during outdoor activities. With simple materials and a little creativity, anyone can create a personalized cooler that suits their needs. Embrace the hands-on approach and enjoy refreshing drinks on your next adventure while showcasing your unique style!
FAQs
What Materials Do I Need To Build A DIY Cooler At Home?
To build a DIY cooler at home, you will need an insulated container, such as a styrofoam cooler or a plastic box, to maintain temperature. Additional materials include ice packs or dry ice for cooling, as well as duct tape or waterproof adhesive to seal any openings. You might also want a small fan for improved airflow, and a thermometer to monitor the internal temperature. Optionally, you can include rubber gaskets for better insulation and to prevent leaks.
How Do I Insulate My DIY Cooler For Maximum Temperature Retention?
To insulate your DIY cooler for maximum temperature retention, use materials with high insulating properties such as foam board or reflective insulation. Seal any gaps or cracks with weatherstripping or caulk to prevent heat exchange. Consider adding an additional layer of insulation by using blankets or towels inside the cooler. Lastly, keep the cooler in a shaded area to reduce heat exposure from the sun.
What Are Some Creative Designs For A DIY Cooler That Are Both Functional And Aesthetically Pleasing?
Some creative DIY cooler designs include repurposing wooden pallets to create a rustic, outdoor cooler that blends with natural surroundings, while also adding insulation with foam panels. Another idea is to decorate a cooler with vibrant paint, decals, or even decoupage using fun, waterproof materials, turning it into a unique statement piece for parties. You can also design a cooler with integrated seating by adding a padded lid, allowing it to double as a bench. Lastly, incorporating built-in LED lighting can enhance the night-time ambiance while still keeping your drinks cool.
Can I Use Recycled Materials To Create A DIY Cooler, And If So, What Are The Best Options?
Yes, you can use recycled materials to create a DIY cooler. Some of the best options include old Styrofoam boxes, insulated food containers, or even repurposed plastic or wooden crates. For added insulation, you can line the interior with reflective mylar or bubble wrap. Additionally, using materials like cardboard with a waterproof coating can further enhance insulation and keep your items cool.
How Do I Ensure My DIY Cooler Is Portable And Easy To Transport For Outdoor Activities?
To ensure your DIY cooler is portable and easy to transport, choose lightweight materials like foam or plastic for insulation and structure. Incorporate handles or straps for easy carrying, and consider adding wheels for easier mobility. Design it to be compact, so it fits easily in your vehicle or backpack. Lastly, ensure secure latches or closures to prevent spills during transit.