DIY Frame Wood: Create Stunning Frames At Home
In the realm of woodworking, the concept of a DIY frame wood project presents an engaging opportunity to explore the intricate balance of design and structural integrity. Utilizing materials such as pine, oak, or plywood, enthusiasts can challenge their skills through various joinery techniques, including miter cuts, dado joints, and pocket hole construction. As one navigates the nuances of wood selection, grain patterns, and finishing methods, the transformative nature of crafting a frame becomes evident. Embarking on this journey not only nurtures creativity but also fosters a deeper appreciation for the art of woodworking.
Discover the essential techniques and insights that will elevate your DIY frame wood project to new heights.
Creative DIY Frame Wood Projects For Every Skill Level
Creating a DIY frame using wood can be a rewarding and cost-effective way to showcase your favorite artwork or photographs. By utilizing simple tools and materials, anyone can design a custom frame that perfectly suits their style and space. From selecting the right type of wood to understanding different construction techniques, this guide offers essential insights and tips for bringing your vision to life. Dive into the details and discover how to craft a beautiful wooden frame that reflects your personal taste.
Understanding the Basics of DIY Wood Framing
Definition and purpose of wood framing in DIY projects. Essential tools and materials needed for wood framing.
Wood framing is like building a skeleton for your project. It gives shape and strength to things like picture frames, shelves, or even small houses. You need some essential tools and materials to start your DIY adventure. Think of a hammer, nails, a saw, and of course, sturdy wood.
Without these, it’s like trying to bake a cake without flour—no fun!
| Essential Tools | Materials Needed |
|---|---|
| Hammer | Wood Planks |
| Saw | Nails |
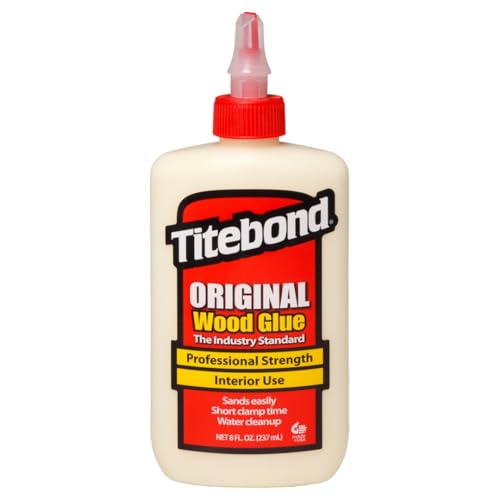
| Measuring Tape | Wood Glue |
Gather these tools, and you’ll be ready to create something amazing. Just remember, don’t hit your thumb with the hammer—no one likes a “whine and dine” moment!
Step-by-Step Guide to Building a Wooden Frame
Detailed instructions on measuring and cutting wood. Assembly techniques and joining methods (e.g., nails, screws, glue).
First, grab your measuring tape and cut your wood pieces carefully. Remember, measure twice, cut once—it’s not just a saying, it’s a life motto! Make sure you have two long pieces for the sides and two shorter ones for the top and bottom.
Next comes the fun part: assembly!
You can join the pieces using nails, screws, or glue. Each method has its own style, so choose wisely. Nails are quick, screws are sturdy, and glue is great for added strength.
Don’t forget to wear your safety glasses; safety looks cool!
| Joining Method | Pros | Cons |
|---|---|---|
| Nails | Fast and easy | Can loosen over time |
| Screws | Very strong hold | Needs a screwdriver |
| Glue | Great for bonding | Takes time to dry |
Once you put your frame together, take a moment to admire your work. You’re basically the Picasso of woodwork!
Enjoy building!
Creative Ideas for DIY Wood Frames
Unique frame designs for pictures and artwork. Furniture framing ideas (e.g., shelves, tables).
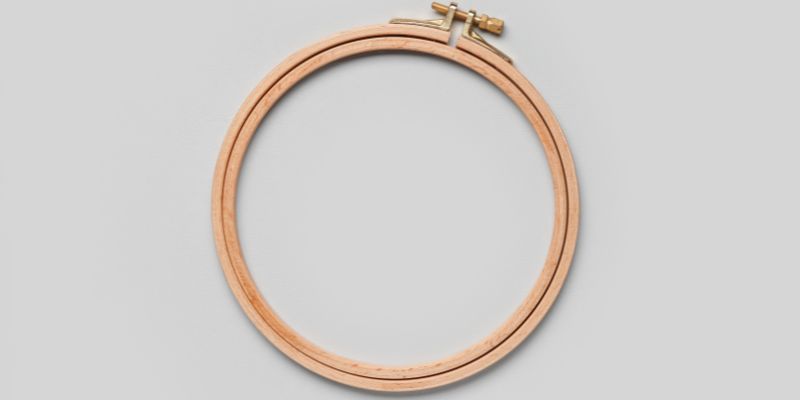
Who knew wood could be so fun? You can create some unique frame designs to showcase your pictures like art masterpieces! Try making a heart-shaped frame or a zig-zagged one for that extra flair.
How about adding some charm to your furniture? Picture this: a lovely wooden shelf holding your favorite books or a table framed with shiny wood that says, “Look at me!” Get creative and let your imagination run wild! Here are some ideas to inspire your next project:
| Frame Type | Description |
|---|---|
| Heart-Shaped Frame | Perfect for family photos or a Valentine’s masterpiece. |
| Zig-Zag Frame | Fun design for those quirky art pieces you love. |
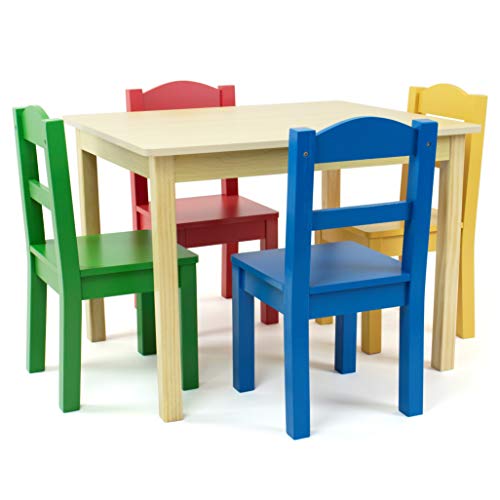
| Wooden Shelf Frame | Frame a shelf to display your favorite knick-knacks! |
| Table with Framed Edges | Add some character to a plain table with framed edges! |
Finishing Touches: Staining and Painting Your Wood Frame
Best practices for sanding and prepping wood surfaces. Tips for stain application and paint techniques.
To achieve a beautiful finish on your wood frame, start by sanding the surface. Use fine-grit sandpaper to create a smooth texture. Be gentle and sand in the direction of the wood grain. Next, remove dust with a damp cloth.
For staining:
- Apply the stain with a brush or cloth.
- Work in small sections for even coverage.
- Wipe away excess stain after a few minutes.
When painting:
- Use a primer to help the paint stick.
- Apply thin coats, allowing each to dry completely.
- Finish with a topcoat for extra protection.
These steps will enhance your frame’s beauty and durability.
Common Mistakes to Avoid in DIY Wood Framing
List of frequent errors and how to prevent them. Troubleshooting tips for frame construction issues.
Building with wood can be fun, but mistakes can happen. Here are some common errors to avoid:
- Wrong measurements: Always double-check sizes before cutting.
- Weak joints: Use strong glue or screws to connect pieces securely.
- Poor finishing: Sand edges to prevent splinters and for smoother surfaces.
- Ignoring safety: Wear goggles and gloves while working.
If you face issues, check your measurements again, and try reinforcing joints. Don’t rush; take your time for a sturdy frame.
Sustaining Your Wooden Frames: Maintenance Tips
Care and upkeep for longevity of wood frames. Seasonal considerations for preserving wood integrity.
To keep your wooden frames looking great, proper care is key. Regular cleaning is important. Use a soft cloth to remove dust. Avoid water on the wood, as it can cause damage.
Seasonal changes can affect wood, too. Here are some tips:
- Store frames in a dry place to prevent mold.
- Keep them away from direct sunlight to avoid fading.
- Check for cracks and fix them quickly.
By following these steps, you can enjoy your wooden frames for years to come.
Conclusion
In conclusion, crafting a DIY wood frame not only allows you to showcase your creativity but also adds a personal touch to your space. With minimal materials and simple techniques, anyone can create a unique frame that enhances their decor. Dive into this rewarding project and enjoy the satisfaction of creating something beautiful with your own hands.
FAQs
What Types Of Wood Are Best Suited For DIY Picture Frames?
The best types of wood for DIY picture frames include pine, cedar, and oak due to their durability and ease of workability. Pine is lightweight and cost-effective, making it a popular choice for beginners. Cedar offers natural resistance to moisture and a pleasant aroma, while oak is known for its strength and beautiful grain. Ultimately, the choice depends on your aesthetic preference and budget.
How Can I Customize The Size Of A Wooden Frame For Different Artworks?
To customize the size of a wooden frame for different artworks, first measure the dimensions of your artwork carefully, including any matting you plan to use. Next, select a frame style that complements your artwork and is available in the desired dimensions, or consider purchasing frame components to create a custom size. You can cut the frame pieces to size using a miter saw or have them cut at a local hardware store. Finally, assemble the frame with corner brackets or glue for added stability.
What Tools And Materials Do I Need For Building A Sturdy DIY Wooden Frame?
To build a sturdy DIY wooden frame, you’ll need high-quality lumber (such as 2×4 or 2×6 boards), wood screws, and wood glue for added strength. Essential tools include a saw (either hand saw or power saw), a drill, a measuring tape, a square for ensuring right angles, and sandpaper for smoothing edges. Additionally, having clamps can help hold pieces together while the glue dries. Finally, a level will ensure your frame is straight and even.
What Finishing Techniques Can Enhance The Look Of A DIY Wooden Frame?
To enhance the look of a DIY wooden frame, consider applying a stain to enrich the wood’s natural grain and add color. A clear varnish or polyurethane finish can provide durability and a glossy sheen, protecting the wood while highlighting its features. For a more rustic feel, using a technique like distressing or adding a weathered finish can give character. Additionally, painting the frame in a bold color or using a matte finish can create a modern aesthetic.