DIY Recessed Lighting: Proven, Essential Guide
Quick Summary:
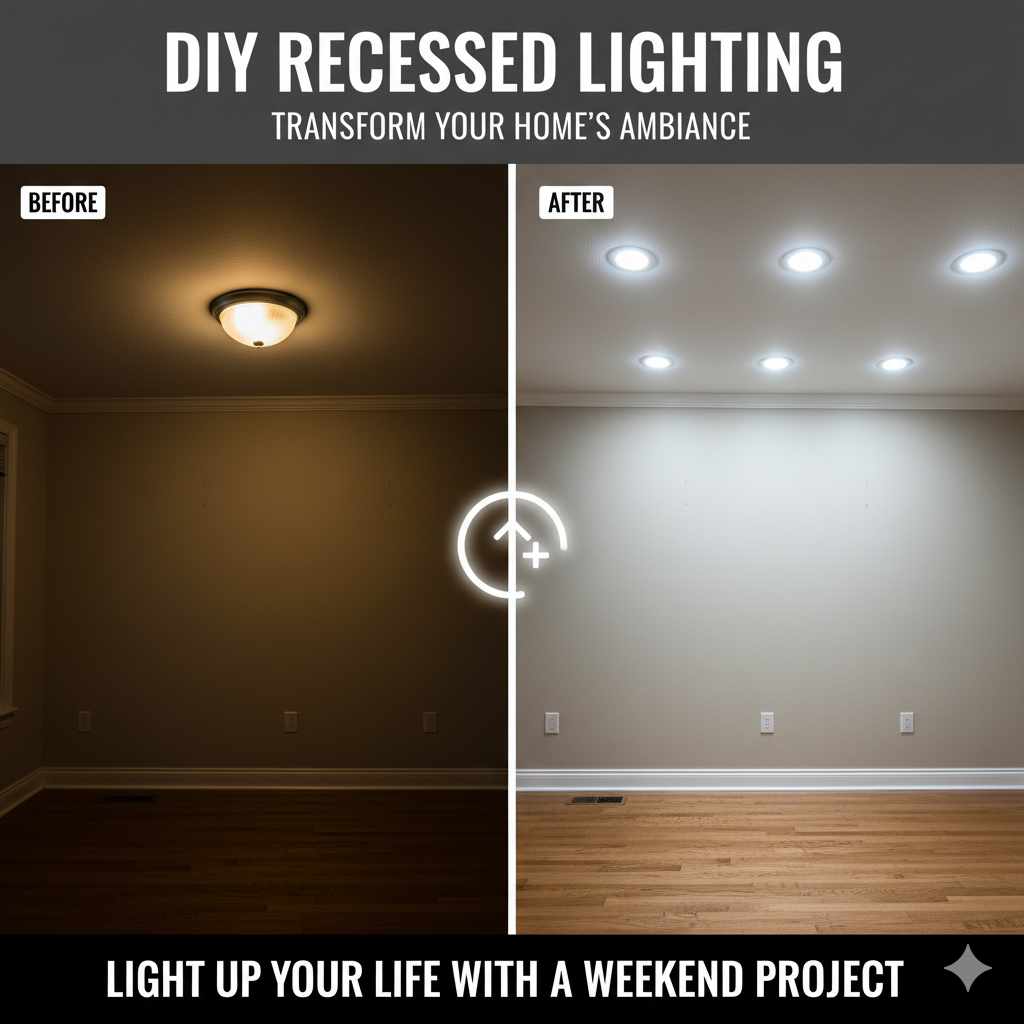
Yes, you can install recessed lighting yourself! This guide breaks down DIY recessed lighting into simple, safe steps. We cover everything from choosing the right lights to making the final connections, giving you the confidence to brighten your home affordably and effectively.
Dreaming of that clean, modern look that recessed lighting brings to a room? You know, those stylish lights that disappear into the ceiling, giving off a soft, even glow? Many homeowners feel the same way, but the thought of tackling electrical work can seem daunting. It’s easy to think you need an electrician for this kind of job. But what if I told you that with a little guidance and the right preparation, you can absolutely install beautiful recessed lighting yourself? This guide is designed to make that happen. We’ll walk through each step, from planning your layout to the final flick of the switch, ensuring you feel prepared and confident. Get ready to transform your space!
I’ve spent countless hours in my workshop and on renovation projects, and I know that sometimes, the biggest hurdle is just knowing where to start. Recessed lighting might sound complicated, but it’s a project that’s very achievable for a DIYer. We’ll focus on making it safe, straightforward, and rewarding. By the end of this, you’ll have the knowledge to brighten your home and add that touch of elegance you’ve been wanting.
Why Choose DIY Recessed Lighting?
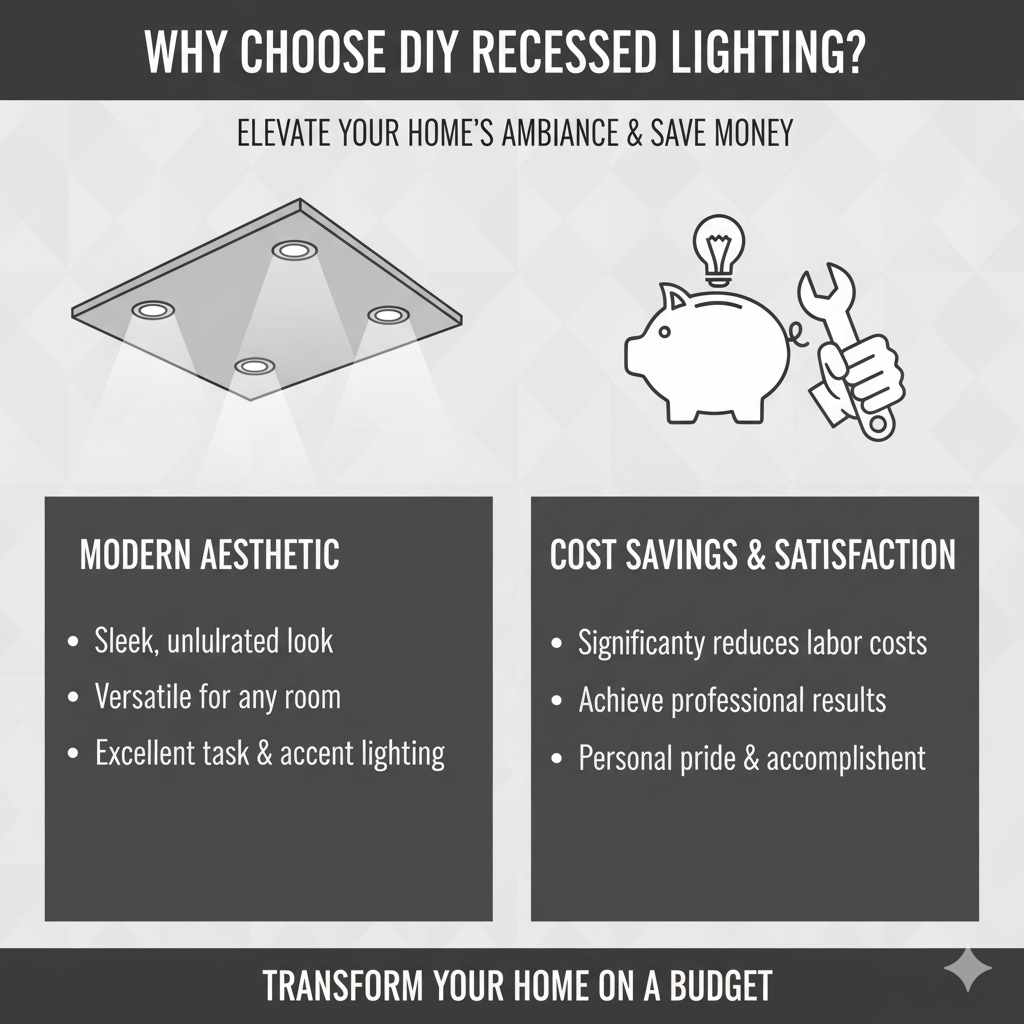
Recessed lighting, also known as can lighting or pot lights, offers a sleek, modern aesthetic that can dramatically improve the ambiance and functionality of any room. Unlike traditional surface-mounted fixtures, recessed lights are installed within the ceiling cavity, providing a clean, uncluttered look. This makes them incredibly versatile, suitable for everything from kitchens and living rooms to hallways and bedrooms. They provide excellent task lighting, accent lighting, and general illumination without taking up visual space.
The appeal of DIY recessed lighting goes beyond just aesthetics. For homeowners looking to update their living spaces without breaking the bank, tackling this project themselves can lead to significant cost savings. Professional electricians charge for their time and expertise, which can add up quickly. By investing in your own skills and doing the work yourself, you can achieve a professional-looking result for a fraction of the cost. Plus, there’s immense satisfaction in knowing you’ve enhanced your home with your own hands!
Planning Your Recessed Lighting Project
Before you even think about cutting into your ceiling, careful planning is key. This is where we lay the foundation for a successful and safe installation. Skipping this step can lead to mistakes, wasted materials, and frustration. Let’s get this right from the start!
1. Determine Your Lighting Needs and Goals
What do you want your new lights to do? Are you trying to brighten a dark room, highlight artwork, create a cozy atmosphere, or improve task lighting in a kitchen? Your goals will influence the type of lights, their spacing, and their brightness (measured in lumens).
- General Illumination: For overall room brightness, you’ll want lights spaced evenly.
- Task Lighting: For areas like kitchen counters or reading nooks, focus lights directly on the task area.
- Accent Lighting: To highlight features like artwork or architectural details, use lights with a narrower beam angle.
2. Choose the Right Type of Recessed Fixtures
There are several types of recessed light fixtures, and choosing the right one depends on your ceiling type, insulation, and desired look.
- Remodel (or Old Work) Cans: These are the most common for DIYers because they can be installed from below the ceiling in an existing room. They have clips that secure them to the drywall.
- New Construction Cans: These are designed for new homes or major renovations where the ceiling is open. They attach directly to ceiling joists.
- Baffle Trim: These have a ribbed interior to reduce glare. Great for general lighting.
- Reflector Trim: These have a shiny interior for brighter light output. Good for accent lighting.
- Gimbal Trim: These allow you to aim the light in a specific direction.
- LED Integrated Fixtures (Wafer Lights/Slim LEDs): These are very thin, energy-efficient, and often easier to install, especially in tight spaces or shallow ceilings. They don’t require a bulky “can” housing.
3. Consider Ceiling Type and Insulation
It’s crucial to know what’s above your ceiling. Are there joists in the way? How much insulation do you have? Some recessed lights are “IC-rated” (Insulation Contact), meaning they can be safely installed directly against insulation. Non-IC-rated fixtures require a minimum clearance from insulation to prevent fire hazards. Always check the fixture’s rating and local building codes.
For more information on electrical safety and codes, the U.S. Consumer Product Safety Commission (CPSC) offers valuable resources.
4. Plan Your Layout and Spacing
This is where the magic happens! Proper spacing ensures even lighting and avoids dark spots or overly bright areas. A common rule of thumb for general lighting is to space lights about half the distance of the ceiling height apart. For example, in an 8-foot ceiling, space lights about 4 feet apart.
Spacing Rule of Thumb:
Ceiling Height / 2 = Spacing Between Lights
It’s also important to consider:
- Distance from Walls: Generally, place lights about 18-36 inches from walls to illuminate them without creating harsh shadows.
- Obstructions: Account for ceiling fans, vents, light fixtures, and joists.
- Room Shape: Adjust spacing for non-rectangular rooms.
You can use a simple diagram on graph paper or even a flashlight to visualize the light spread on your ceiling before you start cutting.
5. Electrical Load and Circuit Capacity
Every electrical fixture draws power. You need to make sure your existing circuit can handle the additional load. Most recessed lights, especially LED ones, are energy-efficient. However, it’s good practice to
- Check your breaker box: Identify the circuit that will power your new lights.
- Calculate the total wattage: Add the wattage of your new lights to the wattage of existing items on that circuit.
- Compare to circuit capacity: A standard 15-amp circuit can handle about 1440 watts (15 amps x 120 volts x 0.8 safety factor), and a 20-amp circuit can handle about 1920 watts.
If you’re unsure or planning a large installation, consult an electrician. For most small to medium DIY recessed lighting projects using LEDs, adding them to a general lighting circuit is usually fine.
Essential Tools and Materials
Having the right tools makes any DIY project smoother and safer. Here’s what you’ll need for your DIY recessed lighting installation:
Tools:
- Safety Gear: Safety glasses, work gloves, dust mask.
- Voltage Tester: A non-contact voltage tester is crucial for ensuring the power is off.
- Wire Strippers/Cutters: For preparing electrical wires.
- Screwdriver Set: Phillips and flathead.
- Utility Knife: For cutting drywall if needed.
- Stud Finder: To locate ceiling joists and avoid them.
- Drywall Saw or Oscillating Multi-Tool: For cutting precise holes in the drywall.
- Measuring Tape: For accurate layout.
- Pencil: For marking.
- Ladder: A sturdy, stable ladder.
- Fish Tape (optional but helpful): For pulling wires through the ceiling.
- Wire Nuts: For connecting wires securely.
Materials:
- Recessed Light Fixtures: Choose remodel cans or LED wafer lights based on your planning.
- Electrical Cable (Romex): Typically 14/2 or 12/2 gauge, depending on the circuit and fixture requirements.
- Junction Boxes (if not integrated into fixtures): For safe wire connections.
- Bulbs (if not LED integrated): Ensure they are the correct type and wattage for your fixtures.
Step-by-Step: Installing DIY Recessed Lighting
Let’s get to it! Follow these steps carefully for a successful installation. Remember, safety first!
Step 1: Turn Off the Power!
This is the most critical step. Go to your breaker box and turn off the circuit breaker that supplies power to the area where you’ll be working. Double-check that the power is off by trying to turn on a light or outlet on that circuit. Then, use your non-contact voltage tester at the switch and the ceiling location to be absolutely certain there is no live current. Never skip this step.
Step 2: Mark Your Fixture Locations
Using your planned layout, your stud finder, and your measuring tape, mark the exact center of each planned fixture location on the ceiling. Use your pencil to make clear marks. If you’re using remodel cans, ensure your marks are not directly over a joist. If they are, you may need to adjust your layout slightly or use a specialized fixture designed for joist mounting.
Step 3: Cut the Drywall Holes
Most remodel cans come with a template for cutting the hole. If not, measure the diameter of your can and trace a circle on the ceiling at your marked locations. Carefully use your drywall saw or oscillating multi-tool to cut along the traced lines. Cut slowly and precisely. If you make a mistake, don’t worry; drywall patches are fixable!
Step 4: Run the Electrical Cable
This is often the most involved part of the DIY process. You’ll need to run electrical cable from your power source (usually an existing junction box or switch box) to each light location. This typically involves accessing your attic or crawl space. If you don’t have attic access, you might need to cut small access holes in the drywall or fish the wire through existing wall cavities.
- From the Power Source: Connect the new cable to the existing circuit. Ensure you follow proper wiring practices, using wire nuts to connect the black (hot), white (neutral), and green/bare (ground) wires.
- Through the Ceiling: Carefully feed the cable from one hole to the next, stapling it securely to joists or studs as required by code where accessible. Leave about 8-12 inches of slack at each hole.
- Using Fish Tape: If you can’t access the attic, fish tape can be invaluable for pulling wires through walls and ceilings.
For detailed guidance on running electrical cable, resources like ECM Magazine offer in-depth articles for professionals, which can be helpful for DIYers to understand best practices.
Step 5: Install the Recessed Fixtures
Now it’s time to put the cans in place. For remodel cans:
- Gently push the fixture up into the hole.
- The remodel can has spring-loaded clips or tabs. Push these upwards so they engage with the back of the drywall.
- The clips will snap into place, holding the fixture securely.
For LED wafer lights, they often have a separate driver box that you mount first, and then the light panel simply clips into place.
Step 6: Make Electrical Connections
Inside the junction box attached to your recessed fixture (or the fixture itself if it has a built-in box), you’ll make the wire connections. Ensure the power is still OFF.
- Connect the hot wire (black) from the power source to the hot wire in the fixture.
- Connect the neutral wire (white) from the power source to the neutral wire in the fixture.
- Connect the ground wire (green or bare copper) from the power source to the ground wire in the fixture.
Use wire nuts to secure each connection. Ensure they are tight and no bare wire is exposed. Gently tuck the wires into the junction box.
Step 7: Install Trims and Bulbs
Once the fixtures are wired and secured, attach the trim. Most trims snap or screw into place. If you’re using separate bulbs, screw them in now. Make sure they are the correct type and wattage for the fixture. LED integrated lights will already have their light source.
Step 8: Restore Power and Test
Go back to your breaker box and turn the circuit breaker back on. Test each new light fixture to ensure it works correctly. If a light doesn’t turn on, immediately turn the power back off and re-check your wiring connections. It’s common for a wire nut to be loose or a wire not fully seated.
Comparing Recessed Lighting Options
Choosing the right fixture is crucial for performance and ease of installation. Here’s a look at two popular options for DIYers:
| Feature | Remodel Can Lights (with separate bulbs) | LED Wafer/Slim Lights (Integrated LED) |
|---|---|---|
| Installation Difficulty | Moderate. Requires cutting a larger hole and wiring a socket. | Easy to Moderate. Very shallow, easier to maneuver in tight spaces. Wiring is often simpler plug-and-play. |
| Energy Efficiency | Varies greatly depending on bulb type (incandescent, CFL, LED). | Very High. LEDs are extremely energy-efficient and long-lasting. |
| Bulb Replacement | Easy. Bulbs can be unscrewed and replaced. | Not applicable. The LED is integrated and rated for 25,000-50,000+ hours. If it fails, the whole unit is typically replaced. |
| Cost (Fixture) | Lower initial cost for the can itself. Bulb cost is separate. | Higher initial cost per fixture, but lower long-term running costs. |
| Heat Output | Can generate significant heat, especially with older bulb types. Requires proper clearance. | Very low heat output, safer for direct contact with insulation (if IC-rated). |
| Beam Angle/Light Quality | Can vary. Trims affect light spread and glare. | Often provides a wider, more diffused light spread. Some models offer dimming. |
Pros and Cons of DIY Recessed Lighting
Like any home improvement project, there are benefits and drawbacks to installing recessed lighting yourself.
Pros:
- Cost Savings: Significantly cheaper than hiring a professional.
- Aesthetic Appeal: Creates a clean, modern, and spacious look.
- Improved Lighting: Provides excellent, even illumination and can be used for accent purposes.
- Increased Home Value: A desirable feature for potential buyers.
- Sense of Accomplishment: The satisfaction of a job well done.
- Energy Efficiency (with LEDs): Lower electricity bills and longer lifespan.
Cons:
- Electrical Work Risk: Improper installation can be a fire hazard or cause electrical shocks.
- Steep Learning Curve: Requires careful planning and execution, especially running wires.
- Potential for Mistakes: Cutting holes incorrectly or wiring issues can be frustrating and costly to fix.
- Attic/Ceiling Access: Working in tight, dusty, or awkward spaces can be challenging.
- Code Compliance: Ensuring the installation meets local electrical codes is vital.
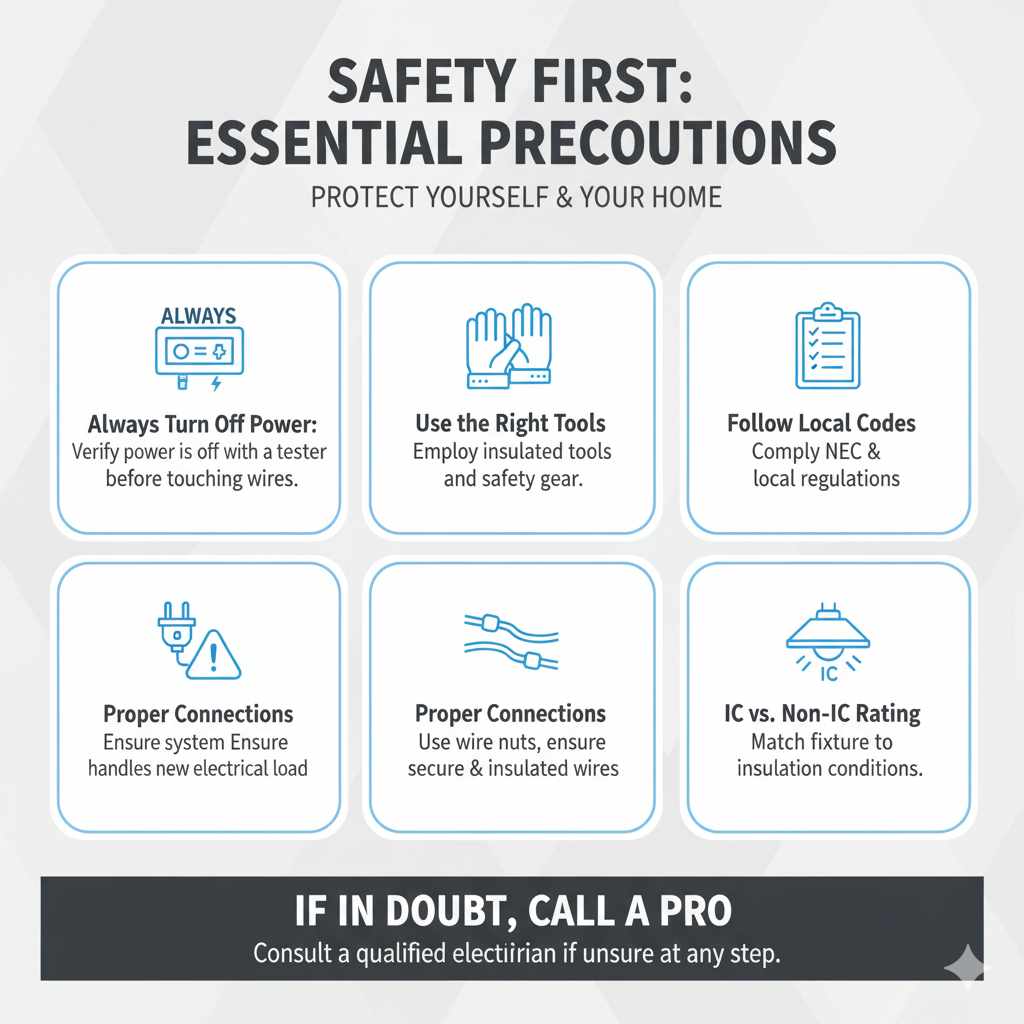
Safety First: Essential Precautions
I can’t stress this enough: safety is paramount when dealing with electricity. Always remember these points:
- ALWAYS Turn Off Power: Verify power is off at the breaker and with a voltage tester before touching any wires or making connections.
- Use the Right Tools: Employ insulated tools and safety gear.
- Follow Local Codes: Electrical work must comply with National Electrical Code (NEC) and any local amendments. You can often find simplified guides from your local building department.
- Don’t Overload Circuits: Ensure your electrical system can handle the new load.
- Proper Connections: Use appropriate wire nuts and ensure all connections are secure and insulated.
- IC vs. Non-IC Rating: Use the correct fixture type for your insulation conditions.
- If in Doubt, Call a Pro: If you feel uncomfortable or unsure at any step, it’s always best to consult a qualified electrician.
For official safety guidelines, the Occupational Safety and Health Administration (OSHA) provides extensive information on electrical safety in the workplace, which translates well to DIY home projects.
Frequently Asked Questions (FAQ)
Here are some common questions beginners have about installing recessed lighting:
Q1: How many recessed lights do I need for a room?
A1: For general lighting, a good rule of thumb is to space lights about half the distance of your ceiling height apart. For an 8-foot ceiling, space lights about 4 feet apart. You can also use online calculators or consult lighting design guides for more precise recommendations based on room size and desired light levels (lumens).
Q2: Can I install recessed lighting without an attic?
A2: Yes, it’s possible, especially if you’re using remodel (old work) cans or slim LED wafer lights. You might need to cut small access holes in the drywall to run wires, or fish them through wall cavities. This can be more challenging than working from an attic, but it is achievable.
Q3: What’s the difference between remodel and new construction cans?
A3: New construction cans are installed before the drywall goes up and are attached directly to ceiling joists. Remodel cans are designed to be installed from below the ceiling in an existing room; they have clips that secure them to the drywall after the hole is cut.
Q4: Do I need a special type of wire for recessed lighting?
A4: You’ll typically use standard Romex cable (e.g., 14/2 or 12/2 gauge NM-B wire), depending on the circuit’s amperage and the fixture’s requirements. Always check the fixture’s specifications and local electrical codes for the correct wire type and gauge.
Q5: Can I dim my recessed lights?
A5: Yes, many recessed light fixtures and LED bulbs are dimmable. You’ll need to ensure your fixture, bulb, and dimmer switch are all compatible. Look for “dimmable” labels on the products.
Q6: How close can recessed lights be to walls?
A6: For general illumination, it’s common to place recessed lights 18 to 36 inches from walls. This distance helps to wash the walls with light, making the room feel larger and highlighting wall features without casting harsh shadows directly above.
Q7: What if I cut a hole and hit a joist or pipe?
A7: If you hit a joist, you’ll need to shift your hole location slightly. If you encounter a pipe or wire, turn off the water or power to that line immediately and reassess. You may need to adjust your layout or consult a professional to ensure you don’t damage critical home systems.
Conclusion
Taking on a DIY recessed lighting project might seem like a big leap, but as we’ve walked through, it’s a very manageable and rewarding endeavor for homeowners. By carefully planning your layout, choosing the right fixtures, gathering your tools, and most importantly, prioritizing safety at every step, you can successfully install beautiful, modern lighting in your home.
Remember, the key is preparation and patience. Don’t rush the process. Double-check your measurements, confirm the power is off, and make secure electrical connections. The clean look and improved ambiance that recessed lighting provides are well worth the effort. You’ll not only save money but also gain valuable DIY skills and the immense satisfaction of transforming your living space with your own two hands. So go ahead, plan your project, grab your tools, and get ready to shine a new light on your home!