Do Ceiling Fans Come with Mounting Brackets? A Complete Guide to Installation and More
Hey there! So, you’re thinking about getting a ceiling fan for your home, but you’re wondering, “Do ceiling fans come with mounting brackets?” I totally get it—installing a ceiling fan can feel like a big project, and you want to make sure you’ve got everything you need before you start. I’ve been through this myself a few times, from upgrading the fan in my living room to adding one in my garage for those hot summer days.
After some trial and error (and a few trips to the hardware store), I’ve learned a lot about ceiling fans and their mounting systems. Let’s dive into this topic together and answer all your questions, so you can get that fan up and spinning with confidence. Whether you’re a DIY newbie or a seasoned pro, this guide will help you figure out what’s included and what you need to know. Let’s get started!
What Are Ceiling Fan Mounting Brackets?
First things first, let’s talk about what a mounting bracket actually is. A mounting bracket is the metal piece that connects your ceiling fan to the ceiling. It’s like the foundation of your fan—it holds everything securely in place. When I installed my first ceiling fan, I was surprised at how important this little piece of hardware was. Without a solid bracket, your fan could wobble, make noise, or even come loose over time. Yikes!
Mounting brackets are usually made of sturdy metal, like steel, and they’re designed to handle the weight and motion of the fan. They screw into a ceiling junction box (that electrical box in your ceiling) and provide a stable base for the fan’s motor and blades. Some brackets are simple, while others have extra features, like slots for easy wiring or adjustable arms for sloped ceilings. Knowing what’s included with your fan is key, so let’s answer the big question.
Do Ceiling Fans Come with Mounting Brackets?
Here’s the good news: most ceiling fans do come with mounting brackets. When I bought my Hunter fan for the living room, it came with everything I needed—a bracket, screws, and even a little instruction manual. Same goes for the Harbor Breeze fan I put in my bedroom. In my experience, reputable brands like Westinghouse, Hampton Bay, and Minka Aire almost always include a mounting bracket in the box.
That said, it’s not a 100% guarantee. Some budget or specialty fans might not include a bracket, especially if they’re designed for a specific mounting system or sold as part of a custom kit. I ran into this with a clearance fan I grabbed at a big-box store—it was missing the bracket, and I had to buy one separately. Always check the product description or box to confirm what’s included. If it doesn’t mention a bracket, you might need to budget for an extra purchase.
Types of Mounting Brackets for Ceiling Fans
Not all mounting brackets are the same, and the type you need depends on your fan and ceiling. I learned this when I tried installing a fan in my old house with a sloped ceiling—my standard bracket wasn’t cutting it! Here’s a rundown of the main types of brackets you’ll come across.
Standard Mounting Bracket
This is the most common type. It’s a flat, sturdy piece that screws into the ceiling’s electrical box. Most fans, like my Hunter and Hampton Bay models, come with this kind. It’s great for flat ceilings and standard installations. The bracket usually has slots or hooks to hold the fan while you wire it, which makes life easier if you’re installing it solo.
Canopy or Ball-and-Socket Bracket
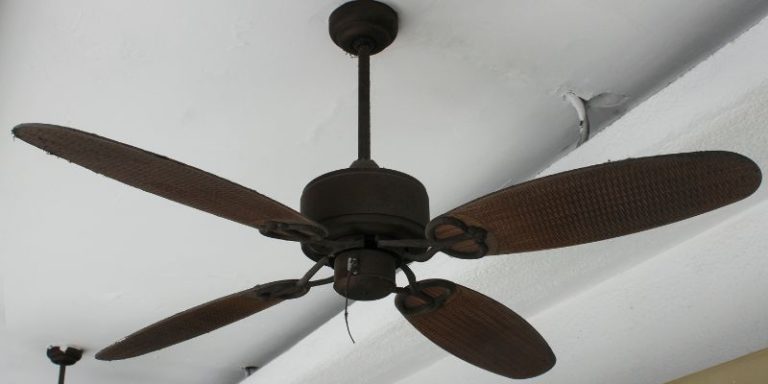
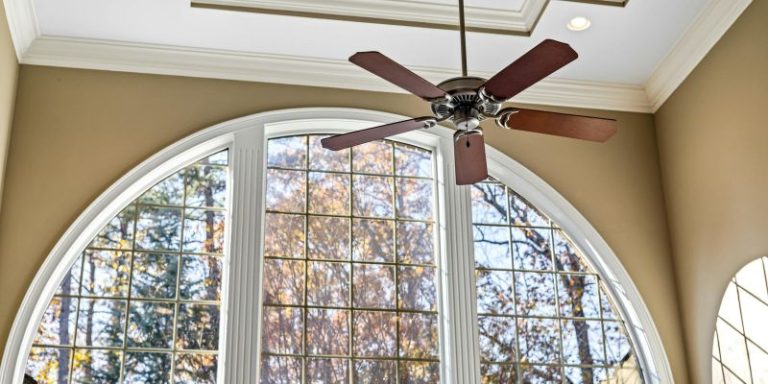
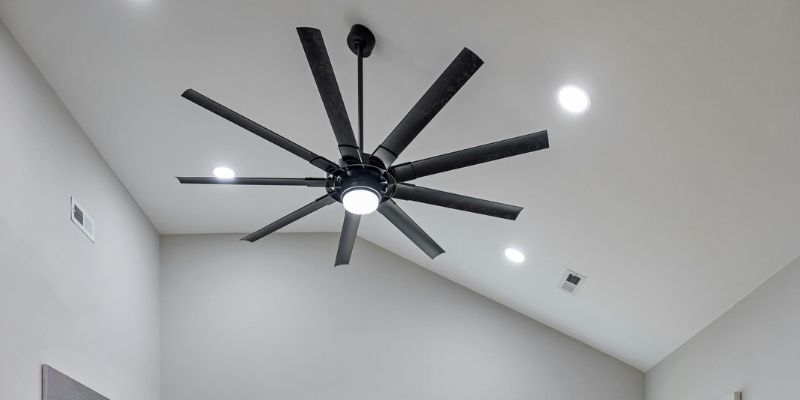
This one’s for sloped or vaulted ceilings, like the one in my old dining room. The bracket has a ball-and-socket design that lets the fan hang level, even if the ceiling is angled. I had to swap out my standard bracket for one of these when I moved to a house with high ceilings. Most fans designed for sloped ceilings include this type, but double-check the box.
Flush-Mount Bracket
If you’ve got a low ceiling, like in a basement or garage, a flush-mount bracket is your friend. It keeps the fan close to the ceiling, so you don’t bump your head. My garage fan came with this type, and it’s been a game-changer for keeping the space cool without taking up headroom.
Downrod Bracket
Some fans use a downrod—a metal pole that extends the fan lower from the ceiling. The bracket for these is similar to a standard one but is designed to hold the downrod securely. My living room fan uses a downrod to position it perfectly over the coffee table. Most fans that need a downrod include the bracket and rod in the box.
What Else Is Included with a Ceiling Fan?
When you buy a ceiling fan, the mounting bracket isn’t the only thing you’ll likely find in the box. I’ve unboxed a few fans over the years, and here’s what you can usually expect:
- Fan blades: These are always included, but you might need to attach them yourself.
- Motor housing: The main body of the fan, where the wiring and motor live.
- Screws and hardware: For attaching the bracket, blades, and other parts.
- Canopy: A cover that hides the wiring and bracket for a clean look.
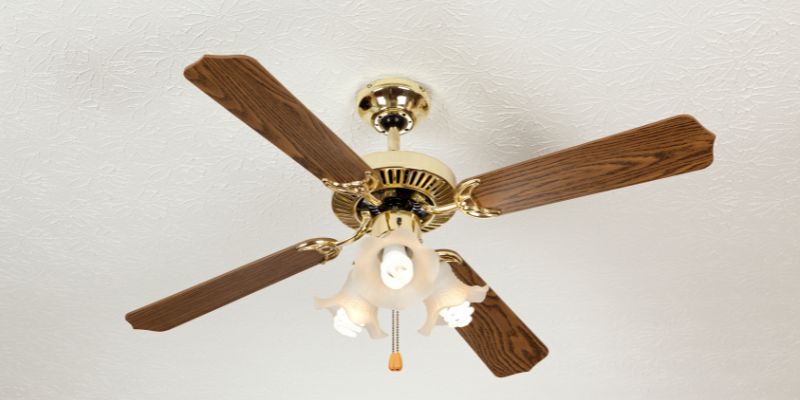
- Light kit (optional): If your fan has a light, it’ll come with a kit or pre-installed bulbs.
- Remote or pull chains: For controlling the fan’s speed and light.
One time, I bought a fan that was missing a few screws, which was a hassle. Now, I always open the box and check the contents before starting the installation. If anything’s missing, you can usually contact the manufacturer or grab replacements at a hardware store.
When Might You Need to Buy a Separate Mounting Bracket?
While most fans include a bracket, there are a few cases where you might need to buy one separately. I’ve run into this a couple of times, and it’s good to know what to expect.
If you’re replacing an old fan, the existing bracket might not fit your new fan. Different brands use slightly different designs, so your old Hampton Bay bracket might not work with a new Westinghouse fan. I learned this when I upgraded my bedroom fan and had to buy a universal bracket to make it work.
Another case is if your ceiling or electrical box isn’t standard. Older homes, like my 1940s fixer-upper, sometimes have odd-sized junction boxes that need a special bracket or adapter. If your ceiling is sloped and your fan doesn’t come with a canopy bracket, you’ll need to buy one.
Lastly, if you’re installing a fan in a spot without an existing electrical box, you’ll need a ceiling fan-rated junction box and a compatible bracket. I had to do this in my garage, and it added a step to the process, but it was worth it for a secure installation.
How to Choose the Right Mounting Bracket
Picking the right bracket is crucial for a safe and wobble-free fan. Here’s what I keep in mind when choosing one:
- Check compatibility: Make sure the bracket matches your fan’s brand and model. Most fans list compatible brackets in the manual or online.
- Match your ceiling type: Flat, sloped, or low ceilings need different brackets, as I mentioned earlier.
- Weight rating: Ensure the bracket can handle your fan’s weight. Heavy fans with light kits need sturdier brackets.
- Junction box compatibility: Your ceiling’s electrical box must be fan-rated (it’ll say so on the box). If not, replace it or get a bracket designed for lighter loads.
I once tried using a lightweight bracket for a heavy fan, and it wobbled like crazy. Lesson learned: always check the weight rating!
Installing a Ceiling Fan: What You Need to Know
Now that you know about brackets, let’s talk about installing your fan. I’ve done this a few times, and while it’s not rocket science, it helps to be prepared. Here’s a step-by-step guide based on my experience.
First, turn off the power at the breaker. Safety first! I forgot this once and got a little zap—not fun. Next, check your ceiling’s junction box. It should be rated for ceiling fans, which means it can handle the weight and vibration. If it’s not, replace it with a fan-rated box.
Attach the mounting bracket to the junction box using the screws provided. Most brackets have slots to make wiring easier. Hang the fan’s motor on the bracket, following the manual’s instructions. This part can be tricky if you’re alone, so I sometimes ask a friend to hold the fan while I connect the wires.
Once the wiring’s done (match colors—black to black, white to white, green to ground), secure the fan to the bracket. Attach the blades, canopy, and light kit if included. Turn the power back on and test the fan. If it wobbles, you might need to balance the blades with weights (most fans include a balancing kit).
Common Installation Mistakes to Avoid
I’ve made my share of mistakes installing fans, so let me save you some trouble. Don’t skip the fan-rated junction box—regular boxes aren’t strong enough. I tried this once, and the fan started sagging after a week. Also, don’t overtighten screws; it can strip the threads or crack the bracket.
Another mistake is ignoring ceiling height. My garage has a low ceiling, so I used a flush-mount bracket to avoid bumping my head. For high ceilings, a downrod is better to bring the fan closer to the room. Finally, double-check that your bracket matches your fan. A mismatched bracket can make installation a nightmare.
Ceiling Fan Mounting Bracket Compatibility Table
Here’s a quick table I put together to help you match brackets to your ceiling and fan type:
| Ceiling Type | Fan Type | Bracket Type | Best For |
|---|---|---|---|
| Flat Ceiling | Standard Fan | Standard Bracket | Most homes, apartments |
| Sloped Ceiling | Any Fan | Canopy/Ball-and-Socket | Vaulted ceilings, attics |
| Low Ceiling | Flush-Mount Fan | Flush-Mount Bracket | Basements, garages |
| High Ceiling | Downrod Fan | Downrod Bracket | Living rooms, great rooms |
This table is a starting point. Always check your fan’s manual for specific requirements.
Where to Find Mounting Brackets
If your fan doesn’t come with a bracket or you need a replacement, don’t worry—brackets are easy to find. I usually check big-box stores like Home Depot or Lowe’s, where they stock universal brackets and brand-specific ones. Online retailers like Amazon and Wayfair have tons of options, too. Just make sure to match the bracket to your fan’s brand and model.
If you’re in a pinch, hardware stores carry universal brackets that work with most fans. I grabbed one for my old Westinghouse fan when the original bracket got damaged, and it worked like a charm. Prices range from $10 to $30, depending on the type and brand.
Tips for a Smooth Ceiling Fan Installation
Here are some extra tips I’ve picked up from my installations:
- Read the manual: Every fan is a little different, so check the instructions.
- Use the right tools: A screwdriver, wire stripper, and ladder are must-haves.
- Get help for heavy fans: Big fans are awkward to hold while wiring.
- Balance the blades: If your fan wobbles, use the balancing kit or adjust the blades.
- Test before finishing: Turn the power on to check for wobbles or noise before attaching the canopy.
When I installed my garage fan, I skipped balancing the blades and ended up with a noisy wobble. A quick fix with the balancing kit saved the day.
Ceiling Fans in Different Rooms: Bracket Considerations
The room where you’re installing your fan can affect the bracket you need. In my living room, I used a downrod bracket to position the fan lower for better airflow. In my low-ceilinged garage, a flush-mount bracket was the only option to avoid head bumps.
For bedrooms, I prefer flush-mount or standard brackets to keep things cozy and unobtrusive. In outdoor spaces, like a covered patio, make sure the bracket and fan are rated for damp or wet locations. I learned this after installing a regular fan on my porch—it didn’t last through the humid summer.
Maintaining Your Ceiling Fan and Bracket
Once your fan is up, a little maintenance goes a long way. I check my fans every year to make sure the bracket is secure and the screws haven’t loosened. Dust the blades regularly to keep them balanced, and tighten any loose hardware. If your fan starts wobbling, it could be a sign the bracket needs adjusting or replacing.
I had a fan in my kitchen that started creaking after a few years. A quick check showed the bracket screws had loosened slightly. A few turns with a screwdriver, and it was as good as new.
Conclusion: Spin Your Way to Comfort
So, do ceiling fans come with mounting brackets? Most of the time, yes, and that’s great news for anyone looking to cool down their home without breaking the bank. From standard brackets for flat ceilings to canopy brackets for sloped ones, there’s a solution for every setup. I’ve had so much fun installing fans in my home, and each one has taught me something new about getting the perfect fit.
With the right bracket, a bit of planning, and some DIY spirit, you can transform any room into a breezy, comfortable space. So grab that fan, check for the bracket, and get ready to enjoy a cooler, stylish home. You’ve got this!
FAQs
Do all ceiling fans include a mounting bracket?
Most do, especially from brands like Hunter or Hampton Bay. But some budget or specialty fans might not. Always check the box or product description before buying.
Can I use an old bracket with a new fan?
Sometimes, but it depends on the brand and model. I tried this once, and it didn’t fit. Check the manual or buy a universal bracket to be safe.
What if my ceiling is sloped?
You’ll need a canopy or ball-and-socket bracket for sloped ceilings. Most fans designed for angled ceilings include one, but you can buy them separately if needed.
Do I need a special bracket for a heavy fan?
Yes, heavy fans need a sturdy, fan-rated bracket and junction box. I learned this when my heavy fan wobbled on a weak bracket—always check the weight rating.
Where can I buy a replacement bracket?
Home Depot, Lowe’s, Amazon, or Wayfair have plenty of options. I got a universal bracket at a hardware store for my old fan, and it worked perfectly.