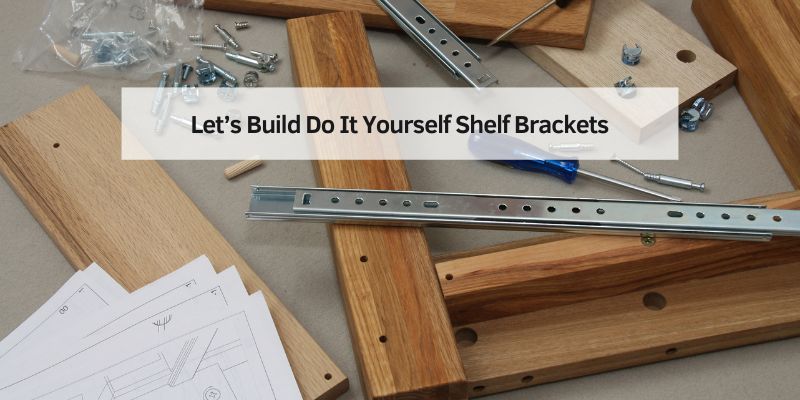
Let’s Build Do It Yourself Shelf Brackets!
I love making things at home. One day, I needed shelves in my garage to organize tools, so I built my own do it yourself shelf brackets. It was fun, saved money, and made my space tidy! In this guide, I’ll show you how to make your own brackets. You’ll learn what they are, how to build them, and tips to make it easy. Whether you’re new to DIY or a pro, this article has simple steps and ideas for everyone.
What Are Do It Yourself Shelf Brackets?
Do it yourself shelf brackets are supports you make to hold shelves. They go under or on the sides of a shelf to keep it strong. You can use wood, metal, or even rope to create them. They’re great for organizing spaces like garages, kitchens, or bedrooms. Making your own brackets is fun and lets you customize your shelves.
Why Make Your Own Shelf Brackets?
Building your own brackets saves money. Store-bought ones can cost a lot, but DIY versions use simple materials. You can also make them look exactly how you want. Plus, it’s a fun project that feels rewarding when you see your shelves up!
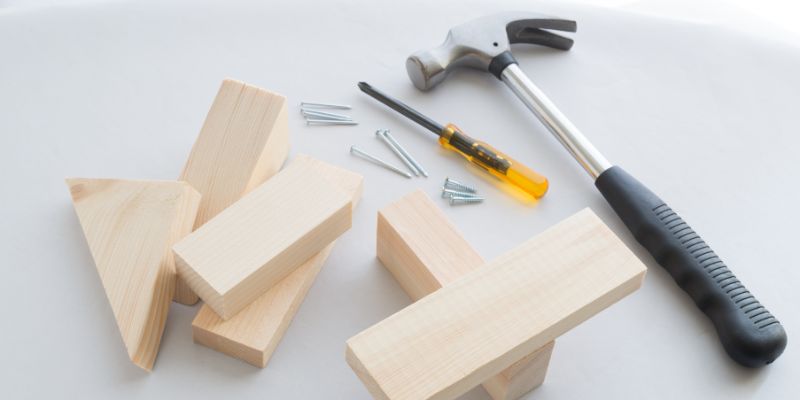
Materials You Need
You don’t need fancy stuff to start. Here’s what I use for simple wooden brackets:
- Wood: Pine or plywood, 1-inch thick.
- Screws: 2-inch wood screws.
- Wood glue: For extra strength.
- Paint or stain: To make it pretty.
- Sandpaper: To smooth edges.
For metal brackets, try angle iron from a hardware store. It’s sturdy and easy to cut.
Table 1: Material Options for DIY Shelf Brackets
| Material | Cost | Strength | Best For |
|---|---|---|---|
| Pine Wood | $5-10 | Medium | Small shelves |
| Plywood | $10-15 | Medium | Medium shelves |
| Angle Iron | $15-20 | High | Heavy shelves |
Caption: Compare materials to pick the best for your project.
Tools You’ll Use
You’ll need basic tools to make brackets. I keep these in my toolbox:
- Saw: A hand saw or power saw for cutting wood.
- Drill: For making holes and screwing.
- Measuring tape: To get sizes right.
- Level: To make sure shelves are straight.
- Safety gear: Gloves and goggles for protection.
Safety Tip: Always wear goggles when cutting. Wood chips can fly!
Step-by-Step Guide to Make Do It Yourself Shelf Brackets
Let’s build simple L-shaped wooden brackets. They’re great for beginners and hold shelves well.
- Measure Your Shelf: Decide how big your shelf is. Mine was 12 inches deep.
- Cut Wood: Cut two pieces of wood for each bracket. One piece is the vertical support (8 inches), and one is the horizontal base (10 inches).
- Sand Edges: Smooth the wood with sandpaper. It prevents splinters.
- Join Pieces: Glue the pieces into an L-shape. Add screws for strength.
- Paint or Stain: Make it look nice with paint or stain. I used blue for fun!
- Attach to Wall: Use a level to mark spots. Drill brackets into wall studs.
- Add Shelf: Place your shelf on top and screw it to the brackets.
Visual Idea: A diagram showing the L-shape bracket with measurements would help here.
Benefits of DIY Shelf Brackets
Making your own brackets is cheap. You can spend under $20, while store brackets cost $10 each. They’re also customizable. I made mine bright red to match my kitchen. Plus, they’re strong if you use good materials. My garage shelves hold heavy tools with no problem.
Drawbacks to Know
DIY brackets take time to make. If you’re in a hurry, buying might be easier. Also, if you’re new, you might make mistakes. I once cut my wood too short and had to start over. Be patient and measure twice!
Other Bracket Ideas
You can get creative with brackets. Here are some ideas:
- Rope Brackets: Use thick rope for a rustic look. Great for light shelves.
- Pipe Brackets: Metal pipes give an industrial style. Perfect for kitchens.
- Triangle Brackets: Cut wood into triangles for extra strength.
Table 2: Bracket Style Comparison
| Style | Look | Cost | Skill Level |
|---|---|---|---|
| L-Shape Wood | Simple | $5-10 | Beginner |
| Rope | Rustic | $10-15 | Intermediate |
| Pipe | Industrial | $20-30 | Advanced |
Caption: Choose a style that fits your home and skills.
Common Mistakes to Avoid
I’ve made some errors building brackets. Here’s what to watch for:
- Wrong Measurements: Always double-check sizes. A wrong cut wastes wood.
- Weak Materials: Don’t use thin or old wood. It won’t hold weight.
- Skipping Studs: Attach brackets to wall studs for strength. Drywall alone won’t work.
Visual Idea: A photo of a collapsed shelf could show why studs matter.
My Personal Tips
From my projects, I’ve learned a few tricks. Use a stud finder to locate wall studs—it’s a game-changer. Also, paint your brackets before attaching them. It’s easier than painting on the wall. Lastly, start with small shelves to practice. My first shelf was tiny but gave me confidence.
Cost-Saving Ideas
Save money with these tips:
- Use Scrap Wood: Check your garage for leftover wood.
- Buy in Bulk: Get screws and paint at discount stores.
- Borrow Tools: Ask a friend for a saw or drill to save cash.
Table 3: Cost-Saving Tips
| Tip | Savings | Example |
|---|---|---|
| Scrap Wood | $5-15 | Old pallet |
| Bulk Screws | $3-5 | Buy 100-pack |
| Borrow Tools | $20-50 | Friend’s drill |
Caption: Save money with these easy ideas.
Another Fun Project Example
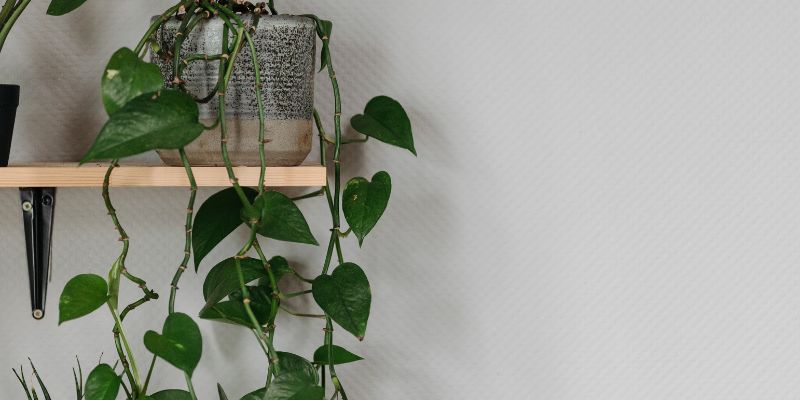
I made floating shelves for my bedroom with wooden brackets. I used plywood and painted it white. The brackets were hidden under the shelf, so it looked like it was floating! It took two hours and cost $15. You can try this for books or decorations.
Visual Idea: A sketch of a floating shelf with hidden brackets would be cool.
Conclusion
Making do it yourself shelf brackets is fun and easy. You save money, customize your space, and feel proud of your work. Start with simple L-shaped brackets and try new styles as you get better. Grab some wood, a saw, and screws, and build a shelf today! Share your project in the comments—I’d love to see it!
Frequently Asked Questions
What Are Do It Yourself Shelf Brackets?
Do it yourself shelf brackets are supports you make to hold shelves. You can use wood, metal, or rope. They’re great for organizing and look nice in any room. Making them yourself saves money and lets you choose the style.
What Tools Do I Need for DIY Brackets?
You need a saw, drill, measuring tape, level, and sandpaper. Safety gear like goggles is important too. These tools are easy to find at hardware stores or borrow from friends. Start with basic tools for simple projects.
How Much Do DIY Brackets Cost?
DIY brackets can cost $5-20, depending on materials. Wood is cheaper than metal. Using scrap wood or bulk screws saves more. Compare that to store-bought brackets, which can cost $10-30 each!
Are DIY Brackets Strong Enough?
Yes, if you use good materials and attach them to wall studs. My garage brackets hold heavy tools with no issues. Avoid thin wood or skipping studs, as that can make shelves weak.
Can Beginners Make Shelf Brackets?
Absolutely! Start with simple L-shaped wooden brackets. Follow my steps, measure carefully, and use basic tools. Practice on a small shelf first. It’s fun and builds confidence for bigger projects.
What’s the Easiest Bracket Style?
L-shaped wooden brackets are the easiest. You only need to cut two pieces of wood and screw them together. They’re strong and perfect for beginners. Try pine wood for a cheap, simple start.
How Do I Make Brackets Look Nice?
Paint or stain your brackets to match your room. Sand them smooth for a clean look. I painted mine red for my kitchen, and they look great! Try fun colors or natural wood stains.