How to Make a Canopy With a Tarp (No Power Tools, Under 1 Hour)
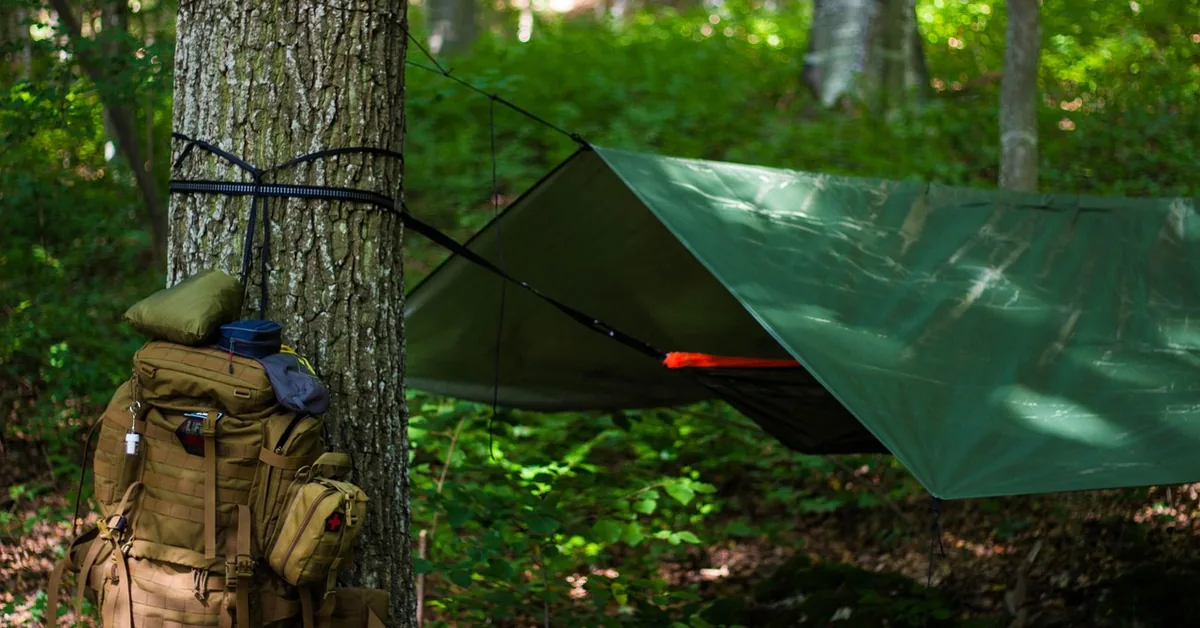
A tarp canopy needs four sturdy poles, tensioned rope at each corner, and stakes driven at a 45-degree angle — no power tools required. Skip the stake angle or leave the tarp flat instead of sloped, and pooled rainwater can collapse the whole structure overnight. This guide covers picking the right tarp material, building the pole-and-rope frame, and the stake angle that keeps it standing in wind.
Choosing The Right Tarp
Picking the right material matters most. Polyethylene tarps are strong, waterproof, and the cheapest option, but they break down fastest in direct sun. Canvas tarps are heavier and more durable, a better pick for windy sites. Vinyl tarps shed rain and sun the best of the three. Mesh tarps let air pass through and work best when shade — not rain cover — is the goal.
Size matters as much as material. Measure the space first, then choose a tarp bigger than that footprint so the whole area stays covered. Rectangular tarps are the easiest to work with for a standard four-pole setup; square tarps suit small spaces; triangular tarps work well tucked into a corner.
Essential Tools And Supplies
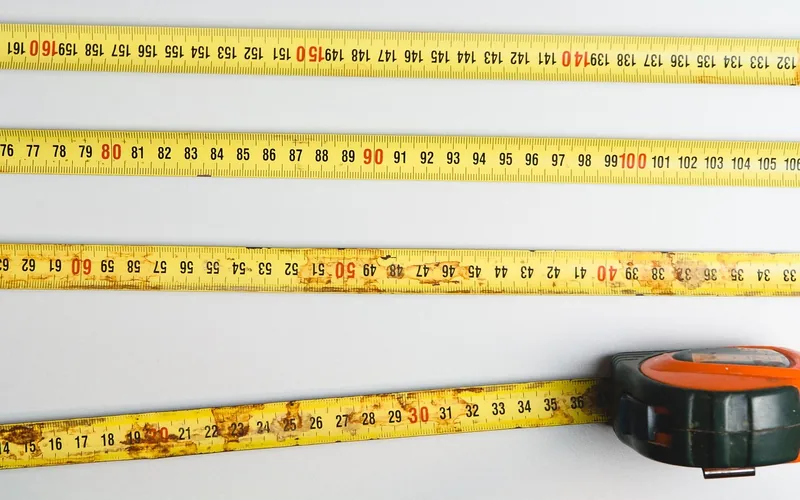
Building a canopy with a tarp is straightforward. You need ropes and cords. Choose strong and durable ones. They help hold everything in place. The tarp must be tight. This keeps it from falling. Use different lengths for flexibility. Practice tying secure knots.
Stakes and poles support the structure. Stakes go into the ground. They keep the tarp from flying away. Poles are like the skeleton of the canopy. Choose sturdy and lightweight poles. Metal or strong wood are good options. Ensure they are tall enough. This gives your canopy height. Now you have a simple and strong setup.
Best Tarp Canopy Stake Pick
Eurmax 10-Pack Galvanized Tent Stakes with 4x10ft Ropes – $13.91
Comes with rope already included, so it covers both the stakes and cordage this guide’s framework step calls for in one order.
- Best for: readers building the pole-and-rope frame from scratch
- Why we picked it: rust-proof steel holds in the angled-stake method this guide covers
- Main drawback: only 10 stakes — a large canopy with extra guy lines may need a second pack
Compare more tarp stake options
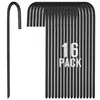
 Option 1 Besitu 12″ Rebar J Hook Stakes (16-Pack) – $24.99
|
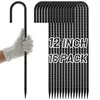
 Option 2 J Hook Rebar Ground Stakes (16-Pack) – $19.99
|
 Option 3 AAGUT Anti-Rust Rebar Stakes – $24.99
|
As an Amazon Associate we earn from qualifying purchases.
Site Selection
Choosing the right spot ensures a sturdy canopy with a tarp. Look for flat ground. Avoid low areas that may collect water. Consider wind direction for stability. Secure your tarp properly for protection. Enjoy the shade and shelter.
Assessing Terrain
Pick a flat spot for your canopy. Avoid rocky areas. Check for tree roots. They can make the ground uneven. Look for a space with grass. It helps the tarp stay in place. Watch out for water bodies. Too close, and your spot might be wet. Think about how you will sleep or sit under the canopy. Comfort is key.
Considering Weather Conditions
Weather can change quickly. Choose a site with shelter from strong winds. Trees and bushes can act as shields. Avoid places where water pools when it rains. A dry area is best. Check for shade if it’s sunny. Tarps can get hot under the sun. Consider the time of year. Different seasons bring different weather.
Setting Up The Framework
First, gather sturdy ropes and cords. Tie them to the tarp’s corners. Make sure the knots are tight. Use strong knots like the bowline or clove hitch. These knots hold well in wind. Attach ropes to trees or poles. Ensure they are secure. Tighten the ropes. This keeps the tarp flat and stable.
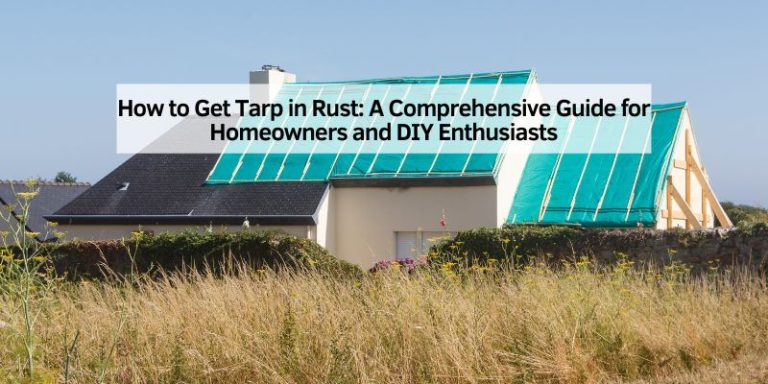
Place poles at each corner of the tarp. Push them into the ground firmly. Use stakes for extra support. Hammer stakes at an angle. This keeps them in place. Attach tarp edges to the poles. Use clips or ties for this. Ensure the tarp is evenly spread. Adjust the height of the poles. This creates a sloped canopy. Rain can slide off easily.
This four-pole method is one of several ways to pitch a tarp for shade — see our guide on how to hang a tarp for shade if you want to compare the ridgeline and A-frame alternatives.
Securing The Tarp
Tensioning Techniques are key for a stable canopy. Start by laying out the tarp. Attach ropes to its corners. Pull the ropes tight. This creates tension. Make sure the tarp is smooth. No wrinkles or folds. Use strong knots. This keeps the tarp secure. Check the tension often. Adjust if needed.
Ensuring Stability is crucial. Use stakes to anchor the tarp. Push stakes deep into the ground. This helps the tarp stay in place. Wind can be strong. So, tighten ropes regularly. Look for loose areas. Fix them quickly. Stability depends on good tension. Always check and adjust.

Additional Tips For Durability
To ensure a long-lasting canopy, secure the tarp tightly with strong ropes and sturdy stakes. Regularly check for wear and replace any damaged parts promptly. Choose a high-quality tarp for better resistance to weather conditions.
📊 Untreated polyethylene tarps left in direct sun can degrade in as little as 3–9 months, while UV-stabilized poly tarps last several years longer. — Source: Industrial tarp manufacturer UV-durability testing data, 2026
Weatherproofing
Tarp edges need sealing. Use waterproof tape for this. It keeps rain out. Apply sealant on seams. This stops water leaks. Pick a tarp with UV protection. Sun can harm tarps. Add grommets for strength. They help in windy conditions.
Regular Maintenance
Check tarp for holes often. Fix them quickly. Clean tarp with mild soap. Dirt weakens fabric. Store tarp in a dry place. Wet storage causes mold. Inspect ropes for frays. Change them if weak. Keep tarp tight. Loose tarps flap in wind.
Common Mistakes To Avoid
Setting up a tarp canopy involves common mistakes like choosing a flimsy tarp or neglecting strong anchor points. Ensure the tarp is tightly secured to avoid sagging. Using proper knots and checking weather conditions can prevent potential mishaps.
Incorrect Tarp Size
Choosing the wrong tarp size is a common mistake. A small tarp won’t cover enough space. A large tarp can be too heavy and hard to handle. It’s important to measure the area first. This helps in picking the right size. A tarp should cover the area fully. It should not hang too low or be too tight. This ensures proper protection and support.
Improper Stake Placement
Stakes keep the tarp in place. Placing them wrongly can cause issues. Loose stakes can lead to a sagging tarp. Too tight and the tarp might tear. Place stakes at each corner. Push them deep into the ground. This ensures the tarp stays firm. A strong setup can withstand wind and rain. Regular checks can help adjust stakes if needed.
Frequently Asked Questions
How To Make A Canopy Using A Tarp?
To make a canopy using a tarp, gather four poles, rope, and tent pegs. Secure the tarp corners to poles, creating a roof. Use rope to stabilize the poles, anchoring them to the ground with pegs. Adjust the tarp’s tension and height for stability and desired coverage.
Can I Use A Tarp For A Canopy?
Yes, you can use a tarp for a canopy. Ensure it’s durable and securely anchored. Choose a weather-resistant tarp for better protection. Proper installation prevents sagging and water pooling. Tarps offer a cost-effective canopy solution for outdoor events or shelters.
How Do You Secure A Tarp To A Canopy?
Secure a tarp to a canopy by using bungee cords or zip ties through grommets. Attach them to the canopy frame. Ensure the tarp is taut to prevent flapping in the wind. Adjust and tighten as needed for stability and protection.
How Do You Use A Tarp As A Sunshade?
Secure the tarp corners to sturdy anchors or poles. Use ropes to tension the tarp tightly. Ensure the tarp is angled to block sunlight effectively. Adjust according to sun position for optimal shade. Choose UV-resistant tarp material for better protection.
Conclusion
Creating a tarp canopy is simple and practical. You can enjoy shade and protection outdoors with just a few materials. Follow the steps carefully for best results. Remember to secure the tarp tightly. Make adjustments as needed. Don’t forget to check for any tears.
A sturdy structure lasts longer. This DIY project is perfect for picnics, camping, or backyard gatherings. Explore different methods to find what suits your needs. With patience, you’ll have a cozy, reliable canopy. Enjoy your outdoor space comfortably and safely!
Sponsored / affiliate links. As an Amazon Associate I earn from qualifying purchases. I may earn additional commission from eligible campaigns.