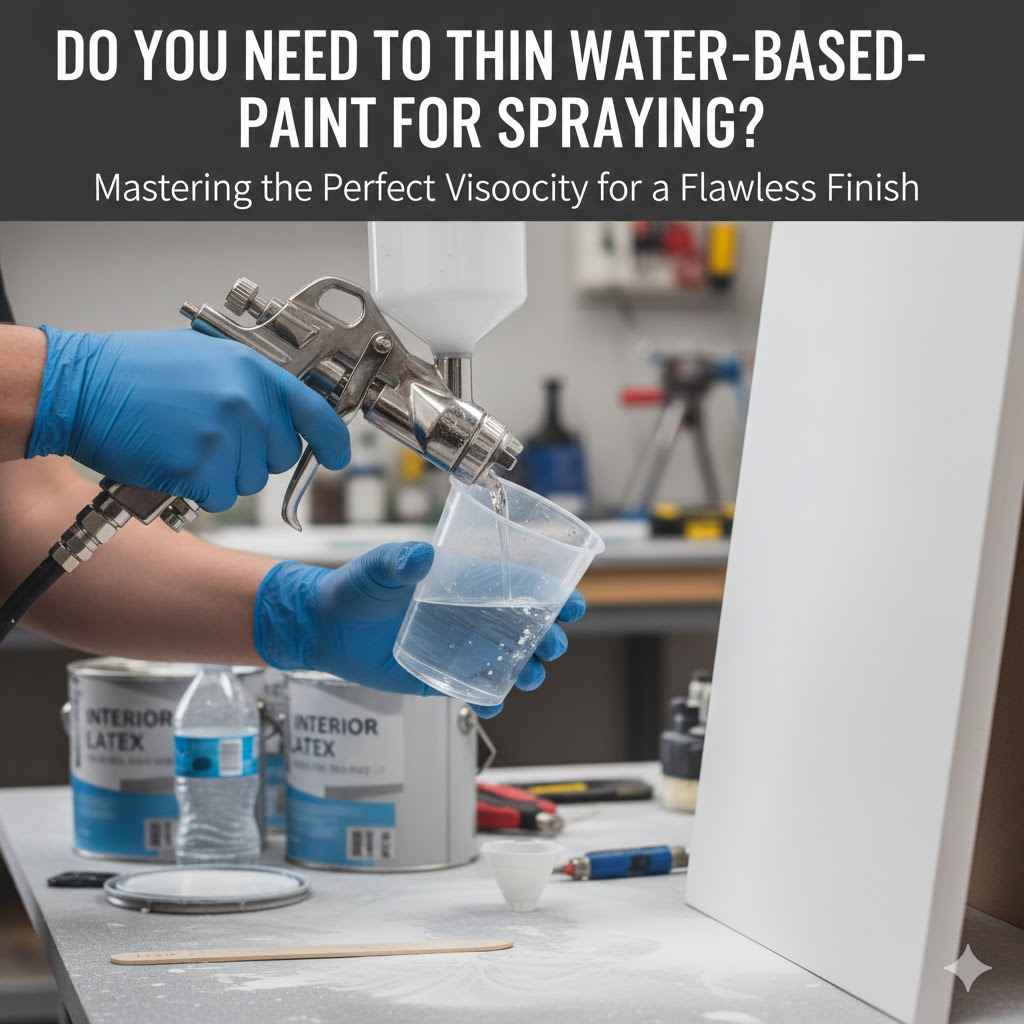
Do You Need to Thin Water-Based Paint for Spraying
Many people wonder if they need to thin water-based paint before using a sprayer. This can seem tricky when you’re just starting out. You want your paint to go on smoothly, but too much thinning can cause problems.
Don’t worry, it’s easier than you think! We’ll show you exactly what to do to get great results every time. Let’s find out if you need to thin that paint and how to do it right.
Getting the Right Consistency for Spraying
When you’re ready to spray paint, one of the most common questions is: Do You Need to Thin Water-Based Paint for Spraying? The answer is often yes, but it depends on a few things. Paint straight from the can might be too thick for your sprayer to handle properly.
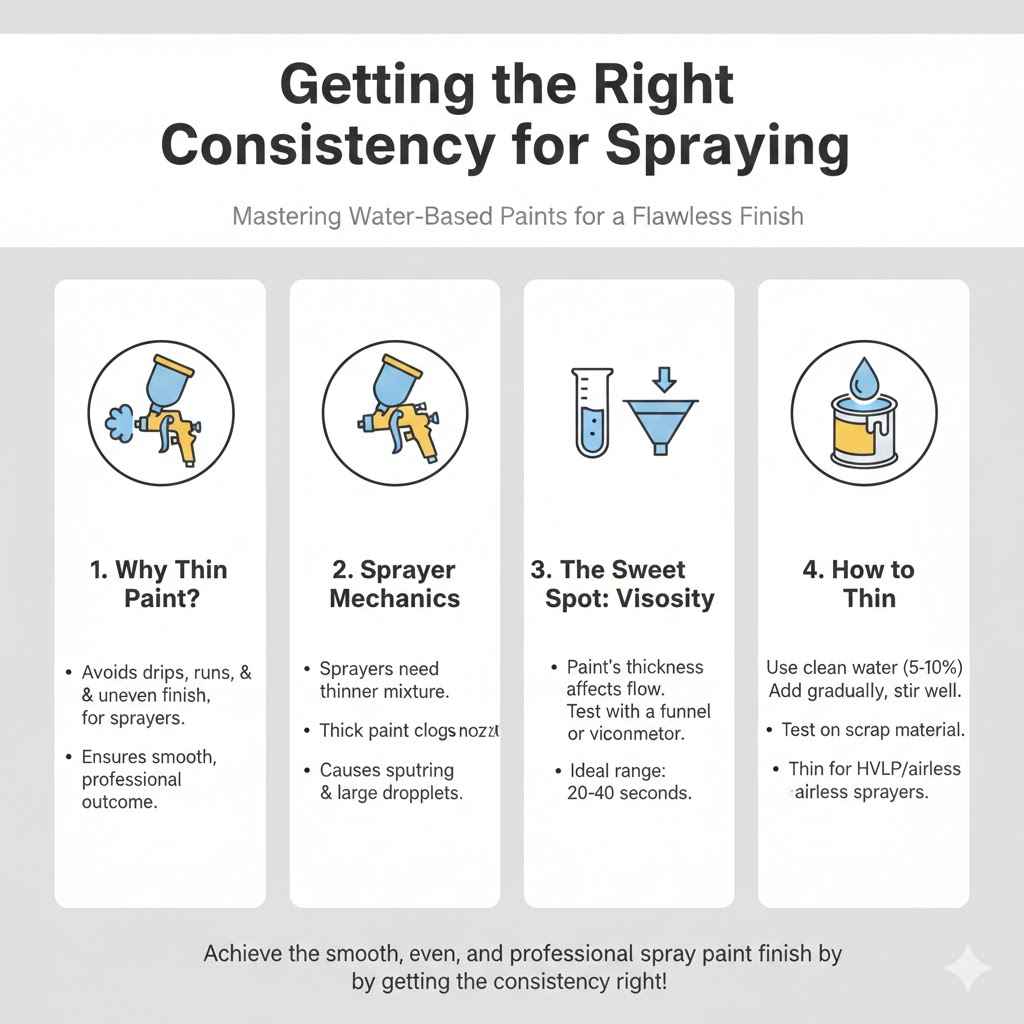
This can lead to a messy job with drips, runs, and an uneven finish. Getting the paint’s thickness just right is key to a smooth and professional-looking outcome.
Water-based paints, like latex or acrylics, are made to be applied with brushes or rollers. For these tools, the paint usually has a thicker consistency. Sprayers, however, need a thinner mixture to pass through the nozzle and atomize correctly.
If the paint is too thick, the sprayer might sputter, clog, or produce large droplets instead of a fine mist. This can ruin your project and waste paint and time.
Why Thinning Paint Matters for Sprayers
Thinning paint is all about achieving the right viscosity, or flow. Think of it like pouring honey versus pouring water. Honey is thick and flows slowly, while water is thin and flows easily.
Your paint sprayer works best when the paint flows like water, or close to it.
Here are some main reasons why thinning is often necessary:
- Proper Atomization Thinning helps the paint break down into tiny droplets when it leaves the spray nozzle. This creates a smooth, even coat.
- Prevent Clogging Thicker paint can easily clog the small openings in the spray gun and tip. Thinning reduces this risk.
- Even Coverage A properly thinned paint will spread out evenly on the surface, avoiding thick spots or bare patches.
- Reduce Overspray While some overspray is normal, very thick paint can lead to excessive, uncontrolled overspray.
- Maintain Sprayer Performance Your sprayer is designed to work with a certain range of paint thickness. Thinning keeps it operating efficiently.
Understanding Paint Viscosity
Viscosity is the measurement of a fluid’s resistance to flow. For painting, we measure it to know if the paint is thin enough. A common tool for this is a viscosity cup, often called a Ford cup or a Zahn cup.
These cups have a small hole at the bottom. You fill the cup with paint, and then time how long it takes for the paint to empty through the hole.
Different sprayers and paint types have different recommended viscosity levels. For example, airless sprayers can often handle slightly thicker paint than HVLP (High Volume Low Pressure) sprayers. Always check your sprayer’s manual for specific recommendations.
What Happens if You Don’t Thin Paint Enough
If you try to spray paint that is too thick, you’ll likely run into these problems:
- Poor Spray Pattern The paint might come out in globs or a wavy line instead of a fine mist.
- Drips and Runs The thick paint won’t spread out thinly enough and will pool and run down the surface.
- Uneven Finish You’ll end up with an inconsistent texture, with some areas looking sprayed and others looking brush-stroked.
- Sprayer Damage Overworking a sprayer with thick paint can strain the motor or pump, potentially causing it to break.
- Clogged Tips and Guns This is a very common issue. The paint will get stuck and stop the flow.
What Happens if You Thin Paint Too Much
On the other hand, thinning paint too much can also cause problems. If you add too much water or thinner, the paint’s binder (the part that holds the pigment together and makes it stick) can be diluted too much. This can lead to:
- Poor Adhesion The paint might not stick well to the surface, leading to peeling or chipping later on.
- Weak Finish The dried paint film can be weak and easily scratched or damaged.
- Color Change Excessive thinning can sometimes alter the paint’s original color.
- Reduced Coverage You might need more coats because the paint is so thin.
- Solvent Trapping If using solvent-based thinners and you add too much, the solvent can get trapped in the paint film, causing issues as it tries to evaporate.
The Role of the Paint Type
The type of water-based paint you are using plays a big role. Different formulations have different base viscosities. For example:
- Interior Latex Paints These are very common for walls and ceilings. Many are formulated to be sprayable with minimal or no thinning.
- Exterior Latex Paints Similar to interior paints, but often formulated for durability. Check the can.
- Cabinet and Trim Paints These are often thicker and may require more thinning for spraying to achieve a super-smooth finish.
- Stains and Sealers Water-based stains and sealers are typically thinner by nature and may not need much, if any, thinning.
Always start by checking the paint can label. Manufacturers often provide recommendations for spraying, including whether thinning is needed and what to use.
Choosing the Right Thinner
For water-based paints, the thinning agent is usually simple:
- Water This is the most common and safest thinning agent for most latex and acrylic paints. Use clean, cool water.
- Paint Retarders These are special additives that slow down the drying time of latex paint. They can help the paint flow better and reduce brush marks if you are brushing, but they also help with spraying by keeping the paint open longer.
- Flow Improvers Similar to retarders, these additives improve the paint’s ability to level out.
Never use other solvents like mineral spirits or lacquer thinner with water-based paints. They are not compatible and can ruin the paint.
How to Test Paint Viscosity
The best way to know if your paint is ready for spraying is to test its viscosity. Here’s a simple method without special tools:
The Stir Stick Test
1. Dip a clean stir stick into the paint.
2. Lift the stick out and observe how the paint flows off it.
3. If the paint flows off in a steady, even stream like water, it’s likely ready.
4. If it’s thick and breaks into drops or strings as it falls, it needs thinning.
5. You can also let the paint drip off the stick. If it forms thick, heavy drips, it’s too thick.
You want it to form thinner, more continuous ribbons.
The Viscosity Cup Method (More Precise)
1. Obtain a viscosity cup (e.g., Ford #4). These are inexpensive online or at paint supply stores.
2. Submerge the cup in the paint and fill it completely.
3. Lift the cup out of the paint and start a stopwatch at the same time.
4. Stop the watch when the first break in the stream occurs at the bottom of the cup’s orifice.
5. Compare this time to the recommended viscosity for your sprayer. For many HVLP sprayers, a viscosity of 15-25 seconds (using a Ford #4 cup) is a good starting point.
How Much Thinner to Add
This is where many people get nervous, but it’s usually a small amount. A good rule of thumb is to start by adding no more than 5-10% of thinner to the total volume of paint.
For example, if you have a gallon (128 ounces) of paint:
- 10% of 128 ounces is 12.8 ounces.
- Start with adding about 6-12 ounces of water for a gallon of paint.
Always add thinner gradually. Mix it thoroughly into the paint, then re-test the viscosity. You can always add more, but you can’t easily take it out.
Step-by-Step Thinning Process
Here’s a simple process to follow:
Step 1: Check the Paint Can
Read the label carefully. It might say “Sprayable with no thinning” or provide specific instructions.
Step 2: Prepare Your Workspace
Work in a well-ventilated area. Have a clean bucket or container ready for mixing, along with your measuring tools and a stir stick.
Step 3: Measure Your Paint
Decide how much paint you need to thin. It’s best to thin only what you plan to use in one session, as thinning can affect the shelf life of the paint.
Step 4: Add Thinner Gradually
Start with a small amount of water (e.g., 5% of the paint volume). Pour it into the paint and stir very well.
Step 5: Mix Thoroughly
Stir the paint and thinner mixture until it’s completely uniform. Make sure no water is sitting at the bottom of the container. A drill with a mixing paddle attachment works best for larger batches, but a strong stir stick is fine for small amounts.
Step 6: Test Viscosity
Use your chosen testing method (stir stick or viscosity cup) to check the flow. If it’s still too thick, add a little more thinner (another 1-2%) and stir again. Repeat until the viscosity is right for your sprayer.
Step 7: Strain the Paint
Even after thinning, it’s a good idea to strain the paint through a paint strainer or a piece of cheesecloth into your paint cup or sprayer reservoir. This catches any lumps or dried bits that could clog your sprayer.
Common Mistakes to Avoid
- Using the wrong thinner Always use water for water-based paints.
- Adding too much thinner at once Start slow and add gradually.
- Not mixing thoroughly Ensure the thinner is fully incorporated.
- Skipping the viscosity test This is the best way to ensure proper sprayability.
- Not straining the paint This is a critical step to prevent clogs.
- Thinning paint for future use Thinned paint may not store as well.
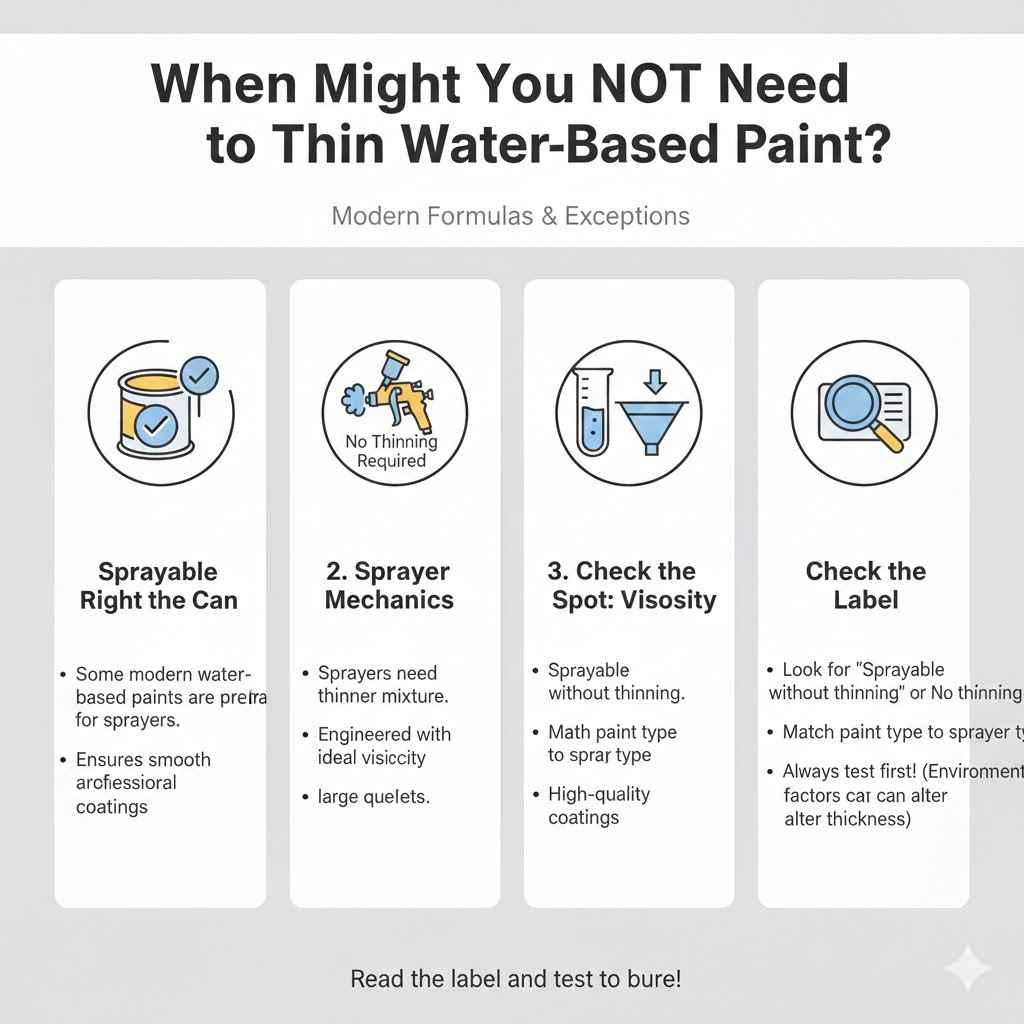
When Might You NOT Need to Thin?
Some modern water-based paints are specifically formulated to be “sprayable right out of the can.” These paints have been engineered with additives to achieve the correct viscosity for spraying without the user needing to add anything. High-quality architectural coatings often fall into this category.
If the paint can explicitly states “Sprayable without thinning” or “No thinning required for spraying,” and you are using a sprayer appropriate for that type of paint, you might be able to use it directly. However, it’s still good practice to perform a viscosity test, as environmental factors (like temperature) can slightly alter paint thickness.
Frequently Asked Questions
Question: Can I use tap water to thin paint for spraying?
Answer: Yes, clean tap water is generally fine for thinning most water-based paints for spraying. Ensure it’s not overly hard or contains impurities that could affect the paint.
Question: How much water should I add to a quart of paint?
Answer: For a quart (32 ounces), start with about 3-6 ounces of water (5-10%). Add it gradually, stir well, and test the viscosity before adding more.
Question: What if my paint is still too thick after adding water?
Answer: You can add a little more water, but do so in very small increments. Alternatively, consider a paint retarder specifically designed for water-based paints, which can help improve flow without as much risk of over-thinning.
Question: How do I know if my sprayer needs thinner paint than my brush?
Answer: Generally, yes. Most sprayers, especially HVLP types, require thinner paint than you would use for brushing or rolling. Always consult your sprayer’s manual for its specific viscosity requirements.
Question: Can I thin oil-based paint with water?
Answer: No. Oil-based paints require specific mineral spirits or paint thinners for thinning. Water will not mix with oil-based paint and will ruin it.
Final Thoughts
Deciding if you need to thin water-based paint for spraying is about achieving the right flow. Most of the time, a little water added gradually will do the trick. Always start by checking the paint can, then test your paint’s thickness.
Adding thinner slowly and mixing well ensures you get a smooth, even finish without clogging your sprayer. Enjoy your smooth spraying experience!