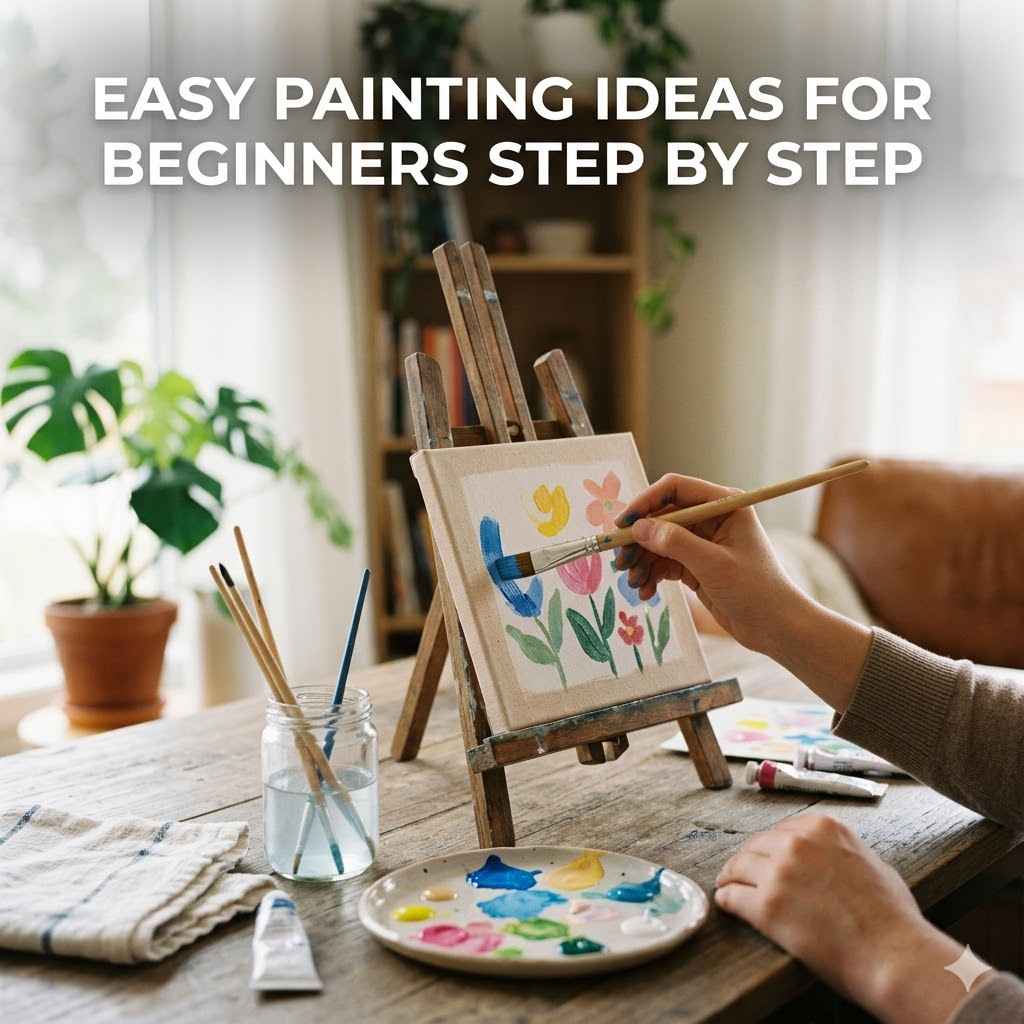
Easy Painting Ideas For Beginners Step By Step
Getting started with painting can feel a little tricky. Lots of people look for Easy Painting Ideas for Beginners Step-by-Step, and sometimes finding projects that are simple enough but still fun can be a puzzle. It’s easy to get overwhelmed by all the techniques and supplies.
But don’t worry! We’re here to show you that painting can be super easy and enjoyable with a few straightforward steps. Get ready to pick up your brush!
Simple Painting Projects For New Artists
This section is all about making painting accessible and enjoyable for anyone picking up a brush for the first time. We will explore a variety of projects that require minimal supplies and basic techniques, ensuring that you can achieve beautiful results without feeling frustrated. The goal is to build your confidence and spark your creativity with projects that are both fun and rewarding.
You’ll discover how to create art that you’ll be proud to display.
Getting Started With Your Art Supplies
Before you can paint, you need a few things. Don’t feel like you need to buy a lot of expensive art supplies right away. A few basic items will get you started perfectly.
Think about what kind of painting you want to try. Acrylic paints are great for beginners because they dry fast and clean up with water. Watercolors are also nice and easy to use, but they need special paper.
For brushes, a few different sizes – a big one for broad strokes, a medium one for details, and a small one for fine lines – are usually enough. You’ll also need a palette to mix your colors. An old plate or a plastic lid works fine for this.
Paper towels or old rags are helpful for cleaning your brushes and wiping up spills.
-
Basic Paint Types
Acrylic paints are water-based and dry quickly, making them ideal for beginners. They are versatile and can be used on many surfaces like canvas, wood, or paper. Their quick drying time means you can layer colors or add details soon after the initial application. Cleanup is simple with just soap and water, which is a big plus when you’re just starting out. -
Essential Brushes
Having a few different brush sizes is key to controlling your paint. A large flat brush is good for covering large areas quickly, like skies or backgrounds. A medium round brush is excellent for general painting and adding details. A small detail brush is perfect for fine lines, accents, and intricate work. Most beginner sets include a good variety to get you started. -
Color Mixing Basics
You don’t need every color under the sun. Start with primary colors: red, yellow, and blue. You’ll also want black and white. Mixing these basic colors allows you to create a wide spectrum of other colors. For example, mixing red and yellow makes orange, blue and yellow make green, and red and blue make purple. White can be used to lighten colors (making tints), and black can be used to darken them (making shades). -
Surfaces to Paint On
Canvas panels are a cost-effective option for beginners. They are sturdy and provide a good surface for acrylics. Watercolor paper is essential if you choose to work with watercolors, as it is designed to absorb water without buckling. Even thick drawing paper can work for practice. Just make sure the surface can handle wet media.
Easy Step-by-Step Painting Projects
Now for the fun part – painting! These projects are designed to be simple, so you can focus on the process and enjoy creating. We’ll break down each idea into easy steps, so you know exactly what to do.
You’ll be amazed at what you can create with just a few colors and some clear instructions. These ideas are perfect for when you want to paint something but aren’t sure where to start.
Project 1 Simple Landscape
Landscapes are a classic subject for a reason. They offer endless possibilities and can be simplified for beginners. For this project, we’ll focus on a basic scene with a sky, hills, and maybe a tree.
It’s a great way to practice blending colors and creating depth.
-
Prepare Your Canvas
Get your canvas panel or paper ready. You might want to tape down the edges of your paper with masking tape to keep it from moving while you paint and to create a clean border. -
Paint the Sky
Start by mixing your sky colors. A simple blue sky can be made with white and a bit of blue. For a sunset, blend yellow, orange, and red. Use your large brush to sweep the paint across the top of your surface. Blend the colors smoothly while they are still wet. Don’t worry about perfection; skies are often varied. -
Add the Ground or Hills
Using a darker shade of green or brown, paint the ground or hills at the bottom of your canvas. You can make this a simple flat area or create rolling hills by adding some curves. Blend the bottom edge of your sky colors into the top of your hills. -
Place a Tree (Optional)
For a focal point, you can add a simple tree. Use a dark brown or black mixed with a little green for the trunk and branches. Paint a basic trunk shape. Then, use a smaller brush and dabs of green to create the leaves. You can make the tree shape very abstract. -
Add Details
Once the main layers are dry, you can add a few final touches. Maybe a little white for a cloud, or a few dabs of yellow for sunlight hitting the hills. Clean brushes between colors to avoid muddying them.
Project 2 Abstract Color Splash
Abstract art is all about color and form. It’s a fantastic way for beginners to explore color mixing and brushwork without the pressure of making something look realistic. This project is super forgiving and allows for a lot of creative freedom.
-
Choose Your Colors
Select 3-4 colors that you like together. They could be complementary colors (like blue and orange) or a harmonious palette (like shades of green and blue). -
Apply Base Colors
Using your medium or large brush, apply your first color in broad strokes or patches across your surface. Don’t aim for even coverage; let the brushstrokes show. -
Add Layers and Textures
Now, pick up your second color. You can paint over parts of the first color, let it drip, or use the edge of your brush to create different textures. If you want to blend, do it while the paint is wet. You can also use a palette knife to spread thick paint for texture. -
Drips and Splatters
For a dynamic effect, you can thin some paint with water and let it drip down your canvas. You can also use a brush to flick paint for small splatters. Be careful not to overdo this step, as it can quickly become messy if not controlled. -
Final Touches
Step back and look at your piece. Add small details with a fine brush, like lines or dots, if you feel it needs them. Sometimes, less is more with abstract art. Let your instincts guide you.
Project 3 Simple Still Life Object
Painting a still life object is a great way to practice observation skills. We’ll pick something simple, like an apple or a vase. This helps you learn about shapes, light, and shadow.
-
Set Up Your Object
Place your chosen object on a table. Position a lamp or a window to one side to create clear shadows. This light source will define the shape and form of your object. -
Sketch the Outline
Lightly sketch the basic shape of your object onto your canvas or paper with a pencil. Focus on its overall form. -
Block in Base Colors
Using your medium brush, fill in the main color of the object. For an apple, this might be red or green. Don’t worry about shading yet. -
Add Shadows and Highlights
Observe where the light hits and where the shadows fall. For shadows, mix a darker version of your object’s color with a bit of blue or brown. For highlights, mix your object’s color with white or yellow. Carefully apply these shades to build form. -
Refine Details
Use your smaller brushes to add any final details. You might add a highlight where the light is strongest, or soften the edges of a shadow. Paint the background simply, perhaps a muted color that complements your object.
Exploring Different Painting Techniques for Beginners
As you get more comfortable, you’ll want to try out different ways of applying paint. These techniques are simple to learn and can add a lot of interest to your paintings. They are perfect for beginners looking to expand their skills beyond basic brushstrokes.
Trying new techniques can make painting even more exciting.
Basic Brushstroke Variations
The way you hold your brush and the pressure you apply makes a big difference. Experiment with different strokes. A light touch can create delicate lines, while firm pressure with a flat brush can cover a larger area smoothly.
Short, choppy strokes can create texture, like grass or fur. Dabbing motions are great for creating foliage or stippled effects.
-
Loading the Brush
How you put paint on your brush matters. For smooth blending, load your brush with a single color or two well-mixed colors. For distinct strokes or textures, you can load your brush with two colors side-by-side and apply them without mixing them completely on the brush itself. This is called “two-loading” and creates interesting visual effects. -
Wet-on-Wet Technique
This is a popular watercolor technique, but it also works with acrylics. You apply wet paint onto an area of the surface that is already wet. This causes the colors to blend and soften into each other beautifully. It’s great for creating soft backgrounds, skies, or misty effects. It requires quick work before the paint dries. -
Dry Brushing
For dry brushing, you use a brush with very little paint on it, and a surface that is dry. This technique leaves broken marks and creates a textured, often scratchy effect. It’s excellent for depicting things like rough surfaces, tree bark, or wispy clouds. You can achieve a sense of roughness or age with this method. -
Using a Palette Knife
Palette knives are not just for mixing paint. You can use them to apply paint thickly to your canvas, creating impasto effects. This adds wonderful texture and dimension to your artwork. You can spread, scrape, and even carve into the paint with a palette knife, creating unique visual interest that brushes cannot replicate easily.
Example Scenario 1: Creating a Textured Sky
Imagine you are painting a stormy sky. You’ve laid down your base colors of dark blues and grays. To add the texture of churning clouds, you could use a palette knife.
Load the knife with a lighter gray and some white paint. Then, press and drag the knife across the darker areas of the sky. Don’t blend it smoothly; leave the marks of the knife visible.
This will give your clouds a rugged, dynamic look that suggests movement and depth, making the sky feel more realistic and dramatic.
Easy Ways to Add Detail
Details can make your paintings really pop, but they don’t have to be hard. Start with simple details that add character. Think about highlights, outlines, and small accents.
These elements can bring your subjects to life and add a professional touch.
-
Adding Highlights
Highlights are the brightest spots where light directly hits your subject. They give your object form and make it look three-dimensional. Use a lighter version of your object’s color, often mixed with white or yellow. Apply these highlights sparingly to areas where the light is strongest. Even a few well-placed highlights can make a big difference. -
Using Fine Lines
Fine lines can define edges or add small features. For example, on a painted flower, you could use a fine brush to add the veins on the petals. Or, for a painted animal, you might add individual whiskers. This requires a steady hand and a small detail brush. Practice making smooth, consistent lines. -
Creating Depth with Color
Colors can make things appear closer or farther away. Colors that are lighter and warmer tend to come forward, while colors that are darker and cooler tend to recede. Use this to your advantage when painting backgrounds. For instance, a distant mountain range might be painted in soft blues and grays, while a foreground tree could be in vibrant greens and browns.
Sample Scenario 1: Bringing a Painted Bird to Life
Let’s say you’ve painted a simple silhouette of a bird. To make it more interesting, you can add a few simple details. Once the base color is dry, use a very fine brush and a slightly lighter shade of the bird’s color to add a highlight along the top edge of its body and wing.
This will suggest light hitting it. You can also add a tiny bright white dot for an eye. If you painted a branch, add a few thin lines to suggest the texture of the bark.
These small details make the bird look more alive.
Tips for Practice and Improvement
Like any skill, painting gets better with practice. Don’t be discouraged if your first attempts aren’t perfect. Every painting session is a learning experience.
The more you paint, the more comfortable you’ll become with your materials and techniques. Keep experimenting and having fun!
Creating a Painting Schedule
Consistency is key to improvement. Try to set aside a little time for painting regularly. Even 30 minutes a few times a week can make a big difference.
It doesn’t have to be a long session; just make it a habit. This regularity helps build muscle memory and makes painting feel less like a chore and more like a natural part of your routine.
-
Paint from Photos
Using reference photos is a great way to learn. Find images of subjects you enjoy – landscapes, animals, or objects. Try to replicate them, focusing on shapes, colors, and values (lights and darks). This helps train your eye to see the world more like an artist. -
Copy Other Artists (for learning)
Look at paintings by artists you admire. Try to understand how they achieved certain effects. You can even try to copy a section of their work to practice a specific technique. This is a common learning method and helps you internalize different approaches to painting. -
Experiment with Color Palettes
Challenge yourself by using limited color palettes. Try painting a whole scene using only blues and greens, or a monochromatic scheme (shades of one color). This forces you to explore color mixing and value more deeply, leading to a better understanding of how colors interact. -
Keep a Sketchbook or Painting Journal
Use a small sketchbook to jot down ideas, practice small studies, or simply doodle. You can also use it to record your thoughts about your paintings – what worked, what didn’t, and what you want to try next. This visual diary becomes a valuable record of your progress.
Sample Scenario 2: Practicing Texture on a Simple Object
You’ve decided to practice painting a weathered wooden fence. Instead of just painting a flat brown color, use the dry brushing technique. Load a flat brush with a medium brown, then wipe most of it off on a paper towel.
Now, lightly drag the brush across your canvas where the fence would be. This will leave gaps and textured lines, mimicking the grain and wear of old wood. Then, you can add a few darker lines with a fine brush for the cracks and shadows between the planks.
This simple approach adds realism and visual interest.
Common Beginner Painting Mistakes to Avoid
Even experienced artists make mistakes, but knowing about common beginner pitfalls can help you avoid them. These are usually related to common issues like color mixing, paint application, or overworking a piece. Learning these can save you time and frustration.
-
Using Too Much Paint
Applying paint too thickly can be problematic, especially with acrylics. It can lead to cracking or uneven drying. It also makes it harder to achieve smooth blends or fine details. Try to use a more controlled amount of paint, especially when starting out. You can always add more if needed. -
Not Letting Layers Dry
Acrylics dry quickly, but if you rush and try to paint over a wet layer, the colors will mix unintentionally and become muddy. For clean colors and distinct layers, make sure the previous layer is dry to the touch before applying the next. This is crucial for achieving crisp details and vibrant hues. -
Overworking the Painting
It’s easy to get caught up trying to fix every little thing, but sometimes you can do more harm than good. Overworking a piece can make it look muddy, lose its freshness, and become overworked. Know when to step away and let the painting dry, or decide when it’s “finished” even if it’s not perfect. -
Not Cleaning Brushes Properly
Dirty brushes are a painter’s enemy. Dried paint can ruin the bristles, making them splayed and unusable. Always clean your brushes thoroughly with water and soap (for acrylics) after each painting session. Rinse them out completely until the water runs clear. Store them bristles-up or flat to prevent damage.
Statistics on Beginner Art Engagement
A recent survey found that nearly 65% of adults who tried painting for the first time in the past year did so to find a relaxing hobby. Another study indicated that 40% of beginner painters cite a lack of clear instruction as their main barrier to continuing.
Choosing Your First Painting Project
Selecting the right project is important for a positive first experience. Consider what appeals to you visually and what seems manageable. Don’t aim for a masterpiece on your first try.
The goal is to learn, have fun, and build confidence with Easy Painting Ideas for Beginners Step-by-Step.
When choosing, think about the subject matter. Do you love flowers? Try a simple flower study.
Are you drawn to nature? A simple landscape is a good choice. Keep the color palette in mind too.
Using just a few colors makes mixing and application much simpler. Projects with fewer details and clear shapes are generally easier.
Showcasing Your Beginner Artwork
Once you’ve created your paintings, it’s natural to want to show them off! It’s important to celebrate your efforts and progress. Displaying your work, even if it’s just in your own home, can be incredibly motivating.
It also gives you a tangible representation of your learning and growth.
Displaying Your Art
There are many ways to display your paintings without needing professional framing. You can use simple clipboards, decorative easels, or even just lean them against a wall on a shelf. If you used canvas panels, they can often stand on their own.
For paper pieces, consider using washi tape to affix them to a wall for a casual, stylish look.
-
Framing on a Budget
If you want a more finished look, look for affordable frames at craft stores or second-hand shops. Many frames come with mats that can enhance the appearance of smaller works. Even a simple, inexpensive frame can elevate your artwork. -
Creating a Gallery Wall
Gather a few of your favorite pieces and arrange them together on a wall. You don’t need matching frames; an eclectic mix can look very stylish. This creates a personal art display that reflects your artistic journey. -
Sharing Online
Social media platforms are great for sharing your art with friends and family. Many platforms have communities where you can connect with other artists and art enthusiasts. Sharing your work online can provide encouragement and valuable feedback.
Real-Life Example: A Community Art Show
A local community center hosted an “Art for All” exhibition. They encouraged residents of all skill levels to submit their work. Beginners who had only been painting for a few months submitted vibrant abstract pieces and simple landscapes.
The exhibition was a huge success, with many attendees inspired by the courage and creativity of the new artists. It showed that art is for everyone, regardless of experience.
Encouragement and Next Steps
Painting is a wonderful way to express yourself and relax. These Easy Painting Ideas for Beginners Step-by-Step are just the beginning. Don’t be afraid to keep trying new things.
Every brushstroke you make is practice. You are building a new skill, and that takes time and patience.
Continue to explore different subjects and techniques. Watch online tutorials, visit local galleries, or take a beginner’s art class if you have the opportunity. The most important thing is to enjoy the process of creating.
Your unique artistic voice will develop naturally as you continue to paint.
Frequently Asked Questions
Question: What are the easiest things for beginners to paint?
Answer: Simple objects like an apple or a cup, basic landscapes with a sky and ground, or abstract color blobs are usually the easiest for beginners.
Question: Do I need expensive art supplies to start painting?
Answer: No, you don’t need expensive supplies. Basic acrylic paints, a few brushes, and a surface like a canvas panel are perfectly fine to start.
Question: How often should I practice painting?
Answer: Aim to practice regularly. Even painting for 30 minutes a few times a week can help you improve faster than long, infrequent sessions.
Question: What is the biggest mistake beginners make?
Answer: Common mistakes include overworking a painting, not letting layers dry properly, and using too much paint, which can lead to muddy colors or poor texture.
Question: Is it okay if my first paintings aren’t perfect?
Answer: Absolutely! Perfection isn’t the goal for beginners. The aim is to learn, experiment, and enjoy the process of creating art.
Conclusion
You’ve learned that painting can be simple and fun with the right approach. We explored easy projects and basic techniques perfect for getting started. Remember, patience and regular practice are key.
Keep painting, enjoy the creative process, and celebrate every piece you create.