How to Disinfect Wood Furniture: Proven, Safe Method
A mild soap-and-water wash removes surface germs from wood furniture safely, but a real disinfectant needs a follow-up: diluted white vinegar or 70% isopropyl alcohol, misted lightly and wiped dry within a minute. Skipping the follow-up step, or over-wetting the wood, is why most DIY attempts leave streaks or dull the finish. This guide covers the full wash-then-disinfect method, which solution fits which finish, and what EPA guidance says about contact time.
Insert your Affiliate Disclosure reusable block here.
Quick Answer
Disinfect wood furniture by dusting first, washing with a barely damp cloth in mild soap and water, then lightly misting a 1:1 diluted white vinegar or 70% isopropyl alcohol solution and wiping dry within a minute. Always test any solution on a hidden spot first — alcohol can dull shellac and wax finishes, and vinegar shouldn’t touch unfinished or oiled wood.
Why Disinfecting Wood Furniture Matters
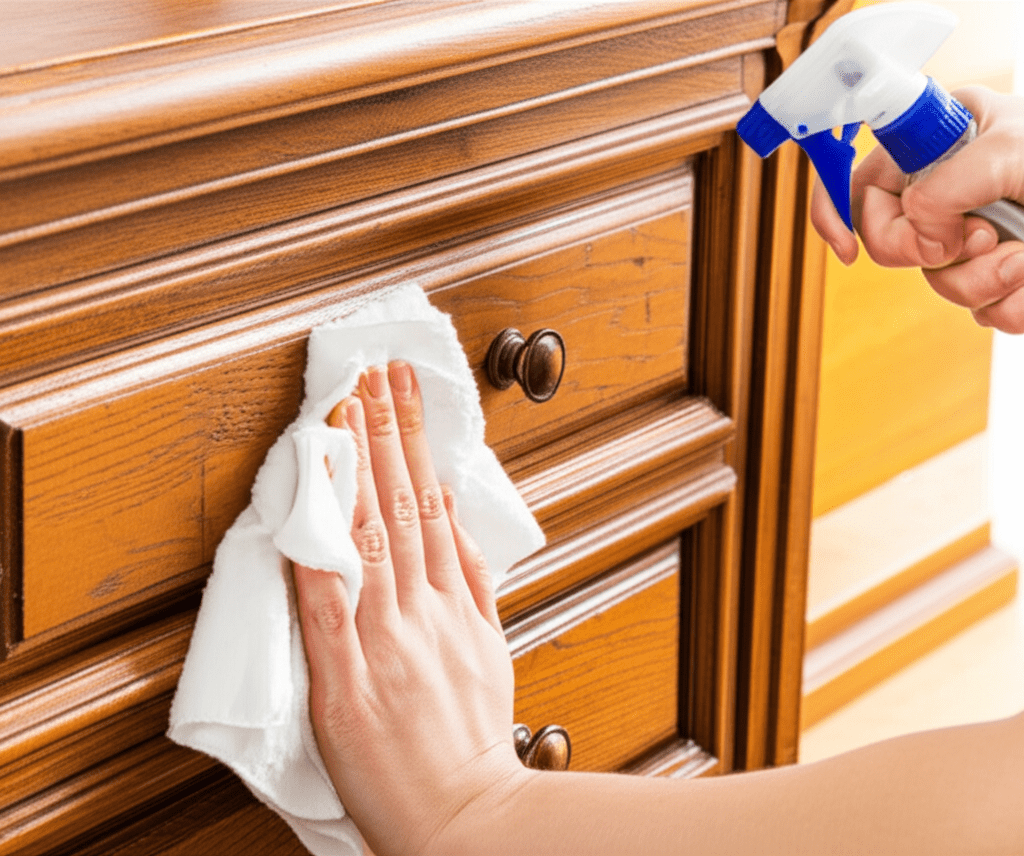
Wood furniture can harbor germs and bacteria just like any other household surface, especially in high-traffic spots. If someone in the household has been sick, disinfecting frequently-touched surfaces — dining tables, coffee tables, nightstands — helps limit the spread. Regular dusting handles everyday grime, but a proper disinfecting pass is worth doing after illness or a spill that might carry bacteria.
The catch is that wood is porous and its finish is chemically sensitive. Strong disinfectants formulated for tile or countertops can strip finishes, cause discoloration, or warp the wood itself. The goal is a method that kills germs without compromising the finish underneath — which means diluting, minimizing moisture contact time, and drying immediately.
Understanding Wood Finishes and Disinfection
Most wood furniture isn’t bare wood — it’s protected by a finish, and each finish type reacts differently to cleaning agents:
- Varnish: A hard, protective coating with good water resistance.
- Lacquer: Dries quickly into a hard, clear film, but scratches more easily than varnish.
- Polyurethane: A durable, plastic-like coating that resists moisture and wear well.
- Shellac: A natural resin finish with a warm look, but weak against heat and alcohol.
- Oil finishes: Penetrate the wood grain for a matte look; more absorbent, less sealed.
- Paint: An opaque coating that adds color and a protective layer.
Aggressive solvents, high heat, or excess moisture can break down any of these layers, causing dullness, clouding, or permanent damage. Alcohol can dissolve shellac; ammonia-based cleaners can dull polyurethane. That’s why the disinfectant has to match the finish, not just the germ.
📊 EPA-registered disinfectants only work if the surface stays visibly wet for the full contact time listed on the product label — wiping it dry too soon is the most common reason a disinfectant fails to actually kill germs. On porous surfaces like untreated wood, EPA guidance recommends using only products labeled effective on porous (P) surfaces. Source: U.S. EPA, List N Disinfectant Guidance
The Proven, Safe Method for Disinfecting Wood Furniture
Here’s a step-by-step approach that prioritizes the finish while still disinfecting effectively, using items most households already have.
Step 1: Prepare Your Workspace and Furniture
Clear the piece of books, decorations, or tableware so you have a clean surface to work on. Ventilate the room — open a window or run a fan, especially before misting any spray. Protect the floor with a drop cloth or old towel in case of drips.
Step 2: Dust and Dry Clean
Remove loose dirt and dust first with a soft, dry microfiber cloth or feather duster. This keeps dust from turning into mud once liquid is introduced, which can scratch the finish. Pay extra attention to crevices and carved areas where dust builds up.
Step 3: Mild Soap and Water Wash
Mix a small amount of mild, pH-neutral dish soap with warm water — slightly soapy, not sudsy. Dampen a soft cloth in the solution and wring it out thoroughly; it should be barely damp, never wet. Work in sections, wiping each one down and immediately buffing it dry with a separate soft cloth before moving on.
Why this works: mild soap lifts dirt, grime, and most surface bacteria without stripping the finish. Minimal moisture is the key — over-wetting causes water spots, swelling, or long-term finish damage.
Step 4: Disinfecting Spray (Choose One)
Once the piece is clean and dry, disinfect with one of these two safe options.
Option A: Diluted White Vinegar Solution
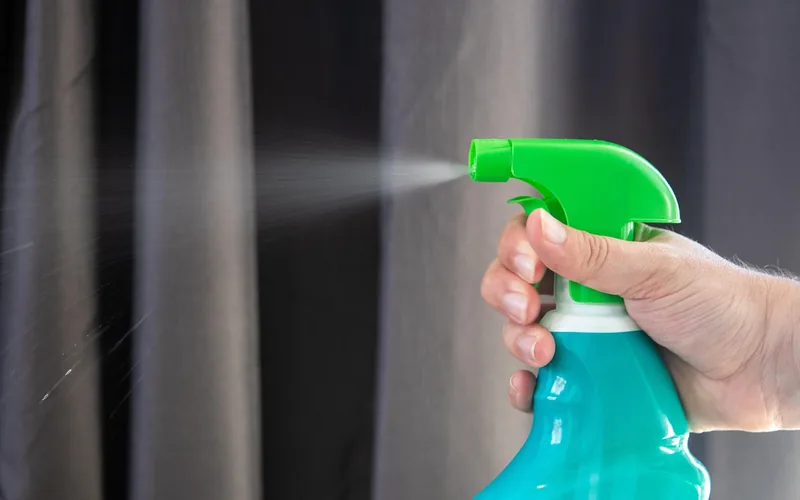
Mix equal parts white vinegar and water in a spray bottle (1 cup vinegar to 1 cup water). Lightly mist the surface — a light mist, not a heavy spray — let it sit for a minute or two, then wipe dry with a clean microfiber cloth. Vinegar is acidic; it’s generally safe for most sealed finishes in this diluted form, but always test first. Do not use it on unfinished or oiled wood, since the acid can react with the oil or soak into bare wood.
Option B: Diluted Isopropyl Alcohol Solution
Mix equal parts 70% isopropyl alcohol and water in a spray bottle. Lightly mist the surface, let it sit 30 seconds to a minute, then wipe dry immediately. Alcohol evaporates fast, which limits moisture damage, but it can dull or damage shellac and delicate lacquer finishes if used too often or at too high a concentration — always test first.
Why these work: both diluted vinegar and isopropyl alcohol have antimicrobial properties that kill a meaningful share of common household germs. Dilution plus immediate drying is what keeps the finish safe.
Step 5: Final Buff and Dry
Once the disinfecting solution is wiped dry, give the whole piece a final buff with a clean, dry microfiber cloth. This restores shine and confirms no moisture is left behind — check legs and undersides too, if accessible.
“Surfaces must remain visibly wet for the full contact time listed on the product label to be effective — a quick wipe-and-done pass often isn’t enough contact time to actually disinfect, only to clean.”
Testing Your Disinfectant
This step cannot be skipped. Before applying any solution to the whole piece, test it in an inconspicuous spot — the underside of a table, the back of a leg, or inside a drawer. Apply a small amount with a cotton swab, let it sit for the recommended time, then wipe dry. Check for:
- Discoloration: Does the finish change color?
- Dulling: Does the sheen disappear?
- Softening: Does the finish feel gummy or soft?
- Damage: Does the finish peel, crack, or turn sticky?
If you see any of these reactions, that solution isn’t suitable for this piece — try a milder option or consult a furniture care specialist.
Important Considerations and What to Avoid
What to Avoid
- Harsh chemicals: bleach (even diluted), ammonia, abrasive cleaners, silicone-based furniture polish, and strong solvents can all damage wood finishes.
- Excessive moisture: never soak wood furniture. Water can penetrate the finish and cause swelling, warping, or white water rings. Always use a well-wrung-out cloth.
- Abrasive materials: steel wool, abrasive sponges, or scouring powders will scratch and dull the finish.
- Direct sunlight or heat: avoid leaving damp cloths on furniture in sunlight or near heat sources — it accelerates finish damage.
- Over-disinfecting: unless there’s a specific reason (illness, a contamination event), daily or weekly disinfecting of every piece isn’t necessary. Regular dusting and occasional cleaning cover normal use.
Special Cases
- Unfinished wood: trickier, since moisture is the biggest enemy. A very lightly misted, fast-drying diluted alcohol solution might work, but it’s risky — dry-cleaning methods are usually the safer default.
- Antique furniture: consult a professional furniture restorer or conservator before disinfecting or deep cleaning a valuable antique. The National Park Service’s Technical Preservation Services also publishes guidance on preserving historic finishes.
- Painted furniture: use the mild soap-and-water method first. If disinfection is needed, a very diluted vinegar solution may work — always test first, and avoid alcohol, which can soften or lift certain paints.
Disinfection Methods Compared for Wood Furniture
Here’s how the common options stack up for wood furniture specifically:
| Disinfectant | Best For | Pros | Cautions |
|---|---|---|---|
| Mild Soap & Water | Routine cleaning, light disinfection | Gentle, compatible with nearly all finishes | Not a strong disinfectant alone; use a barely damp cloth |
| Diluted White Vinegar (1:1) | Most sealed finishes (varnish, polyurethane, lacquer) | Natural, mildly acidic, kills many bacteria | Never use on unfinished or oiled wood; test first |
| Diluted Isopropyl Alcohol (1:1) | Sealed finishes needing stronger disinfection | Evaporates fast, low moisture risk | Can dull shellac or wax finishes; use sparingly |
| Hydrogen Peroxide (3%, diluted) | Rarely recommended for wood | Breaks down into water and oxygen | Can bleach or lighten finishes; test thoroughly first |
| Commercial Wood Cleaner | A specific product matched to your finish | Formulated for wood, often conditions too | Effectiveness as a disinfectant varies; follow label directions |
| Water Only | Daily dusting, very light cleaning | Safest option for nearly every finish | Minimal disinfecting power on its own |
Best Wood-Safe Cleaning Supplies Pick
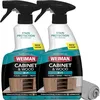
Weiman Cabinet & Wood Cleaner Spray – $21.98
A ready-made alternative to the DIY vinegar or alcohol mix in Step 4 — formulated specifically for finished wood rather than diluted from a general-purpose cleaner.
- Best for: Routine cleaning between deeper disinfecting passes
- Why we picked it: Formulated for wood specifically, not a diluted all-purpose cleaner
- Main drawback: Not EPA-registered as a disinfectant — pair with the Step 4 vinegar or alcohol method for true disinfection
Compare more wood-cleaning supplies
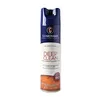 Option 1 Guardsman Deep Cleaning Wood Cleaner – $5.10
|
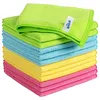 Option 2 MR.SIGA Microfiber Cloths (12-Pack) – $13.99
|
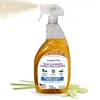 Option 3 EcoDecors Teak & Wood Cleaner – $24.98
|
As an Amazon Associate we earn from qualifying purchases.
For general upkeep between disinfecting passes, our best oil for wood furniture guide covers how to restore shine and protect the finish, and our scratch removal guide handles the surface damage that heavy cleaning can sometimes expose.
Frequently Asked Questions
Can I Use Disinfecting Wipes on My Wood Furniture?
Generally, avoid standard disinfecting wipes. They often carry alcohol or other chemicals at concentrations too high for wood finishes, and can leave a residue that dulls the surface over time. If you must use a wipe, choose one made specifically for wood furniture, and test it in a hidden spot first.
How Often Should I Disinfect My Wood Furniture?
Unless someone in the household is ill or there’s a specific reason for deep disinfection, regular dusting and occasional damp-cloth cleaning are enough for most wood furniture. Over-disinfecting can degrade the finish over time — save the full disinfecting pass for high-touch surfaces or after a specific event.
What’s the Best Way to Remove Water Rings from Wood Furniture?
For light white rings (moisture trapped in the finish), gently rub the spot with very fine #0000 steel wool and a bit of lemon or mineral oil. Dark rings mean moisture reached the wood itself, which is a more complex repair usually best left to a professional.
My Furniture Has a Wax Finish. How Do I Disinfect It?
Wax finishes are delicate — avoid alcohol and strong cleaners, since both will strip the wax. Use a barely damp cloth with a tiny amount of mild soap, then reapply a coat of furniture wax afterward to restore protection and shine. Always test in an inconspicuous spot first.
Is It Safe to Use Essential Oils for Disinfecting Wood Furniture?
Some essential oils, like tea tree or eucalyptus, have antimicrobial properties, but they’re potent and can damage finishes or leave an oily residue. If you want to try one, dilute it heavily in water and test thoroughly first. For most people, the diluted vinegar or alcohol methods above are more predictable.
What About Disinfecting Outdoor Wood Furniture?
Outdoor wood furniture can often tolerate slightly stronger solutions, since outdoor-rated finishes are typically more robust. The same principles still apply: avoid harsh abrasives and excessive moisture. A mild detergent-and-water mix, or a very diluted bleach solution (1 part bleach to 10 parts water) for mold or mildew, can work — rinse thoroughly and let the piece dry completely in the sun. Test in a hidden spot first, especially on painted or stained pieces.
Conclusion
Disinfecting wood furniture safely comes down to three habits: minimal moisture, a diluted solution matched to the finish, and drying immediately. Dust first, wash with a barely damp cloth, mist a diluted vinegar or alcohol solution and wipe it dry within a minute, and always test on a hidden spot before treating the whole piece. Follow that order and your furniture stays hygienic without risking the finish.
Sponsored / affiliate links. As an Amazon Associate I earn from qualifying purchases. I may earn additional commission from eligible campaigns.