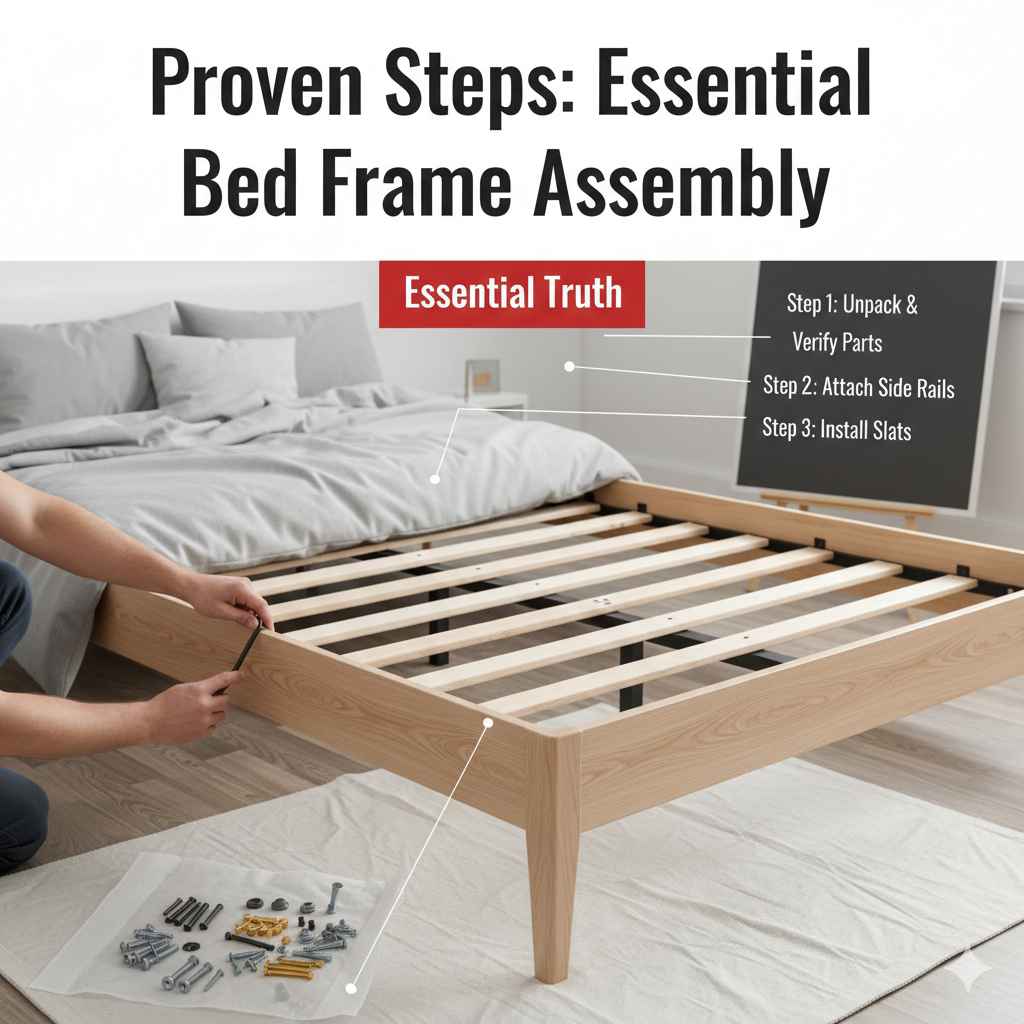
Proven Steps: Essential Bed Frame Assembly
Putting together a wooden bed frame and headboard is straightforward when you follow clear steps. This guide breaks down the process into manageable phases—from unpacking and inventory to final tightening—ensuring a sturdy, level foundation for your mattress without any frustration.
Hello there! I’m Md Meraj, and I know that opening a box full of wood pieces and confusing hardware can feel overwhelming. You just want a solid place to sleep, not a wrestling match with hex keys! Many folks find that bed assembly seems trickier than it really is, especially when figuring out which bolt goes where. But don’t worry one bit. With a little planning and these simple, proven steps, you will have a rock-solid bed frame built confidently. We’ll take this slow, making sure every connection is tight and correct. Let’s get that bedroom looking ready for sleep!
Why Proper Bed Frame Assembly Matters
A bed frame is more than just decoration; it’s the backbone of your sleep sanctuary. If it’s not assembled correctly, you face noise, instability, and potential damage to your mattress over time.
The Risks of a Wobbly Frame
A poorly assembled frame can lead to several common issues:
- Squeaking and Noise: Loose bolts vibrate, creating annoying squeaks every time you move.
- Structural Weakness: Uneven weight distribution can cause the wood or metal components to warp or crack.
- Mattress Sagging: If the center support beams aren’t correctly aligned, your expensive mattress won’t be supported evenly, leading to premature wear.
- Safety Hazards: A completely loose side rail could detach, causing the bed to collapse.
We aim for stability! By paying attention during assembly, you ensure longevity and quiet nights.
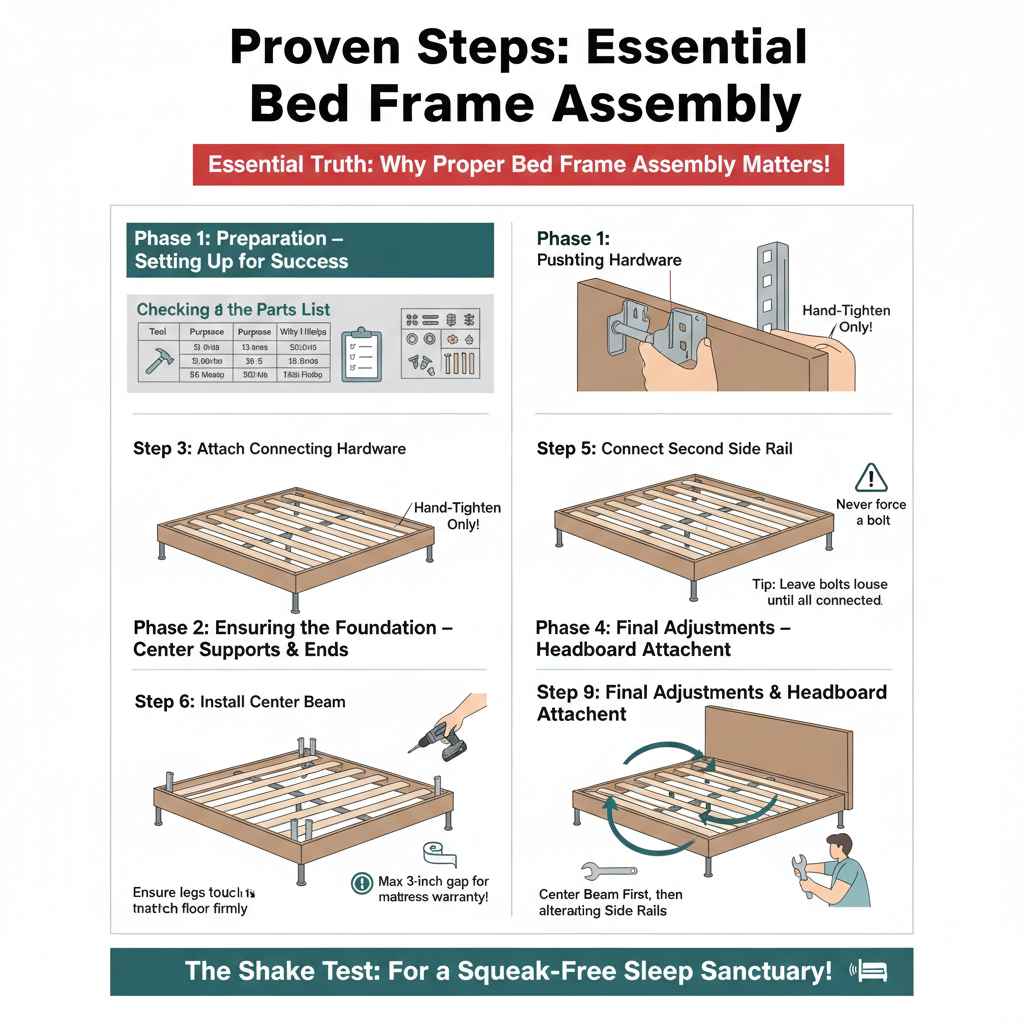
Phase 1: Preparation – Setting Up for Success
The secret to an easy assembly is preparation. Don’t rip open every bag the second the box arrives. Slow down for this first phase—it saves hours later.
Step 1: Clear Your Workspace
You need room to maneuver. A standard Queen or King frame requires space to lay the side rails out flat.
- Move any existing furniture out of the way.
- Ensure you have plenty of overhead clearance if you are assembling a tall headboard.
- Protect your floor! Lay down the large cardboard box the frame came in, or use an old blanket, especially if you have hardwood floors. This prevents scratches from dropped tools or wood pieces.
Step 2: Inventory and Tool Check
This is the most important confidence booster: making sure everything is there before you start bolting things together.
Essential Tools You’ll Need
Most modern bed kits come with the basic tools (usually an Allen wrench or hex key). However, having your own tools makes the job much easier and faster.
| Tool | Purpose | Why It Helps |
|---|---|---|
| Phillips Head Screwdriver | For securing decorative screws or smaller fittings. | Often needed for attaching center support brackets or headboard trim. |
| Rubber Mallet | Gently tapping wooden dowels or tight slat ends into place. | Prevents damage that a standard hammer might cause to finished wood surfaces. |
| Adjustable Wrench (or Socket Set) | For tightening stubborn hex bolts if the provided Allen key isn’t enough. | Gives you much better torque control than flimsy included tools. |
| Measuring Tape | Confirming that the frame width matches the mattress size before final tightening. | Ensures the frame dimensions are correct for your room layout. |
Checking the Parts List
Grab the instruction manual and lay out all the hardware near your workspace.
- Check the Hardware Count: Compare the pieces in the bags (screws, bolts, washers, nuts) against the quantity listed in the manual. If anything is missing, stop and contact the manufacturer now—not halfway through assembly!
- Identify Major Components: Lay out the headboard, footboard, side rails, and center support beam(s). If your frame uses wooden slats, count those too.
- Keep Hardware Organized: Use small cups, bowls, or the empty cardboard box sections to separate different screw sizes. This prevents grabbing the wrong size bolt, which can strip the holes.
Phase 2: Building the Foundation – The Side Rails and Ends
We start with the main structure. Most frames consist of two main pieces (headboard and footboard) connected by two long side rails.
Step 3: Attaching the Connecting Hardware to Headboard/Footboard
The connection points where the side rails meet the headboard and footboard are critical. These are usually thick metal plates or brackets.
- Identify Orientation: Look closely at the headboard and footboard. If they are slightly angled, make sure the angle faces inward toward the center of the bed.
- Install Connecting Bolts (Usually Large Hex Bolts): Insert the correct bolts through the side rail bracket and into the receiving mechanism on the headboard/footboard.
- Hand-Tighten Only: Screw the bolts in just enough so that the pieces hold together, but still have a little wiggle room. This flexibility is essential for fitting the second side rail perfectly.
Step 4: Connecting the First Side Rail
Take one side rail and align its brackets with the corresponding hardware on the headboard and footboard.
This is where your second set of hands might be useful, especially for larger frames, just to hold the rail steady while you start the bolts. If you are working alone, prop the rail up gently with your knee or a small piece of scrap wood temporarily.
- Insert the bolts and start turning them just a few rotations by hand.
- Repeat this process for both ends of that single side rail.
- Important Safety Note: Never force a bolt. If it doesn’t thread easily, back it out and check for alignment or debris. Forcing it can strip the threads, making the connection permanently weak. For guidance on thread types, organizations like the National Institute of Standards and Technology (NIST) offer helpful background, though your manual will be the primary guide here.
Step 5: Connecting the Second Side Rail
Now, connect the remaining side rail. Because you left the first rail slightly loose, you should have enough “play” to maneuver the second rail into place without fighting the structure.
- Align the brackets on the second rail with the open slots on the headboard and footboard.
- Insert all connecting bolts, starting them by hand.
- Once all bolts are partially inserted on both sides, you can now go around and tighten them securely, alternating between the headboard side and the footboard side to ensure even tension.
At this point, the main rectangular frame should be standing upright, securely connecting the head and foot elements.
Phase 3: Ensuring Stability – Center Supports and Slats
This phase transforms your box into a strong foundation capable of holding weight night after night. Center supports prevent sagging in the middle—a common failure point in cheap frames.
Step 6: Installing the Center Support Beam(s)
Most full, queen, and king frames require at least one center beam running parallel to the side rails, connecting the headboard to the footboard.
Types of Center Support Attachment
| Attachment Type | Description | Assembly Tip |
|---|---|---|
| Bolt-in Bracket | Metal brackets at each end bolt directly into pre-drilled holes. | Ensure the beam is flush against the bracket before tightening fully. |
| Hook-and-Slot | The beam slides into fixed slots on brackets attached to the side rails. | Lift the beam slightly while inserting to ensure it seats fully into the groove. |
| Adjustable Legs | If the beam has feet that touch the floor. | These feet must touch the floor firmly. Check leveling requirements in Step 8. |
If your frame has legs, these need to reach the floor. If the legs are very long (common for king frames), you might need to screw the adjustable feet in slightly before placing the beam, and then adjust them later.
Step 7: Placing and Securing the Bed Slats
Slats are the horizontal support pieces that your box spring (if using one) or mattress rests on. Modern slat systems vary greatly:
Slatted System Check List
- Rolled Slats (Easiest): These usually come on a strong fabric or plastic strap. Lay them across the frame at the recommended intervals (check your manual). The ends often have plastic caps that fit into notches on the side rails. Secure these caps firmly.
- Individual Wooden Slats: If you have individual slats, you must place them according to the spacing guide in your instructions.
- Slat Securing: Many higher-quality frames require you to screw the slats into the side rails using smaller wood screws to prevent shifting. Drive these screws straight and don’t overtighten to avoid splitting the wood.
Pro Tip for Mattress Support: If your frame uses many slats but no box spring (common for platform beds), make sure the gap between slats is no more than 3 inches apart for optimal mattress warranty compliance. Check your mattress manufacturer’s guidelines, as very large gaps can void warranties.
Phase 4: Final Adjustments and Headboard Attachment
We are in the home stretch! Now we lock everything down and attach the decorative elements.
Step 8: Final Tightening Sequence
Now that everything is structurally in place, go back and tighten every single bolt and screw securely. A good sequence helps prevent warping the frame as you tighten.
- Center Beam First: Fully tighten all bolts securing the center support beam.
- Side Rails (Alternating Method): Starting with the bolts connecting the side rail to the headboard, tighten them halfway. Then move to the footboard connection on the same side and tighten halfway. Repeat for the second side rail. Finally, return to all eight bolts and tighten them fully, checking for a secure fit.
- Check Legs: If your center support has legs that touch the floor, place the mattress and foundation on the frame (this adds necessary weight) and gently push down on the center. If any leg lifts slightly, adjust the footpad until it firmly contacts the floor. This ensures the weight is distributed correctly across the floor, not just the frame joints.
Step 9: Attaching the Headboard to the Frame Rails (If Separate)
Many headboards are shipped separately and must be bolted onto the assembled base frame (the part with the side rails).
Lay the headboard face-down gently on your protected floor surface. Locate the vertical support posts (or brackets) attached to the back of the headboard. Lift the assembled frame and align the holes on the frame’s end brackets with the holes on the headboard posts.
Use the specified bolts, washers, and nuts for this connection. This connection is vital for stability. Use your wrench to ensure these bolts are snug. Again, avoid excessive torque—tight means it doesn’t wiggle, not that you are straining to turn the wrench!
Step 10: The Shake Test and Final Clean-Up
This final test confirms your hard work paid off.
- Give the entire frame a firm, yet controlled, shake. Listen for any squeaks or clicking noises. If you hear any, locate the source—it’s usually a bolt that needs another quarter-turn.
- Place your mattress and box spring (if applicable) onto the newly assembled frame.
- Use the measuring tape one last time to confirm the distance between the inside edges of the side rails matches your mattress dimensions.
- Put away your tools, recycle the cardboard (or use it for future projects!), and enjoy your sturdy new bed!
Troubleshooting Common Assembly Hiccups
Even with the best plans, things sometimes go slightly wrong. Here are quick fixes for common issues I’ve seen over the years.
Problem: Holes Don’t Line Up Perfectly
This is common when manufacturing tolerances vary slightly.
Solution: If you are using the hand-tighten method correctly (Step 3), you should have just enough “play” to shift things. Try loosening the bolts on the opposite end slightly. For example, if the headboard connection won’t align, loosen the footboard connection bolts. Once aligned, tighten the footboard first, then the headboard.
Problem: The Frame is Lower on One Side
This usually happens because the center support leg isn’t touching the floor correctly or the side rail hardware is uneven.
Solution: Ensure the weight of the mattress/foundation is applied. If it still lists, check the adjustable feet on the center beam. If the frame has no adjustable feet, check the connection bolts where the center beam meets the headboard/footboard to ensure they are equally tightened. If the frame sits on a carpet, it might settle unevenly; ensure the feet are placed over solid subfloor if possible.
Problem: Stripped Screw Hole
If you accidentally turned a bolt too hard and the threads won’t catch anymore.
Solution: Do not proceed with a stripped hole. For a quick fix on wooden components, you can sometimes remove the screw, fill the hole completely with wood glue mixed with toothpicks or matchsticks (jam them in tightly), let it cure for 24 hours, and then re-drill the pilot hole and re-insert the screw. For metal connections, you might need a specialized thread repair kit, often called a Heli-Coil kit, or contact the manufacturer for replacement hardware.
Frequently Asked Questions (FAQ) About Bed Frame Setup
Q1: How much time should I set aside for putting together a king-size bed frame?
A: For a standard wooden frame assembly with a helper, budget about 1 to 1.5 hours. If you are working alone and taking your time during the inventory check, plan for 2 hours.
Q2: Do I always need a box spring with a new bed frame?
A: Not anymore! Many contemporary frames are “platform beds” and are designed to support the mattress directly using slats spaced closely together. Always check your mattress’s specific warranty requirements; many foam mattresses require slat spacing of 3 inches or less.
Q3: Can I assemble the bed frame without a second person?
A: Yes, most modern designs allow for solo assembly, especially if you use the hand-tighten-first method mentioned in Step 3. However, lifting and aligning the headboard assembly is significantly easier with one helper.
Q4: Why are my side rails bowing inward after assembly?
A: This almost always means the center support beam is either missing, incorrectly installed, or its legs are not touching the floor firmly enough to bear the load. Revisit Phase 3 immediately.
Q5: Are Allen wrenches (hex keys) safe to use for the final tightening?
A: Yes, for the initial and mid-level tightening. However, for the final secure lock, if you are using a cheap, thin hex key provided in the box, it can bend or break. Using a socket wrench attachment with a proper handle will give you better leverage and control to ensure it is tight without stripping the bolt head.
Q6: What is the first thing I should check if the frame feels unstable after assembly?
A: Check the bolts connecting the side rails to the headboard and footboard. These main load-bearing joints are the most common failure points if they weren’t sufficiently tightened in Step 8.
Conclusion: Your Sturdy New Sleep Space
Congratulations! By taking the time to prepare your space, inventory your parts, and follow the systematic assembly phases—starting loose and tightening evenly—you have created a durable, reliable foundation for your bed. Remember, successful DIY projects come down to patience, not brute strength. You’ve successfully conquered the process of how to put together a wooden bed frame and headboard, ensuring years of comfortable, squeak-free rest. Now, throw on those sheets, top it with your mattress, and enjoy the satisfaction of a job well done!