12 Easy Tree Stump Carving Ideas (Beginner to Advanced)
Tree stump carving turns a leftover stump into garden art with a chainsaw, a chisel set, and a design idea — but punky or rotted wood won’t hold fine detail, so test firmness with a screwdriver before you start. Skip that check and hours of work can collapse into mulch. This guide covers 12 easy tree stump carving ideas by skill level, the 5-step carving process, and the safety gear a chainsaw carve actually requires.
Quick Answer
Carve a solid, non-rotted stump with a chainsaw for rough shaping and hand chisels for detail — owls, mushrooms, and geometric patterns are the easiest beginner projects. Always wear chainsaw chaps, a face shield, and hearing protection, and seal the finished carving with exterior wood sealant to prevent cracking.
Tools and Materials You’ll Need
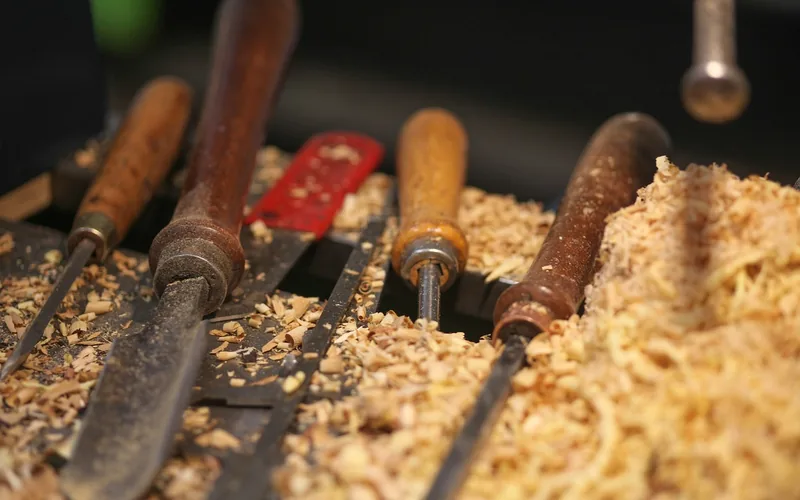
A chainsaw handles the rough shaping; chisels and a rotary tool add the detail. Most home carvers can outfit a first project for under $150 using tools they can reuse on other woodworking projects.
| Tool | Purpose |
|---|---|
| Chainsaw (12″–16″ bar) | Rough shaping and removing bulk wood |
| Carving chisels & gouges | Fine detail work — feathers, faces, textures |
| Rotary tool / angle grinder with carving disc | Smoothing curves and hollowing small areas |
| Wire brush & sandpaper (80–220 grit) | Cleaning bark and smoothing the finished surface |
| Exterior wood sealant or spar urethane | Protecting the carving from rain and UV damage |
| Chaps, face shield, hearing protection, gloves | Required safety gear — never optional |
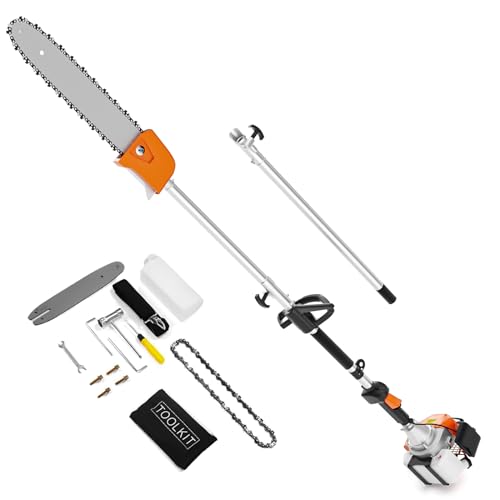
If your stump is small or you don’t own a full-size saw yet, a compact cordless model is often enough for detail trimming — see our mini chainsaw picks for options under 5 lbs. For a full-size saw, our Echo vs. Stihl comparison breaks down price and bar-length options by stump size.
Best Stump Carving Chisel Set Pick
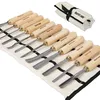
Hurricane 12-Piece Starter Wood Carving Set – $51.99
A 12-piece set with razor-edge CR-V steel blades — enough gouge and chisel shapes to rough out an owl or mushroom design and still refine feather and bark texture, as covered in the ideas section below.
- Best for: Beginners doing their first detail carving after chainsaw shaping
- Why we picked it: Wide range of blade profiles in one case, no piecing together individual chisels
- Main drawback: Ash handles need occasional oiling to prevent splitting outdoors
Compare more chisel set options
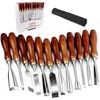 Option 1 LWCUSNJ 12-Piece Wood Carving Chisel Set – $46.99
|
 Option 2 ATOPLEE 12-Piece Wood Carving Chisel Set – $26.99
|
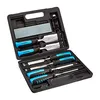 Option 3 Amazon Basics 8-Piece Wood Chisel Set – $26.99
|
As an Amazon Associate we earn from qualifying purchases.
Is Your Stump Ready to Carve?
Not every stump is a good carving candidate. Press a screwdriver or awl into the wood a few inches down — if it sinks in easily or the wood feels spongy, the stump has internal rot and won’t hold detail or structural weight for a bench or table design. A stump that resists the screwdriver and rings solid when tapped is ready.
Once you’ve confirmed the stump is sound, power-wash or wire-brush off dirt, moss, and loose bark. This isn’t just cosmetic — embedded grit dulls a chainsaw chain far faster than clean wood does, so skipping this step costs you in sharpening time later.
- Test firmness with a screwdriver — reject spongy or hollow-sounding wood
- Power-wash or wire-brush the surface before the first cut
- Sketch your design on the stump (or on paper against its actual measurements) before touching the saw
- Cut the top level first if it isn’t already flat — it gives you a stable reference plane
12 Easy Tree Stump Carving Ideas by Skill Level
Study the stump before you commit to a design — an existing lean, knot, or split often suggests the shape hiding inside it. These 12 ideas are grouped by how much chisel work they take beyond the initial chainsaw shaping.
Beginner (chainsaw shaping only, minimal chisel work)
- Geometric facets: Flat angled cuts across the stump face create a modern, low-poly look with zero freehand carving.
- Rounded mushroom cluster: Rough chainsaw curves plus a light sanding pass reads clearly as mushrooms with almost no detail work.
- Spiral groove: A single continuous spiral cut around a tall stump is forgiving of small mistakes since the pattern repeats.
- Simple heart or leaf silhouette: Outline the shape with a plunge cut, then round the edges — a one-afternoon project.
Intermediate (chainsaw shaping plus chisel detail)
- Owl silhouette: The most common first animal carve — a rounded chainsaw body plus chisel-carved feather lines and eyes.
- Gnome house: Carve a door, a window, and a few roof shingle lines into a hollowed front face for a fairy-garden focal point.
- Sundial stump: Flatten and smooth the top, mount a gnomon at the center, and mark hour lines around the rim.
- Bear or fox bust: A rounded snout and ears carved from the upper stump reads well from a distance, even with modest detail.
Advanced (full detail carving, longest time investment)
- Totem pole — stacked figures: Multiple faces or animal forms carved in tiers up a tall stump; the most time-intensive design here.
- Fairy house with working door: A hinged or hollowed door, carved window shutters, and a shingled roof section for full realism.
- Detailed forest scene: Layered relief carving showing trees, leaves, and a small animal in one continuous composition.
- Custom monogram or family crest: Deep relief lettering or a crest design, sanded and stained for contrast against the bark edge.
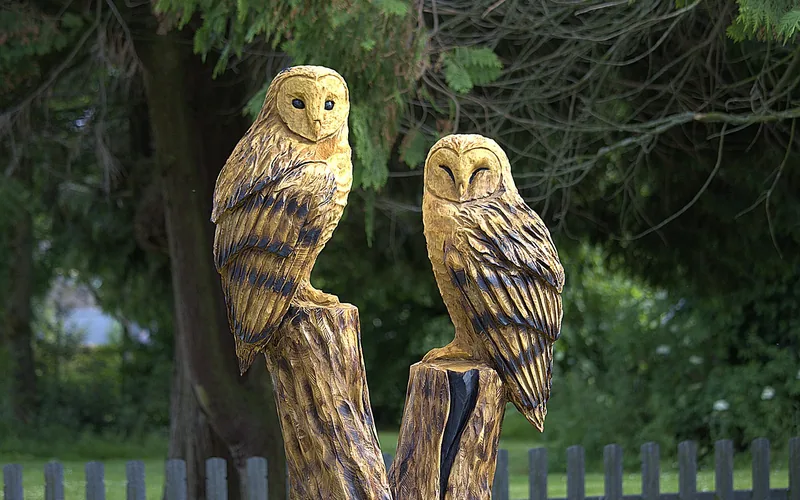
How to Carve a Tree Stump: 5 Basic Steps
- Confirm the stump is sound: Test with a screwdriver and reject any stump with spongy or hollow wood.
- Sketch the design: Mark the outline directly on the stump with chalk or a pencil before the first cut.
- Rough-shape with the chainsaw: Remove bulk wood in shallow passes, working from the top down.
- Add detail with chisels and a rotary tool: Carve features like feathers, faces, or door panels once the rough shape is set.
- Sand and seal: Smooth with 80–220 grit sandpaper, then apply exterior wood sealant to protect against rain and UV.
📊 Roughly 36,000 people are treated in U.S. emergency departments every year for chainsaw-related injuries, and stump- and felling-cuts account for most lower-leg lacerations — kickback is the leading single cause. — Source: CDC, Chain Saw Safety
“Kickback is the leading cause of chainsaw injury during stump work, and clearing the carving area so nobody stands within the saw’s swing radius is one of the simplest ways to prevent it.”
Turning a Stump Into Something Functional
A wide, sturdy stump doesn’t have to be purely decorative. Flatten and sand the top for a side table or extra garden seating, or hollow out the center a few inches to hold a planter insert — the surrounding wood acts as a natural, weatherproof pot. A shallow, sealed bowl carved into the top also works as a simple bird bath.
| Functional Element | How to Carve It |
|---|---|
| Side table / stool | Flatten the top with the chainsaw, sand smooth, seal the whole surface |
| Planter | Hollow the center 4–6″ deep, drill a drainage hole, insert a liner |
| Bird bath | Carve a shallow, sloped bowl into the top and seal thoroughly |
| Garden bench base | Leave the stump at seat height and attach a separate plank seat across two stumps |
How to Protect and Maintain a Carved Stump
An unsealed outdoor carving starts cracking within a season as it dries unevenly. Apply an exterior-rated wood sealant or spar urethane as soon as carving and sanding are finished, and reapply once or twice a year — more often in wet climates. If you want to even out tone or hide small tool marks before sealing, light sanding is the same technique used in our guide to distressing wood with sandpaper.
| Maintenance Task | How Often |
|---|---|
| Reapply exterior sealant | 1–2 times per year |
| Inspect for insect activity or soft spots | Every few months |
| Keep out of standing water/direct sprinkler spray | Ongoing — raise on a base if the ground stays wet |
Frequently Asked Questions
What are the best beginner-friendly tree stump carving projects?
Beginner-friendly projects include geometric facet cuts, rounded mushroom clusters, spiral grooves, and simple leaf or heart silhouettes — all achievable with chainsaw shaping alone and little to no chisel detail. Owl silhouettes are the next step up once you’re comfortable with the saw.
What tools are essential for carving tree stumps safely?
A chainsaw for rough shaping, a carving chisel set and mallet for detail, and a rotary tool for smoothing curves cover the cutting side. Safety gear is not optional: chainsaw chaps, a face shield, hearing protection, and cut-resistant gloves are required every time the saw is running.
Can you carve a rotted or hollow tree stump?
No — a screwdriver test that sinks in easily means the wood is rotted or hollow and won’t hold carved detail or structural weight. Rotted stumps are better suited to removal or as a base for a planter insert rather than a detailed carving project.
How do I choose the right design for my stump’s size and shape?
Study the stump’s natural lean, knots, and diameter before sketching a design — a tall, narrow stump suits a totem-style stack of figures, while a wide, flat stump suits a table, bird bath, or single rounded animal form. Simpler patterns work best on smaller stumps that can’t support deep relief carving.
How do I protect a carved tree stump from weather and decay?
Apply an exterior wood sealant or spar urethane immediately after carving and sanding, then reapply one to two times a year. Regularly check for soft spots or insect activity, and keep the base out of standing water by raising it slightly off wet soil if drainage is poor.
Conclusion
A sound, non-rotted stump and a handful of tools are all it takes to turn a stump you’d otherwise pay to have removed into garden art, from a weekend geometric facet cut to a multi-tier totem pole. Start with a beginner project, wear the safety gear every time, and seal the finished carving so it survives its first winter outdoors.
Sponsored / affiliate links. As an Amazon Associate I earn from qualifying purchases. I may earn additional commission from eligible campaigns.
 DEFY Marine Seal Semi-Transparent Exterior Wood Stain and Sealer - Waterproof Sealant for Wood Docks, Boat Piers, Marinas, Boardwalks, & More - Natural Pine - 2.5 Gallon, Made in USA
 Electric Soldering Iron Kit, Woodworking Carving Soldering Iron DIY Tool with 5 Pen Tips, for Gourd Pyrography, Woodworking, Leather Art (US Plug 110V)