Finishing Wax vs Polyurethane: Essential Guide
Finishing wax vs polyurethane: For a natural, soft sheen and easy application, wax is ideal for furniture and decorative items. Polyurethane offers superior durability and protection, making it the go-to for high-traffic surfaces and projects needing robust defense against moisture and wear.
Choosing the right wood finish can feel like a puzzle, especially when you’re starting out. You’ve probably seen jars of creamy wax and bottles of clear liquid finishes, and wondered which one is best for your project. It’s a common question, and honestly, it can be a bit confusing! Don’t worry, though. We’re going to break down the differences between finishing wax and polyurethane in a way that makes perfect sense. By the end of this guide, you’ll feel confident picking the right finish for your next woodworking creation. Let’s get started on making your projects shine!
Finishing Wax vs Polyurethane: Understanding Your Wood’s Best Friend
As a woodworker, I know how exciting it is to see a project come to life. But the finish is what truly elevates your work, protecting it and giving it that special touch. When it comes to finishing wax and polyurethane, they’re like two different tools in your toolbox – each with its own strengths and best uses. Let’s dive into what makes them tick.
What is Finishing Wax?
Finishing wax, often made from natural ingredients like beeswax or carnauba wax, is a soft, protective coating that enhances the natural beauty of wood. It’s known for its ease of application and the warm, satiny sheen it imparts. Think of it as a gentle hug for your wood, bringing out its grain and giving it a smooth, touchable feel.
Pros of Finishing Wax:
- Natural Look & Feel: Creates a soft, low-sheen finish that highlights the wood’s natural grain and texture.
- Easy Application: Typically applied with a soft cloth, it’s forgiving and simple for beginners.
- Easy to Repair: Minor scratches or wear can often be buffed out or easily re-waxed.
- Pleasant Scent: Many waxes have a natural, pleasant aroma.
- Non-Toxic Options: Many formulations are natural and food-safe once cured, making them great for cutting boards or children’s toys.
Cons of Finishing Wax:
- Lower Durability: Not as resistant to scratches, heat, or moisture as polyurethane.
- Requires Reapplication: Needs periodic re-waxing to maintain its protection and sheen.
- Can Be Sticky: If too much is applied or it doesn’t cure properly, it can feel tacky.
- Not Ideal for High-Moisture Areas: Doesn’t offer significant protection against water damage.
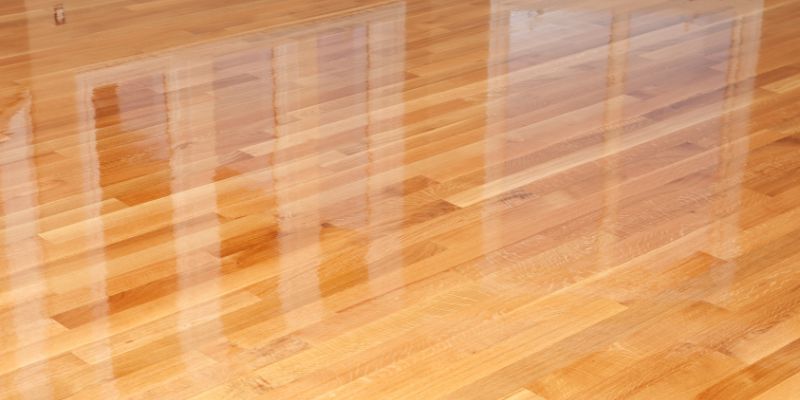
What is Polyurethane?
Polyurethane is a synthetic liquid coating that dries into a hard, durable, and protective film on the wood’s surface. It’s a workhorse finish, offering excellent resistance to water, heat, scratches, and general wear and tear. It comes in various sheens, from matte to high gloss, and can be water-based or oil-based.
Pros of Polyurethane:
- Excellent Durability: Provides a tough, long-lasting protective layer against damage.
- Water & Heat Resistance: Offers good protection against spills, stains, and moderate heat.
- Variety of Sheens: Available in matte, satin, semi-gloss, and high-gloss finishes to suit your aesthetic.
- Cost-Effective for Large Areas: A little goes a long way, making it economical for covering large surfaces.
- Good for High-Wear Surfaces: Ideal for tabletops, floors, and doors that get a lot of use.
Cons of Polyurethane:
- Can Look “Plastic-y”: A heavy application can sometimes obscure the natural feel and look of the wood.
- Application Can Be Tricky: Requires careful application to avoid drips, brush marks, and bubbles.
- Longer Drying Times: Especially for oil-based versions, it can take a while to cure fully.
- VOCs: Many polyurethanes contain Volatile Organic Compounds (VOCs), which require good ventilation during application. For more on VOCs and safe finishing practices, check out resources from the U.S. Environmental Protection Agency.
- Difficult to Repair: Scratches can be harder to fix and may require sanding and re-coating the entire surface.
Key Differences: Finishing Wax vs Polyurethane at a Glance
To help you decide, let’s lay out the core differences in a clear table. This will give you a quick overview of how each finish performs.
| Feature | Finishing Wax | Polyurethane |
|---|---|---|
| Appearance | Natural, soft sheen; enhances grain | Varies from matte to high gloss; can look more like a coating |
| Durability | Low to moderate; susceptible to scratches and moisture | High; excellent resistance to scratches, water, and heat |
| Application Ease | Very easy; buffing with a cloth | Moderate; requires care to avoid marks and drips |
| Repairability | Easy; can be re-waxed or buffed | Difficult; often requires sanding and recoating |
| Best For | Decorative items, furniture with light use, antique restoration | Tabletops, chairs, floors, cabinets, high-traffic items |
| Protection Level | Minimal to moderate | High |
| Drying/Curing Time | Fast to dry, can be buffed quickly | Slow to cure, especially oil-based |
When to Choose Finishing Wax
Finishing wax is your friend when you want that authentic, old-world charm or a subtle, touchable finish. It’s perfect for projects where extreme durability isn’t the main concern, but a beautiful, natural look is.
Projects Best Suited for Wax:
- Decorative Furniture: Think accent tables, display cabinets, or headboards that aren’t subjected to heavy use.
- Picture Frames & Small Decor: These items benefit from a gentle enhancement without needing robust protection.
- Antique Restoration: Wax can help revive the original patina of antique pieces without altering their character.
- Wood Carvings & Turned Items: These often look best with a finish that doesn’t obscure the intricate details.
- Projects where a “natural wood” feel is paramount: If you want it to feel like bare wood but with a bit of protection and sheen.
How to Apply Finishing Wax: A Simple Step-by-Step
Applying wax is wonderfully straightforward, making it a great choice for beginners. Here’s how to get that lovely sheen:
Materials You’ll Need:
- Your finished wood project
- Paste wax (e.g., beeswax-based or carnauba-based)
- Clean, soft, lint-free cloths (old t-shirts work great!)
- A clean, soft brush (optional, for detailed areas)
- Fine-grit sandpaper (220 grit or higher, if needed for smoothing)
Steps:
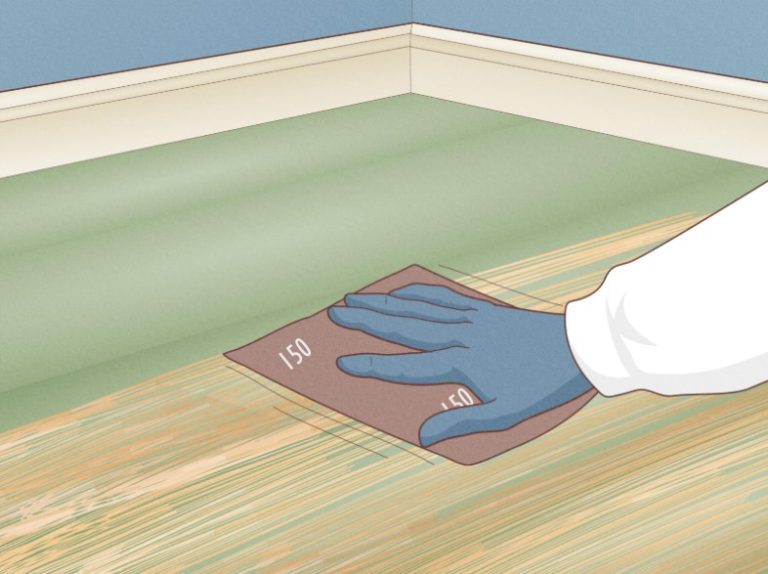
- Prepare Your Surface: Ensure your wood is completely dry and smooth. If you’ve just applied an oil finish or stain, make sure it’s fully cured according to the manufacturer’s instructions. A light sanding with 220-grit sandpaper and wiping away dust is a good idea.
- Apply the Wax: Take a clean, soft cloth and dip a small amount of wax onto it. You don’t need much! Work the wax into the cloth a bit.
- Rub it On: Apply the wax to the wood in a thin, even coat. Work in the direction of the wood grain. For tricky areas or carvings, a soft brush can help you get into the nooks and crannies.
- Let it Haze: Allow the wax to sit on the surface for about 10-20 minutes, or until it develops a slight haze. This allows the solvents to evaporate and the wax to set.
- Buff to a Shine: Take a clean, dry, soft cloth and buff the surface vigorously. Again, work with the grain. You’ll feel the wax melt slightly from the friction, and the wood will start to develop a soft sheen.
- Second Coat (Optional): For added protection or a deeper sheen, you can apply a second thin coat following the same steps.
When to Choose Polyurethane
Polyurethane is the champion of durability. If your project needs to withstand daily use, moisture, heat, or potential spills, polyurethane is likely your best bet. It’s the go-to for surfaces that take a beating.
Projects Best Suited for Polyurethane:
- Kitchen Countertops & Islands: They need to resist spills, stains, and heat.
- Dining Tables & Coffee Tables: These surfaces see a lot of activity, from meals to drinks.
- Flooring: Wood floors require the ultimate in scratch and wear resistance.
- Chairs & Stools: Anything that will be sat on regularly benefits from polyurethane’s toughness.
- Cabinet Doors & Drawer Fronts: These are frequently touched and need to be durable.
- Outdoor Furniture (Exterior Grade Polyurethane): Specialized exterior versions offer UV protection and weather resistance.
- Boat Trim & High-Moisture Areas: Marine-grade polyurethanes are designed for extreme conditions.
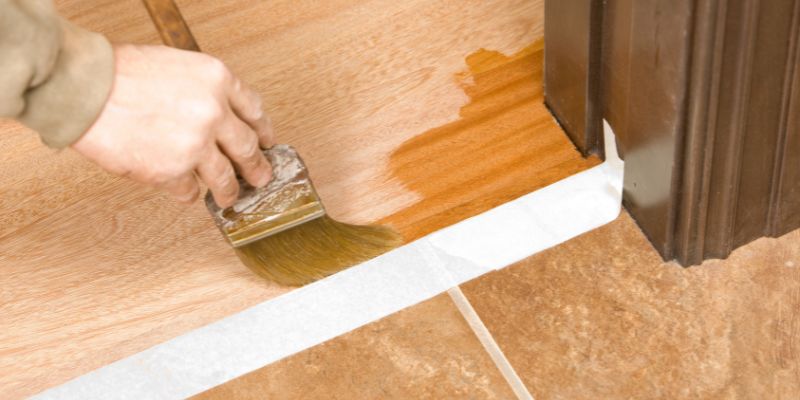
How to Apply Polyurethane: A Step-by-Step Guide
Applying polyurethane requires a bit more attention to detail, but by following these steps, you can achieve a smooth, professional finish. For a comprehensive guide on wood finishing, including polyurethane, the Wood Magazine website offers excellent resources.
Materials You’ll Need:
- Your finished wood project
- Polyurethane (water-based or oil-based, in your desired sheen)
- Good quality synthetic bristle brush (for water-based) or natural bristle brush (for oil-based)
- Or a foam brush for a smoother finish with fewer brush marks
- Fine-grit sandpaper (220-320 grit)
- Sanding sponge or block
- Tack cloth or lint-free cloth
- Mineral spirits (for cleaning brushes if using oil-based poly)
- Drop cloth or old newspapers to protect your work area
Steps:
- Prepare Your Surface: Ensure the wood is completely dry, smooth, and free of dust. Sand the surface thoroughly with 220-grit sandpaper, working in the direction of the grain. Wipe away all dust with a tack cloth.
- Stir, Don’t Shake: If using polyurethane, gently stir the can to mix the contents. Avoid shaking, as this introduces air bubbles that can ruin your finish.
- Apply the First Coat: Dip your brush into the polyurethane, loading it evenly but not excessively. Apply a thin, even coat to the wood, working with the grain. Use long, smooth strokes. Avoid over-brushing, as this can cause bubbles.
- Allow to Dry: Let the first coat dry completely according to the manufacturer’s instructions. This can range from 4 to 24 hours depending on the type and humidity.
- Lightly Sand: Once dry, lightly sand the surface with 320-grit sandpaper or a fine sanding sponge. This is crucial for a smooth finish. The goal is to knock down any imperfections or raised grain, not to remove the finish.
- Clean the Surface: Wipe away all sanding dust with a tack cloth. This step is vital to prevent dust from getting trapped in subsequent coats.
- Apply Subsequent Coats: Repeat steps 3 through 6 for each additional coat. Most projects will benefit from 2-3 coats, while high-wear surfaces might need 4 or more.
- Final Cure: Polyurethane cures over time, not just dries. While it might feel dry to the touch in hours, it can take several days to a week (or even longer for oil-based) to fully harden. Avoid heavy use or cleaning during this period.
Choosing Between Wax and Polyurethane: A Practical Decision Tree
To make the decision even easier, think about these questions:
-
How much wear and tear will the project get?
- High wear (tabletops, chairs, floors): Polyurethane
- Low wear (decorative items, picture frames): Wax or Polyurethane
-
Do you want a natural, soft feel or a durable, protective surface?
- Natural, soft feel: Wax
- Durable, protective surface: Polyurethane
-
Is the item exposed to moisture or heat?
- Yes (kitchen, bathroom, outdoors): Polyurethane
- No: Wax or Polyurethane
-
How important is ease of application and repair?
- Very important (beginner-friendly, easy fixes): Wax
- Less important, willing to be careful: Polyurethane
Can You Use Wax Over Polyurethane?
Yes, you absolutely can! This is a common technique to add a bit of extra depth, a softer sheen, or a pleasant feel to a polyurethane finish. It’s often called “waxing over polyurethane” or “buffing wax.”
How to Wax Over Polyurethane:
- Ensure Polyurethane is Fully Cured: This is critical. If the polyurethane isn’t fully cured, the wax might not adhere properly or could cause issues. Wait at least 7 days, and ideally longer, after the final coat of polyurethane.
- Clean the Surface: Wipe the polyurethane surface with a clean, dry cloth to remove any dust or oils.
- Apply a Thin Layer of Wax: Use a clean, soft cloth to apply a thin, even coat of paste wax. Work it into the surface in a circular or back-and-forth motion, following the grain where possible.
- Let it Haze: Allow the wax to dry to a haze, typically 10-20 minutes.
- Buff to a Shine: Use a clean, soft cloth to buff the surface until it has a smooth, satiny sheen.
This combination gives you the robust protection of polyurethane with the soft, inviting feel and subtle sheen of wax. It’s a great way to get the best of both worlds!
Can You Use Polyurethane Over Wax?
Generally, no. Applying polyurethane directly over a wax finish is not recommended. Polyurethane is designed to adhere to bare wood or a properly prepared surface. Wax is a barrier, and polyurethane will have trouble bonding to it. This can lead to peeling, flaking, or a finish that just doesn’t cure correctly. If you decide you want a more durable finish after applying wax, you’ll need to remove the wax first. This usually involves using mineral spirits and a lot of scrubbing with clean cloths until no more wax comes off.
Safety First!
No matter which finish you choose, always work in a well-ventilated area. Read and follow the manufacturer’s instructions and safety warnings on the product labels. Wear appropriate personal protective equipment (PPE) like gloves and safety glasses. For polyurethane, especially oil-based, ensure good ventilation to avoid inhaling fumes.
Frequently Asked Questions (FAQ)
Q1: Which finish is better for a dining table?
For a dining table, polyurethane is generally the better choice. It offers excellent protection against spills, heat, scratches, and daily wear and tear. You can achieve a beautiful finish with polyurethane and then optionally add a coat of paste wax over the fully cured polyurethane for added protection and a softer feel.
Q2: Can I use finishing wax on painted wood?
Yes, you can! A coat of paste wax over dried paint can add a lovely soft sheen and a bit of protection, especially for chalk paint or milk paint finishes. It can also make the paint surface easier to clean. Just be sure the paint is completely dry and cured before applying the wax.
Q3: How often do I need to reapply finishing wax?
The frequency depends on how much the item is used and exposed to moisture. For decorative items that are handled infrequently, you might only need to re-wax every year or two. For pieces that are touched often, like chair arms, you might reapply every 6-12 months. You’ll know it’s time when the sheen dulls or the wood starts to feel less protected.
Q4: What kind of brush should I use for polyurethane?
For water-based polyurethane, a good quality synthetic bristle brush is best. For oil-based polyurethane, a natural bristle brush is recommended. Foam brushes are also a great option for both types as they tend to leave fewer brush marks.
Q5: Does polyurethane yellow over time?
Oil-based polyurethane can yellow slightly over time, especially when exposed to UV light. Water-based polyurethane is more resistant to yellowing and tends to stay clearer. If you want a finish that remains crystal clear, a water-based polyurethane or a non-yellowing varnish might be a better choice.
Q6: Can I use wax on wood that has been stained?
Yes, but the stain must be completely dry and cured first. Applying wax over a wet stain will likely result in a muddy or uneven finish. Once the stain is dry, you can apply wax directly for a natural look, or apply polyurethane and then wax over the cured polyurethane for added protection.
Conclusion: Your Project, Your Choice!
So there you have it! Finishing wax and polyurethane are both fantastic ways to protect and beautify your woodworking projects, but they serve different purposes. Wax offers that coveted natural look and feel with easy application, making it perfect for decorative pieces or projects where a soft sheen is desired. Polyurethane, on the other hand, is the champion of durability, providing robust protection for high-traffic surfaces that need to withstand the rigors of daily life. You can even combine them for the best of both worlds – the protection of polyurethane with the soft touch of wax. Whichever you choose, remember to always follow the manufacturer’s instructions, work safely, and enjoy the process of bringing your woodworking creations to life. Happy building!