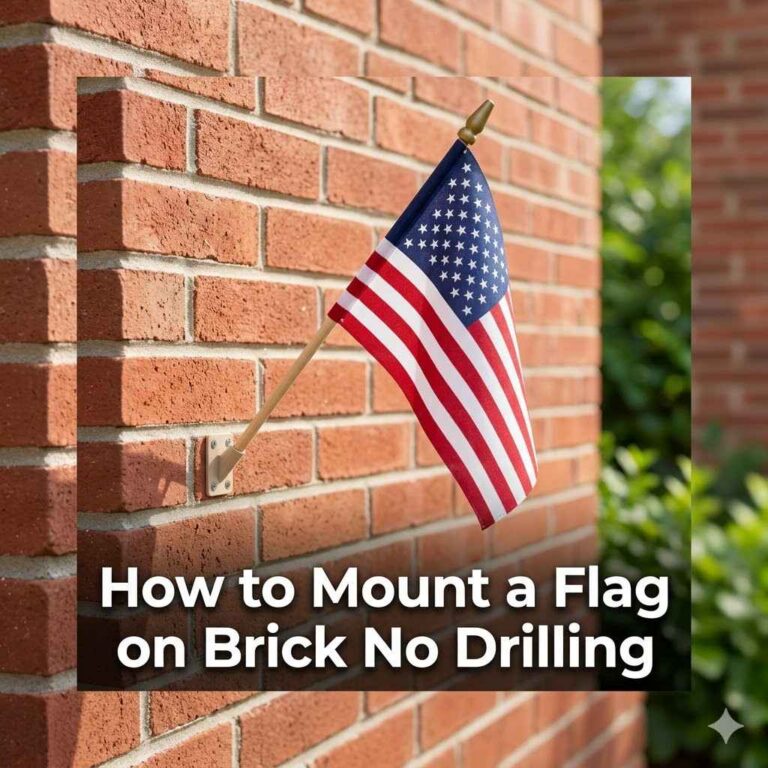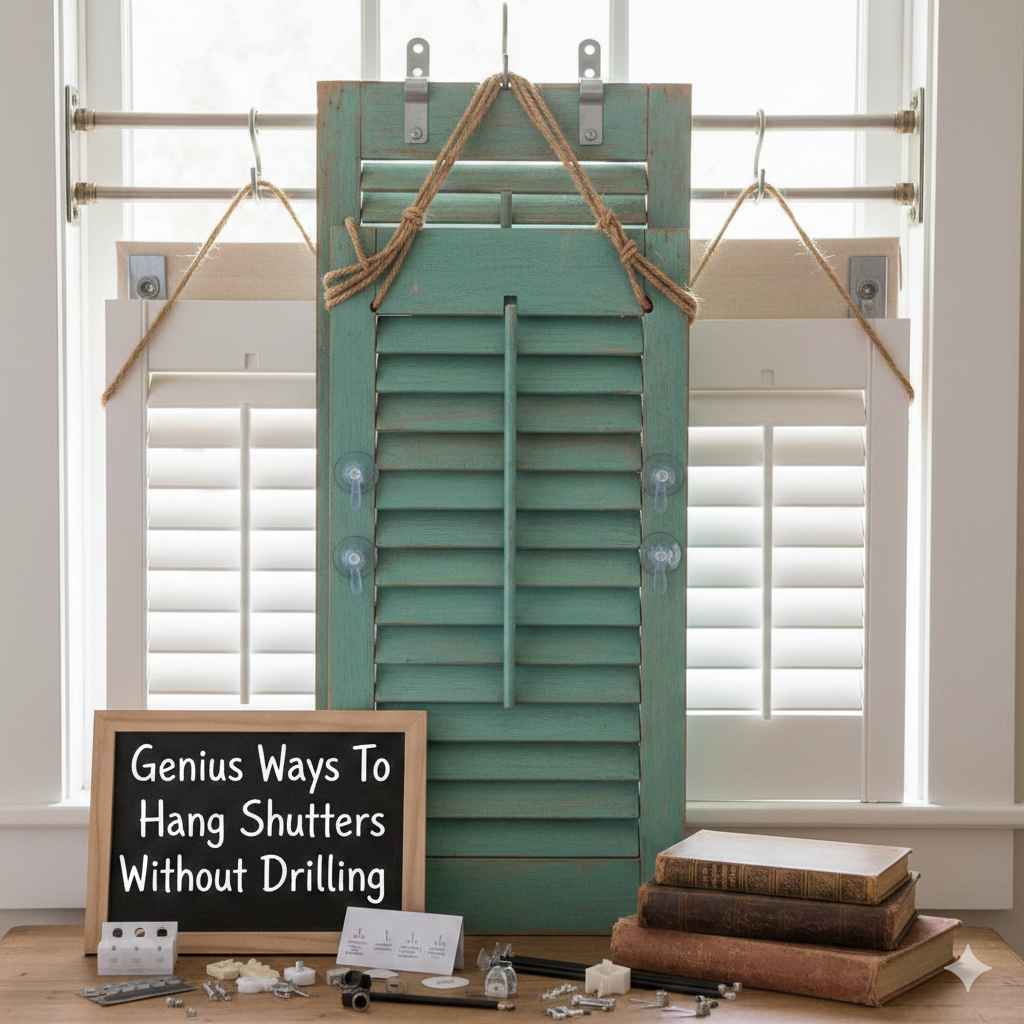
Genius Ways To Hang Shutters Without Drilling
Hanging shutters without drilling is simple using modern adhesive hardware or specialized mounting brackets designed for vinyl siding, brick, or stucco. These methods ensure your home’s exterior stays damage-free while giving you beautiful, secure window decoration.
Hello there! I’m Md Meraj, and I know how much you love that classic, charming look shutters add to your home. But drilling into siding—especially tricky vinyl or old brick—can cause headaches, voids warranties, or just feels permanent. Many homeowners avoid this project because they fear making irreversible holes. Don’t worry! You absolutely can achieve a stunning, professional look without ever picking up a drill. We’re going to walk through the easiest, most reliable, no-drill solutions together, step by step. Ready to boost your curb appeal safely? Let’s get started on these genius techniques!
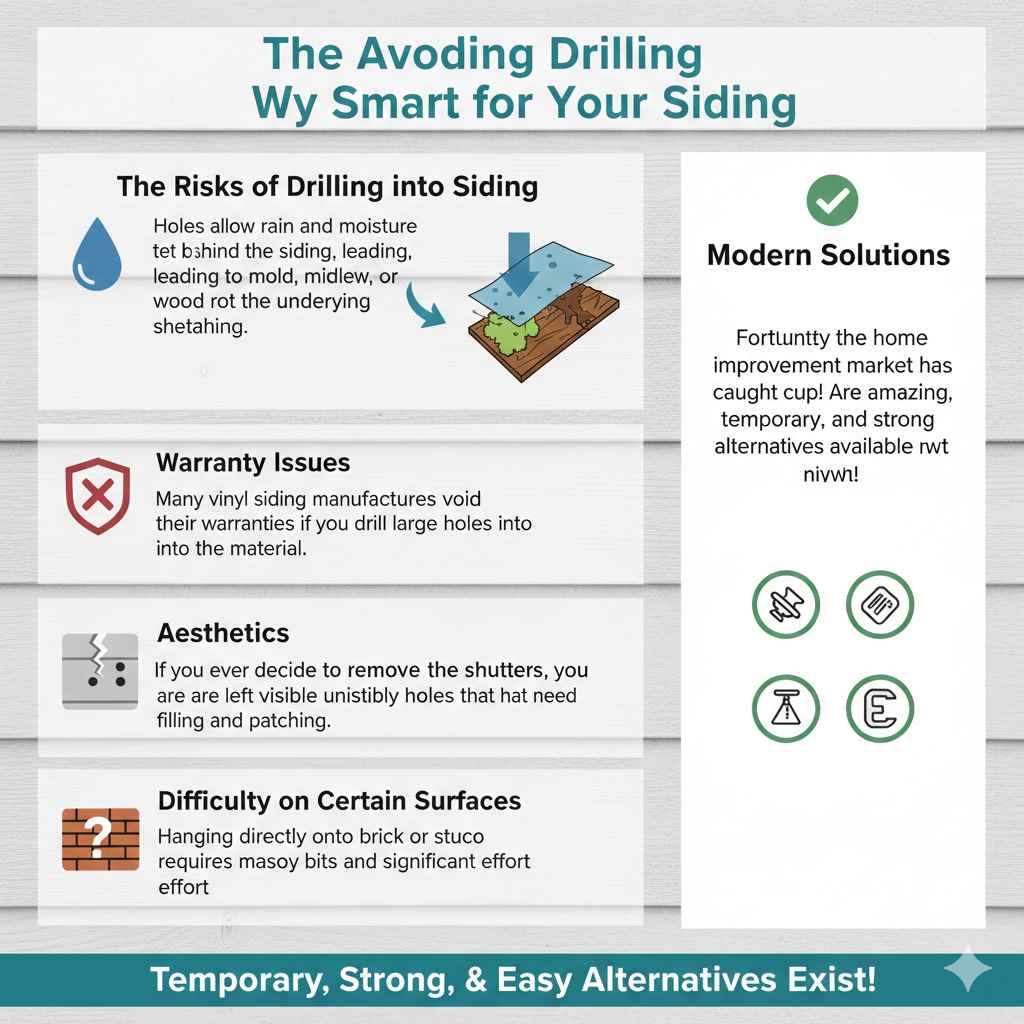
Why Avoiding Drilling is Smart for Your Siding
Drilling into your exterior walls seems straightforward, but it often causes more problems than it solves, especially if you have modern siding.
The Risks of Drilling into Siding
When you drill, you breach the protective layer of your siding material.
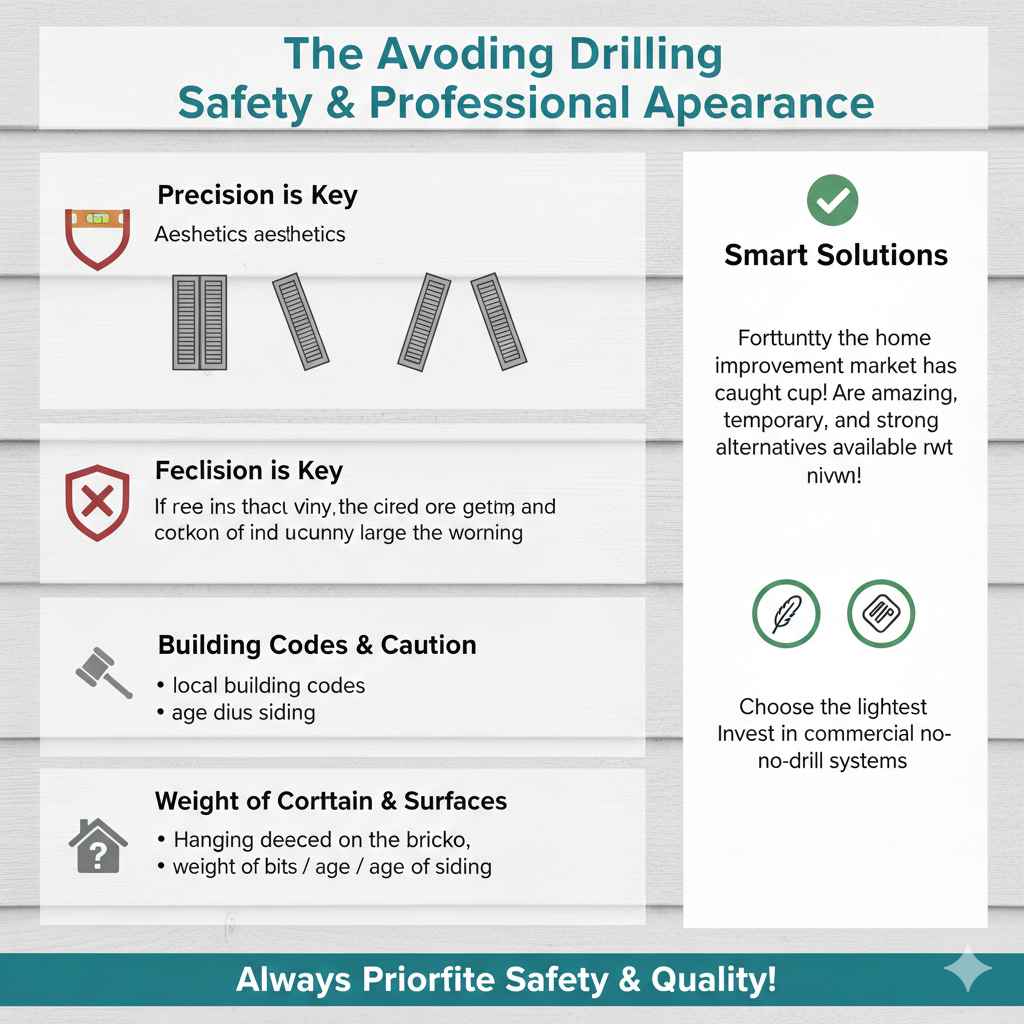
- Water Intrusion: Holes allow rain and moisture to get behind the siding, leading to mold, mildew, or wood rot on the underlying sheathing.
- Warranty Issues: Many vinyl siding manufacturers void their warranties if you drill large holes into the material, as it compromises its structural integrity and expansion capabilities.
- Aesthetics: If you ever decide to remove the shutters, you are left with visible, unsightly holes that need filling and patching.
- Difficulty on Certain Surfaces: Hanging directly onto brick or stucco requires masonry bits and significant effort, which might be overkill for decorative shutters.
Fortunately, the home improvement market has caught up! There are amazing, temporary, and strong alternatives available right now.
Understanding Your Shutter Hanging Goals
Before we jump into methods, think about what you need the shutters to do. Are they purely decorative, or do you need them to actually function (which requires much stronger support)? For 99% of homeowners looking for a no-drill solution, the goal is decorative mounting.
Decorative vs. Functional Shutters
| Type | Support Needed | No-Drill Feasibility |
|---|---|---|
| Decorative (Fixed) | Minimal weight support needed. | Excellent (Adhesives work great). |
| Functional (Operational) | Must support large shear forces and weight when opening/closing. | Poor (Professional mounting usually required). |
For the scope of this guide, we are focusing on achieving beautiful, secure, decorative mounting without drilling. This opens up many fantastic, simple options!
Genius Way 1: Heavy-Duty Adhesive Mounting Systems
This is often the fastest and cleanest route, especially for vinyl or smooth siding. Modern exterior-grade adhesives are incredibly strong and designed to withstand weather.
A. Using Strong Double-Sided Mounting Tape
For lighter, composite, or vinyl shutters, specialized mounting tape is a winner. This isn’t your average office tape; we’re talking about tapes built for exterior applications.
Tools and Materials Needed:
- Exterior-grade, heavy-duty double-sided mounting tape (Look for brands rated for high weight capacity, often featuring acrylic foam cores).
- Rubbing alcohol or mild soap and water.
- Clean, lint-free cloth.
- A level.
- Pencil or painter’s tape for marking.
- Measuring tape.
Step-by-Step Installation with Tape:
- Clean the Surface: This is the most crucial step! Wipe down the exact area on your siding where the shutter will sit using rubbing alcohol. Let it dry completely. Any dirt, chalk, or residue will cause the tape to fail prematurely.
- Measure and Mark: Decide where the shutter needs to sit. Use your level to draw light, horizontal guide lines on the siding where the top and bottom of the shutter will align. Remember: Decorative shutters should typically cover about one-third of the window opening on each side, ending just above the window sill.
- Prep the Shutter: Flip the shutter over. Cut the mounting tape into several long strips. Apply these strips evenly across the back of the shutter, ensuring coverage near the edges and the center where the mounting hardware will press against the wall.
- Remove Backing: Carefully peel the protective film off the adhesive strips.
- Mount the Shutter: Line the shutter up precisely with your guide lines. Press the shutter firmly against the siding, starting from the center and pushing outward toward the edges. Hold firm pressure for 30 to 60 seconds.
- Cure Time: Follow the tape manufacturer’s instructions regarding cure time before exposing the shutters to heavy rain or strong vibrations (usually 24 to 72 hours).
B. Using Specialty Vinyl Siding Clips (The Best Option for Vinyl)
If you have vinyl siding, this solution is specifically engineered for it. These clips grip the overlapping seams of the siding, supporting the weight without penetrating the vinyl itself.
How Vinyl Siding Clips Work
These metal clips are designed to slide securely under the bottom lip of a siding panel and hook over the top edge of the shutter panel, using gravity and the siding overlap for support.
Pros and Cons of Siding Clips
| Pros | Cons |
|---|---|
| Non-invasive; zero holes in siding. | May not work with very thick or textured siding styles. |
| Easy to remove and reposition. | Weight capacity is slightly lower than mounting adhesive. |
| Specifically designed for vinyl. | Requires careful alignment to hide the clip effectively. |
Genius Way 2: Magnetic Mounting for Metal Shutters
If your decorative shutters are made of lightweight metal (aluminum or steel), magnets provide an incredibly fast and almost invisible solution. This technique works best if the shutter material is ferrous (magnetic) and your mounting surface (if applicable, like metal flashing or a metal door frame adjacent to the window) is also magnetic.
Note: This is less common for typical vinyl or composite shutters but is excellent if you are hanging lightweight decorative metal accents.
Key Considerations for Magnetic Mounting:
- Magnet Strength: You must use rare-earth magnets (Neodymium magnets). Standard refrigerator magnets will not hold against wind or vibration.
- Surface Adhesion: The magnet must adhere securely to the wall surface. If your siding is vinyl or wood, you will likely need to attach a small, flat magnetic plate to the wall first using adhesive (see Way 1), and then use another magnet set to hold the shutter onto that plate.
Genius Way 3: Using Non-Damaging Fasteners for Brick or Stucco
Hanging things on masonry without drilling is tough, but we can utilize existing structures or specialty anchors that don’t require permanent penetration. This is critical when working on exterior surfaces like brick or concrete blocks.
A. Overlap Mounting on Mortar Lines (For Brick)
If you have brick, the mortar lines are weaker than the bricks themselves. If your shutter brackets are thin enough, you can sometimes secure them by leveraging the mortar joints.
The Clip Anchor Method:
This method involves purchasing very thin metal clips designed to slide into the mortar gap between the bricks. These clips are often tension-based or feature a slight hook that grabs the joint structure.
- Source Specialty Clips: Search for “no-drill brick clips” or “masonry picture hangers.” These are generally used for hanging temporary signs or lights.
- Attach Bracket: Secure your shutter bracket onto the clip, or if the clip is designed to pass through the bracket hole, secure the clip firmly into the mortar line.
- Level and Test: Ensure the clip is seated deeply enough that the shutter bracket is tight against the brick face before setting the shutter onto it.
B. Using Industrial Zip Ties or Straps (For Gaps or Louvers)
If you have shutters that are positioned near railings, pipes, or existing structural elements near the window (like a narrow frame return), strong, UV-rated zip ties can work well.
When to Use Zip Ties:
This works if your shutter has an edge or frame that can be effectively cinched to a nearby structural element (like the aluminum frame of an awning, or a narrow part of the window trim if it is sturdy vinyl or composite).
- Position the shutter exactly where you want it.
- Thread heavy-duty, UV-resistant outdoor zip ties through the back side of the shutter frame and around the anchoring point (e.g., a sturdy part of the window frame or mullion).
- Cinch them tightly. For a cleaner look, you can purchase decorative zip tie caps or trim the excess tails very close and cover the tie heads with a small dab of colored caulk that matches your siding.
Genius Way 4: The Power of Adjustable Bracket Systems
For homeowners dealing with deep texture, rough stucco, or varied siding depths, specialized brackets that “float” the shutter away from the wall offer a great solution when adhesives fail or clips don’t fit.
Siding Spacer Systems
These systems are often comprised of two main parts: a mounting plate (which you secure via adhesive or a friction fit) and an adjustable arm or spacer that holds the shutter away from the wall at the correct depth.
Key Benefits:
- They compensate for uneven surfaces.
- They ensure the shutter doesn’t scrape against textured siding.
- Many popular systems utilize strong VHB (Very High Bond) acrylic foam tape for the primary attachment to the wall, eliminating drilling entirely.
We highly recommend looking into proprietary systems marketed specifically for “no-drill shutter installation” on vinyl siding, as they have already solved many of the common issues you might face, like differential expansion rates between the shutter and the house structure. A resource like the Building Science Corporation often provides insights into how different exterior materials handle thermal expansion, which these spacer systems are designed to accommodate (Source: Building Science Corporation research on exterior cladding).
Preparation is Everything: Ensuring Your No-Drill Mount Lasts
No matter which genius method you choose—tape, clips, or magnets—the long-term success hinges on preparation and proper shutter selection.
Choosing the Right Shutter Material
The weight of the shutter dictates the required mounting strength. Lighter materials are much more forgiving when using adhesives.
| Shutter Material | Approximate Weight (per pair) | Best No-Drill Method |
|---|---|---|
| Lightweight Vinyl/Composite | 2 – 6 lbs | High-strength double-sided tape or vinyl clips. |
| Wood (Lightweight, e.g., pine) | 8 – 15 lbs | Heavy-duty mounting tape or specialized mounting putty/blocks. |
| Heavy Composite/Aluminum | 15+ lbs | Adhesive systems specifically rated for high weight; testing crucial. |
Surface Adhesion Best Practices (The “Glue” Mindset)
When relying on adhesive, you are essentially making a chemical bond, not a mechanical one. Follow these rules like they are law:
- Temperature Matters: Most strong exterior adhesives (like VHB tapes) require surface temperatures between 50°F and 90°F (10°C and 32°C) for proper bonding. Never apply tape in freezing or excessively hot conditions.
- Degrease Thoroughly: Use isopropyl alcohol (rubbing alcohol) on vinyl or painted wood. If you are on stucco or brick, you might need a mild detergent solution, followed by a thorough rinse and full drying time (sometimes hours).
- Apply Firm, Even Pressure: When pressing the shutter onto the wall, don’t just tap it lightly. Lean into it! You need to ensure the entire surface area of the adhesive makes contact with the wall to activate its bonding strength.
- Check the Wall Material: If your vinyl siding is old, brittle, or heavily oxidized (chalky), tape might pull the paint or surface layer off when removed. In those cases, the vinyl clips (Way 1B) are the safest bet.
Addressing Different Siding Types Without Drilling
The material underneath your shutter has the biggest impact on your mounting decision. Here is a quick reference for common exterior finishes.
Hanging Shutters on Vinyl Siding (The #1 Concern)
As we discussed, vinyl expands and contracts significantly with temperature changes. Any rigid attachment that doesn’t account for this movement risks cracking the vinyl or causing the mounting hardware to pop off.
- Best Choice: Vinyl Siding Clips (Way 1B). They allow the siding panel to move slightly underneath the clip.
- Second Best: High-quality exterior foam tape designed for varying temperatures. Ensure the tape is rated for flexible surfaces.
Hanging Shutters on Wood Siding (Clapboard or Shiplap)
Wood siding is more forgiving than vinyl regarding movement, but it can swell when wet.
- Best Choice: Heavy-duty VHB tape applied to a smooth, painted section of the siding. If the paint is fresh and well-adhered, this will be very strong.
- Alternative: If you are sticking near a window frame that is wood, sometimes a very strong, weather-resistant construction adhesive applied sparingly behind the mounting points of the shutter bracket can work, provided you have a small lip to press against.
Hanging Shutters on Stucco or Concrete
These surfaces are often textured, making tape adhesion difficult as it cannot achieve 100% contact.
- Best Choice: If you have any stucco joints or rough transitions where a specialized masonry clip might catch (Way 3A), use that.
- If Texture is Extreme: You may need to use an adhesive that can fill voids, such as a specialized construction adhesive or butyl caulk, but this makes removal much messier, although still drill-free.
A Final Word on Safety and Professional Appearance
When aiming for a no-drill solution, remember that the look relies on perfect placement. A slightly crooked shutter stands out much more noticeably when mounted with visible tape or hardware than one that is drilled and secured with traditional decorative hinges.
Always check your local building codes, although for purely decorative additions like external shutters, restrictions are rare. If you are at all unsure about the weight of your shutters or the age/condition of your siding, it’s always wise to stick to the lightest shutters you can find or invest in a dedicated, commercial no-drill mounting system.
Frequently Asked Questions (FAQ) for No-Drill Shutter Mounting
Q1: Will adhesive mounting systems actually hold up in heavy rain or snow?
Yes, if you use high-quality, exterior-grade mounting tape (like VHB tape) rated for outdoor use and you clean the surface perfectly beforehand. These materials are designed to resist water penetration and UV degradation.
Q2: How do I know if my vinyl siding clips will work with my specific siding?
Vinyl siding clips rely on sliding under the overlapping lip of a siding course. Check the gap size and the thickness of the panel lip. Most standard clips fit lap siding, but if you have heavy paneling or board-and-batten, they might not grip correctly. You often need to buy a sample pack to test fit against your exact siding style.
Q3: What is the maximum weight a strong mounting tape can hold on a wall?
A single square inch of high-quality VHB tape can sometimes support 10 to 15 pounds per square inch under ideal, continuous load conditions. However, for siding, you should only trust about 3-5 lbs per square inch due to temperature fluctuations and the slight give in the vinyl material.
Q4: Can I use suction cups to hang my shutters?
Generally, no. While powerful suction cups work great on smooth glass, they do not work reliably on exterior siding (vinyl, wood, or stucco) because the surface texture prevents the necessary airtight seal, causing them to fail rapidly, especially in temperature swings.
Q5: If I use tape, how can I ensure my shutters are perfectly level?
Use painter’s tape or thin strips of blue masking tape to mark your guide lines on the siding first. Place the tape vertically where the edges of the shutter will sit, and use a long level placed on top of the tape guides to ensure everything is perfectly horizontal before you peel the backing off the adhesive.
Q6: If I remove the tape later, will it damage the paint on my wood siding?
There is always a risk with removing strong adhesives from paint. To minimize damage, heat the adhesive bond gently with a hairdryer (do not use a heat gun, which is too hot). Heat softens the adhesive, allowing you to peel it back slowly at a 45-degree angle, often successfully removing the tape without lifting the underlying paint.
Conclusion: Confidence in Your Curb Appeal
There you have it! Hanging beautiful shutters to enhance your home’s exterior doesn’t require a complicated power tool arsenal or permanent holes in your siding. Whether you opt for the streamlined simplicity of specialized vinyl clips, the sheer strength of exterior-grade mounting tape, or clever leverage points on brick mortar lines, the no-drill approach is achievable and rewarding.
Remember the golden rules:
preparation is key, understand your siding material, and choose hardware rated for the outdoors. You’ve got the knowledge now to tackle this project with confidence, knowing your home will look fantastic without compromising that valuable siding warranty. Happy decorating!