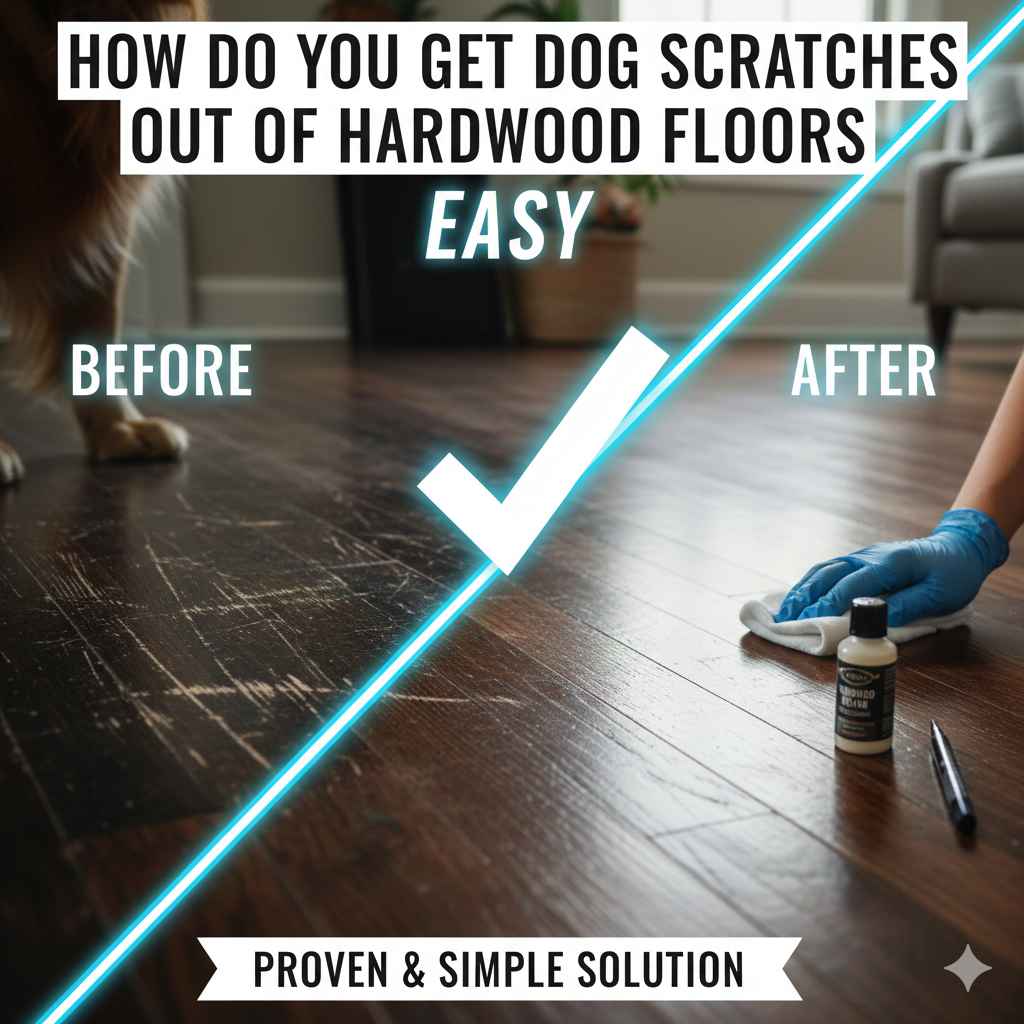
How Do You Get Dog Scratches Out Of Hardwood Floors: Easy
To get dog scratches out of hardwood floors, start by cleaning the area. For light surface scratches, rub a walnut over the mark or use a stain-matching marker. For deeper scratches, use a soft cloth to apply a color-matched wood filler or putty, wipe away the excess, and let it dry completely.
Hello, friend! It’s Md Meraj. If you have a furry friend and beautiful hardwood floors, you know the two don’t always mix. Those little paw prints and excited scrambles can leave behind frustrating scratches. But don’t worry! It’s a common problem that you can absolutely fix yourself. You don’t need to call in a professional or spend a fortune.
I’m here to guide you through some simple, easy-to-follow steps to make those scratches disappear. We’ll look at fixes for everything from tiny surface marks to slightly deeper grooves. With a little bit of patience and the right tools, you’ll have your floors looking great again in no time. Let’s get started!
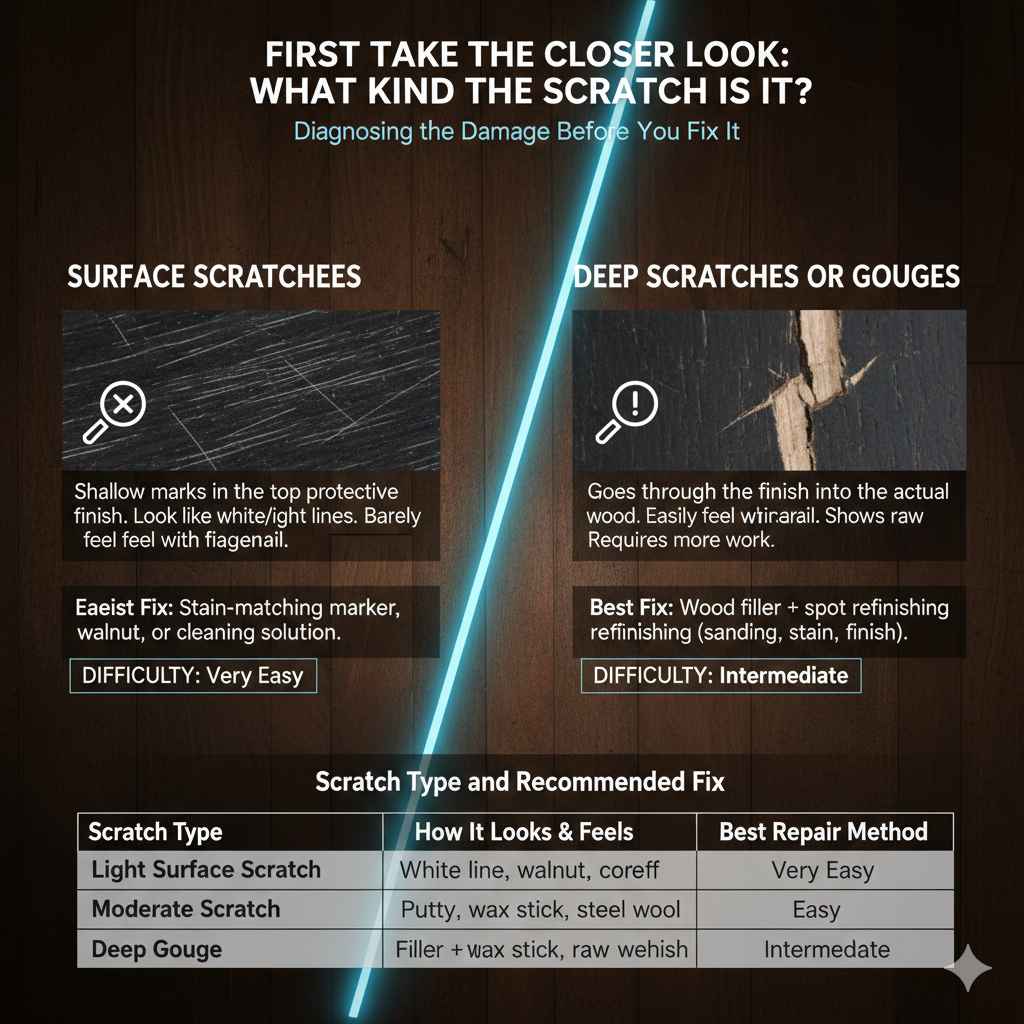
First, Take a Closer Look: What Kind of Scratch Is It?
Before you grab any tools, the most important first step is to figure out what kind of scratch you’re dealing with. Not all scratches are the same, and the right fix depends on how deep the damage is. Getting this right saves you time and makes sure you use the best method from the start.
Dog scratches usually fall into two main categories:
- Surface Scratches: These are the most common. They are very shallow marks that have only scraped the top protective layer of your floor, known as the finish (usually polyurethane). They often look like white or light-colored lines. If you run your fingernail over them, you can barely feel them. Good news—these are the easiest to fix!
- Deep Scratches or Gouges: These are more serious. A deep scratch has gone through the top finish and has damaged the actual wood underneath. You can easily feel these with your fingernail, and they often show the lighter, raw wood color. While they take a bit more work, you can still fix these yourself with the right approach.
To tell the difference, simply get down close to the floor and look at the scratch in good light. You can also lightly run your finger over it. Does it feel smooth, or does your nail catch in a groove? Knowing this will help you choose the perfect solution from the options below.
Scratch Type and Recommended Fix
Here’s a simple table to help you match the scratch to the solution. Think of it as a quick cheat sheet for your floor repair project.
| Scratch Type | How It Looks & Feels | Best Repair Method | Difficulty Level |
|---|---|---|---|
| Light Surface Scratch | Looks like a white line; you can’t feel it with your fingernail. It’s only in the top finish. | Stain-matching marker, walnut, or a cleaning solution. | Very Easy |
| Moderate Scratch | You can feel it slightly with your fingernail. The color of the wood may look a little off. | Wood putty, wax stick, or blending with steel wool. | Easy |
| Deep Gouge | A noticeable groove that has removed wood. It shows the raw, unstained wood color underneath. | Wood filler and spot refinishing (sanding and applying new stain/finish). | Intermediate |
Method 1: Fixing Light Surface Scratches (The Quick & Easy Fixes)
Let’s start with the easiest ones! If you have minor surface scratches that only affect the top coat, you’re in luck. These fixes take just a few minutes and don’t require any special skills. They work by either hiding the scratch or lightly buffing it out.
What You’ll Need:
- A soft, clean cloth (microfiber is perfect)
- Mild wood floor cleaner or a mixture of vinegar and water
- A walnut (yes, a regular shelled walnut!)
- A wood stain-matching marker or crayon
Step-by-Step Instructions:
- Clean the Area First: Before you do anything, you need a clean surface. Any dirt or dust can get trapped in your repair and make it look worse. Gently clean the scratched area with a soft cloth and a bit of wood floor cleaner. Let it dry completely.
- Try the Walnut Trick: This is my favorite home remedy, and it works surprisingly well on light scratches. Take a shelled walnut and rub it directly over the scratch. The natural oils and brown color from the nut will seep into the wood, helping to darken and hide the mark. Rub in the direction of the wood grain.
- Buff It Out: After rubbing with the walnut, use your finger to gently warm the area. This helps the oil absorb into the wood. Then, take a clean, soft cloth and buff the spot until it blends in with the rest of the floor.
- Use a Stain Marker for More stubborn marks: If the walnut trick doesn’t quite do it, a wood stain marker is your next best friend. These come in various wood shades. Choose one that closely matches your floor color. Simply color in the scratch, then immediately wipe away any excess ink with a clean cloth. The goal is to fill the scratch, not color the floor around it.
That’s it! For most light scratches, one of these two methods will make them virtually disappear. It’s a simple, low-cost way to keep your floors looking fresh.
Method 2: Tackling Moderate Scratches (A Little More Effort)
So, you’ve found a scratch that’s a bit deeper—one you can feel with your finger. These scratches have likely gone through the finish and have started to affect the wood itself. Don’t worry, this is still a very manageable DIY fix. We just need to use something that can fill the small gap and blend the color.
What You’ll Need:
- Soft, clean cloths
- Mild wood floor cleaner
- Fine-grade steel wool (#0000)
- Color-matched wood putty or a wax repair stick
- A plastic putty knife
- Hardwood floor wax (optional, for blending)
Step-by-Step Instructions:
- Clean and Prep the Area: Just like before, start by thoroughly cleaning the scratch and the area around it. Make sure it’s completely dry before moving on. A clean surface ensures the filler will stick properly.
-
Choose Your Filler: Wood Putty or Wax Stick?
- A wax repair stick is great for beginners. It’s like a crayon for your floor. You simply rub it over the scratch until it’s filled, then buff away the excess.
- Wood putty is a bit more durable. It comes in a small tub. Choose a color that matches your floor. If you can’t find an exact match, you can sometimes mix two colors to get it just right.
-
Apply the Filler:
- For a Wax Stick: Rub the stick firmly across the grain of the scratch until the groove is filled.
- For Wood Putty: Take a small amount of putty on the tip of your plastic putty knife. Press it firmly into the scratch, swiping across the grain to ensure it fills the gap completely. Overfill it just a little, as some putties can shrink as they dry.
- Remove the Excess: Immediately after applying, use the clean edge of your putty knife or a soft cloth to wipe away any excess filler from the surface of the floor. You only want the putty to remain inside the scratch.
- Let It Dry and Buff: Check the instructions on your wood putty for drying times. Once it’s fully cured, you can gently buff the area with a clean cloth. If the repaired spot looks a little dull, you can use a tiny amount of floor wax and some #0000 steel wool to gently blend the sheen with the rest of the floor. Be very gentle here!
This method fills in the damage and restores the color, making those moderate scratches blend right back into your beautiful floor.
Method 3: Repairing Deep Gouges (The Pro-Level DIY Fix)
Okay, now for the deep ones. A deep gouge is a scratch that has clearly removed a piece of wood. It looks bad, but you can still fix it without replacing the whole board. This method involves a bit of light sanding and refinishing just the affected spot. It might sound intimidating, but if you take it slow, you’ll be proud of the results.
What You’ll Need:
- Everything from the previous methods (cleaner, cloths)
- Color-matched wood filler
- Fine-grit sandpaper (around 180 or 220-grit)
- Wood stain that matches your floor
- A small artist’s brush or cotton swab
- Polyurethane finish (in the same sheen as your floor—satin, semi-gloss, or gloss)
- Painter’s tape (optional)
- Safety gear: dust mask and gloves
A quick note on safety: when sanding, it’s a good idea to protect yourself from dust. If your home was built before 1978, be mindful of potential lead-based finishes. You can learn more about safe renovation practices from resources like the EPA’s guide for do-it-yourselfers.
Step-by-Step Instructions:
- Clean and Prep: You know the drill! Clean the gouge and surrounding area thoroughly. If you want, you can use painter’s tape to mask off the area around the gouge to protect the undamaged floor.
- Fill the Gouge: Apply a color-matched wood filler to the gouge using a plastic putty knife. Press it in firmly to make sure there are no air bubbles. Overfill it slightly to account for shrinking.
- Let It Cure Completely: This is important. Read the filler’s instructions and give it plenty of time to harden. Rushing this step will ruin the repair. This could be a few hours or even overnight.
- Sand It Smooth: Once the filler is rock-hard, it’s time to sand it level with the floor. Wrap a small piece of fine-grit sandpaper around a small block of wood (this helps keep it flat). Gently sand only the filled area until it is perfectly smooth and flush with the rest of the floor. Your goal is to smooth the filler, not the surrounding wood.
- Clean Up the Dust: Wipe away all the sanding dust with a clean, slightly damp cloth. A dust-free surface is essential for the next steps.
- Apply the Stain: Now, you need to match the color. Using a small artist’s brush or a cotton swab, carefully apply a thin layer of wood stain to the filled area. It’s better to start with a light coat and add more if needed to get the color right. Feather the edges to help it blend. Wipe off any excess stain immediately.
- Seal with Polyurethane: After the stain is completely dry (check the can for timing), you need to re-apply the protective top coat. Use a new, clean artist’s brush to apply a very thin layer of polyurethane over the stained area. Make sure you use the same sheen (e.g., satin) as the rest of your floor. Let it dry completely, then apply a second thin coat if needed.
Comparing Wood Finish Sheens
Choosing the right polyurethane sheen is critical for a seamless repair. Here’s a quick guide to help you identify what you have:
| Sheen Type | Appearance | Pros | Cons |
|---|---|---|---|
| Satin | Low luster with a slight sheen. Hides imperfections well. | Very popular, hides scratches, easy to maintain. | Less “shiny” than other options. |
| Semi-Gloss | Noticeable shine and reflection. | Durable and easy to clean. | Can show scratches more than satin. |
| High-Gloss | Very shiny, mirror-like finish. | Extremely durable and moisture-resistant. | Shows every single scratch, piece of dust, and flaw. |
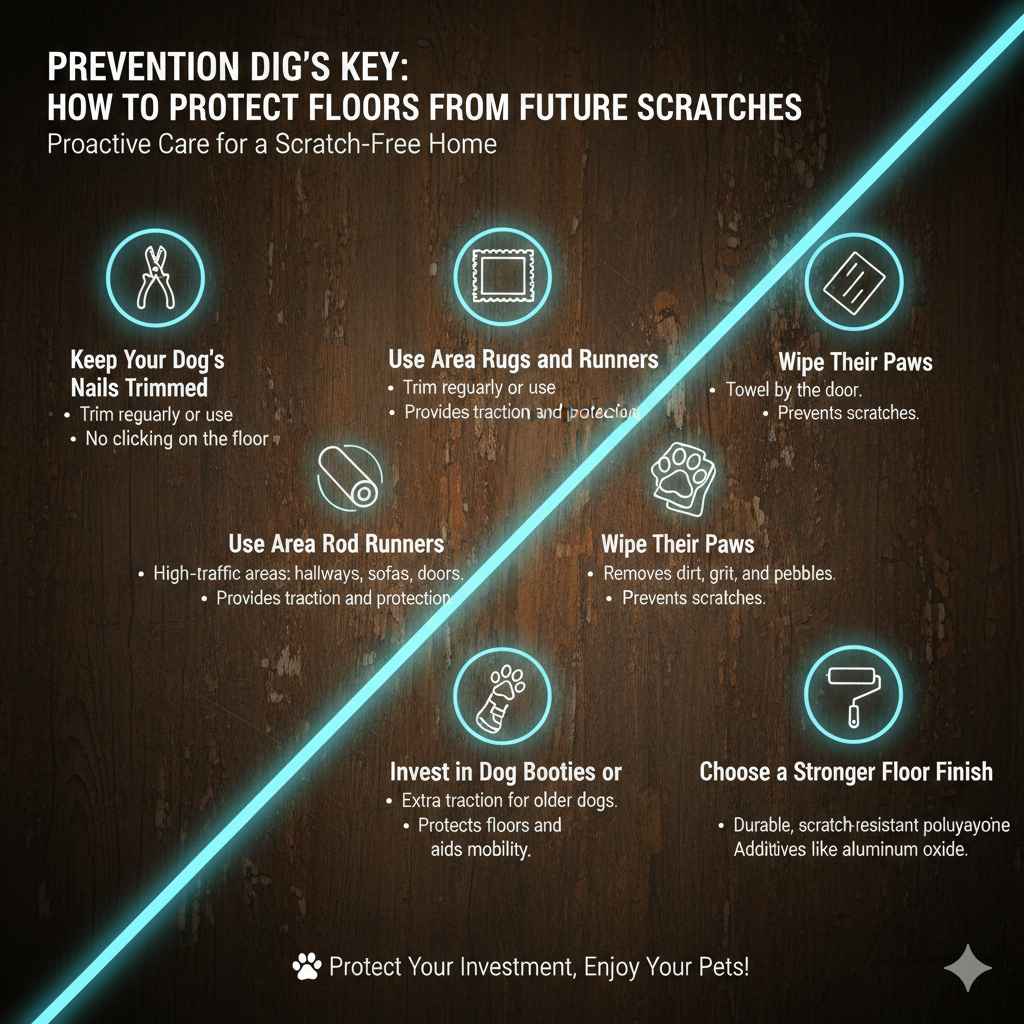
Prevention Is Key: How to Protect Your Floors From Future Scratches
Fixing scratches is one thing, but preventing them is even better! A little bit of proactive care can save you a lot of time and effort down the road. Here are my top tips for keeping your hardwood floors safe from your furry family members.
- Keep Your Dog’s Nails Trimmed: This is the number one thing you can do. Long, sharp nails are the main cause of floor scratches. Trim them regularly or have a groomer do it. Well-trimmed nails should not click loudly on the floor when your dog walks. For tips on how to do this safely, the American Kennel Club (AKC) has excellent guides.
- Use Area Rugs and Runners: Place rugs in high-traffic areas where your dog loves to run and play, like hallways, in front of the sofa, or near the door. This gives them traction and protects the wood underneath.
- Wipe Their Paws: Keep a towel near the door and wipe your dog’s paws when they come inside. This removes dirt, grit, and small pebbles that can easily scratch the floor.
- Invest in Dog Booties or Paw Grips: For older dogs or those with mobility issues, non-slip paw grips or booties can provide extra traction and protect your floors at the same time.
- Choose a Stronger Floor Finish: When it’s time to refinish your floors, choose a durable, scratch-resistant polyurethane. Finishes with additives like aluminum oxide are much tougher and stand up better to pets.
Frequently Asked Questions (FAQ)
Can I use coconut oil or olive oil to fix scratches on my hardwood floor?
While some people suggest using oils like coconut or olive oil, I generally advise against it. These oils can provide a temporary cosmetic fix by darkening the scratch, but they don’t harden and can attract dirt over time, leaving a dark, grimy spot. It’s better to use products designed for wood, like a walnut or a stain marker.
How can I tell if a scratch is too deep for me to fix myself?
A good rule of thumb is if the scratch is so deep that it has splintered the wood or if it’s wider than a credit card, you might want to consult a professional. Also, if there are many deep scratches all over the floor, it might be more efficient to have the entire floor professionally sanded and refinished.
What is the best wood filler to use for dog scratches?
For DIY repairs on small scratches or gouges, a stainable latex wood filler is a great choice. It’s easy to work with, cleans up with water, and can be stained to match your floor. For very high-traffic areas, an epoxy-based filler is more durable but can be trickier to work with.
Will steam mopping my hardwood floors help with scratches?
No, you should never use a steam mop on hardwood floors. The high heat and moisture can severely damage the wood and the finish, leading to warping, cupping, and discoloration. It will make your scratch problem much worse. Always stick to a damp mop with a proper wood floor cleaner.
How do I find the exact stain color to match my floor?
Finding a perfect match can be tricky. My best tip is to take a photo of your floor in natural daylight and bring it to the hardware store. You can also test stains on a hidden area, like inside a closet or under a large piece of furniture, before applying it to the scratch in the middle of your room.
Can I just use one of those “floor restorer” products I see in stores?
Floor polish or restorer products can be a good temporary solution for floors with lots of tiny surface scratches. They add a new, thin layer of finish that fills in minor scuffs and adds shine. However, they don’t fix deeper scratches, and you’ll need to reapply them periodically. Be sure to test them in an inconspicuous spot first.
Is it better to fix scratches as they happen or wait and do them all at once?
It’s always better to fix scratches as soon as you notice them, especially deeper ones. A scratch that has broken through the finish leaves the raw wood exposed to dirt, moisture, and further damage. Taking care of it quickly protects the wood and makes the repair job much easier.
You Can Do This!
There you have it! Taking care of dog scratches on your hardwood floors doesn’t have to be a big, scary project. Whether you’re dealing with a tiny surface mark or a deeper gouge, you now have the knowledge and steps to fix it with confidence. Remember to start by identifying the type of scratch, gathering your tools, and taking your time with each step.
Your home is a place to be lived in and enjoyed, and that includes sharing it with your wonderful pets. A few scratches here and there are just signs of a happy life. With these simple repair techniques, you can keep your floors looking beautiful for years to come, without stressing over every little mark. Happy fixing!