How Do You Get Dog Scratches Out Of Hardwood Floors: Genius
To get dog scratches out of hardwood floors, start by cleaning the area. For light scratches, rub a walnut over the mark; its oils can hide the damage. For deeper scratches, use a stain-matching wood filler or putty, sand it smooth once dry, then apply a matching stain and a clear coat of polyurethane to seal and protect the repair.
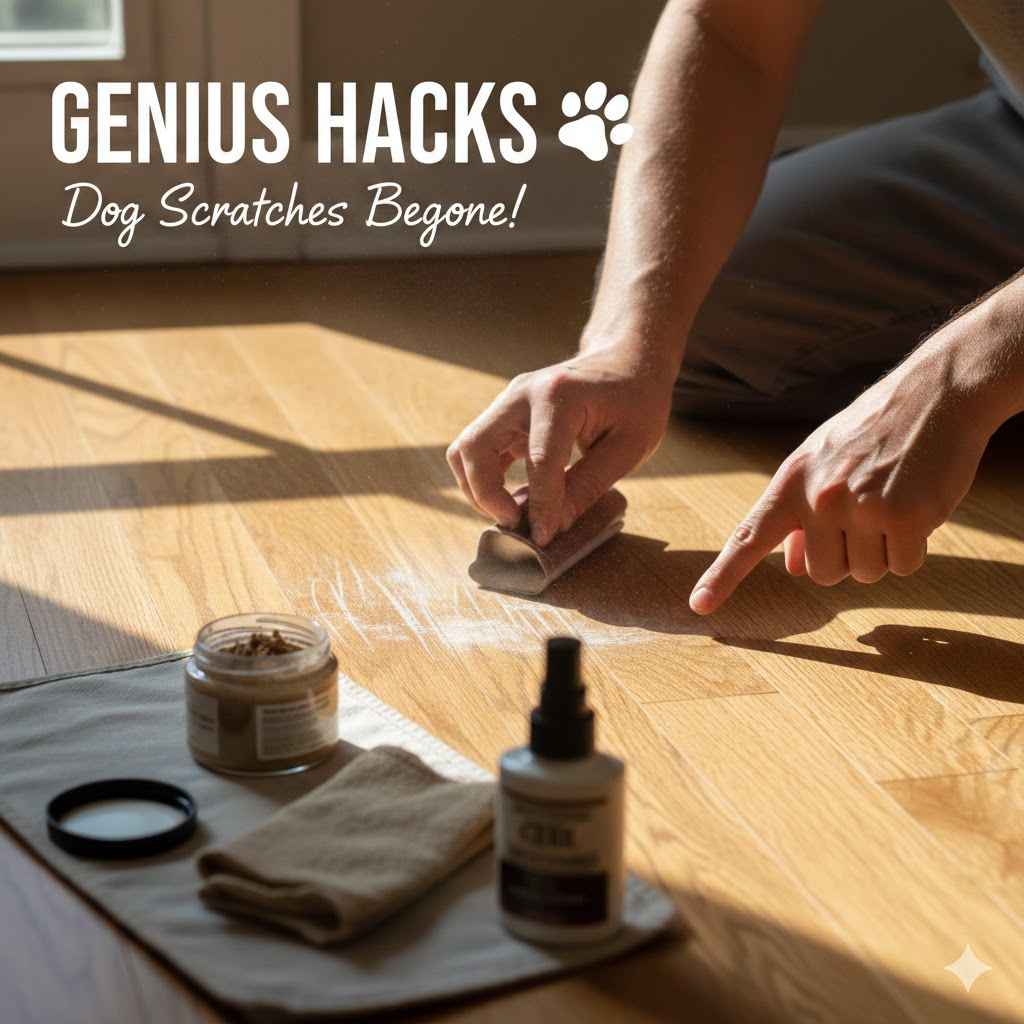
Hello there! It’s Md Meraj. If you’re reading this, you probably have a furry friend who loves your home as much as you do. But their playful energy can sometimes leave little reminders on your beautiful hardwood floors. Don’t worry! Seeing those scratches can be frustrating, but I’m here to tell you that fixing them is easier than you think. You don’t need to be an expert or hire an expensive professional.
I’ve spent years helping homeowners tackle projects just like this. We’re going to walk through some simple, genius ways to make those scratches disappear. Whether they are tiny, light scuffs or slightly deeper marks, we have a solution for you. Let’s get your floors looking fantastic again, together!
First, Let’s Understand the Scratch: Is It Light or Deep?
Before we grab any tools, let’s play detective. Understanding the type of scratch you’re dealing with is the most important step. It tells you exactly which method to use. Get down close to the floor and take a good look.
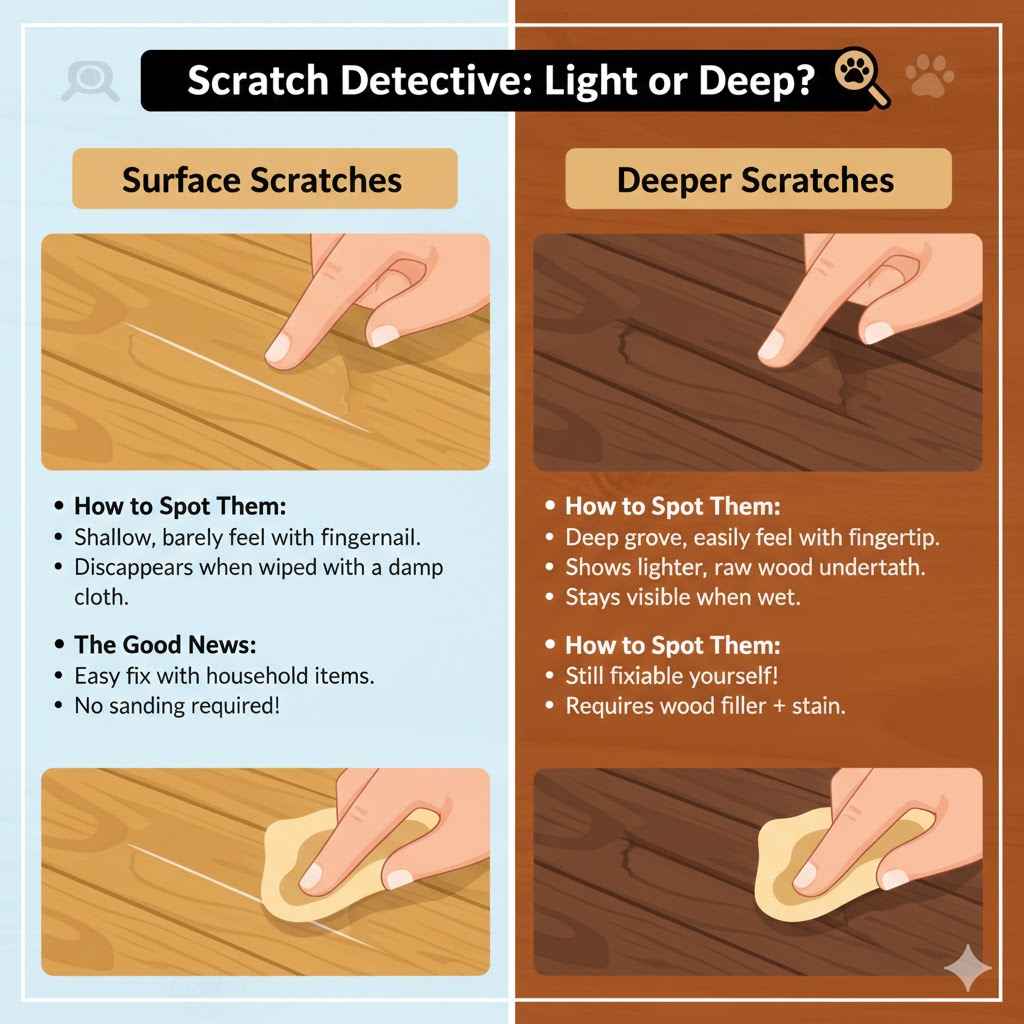
Surface Scratches (The Easy Fixes)
These are the most common scratches from dog nails. They haven’t broken through the top protective layer of your floor, known as the finish or polyurethane coat. They often look like white or light-colored lines.
- How to Spot Them: They are shallow and you can barely feel them with your fingernail. They often disappear for a moment if you wipe them with a damp cloth.
- The Good News: These are usually very simple to fix with household items or basic products. No sanding required!
Deeper Scratches (Still Manageable!)
These scratches have gone past the protective finish and into the wood itself. They are more noticeable because they have damaged the wood fibers and possibly the stain color.
- How to Spot Them: You can easily feel the groove with your fingertip. The scratch may show the lighter, raw wood underneath. Wiping it with a damp cloth won’t make it disappear.
- The Good News: Don’t panic! You can still fix these yourself. They just require a bit more attention and a few extra steps, like using a wood filler and stain.
Gathering Your Repair Kit: Tools & Supplies
Having everything you need on hand makes any job go smoothly. You won’t need all of these for every repair, so just pick what you need based on the method you choose. Here’s a simple checklist.
| Tool or Supply | Best For | Why You Need It |
|---|---|---|
| Soft, clean cloths (microfiber is great) | All Repairs | For cleaning the floor and applying solutions. |
| Wood floor cleaner or mild soap and water | All Repairs | To ensure the scratch is free of dirt before you start. |
| Walnut (yes, the nut!) | Light Scratches | The natural oils fill and darken light scratches wonderfully. |
| Baking soda and olive oil | Light Scratches | Creates a gentle paste to buff out minor scuffs. |
| Wood stain marker or blending pencil | Light to Medium Scratches | Great for coloring in a scratch that has removed the stain. |
| Fine-grit sandpaper (220-grit) | Deeper Scratches | To gently smooth the edges of a scratch or wood filler. |
| Stainable wood filler or putty | Deeper Scratches | Fills in the gouge to make the floor level again. |
| Small putty knife | Deeper Scratches | For applying wood filler smoothly into the scratch. |
| Matching wood stain | Deeper Scratches | To blend the repaired area with the rest of your floor. |
| Clear polyurethane finish (in the same sheen as your floor) | Deeper Scratches | To seal the repair and protect it from future damage. |
Genius Fixes for Light Surface Scratches
Ready for some magic? These methods work incredibly well for those minor scuffs that are only in the top finish of your wood floor. Always start by cleaning the area with a wood-safe cleaner and a soft cloth. Let it dry completely before you begin.
Method 1: The Amazing Walnut Trick
This is my favorite trick because it’s all-natural, cheap, and surprisingly effective. It sounds a little strange, but trust me on this one!
- Grab a Walnut: Take a raw walnut (out of its shell, of course).
- Rub the Scratch: Rub the walnut meat directly onto the scratch. Go against the grain first, then with the grain. Use some gentle pressure.
- Let It Sit: The natural oils from the walnut will seep into the wood, helping to darken and hide the scratch. Let it sit for about 5 to 10 minutes.
- Buff It Out: Use a soft, clean cloth to gently buff the area. The scratch should be much less noticeable, or even gone completely!
Method 2: Baking Soda & Oil Paste
This is another fantastic home remedy. The baking soda acts as a very fine, gentle abrasive to buff the scratch, while the oil helps to condition the wood.
- Create the Paste: Mix a small amount of baking soda with a few drops of olive oil (or mineral oil) to form a thick paste.
- Apply the Paste: Dab a small amount of the paste onto a soft cloth.
- Gently Rub: Rub the paste into the scratch, moving with the grain of the wood. Don’t scrub too hard! The goal is to gently buff the edges of the scratch.
- Wipe and Clean: Use a separate clean, damp cloth to wipe away any excess paste. Dry the area with another cloth.
Method 3: Wood Stain Markers & Blending Pencils
If the scratch has removed a little bit of the floor’s color, a stain marker is your best friend. You can find these at any home improvement store in a variety of wood shades.
- Choose Your Color: Pick a marker that is a slightly lighter shade than your floor. You can always go darker, but you can’t go lighter. Test it in a hidden spot first, like under a sofa or in a closet.
- Color in the Scratch: Carefully draw along the scratch with the marker. Stay inside the lines as much as possible.
- Wipe Away Excess: Immediately use a clean, dry cloth to wipe away any excess marker from the surrounding wood. This helps blend the color in.
- Let It Dry: Allow the stain to dry completely according to the manufacturer’s instructions. You can add another light coat if needed to get the perfect match.
How to Fix Deeper Dog Scratches and Gouges
For those more stubborn scratches that have dug into the wood, we need to bring in slightly stronger tools. This process is all about filling, smoothing, and blending. It’s still very much a DIY-friendly job—just follow these steps carefully.
Step 1: Clean and Prep the Area
Just like with light scratches, a clean surface is non-negotiable. Use your wood floor cleaner to remove any dirt, dust, or oils from inside the scratch. Let it dry completely. A clean start prevents you from sealing dirt into your repair.
Step 2: Very Lightly Sand the Scratch
The goal here is not to sand your whole floor, but just to smooth the rough edges of the scratch. This helps the wood filler stick better.
- Take a small piece of very fine-grit sandpaper (220-grit is a good choice).
- Wrap it around your finger or a small block.
- Gently sand only inside the scratch and its immediate edges. Always move in the direction of the wood grain.
- Wipe away the dust with a clean cloth.
Step 3: Apply Stainable Wood Filler
Wood filler is like a paste that will fill the gouge and harden, creating a new, smooth surface. Make sure you choose a “stainable” wood filler that matches the color of your floor as closely as possible.
- Apply the Filler: Scoop a small amount of filler onto the tip of a flexible putty knife.
- Press It In: Press the filler firmly into the scratch. Swipe the knife across the scratch at a 45-degree angle to ensure it gets all the way down into the gouge.
- Scrape Off Excess: Scrape the putty knife flat over the surface to remove any excess filler. You want the filler to be level with the floor. It’s okay if it’s slightly raised, as you will sand it down.
- Let It Dry: Patience is key here. Let the filler dry completely. This can take anywhere from a few hours to a full day. Check the product label for specific drying times. The Forest Products Laboratory emphasizes the importance of proper drying for wood finishes and fillers.
Step 4: Sand the Filler Smooth
Once the filler is rock-hard, it’s time to make it perfectly smooth. Take your 220-grit sandpaper and gently sand the filled area until it is completely flush and level with the rest of the floor. Again, always sand with the grain. Feel it with your fingers—it should feel perfectly smooth.
Step 5: Apply a Matching Stain
Now, we need to add color to the repaired spot. Using a small artist’s brush or a cotton swab, carefully apply a thin layer of your matching wood stain to the filled area. It’s better to start with a light coat and add more if needed. Let the stain soak in for a few minutes, then wipe away any excess with a clean rag. The goal is to blend it seamlessly with the surrounding floor.
Step 6: Seal the Repair with Polyurethane
This final step is crucial! It protects your hard work. You’ll need a clear polyurethane that matches the sheen of your floors (e.g., satin, semi-gloss, or gloss).
- Use a small, clean brush to apply a very thin layer of polyurethane over the stained area.
- Feather the edges lightly so it blends in with the existing finish.
- Let it dry completely, which may take 24 hours or more. If needed, you can lightly sand with ultra-fine sandpaper (320-grit) and apply a second thin coat for extra durability.
Choosing the Right Method: A Quick Comparison
Feeling a bit overwhelmed by the options? Don’t be! This table breaks it down so you can choose the perfect method for your situation.
| Repair Method | Best for Scratch Depth | Effort Level | Cost | Best For Beginners? |
|---|---|---|---|---|
| Walnut Rub | Very light surface scuffs | Very Low | Very Low | Yes, absolutely! |
| Baking Soda Paste | Light surface scratches | Low | Very Low | Yes, a great starter fix. |
| Stain Marker | Light scratches with color loss | Low | Low | Yes, very easy to use. |
| Wood Filler & Stain | Deep scratches and gouges | Medium | Moderate | Yes, with patience and by following steps. |
Prevention Is the Best Medicine: Keeping Your Floors Scratch-Free
Now that your floors look great, let’s keep them that way! A few simple habits can prevent most future dog scratches.
- Keep Nails Trimmed: This is the number one thing you can do. Regularly trimming your dog’s nails keeps them short and blunt, reducing their ability to scratch.
- Use Rugs and Runners: Place area rugs or runners in high-traffic areas where your dog loves to play or run, like hallways and near doorways.
- Wipe Paws at the Door: A doormat and a quick paw wipe can remove grit and small pebbles that can get stuck in your dog’s paws and scratch the floor.
- Apply Protective Pads to Furniture: While we’re focused on dogs, remember that sliding furniture also causes deep scratches. Add felt pads to the bottom of all your chairs, tables, and sofas.
- Consider Dog Booties: If your dog is prone to scratching or recovering from an injury, non-slip booties can offer great protection for your floors.
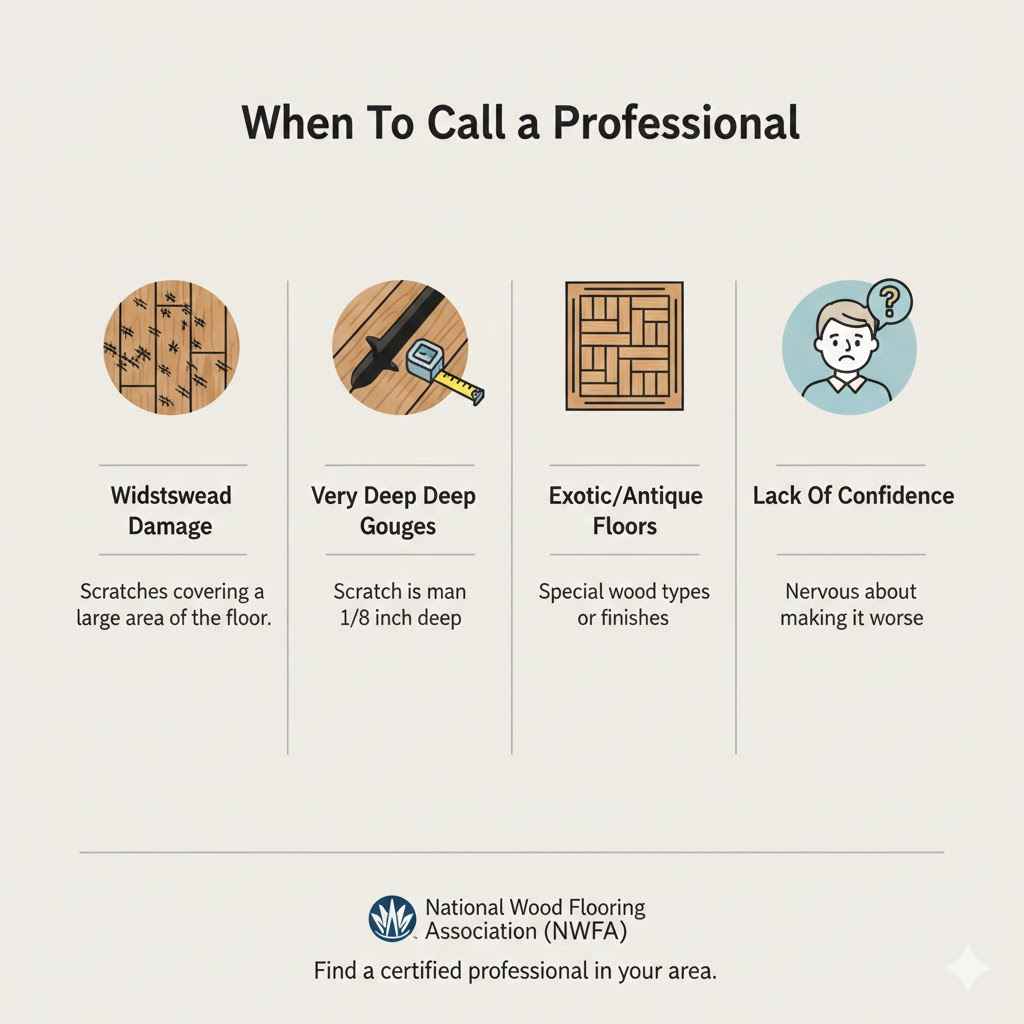
When Should You Call a Professional?
DIY is wonderful, but it’s also important to know your limits. Sometimes, a job is just too big or complex for a DIY fix. You should consider calling a professional floor refinisher if:
- The Damage Is Widespread: If you have scratches covering a large area of the floor.
- The Gouges Are Very Deep: If a scratch is more than 1/8 inch deep, a professional may have better techniques to fix it seamlessly.
- You Have an Exotic or Antique Floor: Some types of wood and finishes require special care.
- You Aren’t Confident: If you’re nervous about making the problem worse, it’s always okay to call for help. The National Wood Flooring Association (NWFA) has a directory to help you find a certified professional in your area.
Frequently Asked Questions (FAQ)
How can I find the exact stain color to match my floor?
The best way is to take a photo of your floor to a home improvement or paint store. Many stores have stain samples you can compare. If possible, test the stain in an inconspicuous area first, like inside a closet or under a large piece of furniture, to ensure it’s a perfect match before applying it to the repair.
Will these methods work on engineered hardwood floors?
Yes, but with a bit of caution. The methods for light surface scratches (walnut, stain markers) work well on the top veneer of engineered hardwood. For deeper scratches, be very careful when sanding. Engineered floors have only a thin top layer of real wood, and sanding too aggressively can wear through it. Always use a very light touch.
Can I use coconut oil or other oils for light scratches?
Yes, other natural oils can work similarly to a walnut. Coconut oil, olive oil, or mineral oil can help darken and conceal light scratches in the finish. Apply a tiny amount with a soft cloth, let it sit for a few minutes, and then buff the area well to remove any excess oil so it’s not slippery.
Is it really necessary to seal a deep scratch repair with polyurethane?
Absolutely. The wood filler and stain will fix the appearance of the scratch, but they don’t protect the wood. Without a polyurethane seal, that spot is vulnerable to moisture, dirt, and future damage. Sealing the repair ensures it lasts and blends in perfectly with the rest of your floor’s protective finish.
How long should I wait before walking on a repaired area?
For simple fixes like the walnut or stain marker, you can walk on the area almost immediately. For a deeper repair involving wood filler, stain, and polyurethane, you need to be more patient. Follow the product instructions, but it’s a good rule of thumb to let the polyurethane cure for at least 24-48 hours before allowing light foot traffic and several days before moving furniture back over it.
My dog is constantly scratching one spot. What can I do?
First, place a durable rug or mat in that area to protect the floor. You can also use positive reinforcement training to redirect your dog’s behavior. When they start to scratch or get overly excited in that spot, redirect their attention with a toy or a command. This can help break the habit over time.
You’ve Got This!
See? Fixing dog scratches on your hardwood floors is completely doable. From a simple walnut trick for minor scuffs to a more detailed repair for deeper marks, you now have the knowledge and steps to get the job done. The key is to correctly identify the type of scratch and then choose the right method.
Remember to be patient, take your time, and enjoy the process. There is nothing more satisfying than stepping back and seeing your beautiful, smooth floors looking as good as new. You and your furry friend can go back to enjoying your home, and you can feel proud of the work you did yourself. Happy fixing!