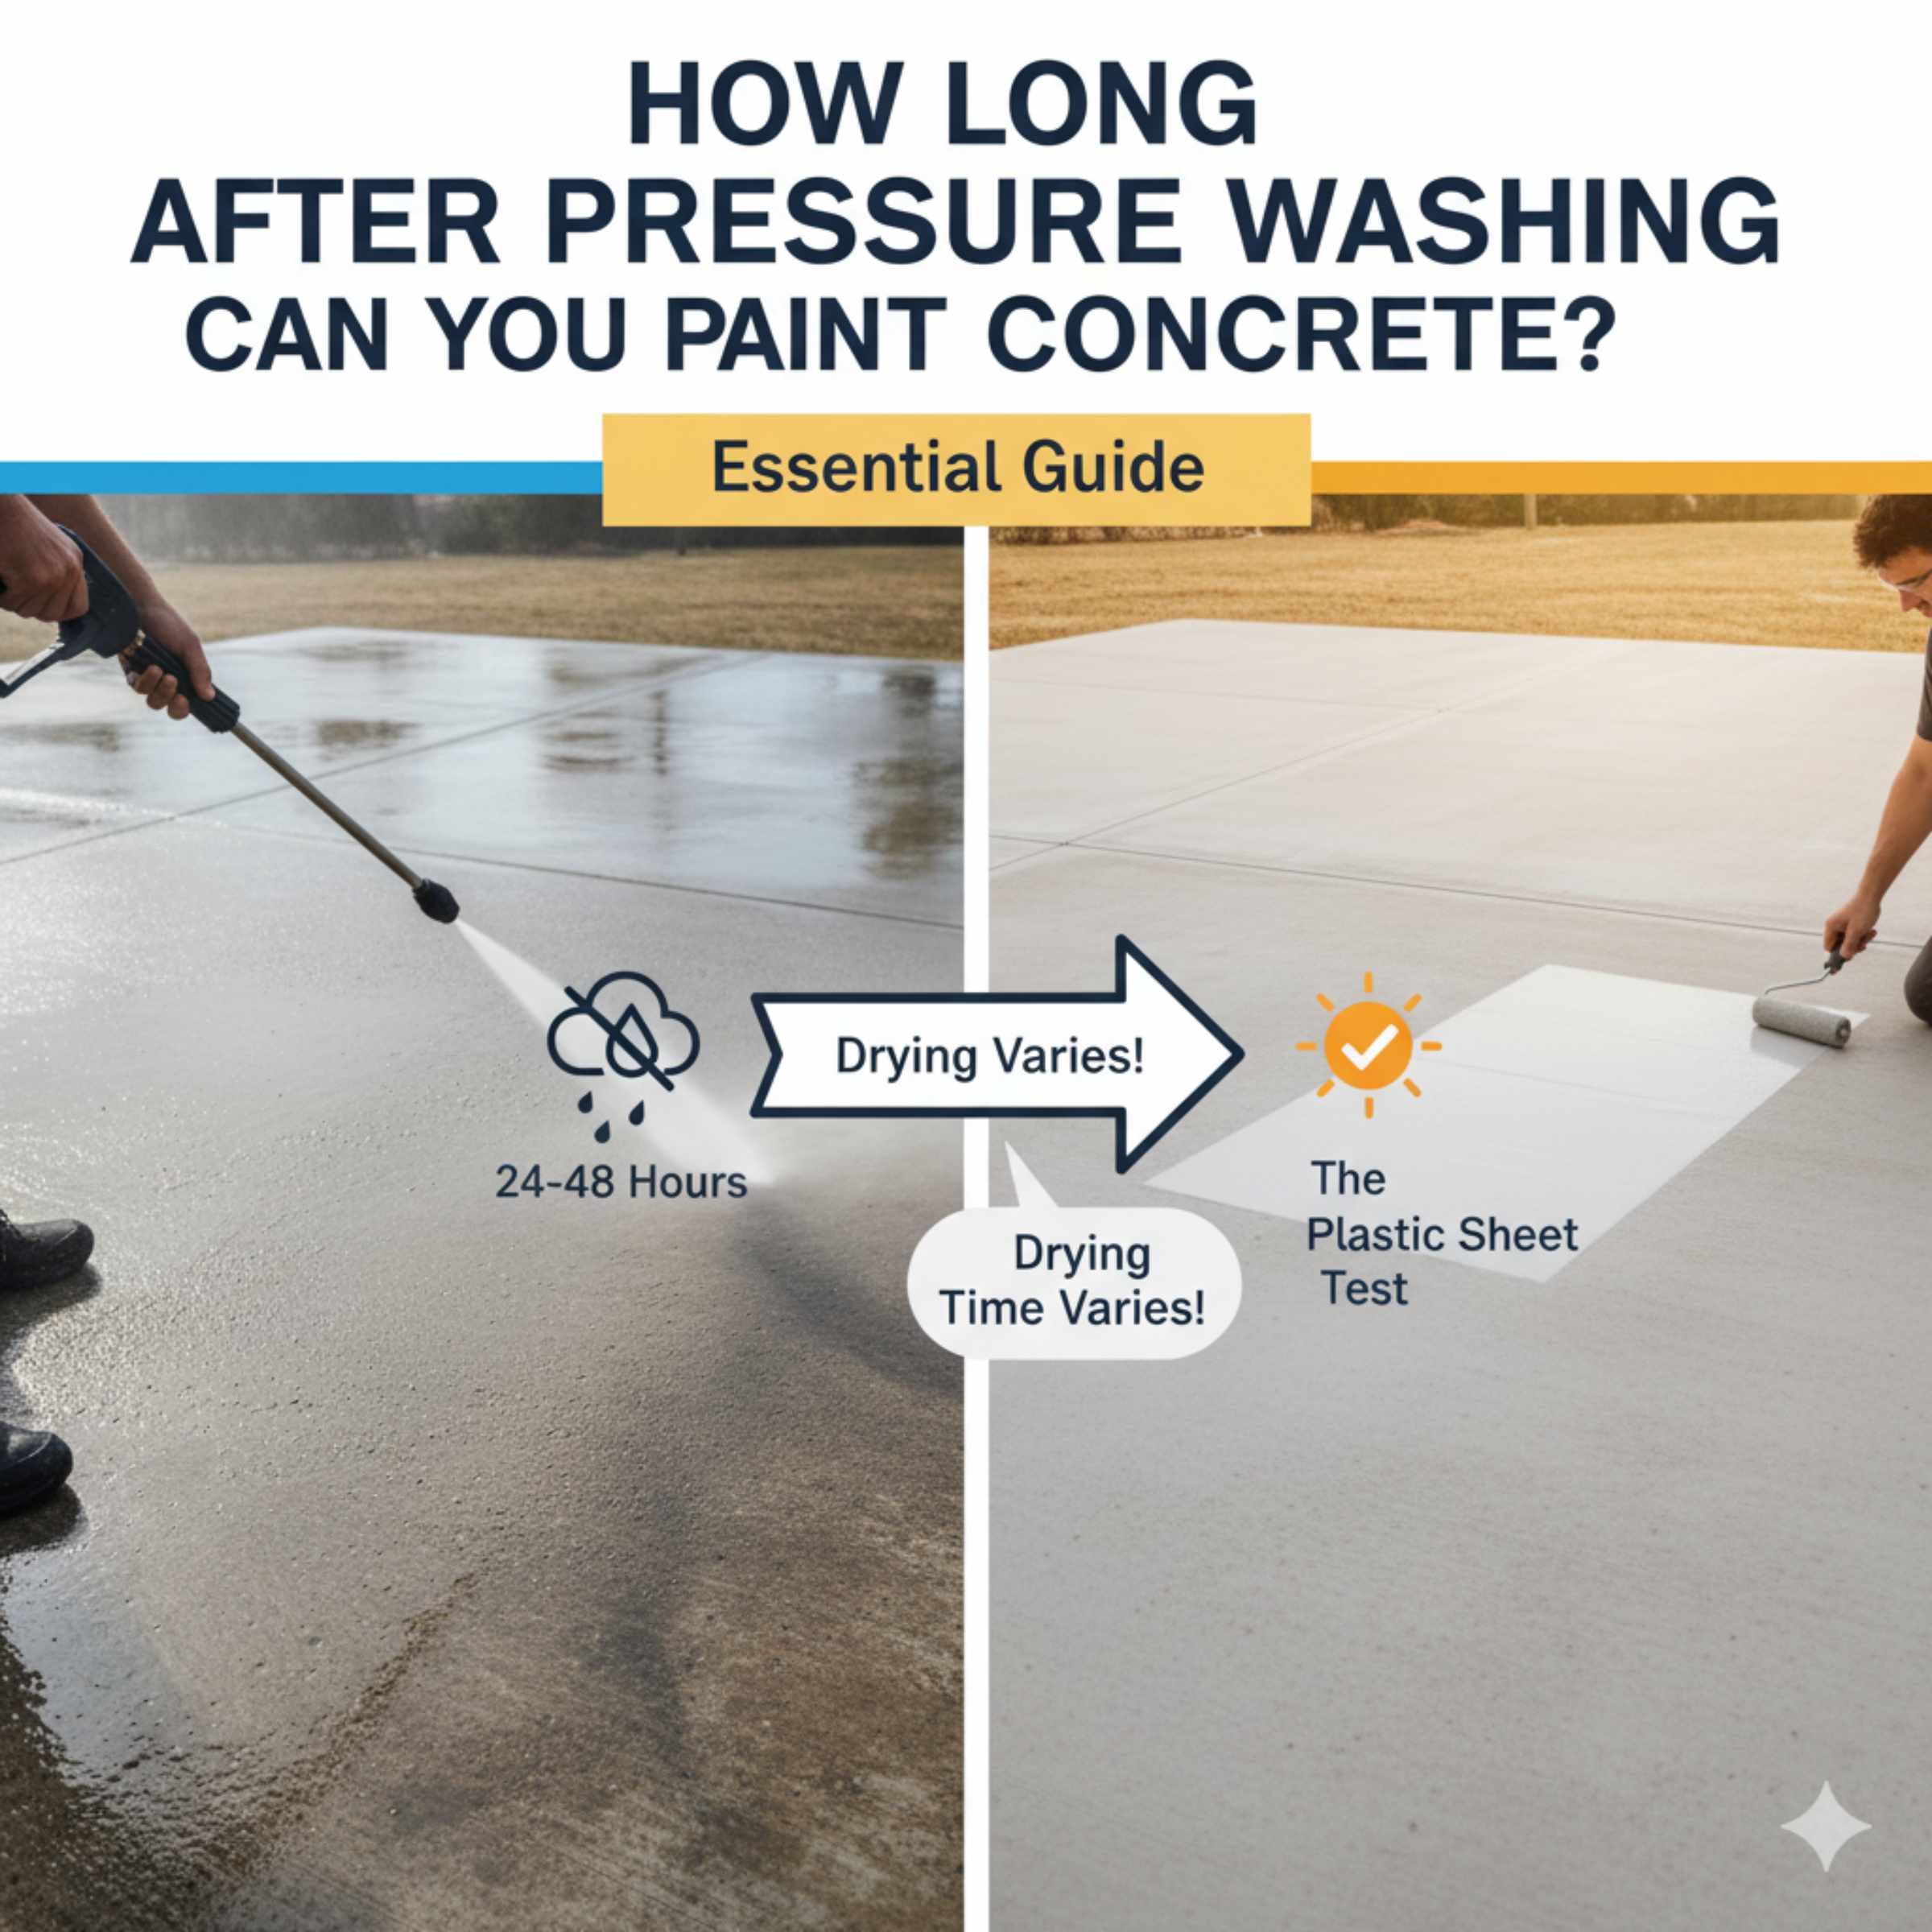
How Long After Pressure Washing Can You Paint Concrete? Essential Guide
Quick Summary: For the best paint adhesion and a long-lasting finish, wait at least 24-48 hours after pressure washing concrete before painting. This allows the concrete to dry completely, ensuring a stable surface for your paint.
Hey there, DIY friends! Md Meraj here, ready to help you tackle another home improvement project with confidence. You’ve done a fantastic job pressure washing your concrete – maybe it’s a patio, driveway, or garage floor. It looks so much better, clean and refreshed! Now comes the exciting part: painting it to give it a whole new look. But a common question pops up: “How long after pressure washing can I paint concrete?” It’s a super important step to get right, because rushing can lead to paint that peels or flakes way too soon. Don’t worry, I’ve got you covered with a simple, step-by-step guide to ensure your painted concrete looks amazing and lasts for years to come. Let’s get this right!
Why Waiting is Crucial: The Science Behind Dry Concrete
Think of painting concrete like giving it a hug. For that hug to be strong and lasting, both sides need to be ready. Pressure washing blasts away dirt, grime, and old coatings, which is great! But it also introduces a lot of moisture into the porous surface of the concrete. If you try to paint while the concrete is still damp, that moisture gets trapped underneath the new paint layer. When the sun shines or the temperature changes, this trapped moisture can expand and contract, pushing the paint away from the concrete. This is what causes blistering, peeling, and bubbling – exactly what we want to avoid!
Concrete is like a sponge. Even after it looks dry on the surface, there can be moisture deep within its pores. This is why a simple visual check isn’t always enough. We need to give the concrete ample time to truly release that internal moisture. Waiting the recommended time ensures that the paint has a dry, stable surface to bond with, creating a much more durable and beautiful finish.
How Long is Long Enough? The Magic Waiting Period
So, what’s the magic number? Generally, you’ll want to wait at least 24 to 48 hours after pressure washing before you even think about applying paint. This is the standard recommendation from most paint manufacturers and concrete professionals. However, this isn’t a one-size-fits-all answer. Several factors can influence how long you really need to wait:
- Temperature: Warmer temperatures help moisture evaporate faster. On a hot, sunny day, your concrete might dry out quicker than on a cool, cloudy one.
- Humidity: High humidity means there’s more moisture in the air, slowing down the drying process. If it’s a humid day, you might need to extend your waiting time.
- Airflow: Good air circulation is your best friend for drying. If your concrete area is sheltered or has no breeze, it will take longer to dry.
- Sunlight: Direct sunlight can significantly speed up the drying process by heating the concrete surface.
- Concrete Porosity: Older or more porous concrete might hold onto moisture longer than newer, denser concrete.
- Amount of Water Used: If you used a very high-pressure wash or a lot of water, it will naturally take longer to dry.
The Ultimate Drying Test: How to Tell if Your Concrete is Ready
Visual inspection is a start, but it’s not the whole story. Here are a few simple tests you can do to be absolutely sure your concrete is dry enough to paint:
1. The Plastic Sheet Test (The Most Reliable Method)
This is the gold standard for checking concrete moisture. It’s simple and effective:
- Cut a piece of clear plastic sheeting, about 2 feet by 2 feet. Use a heavy-duty plastic, like a painter’s drop cloth or a trash bag.
- Tape all four edges of the plastic sheet securely to the concrete surface using painter’s tape or duct tape. Make sure there are no gaps where air can get in.
- Leave the plastic sheet in place for at least 24 hours.
- After 24 hours, carefully remove the tape and lift the plastic sheet.
-
What to look for:
- If the underside of the plastic is dry and there’s no condensation, your concrete is ready for paint!
- If you see condensation (little water droplets) on the underside of the plastic, or if the concrete surface beneath the plastic looks dark and damp, it means there’s still too much moisture. You’ll need to wait longer and repeat the test.
2. The Feel Test (Less Reliable, but a Quick Check)
While not as definitive as the plastic sheet test, you can get a general idea by feeling the concrete surface. Bend down and touch the concrete. Does it feel cool or damp to the touch? If it feels cool, it’s likely still holding moisture. It should feel neutral and dry, like the surrounding air.
3. The Chalk Test (For Porous Surfaces)
This is a good visual cue, especially for older concrete. Lightly rub a piece of chalk across the surface. If the chalk makes a dusty, powdery mark, it’s usually a good sign the surface is dry and porous enough to accept paint. If the chalk smears or doesn’t mark well, it might still be too damp or too smooth.
The Painting Process: Beyond Just Waiting
Waiting for your concrete to dry is a huge part of getting a great paint job, but it’s not the only step. Here’s a quick rundown of what else is important:
1. Prepare the Surface Thoroughly
Pressure washing is step one, but you might need more:
- Clean Up Debris: Sweep away any loose dirt or debris left after washing.
- Etching (Sometimes Necessary): For new or very smooth concrete, you might need to etch the surface to give the paint something to grip. This is often done with a diluted acid solution (follow safety instructions carefully!) or by lightly sanding. Check your paint manufacturer’s recommendations.
- Repair Cracks and Pits: Fill any cracks or holes with a concrete patching compound. Allow this to cure fully according to the product instructions.
- Degrease Stains: If you have stubborn oil or grease stains, pressure washing might not remove them entirely. You may need a dedicated concrete degreaser.
2. Choose the Right Paint
Not all paints are created equal, especially for concrete. Look for paints specifically designed for concrete surfaces. These are usually acrylic or epoxy-based and are formulated to withstand foot traffic, weather, and abrasion.
- Acrylic Concrete Paints: Good for patios and walkways. They offer good flexibility and UV resistance.
- Epoxy Floor Coatings: Excellent for garage floors or areas with heavy traffic and potential chemical spills. They are very durable but can be more complex to apply.
Always read the paint can! It will have specific instructions on surface preparation and application.
3. Apply a Primer (Highly Recommended!)
A good concrete primer is like a handshake before the hug. It helps the paint adhere better, seals the surface, and can even help block stains. Most concrete paint manufacturers recommend a primer for the best results.
4. Apply Paint in Ideal Conditions
Even after your concrete is dry, the weather matters for painting:
- Temperature: Aim for temperatures between 50°F (10°C) and 85°F (29°C). Avoid painting in direct, hot sun, as this can cause the paint to dry too quickly, leading to lap marks.
- Humidity: Try to paint on a day with low humidity. High humidity can slow down the paint’s drying and curing process.
- Rain: Obviously, avoid painting if rain is in the forecast.
5. Follow Manufacturer’s Instructions for Application
Whether you’re using a roller, brush, or sprayer, follow the paint manufacturer’s guidelines for application. This usually includes:
- Number of Coats: Most concrete projects will require at least two thin coats for even coverage and durability.
- Drying Time Between Coats: This is crucial! The paint can will specify how long to wait between coats. Rushing this step can trap solvents and weaken the bond.
- Curing Time: After the final coat, there’s a curing period before the paint is fully hardened and ready for traffic. This can range from a few days to a week or more. Be patient!

Factors Affecting Drying Time: A Deeper Look
Let’s break down those environmental factors a bit more, because understanding them helps you make a better decision about when to paint.
Temperature and Its Impact
Water evaporates faster when it’s warmer. Think about drying clothes on a line – they dry much quicker on a hot summer day than on a chilly autumn afternoon. The same principle applies to concrete. When temperatures are consistently above 60°F (15°C), moisture will escape the concrete pores more readily. Below 50°F (10°C), the evaporation process slows down considerably, and in very cold conditions, it can nearly stop. Some paints also have minimum temperature requirements for application, so always check the label.
Humidity: The Silent Dryer Slow-Downer
Humidity is the amount of water vapor present in the air. When the air is already saturated with moisture (high humidity), it has less capacity to absorb more water from the concrete. Imagine trying to dry a wet towel in a steamy bathroom – it takes a long time! Conversely, on a dry day, the air readily pulls moisture from surfaces. For best results, aim for days with humidity below 60%.
Sunlight and Airflow: Nature’s Drying Aids
Direct sunlight is a powerful drying agent. It heats the surface of the concrete, giving water molecules more energy to escape into the air. Even on a slightly cooler day, direct sun can significantly speed things up. Airflow is also critical. A gentle breeze helps carry away the moist air right above the concrete surface, allowing more moisture to evaporate. Areas that are enclosed or have no wind will take much longer to dry.
Concrete Age and Condition
Newer concrete typically has a denser structure and might require a longer drying period, especially if it was sealed or cured with a membrane. Older concrete, especially if it’s been exposed to the elements for years, might be more porous and dry out faster, but it could also have deeper moisture pockets. Understanding your concrete’s history can sometimes give you clues, but the plastic sheet test remains the most reliable indicator.
Table: Drying Time Influences
Here’s a quick reference to see how different conditions can affect your drying time:
| Condition | Effect on Drying Time | Recommendation |
|---|---|---|
| Warm, Sunny, Low Humidity, Breezy | Fastest Drying | Potentially 24 hours or less (but still test!) |
| Mild Temperature, Partly Cloudy, Moderate Humidity, Little Wind | Moderate Drying | Likely 24-48 hours |
| Cool, Overcast, High Humidity, No Wind | Slowest Drying | May need 72+ hours; test frequently |
| Recent Rain or Heavy Washing | Significantly Extended Drying | Add at least 24 hours after visible dryness; test rigorously |
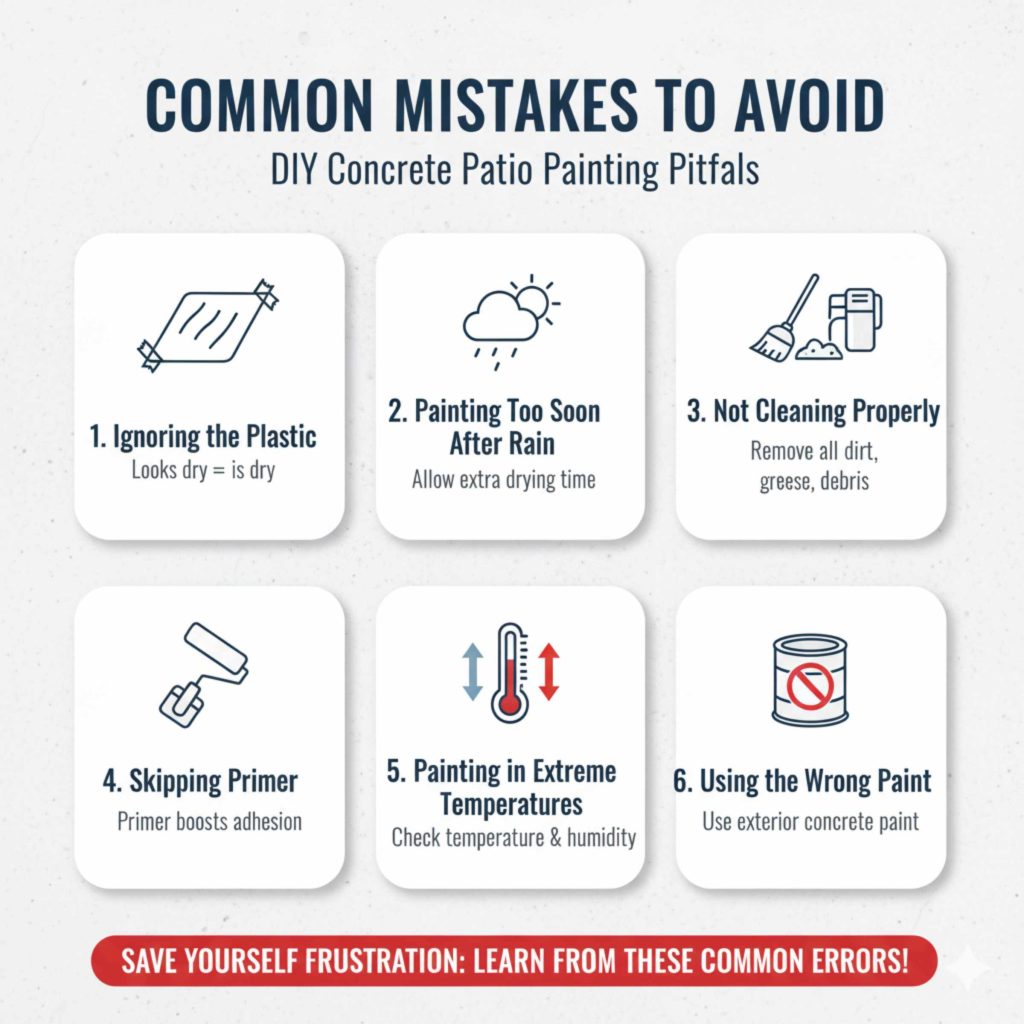
Common Mistakes to Avoid
We all make mistakes when DIYing, but knowing the common pitfalls can save you a lot of frustration. Here are a few to watch out for:
- Ignoring the Plastic Sheet Test: Relying solely on how the surface looks is the most common mistake. Always perform the test.
- Painting Too Soon After Rain: Even if the surface looks dry, rain can saturate the concrete. Give it extra time.
- Not Cleaning Properly: If there’s any remaining dirt, grease, or loose material, the paint won’t adhere well.
- Skipping Primer: While some paints claim you can skip primer, it’s almost always beneficial for concrete.
- Painting in Extreme Temperatures: Too hot, too cold, or too humid can all ruin a paint job.
- Using the Wrong Paint: Interior wall paint will not hold up on a concrete patio.
Expert Tips for a Flawless Finish
As your friendly home improvement guide, I want to share a few extra tips to help you achieve that professional-looking finish:
- Work in Sections: If you have a large area, break it down into smaller, manageable sections for washing and painting.
- Maintain a Wet Edge: When applying paint, try to overlap your strokes slightly into the still-wet area to avoid visible lines.
- Use Quality Tools: Good brushes, rollers, and trays make a big difference in application and the final look. For concrete, a heavy-duty roller with a thick nap is often best.
- Ventilate the Area: Ensure good airflow while painting and drying. Open doors and windows if painting indoors, or position fans strategically if painting outdoors.
- Read Up on Curing Times: This is vital for durability. For instance, many epoxy coatings require a full 7-day cure before heavy vehicle traffic. Always check the product data sheet. For more information on concrete surface preparation and coatings, the Concrete Construction magazine website offers valuable technical resources.
Frequently Asked Questions (FAQ)
Q1: Can I paint my concrete driveway the day after pressure washing?
A1: It’s generally not recommended. While the surface might look dry, there’s likely still moisture trapped within. Waiting at least 24-48 hours, and performing a plastic sheet test, is the safest bet to ensure proper paint adhesion.
Q2: What if it rains the day I planned to paint?
A2: You’ll need to postpone painting. Rain not only adds moisture to the concrete but also prevents the paint from drying and curing properly. You’ll also need to re-evaluate the drying time after the rain stops.
Q3: How do I know if my pressure washer removed all the old paint or sealant?
A3: After pressure washing, you can do a scratch test with a putty knife. If paint or sealant chips or scrapes off easily, it wasn’t fully removed and will need further attention before you paint. You might need a stronger cleaner or a different method for removal.
Q4: Is it okay to paint concrete when it’s cool outside, like in the early morning?
A4: Painting in the early morning can be good for avoiding hot sun, but ensure the temperature is within the paint manufacturer’s recommended range (usually above 50°F or 10°C) and that dew hasn’t made the surface damp. Check the concrete’s dryness before starting.
Q5: My concrete is still looking dark in spots after 48 hours. Should I wait longer?
A5: Yes, absolutely. Those dark spots indicate remaining moisture. Continue to wait and perform the plastic sheet test in those areas to confirm they are dry before proceeding with painting.
Q6: What’s the difference between drying time and curing time for concrete paint?
A6: Drying time refers to when the paint is no longer wet to the touch and you can apply another coat. Curing time is when the paint has hardened and achieved its maximum durability and resistance. You can usually walk on concrete paint after a few days (check the label), but it might take a week or more to fully cure and withstand heavy traffic or vehicles.
Conclusion: Patience is Key for a Beautiful, Lasting Finish
There you have it, DIY champions! You’ve learned that while pressure washing gives your concrete a fantastic clean slate, patience is your most important tool when it comes to painting. Waiting that crucial 24-48 hours, and performing the simple plastic sheet test, ensures your concrete is truly ready for a new coat of paint. By following these steps – preparing the surface, choosing the right paint, using a primer, and painting in ideal conditions – you’re setting yourself up for a beautiful, durable finish that you can be proud of. Remember, a little extra waiting time now will save you a lot of headaches and money down the road. Happy painting, and enjoy your newly transformed concrete space!