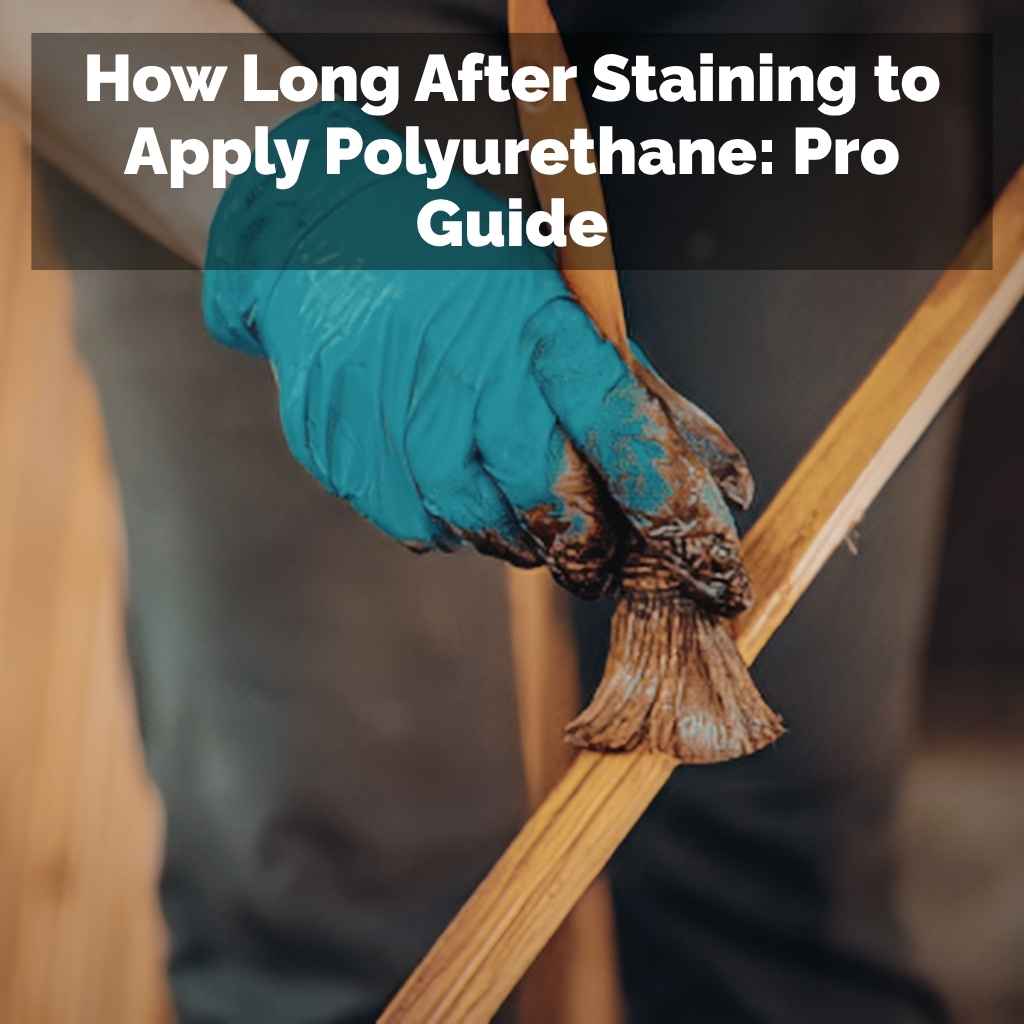
How Long After Staining to Apply Polyurethane: Pro Guide
Starting a wood finishing project can feel a bit tricky, especially when you’re not sure about the timing. Many beginners wonder, How Long After Staining to Apply Polyurethane: Pro Guide is the right amount of time to wait. It’s easy to get confused with all the different types of products and advice out there.
But don’t worry, we’re going to make this super simple. We’ll walk through it step by step so you can get that beautiful, finished look you want. Let’s get your project looking its best.
Understanding Wood Stains and Their Drying Times
What is Wood Stain
Wood stain is a liquid that adds color to wood. It doesn’t create a protective layer on its own. Instead, it soaks into the wood’s pores to change its natural hue.
Think of it like coloring a picture; the crayon adds color but doesn’t protect the paper from spills.
There are different kinds of stains, like oil-based, water-based, and gel stains. Each has its own way of working and takes a different amount of time to dry. Knowing this helps a lot when you’re planning your project.
Factors Affecting Stain Drying Time
Several things can speed up or slow down how fast your stain dries. The type of stain is a big one. Oil-based stains usually take longer than water-based ones.
Humidity is another key player. If the air is very damp, your stain will dry much slower.
Temperature also matters. Warmer temperatures help stains dry faster, while cold weather slows things down. Good airflow, like having a fan or open window, helps too.
It lets the moisture escape from the stain.
Surface preparation is important too. If the wood isn’t perfectly clean or has a lot of old finish on it, the stain might not dry as expected. It needs a good surface to sink into properly.
How to Tell If Stain Is Dry
You can tell if your stain is dry by touching it gently. If it feels sticky or tacky, it’s not ready for the next step. It should feel smooth and dry to the touch.
You can also try rubbing it lightly with a clean cloth.
If color transfers onto the cloth, it’s still too wet. A good test is to let a small, hidden area cure for a bit longer. Then, press a white paper towel onto it.
If no color rubs off, it’s likely dry enough.
Sometimes, even if it feels dry, it might not be fully cured. Curing is when the stain reaches its hardest state. This can take days or even weeks depending on the product.
For applying polyurethane, we usually just need it to be dry to the touch and not tacky.
Polyurethane Protective Coatings Explained
What Polyurethane Is
Polyurethane is a clear protective coating. It forms a hard, durable shell over your wood surface. This shell protects the wood from scratches, spills, and wear.
It’s like putting a tough, clear raincoat on your furniture or floor.
It comes in different sheens, like matte, satin, semi-gloss, and high-gloss. Each gives a different look to the finished piece. The purpose is to add a layer of protection and enhance the wood’s appearance.
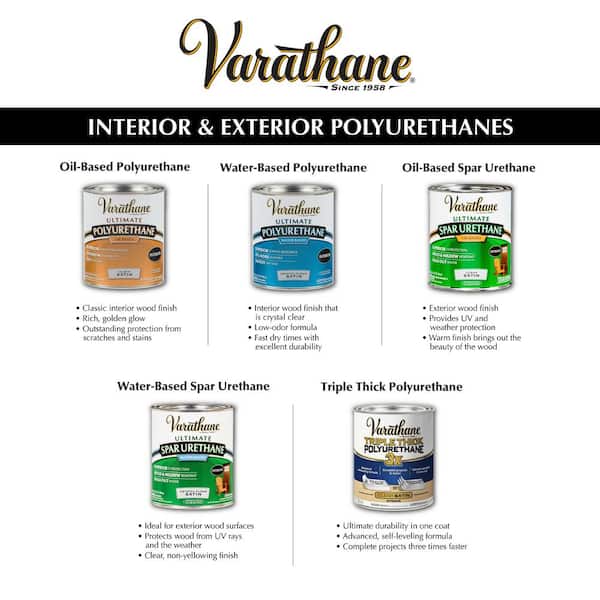
Types of Polyurethane
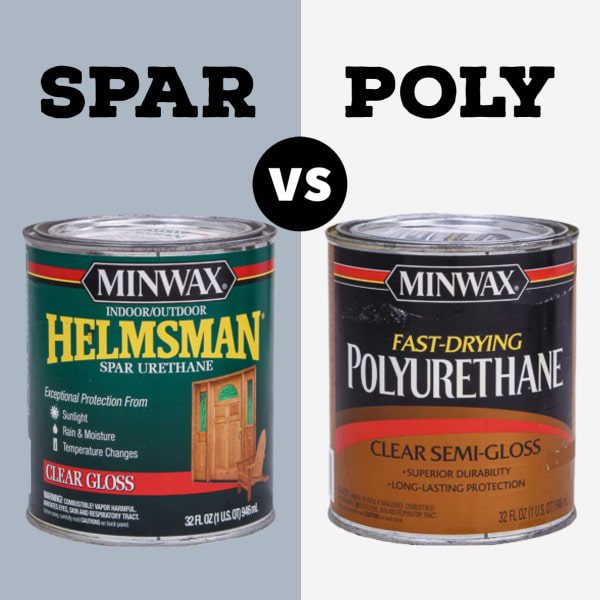
There are two main types of polyurethane: oil-based and water-based. Oil-based polyurethane is known for its durability and warm amber tone. It also takes longer to dry and has stronger fumes.
This type is often used for floors or high-traffic areas.
Water-based polyurethane dries much faster and has low odor. It dries clear and is great for furniture or projects where you want to maintain the true color of the stain. It’s also easier to clean up with just soap and water.
There are also variations like polyurethane varnishes, which combine elements of both. For most DIY projects, choosing between oil-based and water-based is the main decision. Each has its pros and cons for application and drying times.
Why Polyurethane Needs Dry Stain
Applying polyurethane over wet stain is a big no-no. If the stain isn’t dry, the polyurethane can trap the moisture and oils from the stain. This can cause problems like cloudiness, peeling, or a finish that doesn’t cure properly.
The polyurethane needs a solid, dry surface to bond to. When the stain is still wet, it’s still releasing solvents and has not hardened. This prevents the polyurethane from forming that strong, protective seal you want.
It’s like trying to paint over wet mud; the paint won’t stick well.
Giving the stain enough time to dry properly ensures a smooth, even application of the polyurethane. It helps the final finish last longer and look much better. This is why waiting is a key part of the process.
How Long After Staining to Apply Polyurethane: Pro Guide
The General Rule of Thumb
For most DIY projects, a common recommendation is to wait at least 24 hours after applying stain before applying polyurethane. This allows the stain to dry enough to the touch. It’s a safe bet for many situations and helps avoid common mistakes.
This 24-hour waiting period is a good starting point for oil-based stains. Water-based stains might be ready sooner, but it’s still wise to be patient. Waiting ensures that the stain has had ample time to penetrate the wood and dry out.
However, this is just a general guideline. The exact time can change based on several factors we’ll discuss. Always check the specific product instructions for both your stain and your polyurethane for the best results.
Factors Influencing the Waiting Period
The type of stain used plays a significant role. Oil-based stains contain oils that take longer to evaporate and harden. They often need a minimum of 24 to 48 hours to dry completely before polyurethane can be applied.
Water-based stains, on the other hand, dry much faster because they use water as a solvent. They might be ready for a topcoat in as little as 4 to 12 hours. However, even with water-based stains, it’s best to ensure they are completely dry and not tacky.
Environmental conditions are also very important. High humidity and low temperatures will significantly slow down the drying process. If you are working in a cool, damp environment, you may need to wait much longer than the recommended time.
Good ventilation can help speed up drying.
Checking Product Labels for Specifics
Always read the instructions on your stain and polyurethane cans. Manufacturers provide specific drying and recoat times based on their products. These guidelines are based on extensive testing and are usually the most accurate.
For example, a can of oil-based stain might say “allow 48 hours for full drying before topcoating.” A water-based polyurethane might say “recoat after 2 hours.” Following these directions is the best way to ensure a successful finish.
Ignoring these instructions can lead to a weak or flawed finish. It’s worth taking a few extra minutes to read and understand what the product labels tell you. This small step can save you a lot of trouble later on.
Best Practices for Applying Polyurethane Over Stain
Surface Preparation is Key
Before you even think about applying polyurethane, make sure your stained surface is perfectly prepared. This means the stain must be dry to the touch and not at all tacky. Gently press your fingertip onto an inconspicuous area.
If any color rubs off, it’s not ready.
Once you’re sure the stain is dry, you might need to do some light sanding. Use very fine-grit sandpaper, like 220-grit or higher. This creates a smooth surface and helps the polyurethane adhere better.
Always sand in the direction of the wood grain.
After sanding, clean the surface thoroughly. Use a tack cloth or a slightly damp rag to remove all dust. Any remaining dust or debris can get trapped in the polyurethane, leaving a bumpy or imperfect finish.
A clean surface is vital.
Application Techniques for Polyurethane
Use a good quality brush, roller, or foam applicator for your polyurethane. Natural bristle brushes are often recommended for oil-based polyurethanes, while synthetic brushes work well for water-based ones. Foam applicators can provide a very smooth finish with less chance of brush marks.
Apply thin, even coats. It’s much better to apply three thin coats than one thick one. Thick coats take longer to dry and are more prone to drips and runs.
Work in sections, applying the polyurethane evenly across the surface.
Maintain a “wet edge” as you work. This means overlapping your strokes slightly into the previously applied wet area. This helps prevent lap marks, which are visible lines where one section dried before the next was applied.
Always brush or roll in the direction of the wood grain.
Waiting Between Coats of Polyurethane
The time you wait between coats of polyurethane is also important. Again, check the product label for specific recoating times. For water-based polyurethanes, you might be able to recoat after 2-4 hours.
Oil-based polyurethanes typically require longer drying times between coats, often 6-12 hours or even 24 hours. Rushing this process can lead to the new coat not adhering properly to the previous one. This can cause the finish to fail prematurely.
Lightly sanding between coats is often recommended for polyurethane. Use a very fine-grit sandpaper (320-grit or higher) or a sanding sponge. This smooths out any imperfections and ensures a better bond for the next coat.
Always clean off the dust after sanding.
Troubleshooting Common Issues
Sticky or Tacky Finish
If your polyurethane finish feels sticky or tacky even after waiting the recommended time, there are a few possible reasons. The most common is that the stain wasn’t fully dry when the polyurethane was applied. This is especially true for oil-based stains.
Another reason could be poor ventilation or high humidity during application. These conditions can slow down the drying and curing process significantly. Also, applying the polyurethane too thickly can prevent it from drying properly.
To fix a sticky finish, you might need to wait longer. If it’s severely sticky, you may have to carefully scrape off the affected area and reapply. Ensure the stain is bone dry before applying new polyurethane.
Brush Marks or Uneven Application
Seeing brush marks or an uneven finish is a common frustration. This often happens when the polyurethane is applied too thickly, or if you’re using the wrong type of brush. Trying to cover too much area at once can also lead to unevenness.
Make sure you’re using a quality applicator and applying thin, even coats. Always work with the wood grain. If you notice lap marks, it means you weren’t maintaining a wet edge.
Try to be more consistent with your strokes.
Light sanding between coats usually helps to smooth out minor imperfections. If you have significant brush marks, you might need to sand them down and reapply the coat. Patience and consistent technique are key.
Cloudy or Milky Polyurethane
A cloudy or milky appearance in your polyurethane finish usually means moisture got trapped. This can happen if the stain was not fully dry, or if there was too much humidity in the air during application. Sometimes, applying the polyurethane too thickly can also trap moisture.
This is especially common with water-based polyurethane. If the surface is too cold or humid, it can cause the finish to “blush,” giving it that milky look. Ensure your working environment is within the recommended temperature and humidity ranges.
If the cloudiness is slight, it might resolve itself as the finish fully cures. For more significant cloudiness, you may need to let it dry completely, then sand it down and reapply. Proper drying of the stain is the best prevention.
Real-Life Scenarios and Examples
Scenario 1 A Coffee Table Project
Sarah wanted to refinish her old coffee table. She sanded it down and applied a dark walnut oil-based stain. She was eager to start using the table, so she only waited 12 hours before applying a water-based polyurethane.
After the first coat of poly, the stain looked a bit streaky, and some areas felt slightly tacky. Sarah realized she rushed the process. She waited another 24 hours, lightly sanded the surface, and then applied a second, thin coat of polyurethane.
This time, she followed the 24-hour rule for the stain and let the poly dry properly between coats. The final finish was smooth, even, and had a beautiful, rich color without any tackiness. Her coffee table looked brand new.
Scenario 2 A Wooden Floor Refinish
Mark was refinishing his hardwood floors and opted for an oil-based stain. He knew floors require extra durability, so he took his time. After applying the stain, he waited a full 48 hours, ensuring excellent ventilation in the room.
He then applied an oil-based polyurethane, known for its toughness. Mark applied three thin coats, allowing 12 hours of drying time between each layer. He even did a very light sanding with 320-grit paper after the second coat.
The result was a stunning, durable floor finish. There were no signs of stickiness or cloudy patches. By following the longer drying times and using products suited for high traffic, Mark achieved a professional-looking result that was built to last.
Scenario 3 A Small Wooden Box Restoration
Emily found an old wooden box and decided to give it a new look. She chose a vibrant blue water-based stain. Since water-based products dry faster, she checked the can and saw it recommended recoating after 4 hours.
Emily waited 6 hours to be extra sure. The stain felt completely dry. She then applied a satin finish water-based polyurethane.
She applied two thin coats, waiting 3 hours between each. She used a foam applicator for a super smooth finish.
The box turned out beautifully. The blue color was bright and consistent, and the polyurethane gave it a lovely protective sheen. Emily was happy with how quickly and easily she could finish the project by respecting the stain’s drying time.
Frequently Asked Questions
Question: How long should I wait for oil-based stain to dry before polyurethane?
Answer: For oil-based stain, it’s best to wait at least 24 to 48 hours before applying polyurethane. This ensures the oils have had time to penetrate the wood and dry out properly, preventing any issues with the topcoat.
Question: Can I use a fan to speed up stain drying?
Answer: Yes, using a fan can help improve air circulation, which assists in the drying process of both stain and polyurethane. However, avoid pointing fans directly at wet finishes, as this can cause them to dry too quickly and unevenly.
Question: What happens if I apply polyurethane too soon?
Answer: Applying polyurethane too soon can trap moisture and solvents from the stain. This can lead to a sticky finish, cloudiness, poor adhesion, or a finish that doesn’t cure properly, potentially requiring you to sand and start over.
Question: Is it always necessary to sand between polyurethane coats?
Answer: Light sanding between coats of polyurethane is highly recommended. It helps to smooth out any imperfections, remove dust, and create a better surface for the next coat to adhere to, resulting in a smoother and more durable finish.
Question: How long does water-based polyurethane take to dry between coats?
Answer: Water-based polyurethane typically dries much faster than oil-based. You can usually recoat after 2 to 4 hours, but always check the product instructions for the most accurate timing. Ensure the previous coat is dry to the touch.
Final Thoughts
Getting your timing right after staining is key for a great finish. Waiting until the stain is fully dry prevents sticky spots or cloudy polyurethane. Always read your product labels for the best advice.
Patience pays off with beautiful, lasting results. Now you have the know-how to apply polyurethane with confidence.