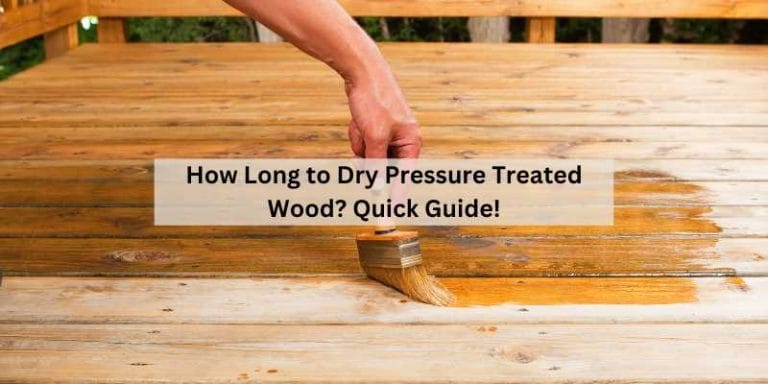
How Long To Paint Pressure Treated Wood: Essential Guide
Quick Summary: Generally, wait at least 30 days, and up to 60 days or longer, before painting pressure-treated wood. This crucial drying time allows moisture to escape, ensuring better paint adhesion and a longer-lasting finish. Always test a small area first!
So, you’ve got some fantastic pressure-treated wood for your deck, fence, or garden project, and you’re eager to make it look even better with a fresh coat of paint. That’s a great idea! But before you grab your brush, a very important question pops up: “How long should you wait to paint pressure-treated wood?” It’s a common question, and getting it right makes all the difference between a paint job that peels in a year and one that looks stunning for years to come. Don’t worry, I’m here to guide you through it step-by-step, making sure your project turns out beautifully and lasts. Let’s find out the perfect waiting time together!
Understanding Pressure-Treated Wood and Paint
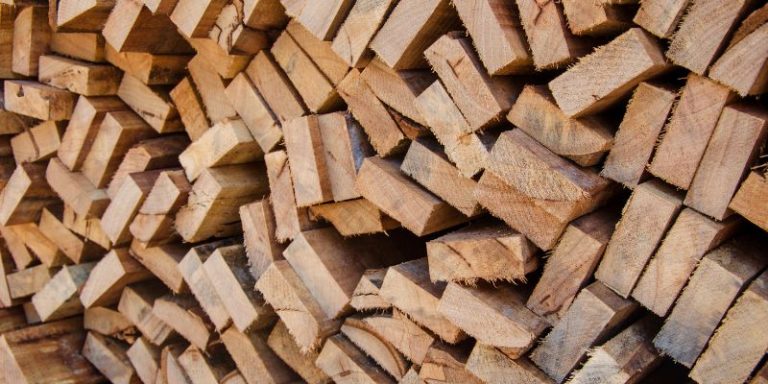
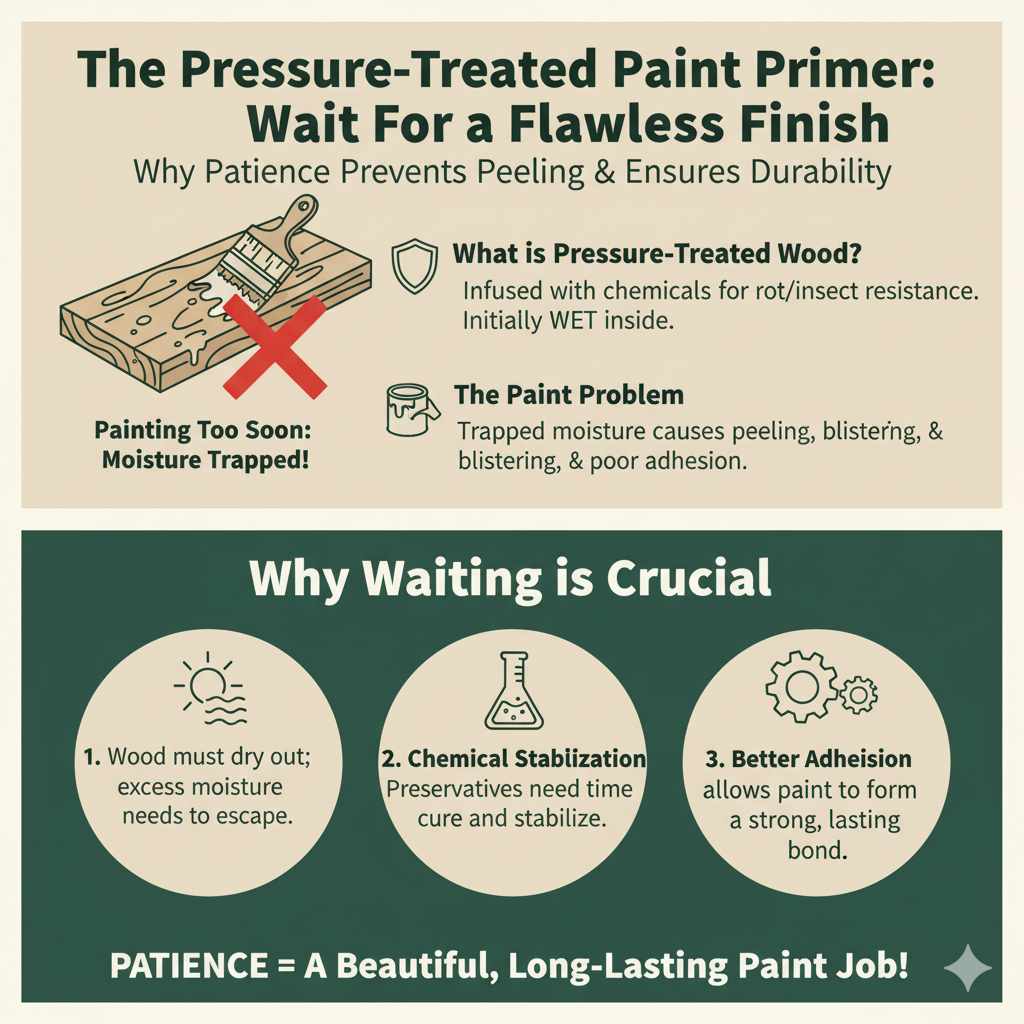
Pressure-treated wood is wood that has been chemically treated to resist rot, decay, and insect infestation. This treatment involves forcing preservatives deep into the wood fibers. While this makes the wood incredibly durable, it also means the wood is initially quite wet. If you try to paint it too soon, you’re essentially trying to paint over a damp surface, which is a recipe for disaster.
Think of it like trying to stick a sticker onto a wet window – it just won’t hold properly. The moisture trapped inside the wood needs a chance to evaporate. If you paint over it, the paint can trap this moisture, leading to peeling, blistering, and cracking. Plus, the chemicals in the treatment can sometimes react with the paint if it hasn’t had enough time to cure.
Why Waiting is Crucial
Moisture Evaporation: The primary reason for waiting is to allow the wood to dry out. The pressure-treating process saturates the wood, and this excess moisture needs to escape.
Chemical Stabilization: The preservatives need time to stabilize within the wood. Painting too early can interfere with this process or lead to a chemical reaction between the treatment and the paint.
Better Adhesion: A dry, stable surface is essential for paint to adhere properly. Waiting ensures the paint can form a strong bond with the wood fibers.
Longevity of Finish: Proper drying and curing lead to a paint job that lasts much longer, saving you time and money on future touch-ups or repainting.
How Long Should You Wait to Paint Pressure Treated Wood?
This is the million-dollar question, and the honest answer is: it depends. There’s no single magic number that applies to every piece of pressure-treated wood. However, we can give you some excellent guidelines.
The General Rule of Thumb
The most common recommendation is to wait at least 30 days after the wood has been installed or purchased. For many standard applications, this 30-day window is a good starting point.
Factors Influencing Drying Time
Several factors can speed up or slow down the drying process:
Wood Treatment Type: Different chemical treatments can affect how quickly the wood dries. Newer formulations might dry faster.
Wood Moisture Content: When you buy pressure-treated wood, it can come with varying moisture levels. Some might feel quite wet, while others less so.
Environmental Conditions:
Temperature: Warmer temperatures help accelerate drying.
Humidity: High humidity will slow down the drying process.
Sunlight: Direct sunlight can help dry out the wood faster.
Airflow: Good ventilation around the wood allows moisture to escape more easily.
Wood Thickness and Size: Thicker pieces of wood will naturally take longer to dry than thinner ones.
Wood Storage: Was the wood stored in a covered area or out in the elements?
The “Six-Month Rule” vs. “30-Day Rule”
You might hear conflicting advice, with some suggesting waiting up to six months. While waiting longer is rarely a bad thing, 30 days is often sufficient for most DIY projects, especially if you take steps to test the wood’s dryness. The six-month rule is a more conservative approach that guarantees maximum drying time but isn’t always necessary.
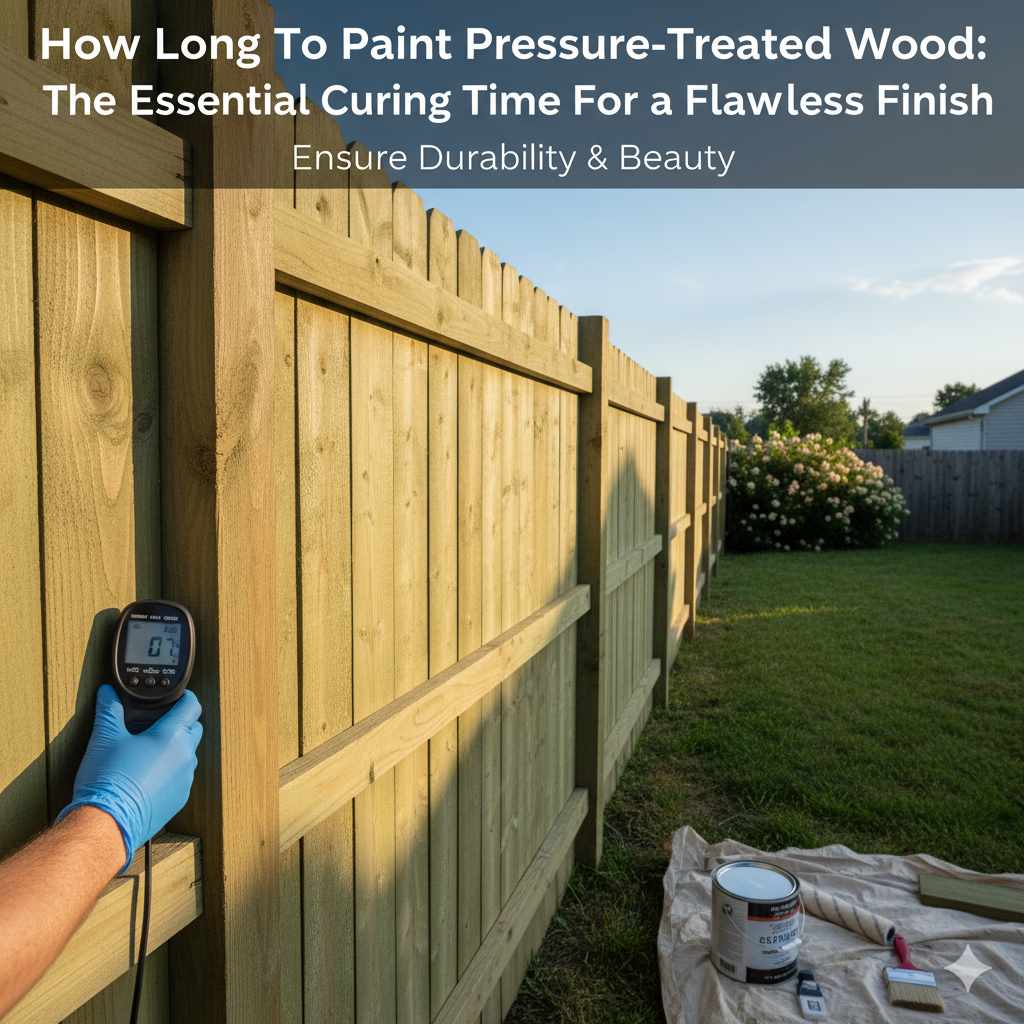
How to Test if Your Pressure-Treated Wood is Dry Enough
This is where you can take matters into your own hands and get a definitive answer for your specific wood. Don’t just guess!
The Water Drop Test
This is a simple and effective test you can do yourself:
1. Clean the Surface: Make sure the area you’re testing is free from dirt, dust, or any debris.
2. Apply Water: Sprinkle a few drops of water onto the wood surface.
3. Observe:
If the water beads up and sits on the surface: The wood is likely still too wet. It hasn’t absorbed the water, indicating it’s saturated.
If the water soaks into the wood within a few minutes: This is a good sign! It means the wood is ready to accept paint.
Using a Moisture Meter
For a more precise reading, a wood moisture meter is an excellent tool to have. These devices are relatively inexpensive and give you an accurate percentage of the wood’s moisture content.
How to Use a Moisture Meter:
1. Insert Probes: Gently push the metal probes of the meter into the wood surface. Make sure you’re getting a good connection.
2. Read the Display: The meter will display a moisture percentage.
3. What’s a Good Reading? For painting, you’re generally looking for a moisture content of 15% or lower. Many paint manufacturers recommend this. For surfaces that will be in direct contact with the ground or exposed to significant moisture, you might aim even lower. You can find excellent guides on using moisture meters from reputable sources like Wood Magazine.
Preparing Pressure-Treated Wood for Painting
Once you’ve determined your wood is dry enough, proper preparation is key to a professional-looking and durable paint job. Skipping these steps is almost as bad as painting too early!
Step-by-Step Preparation Guide
1. Clean Thoroughly:
Why: Dirt, grime, mildew, and sap can prevent paint from adhering.
How: Use a stiff brush and a cleaning solution. You can use a mixture of water and a mild detergent, or a dedicated wood cleaner. For stubborn mildew, a solution of 1 part bleach to 3 parts water can be effective (wear gloves and eye protection!). Rinse the wood thoroughly with a garden hose or pressure washer on a low setting.
Caution: Be careful with pressure washers. Too much pressure can damage the wood fibers, making them rough and more difficult to paint.
2. Sand the Surface:
Why: Sanding creates a smooth surface for paint and also removes any loose fibers or surface imperfections. It helps the primer and paint adhere better.
How: Start with a medium-grit sandpaper (like 80-grit or 100-grit) to remove any rough spots. Then, move to a finer grit (like 120-grit or 150-grit) for a smoother finish. You can use a sanding block, an orbital sander, or even sandpaper by hand for smaller areas.
Tip: For decks, sanding is especially important to create a smooth surface for foot traffic.
3. Wipe Away Dust:
Why: Any dust left behind will be trapped under the paint.
How: After sanding, wipe down the entire surface with a tack cloth or a damp (not wet) rag.
4. Inspect and Repair:
Why: Address any damage before you paint.
How: Check for loose boards, protruding nails, or deep gouges. Secure loose boards, hammer in or replace nails, and fill any holes or cracks with an exterior-grade wood filler or caulk. Allow the filler to dry completely according to the manufacturer’s instructions.
Priming is Essential
Why Prime? For pressure-treated wood, a good quality exterior primer is not optional; it’s essential! Primer seals the wood, provides a uniform surface for the topcoat, improves paint adhesion, and helps block any potential tannins from bleeding through the paint.
What Kind of Primer? Use an exterior-grade, stain-blocking primer. Look for primers specifically designed for use on wood or that mention suitability for treated lumber. Some primers are formulated to adhere well even to slightly more challenging surfaces. Check out recommendations from paint manufacturers like Sherwin-Williams or Benjamin Moore for their primer lines.
Application: Apply one or two thin, even coats of primer. Allow each coat to dry completely according to the manufacturer’s instructions before applying the next or the topcoat.
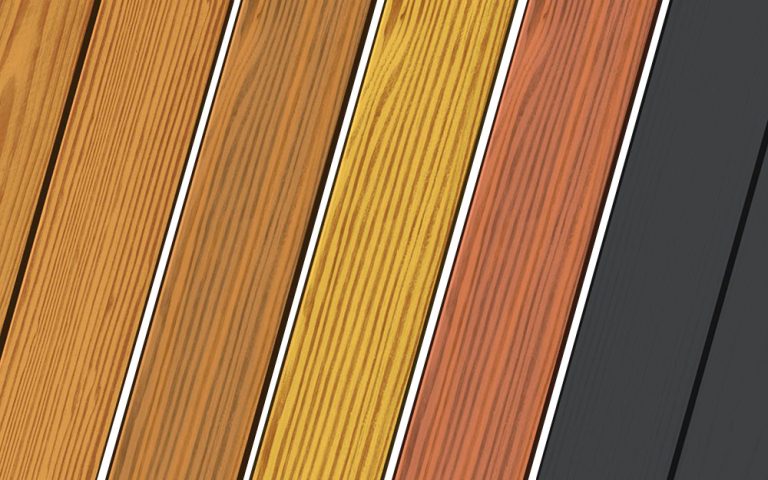
Choosing the Right Paint for Pressure-Treated Wood
Once your wood is prepped and primed, it’s time to choose your paint. Not all paints are created equal, especially when it comes to exterior applications on treated lumber.
Key Features to Look For:
Exterior Grade: Always choose paint specifically designed for exterior use. These paints are formulated to withstand UV rays, moisture, temperature fluctuations, and mildew.
High-Quality: Invest in a good quality paint. Higher-quality paints contain more solids and binders, which lead to better coverage, durability, and a smoother finish.
Flexible Finish: Look for paints that offer some flexibility. As wood expands and contracts with changes in temperature and humidity, a flexible paint is less likely to crack. Acrylic latex paints are often a good choice for this reason.
Color: Lighter colors tend to absorb less heat, which can be beneficial for wood structures like decks, as it helps reduce warping. Darker colors can fade more quickly in direct sunlight.
Paint Types:
100% Acrylic Latex: This is often the top choice for exterior wood painting. It offers excellent adhesion, flexibility, durability, and resistance to fading and cracking.
Oil-Based (Alkyd): While traditionally known for their hardness and adhesion, oil-based paints can become brittle over time and are more prone to cracking with wood’s natural movement. They also have higher VOCs (Volatile Organic Compounds) and can be harder to clean up. Acrylic latex is generally preferred for most exterior wood projects today.
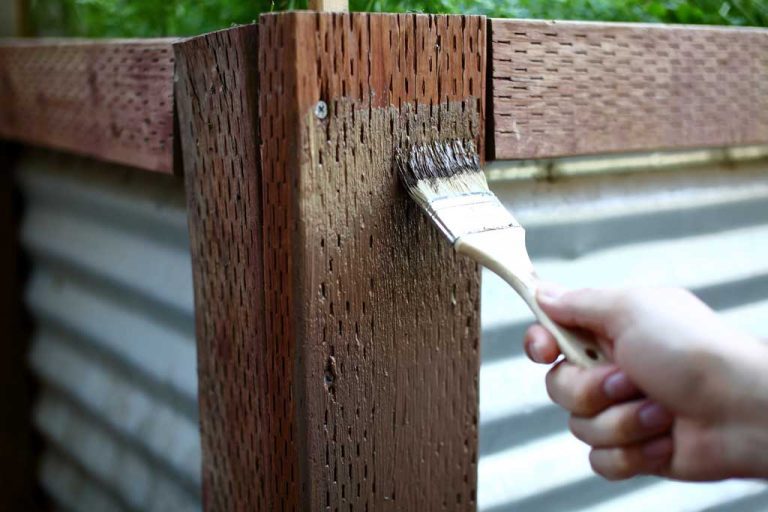
Applying the Paint: Tips for Success
You’ve waited, prepped, and chosen your paint. Now for the satisfying part – applying the color!
Application Steps:
1. Apply the First Coat:
Method: Use a high-quality brush, roller, or sprayer. For most homeowners, a good brush and roller combination works well.
Technique: Apply the paint in thin, even coats. Work with the grain of the wood. Avoid applying too much paint at once, as this can lead to drips and uneven coverage.
Drying Time: Allow the first coat to dry completely according to the paint manufacturer’s instructions. This is crucial for proper adhesion.
2. Apply the Second Coat:
Why: A second coat is usually necessary for full coverage, depth of color, and maximum protection.
Technique: Apply the second coat in the same manner as the first, ensuring you cover any areas that might have been missed.
3. Allow for Curing:
Understanding Curing: “Drying” means the paint is no longer wet to the touch. “Curing” is the process where the paint hardens and reaches its maximum durability. This can take anywhere from a few days to several weeks, depending on the paint and environmental conditions.
Be Gentle: During the curing period, treat the painted surface gently. Avoid heavy traffic on decks, or placing heavy objects against painted walls, to prevent scratches or damage.
Important Considerations:
Weather: Always paint in favorable weather conditions. Avoid painting when it’s too hot, too cold, too humid, or if rain is expected. Ideal temperatures are usually between 50°F (10°C) and 85°F (30°C).
End Grain: The ends of the wood boards absorb more moisture. Pay extra attention to sealing and painting the end grain thoroughly.
Manufacturer’s Instructions: Always read and follow the specific instructions on your primer and paint cans. They are your best guide for application, drying times, and recoating windows.
Troubleshooting Common Issues
Even with the best preparation, you might encounter a few hiccups. Here’s how to deal with them.
Peeling or Blistering Paint
Cause: Most often caused by painting over wood that was still too wet, or by moisture trapped behind the paint film.
Solution: Scrape away the loose paint, sand the area smooth, ensure the wood is dry (test with a moisture meter), prime the bare wood, and repaint.
Fading or Chalking
Cause: Exposure to UV rays and the elements. Lower-quality paint can also chalk (form a powdery residue) more quickly.
Solution: This is usually a sign it’s time to repaint. Choose a higher-quality exterior paint with good UV resistance.
Mold or Mildew Growth
Cause: Damp conditions and organic material on the surface.
Solution: Clean the affected area with a mild bleach solution (1 part bleach to 3 parts water), rinse thoroughly, and ensure good ventilation. If the problem persists, consider using a paint with mildewcide additives.
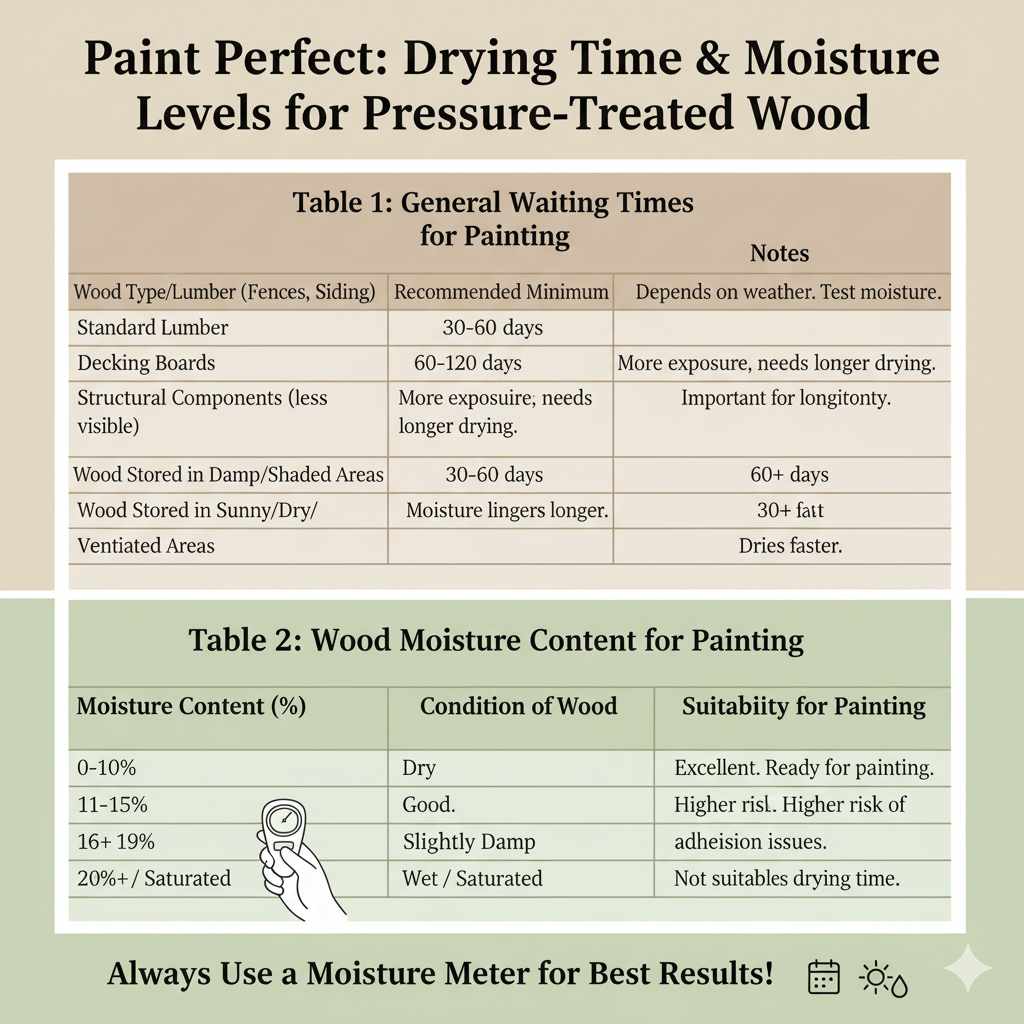
Tables: Drying Time and Moisture Levels
To help you visualize the recommended waiting times and moisture levels, here are a couple of helpful tables.
Table 1: General Waiting Times for Painting Pressure-Treated Wood
| Wood Type/Application | Recommended Minimum Waiting Time | Notes |
| :———————————— | :——————————- | :——————————————————————————————————————————- |
| Standard Lumber (Fences, Siding) | 30-60 days | Depends heavily on weather conditions. Always test moisture content. |
| Decking Boards | 60-120 days | Decks get more direct exposure to sun, rain, and foot traffic, requiring longer drying. |
| Structural Components (less visible) | 30-60 days | While less visible, proper adhesion is still important for longevity. |
| Wood Stored in Damp/Shaded Areas | 60+ days | Moisture lingers longer in shaded or humid environments. |
| Wood Stored in Sunny/Dry/Ventilated Areas | 30+ days | Dries faster. |
Table 2: Wood Moisture Content for Painting
| Moisture Content (%) | Condition of Wood | Suitability for Painting |
| :——————- | :———————– | :————————————————————————————- |
| 0-10% | Very Dry | Excellent. Ready for painting. |
| 11-15% | Dry | Good. Generally suitable for painting. Ideal for most exterior paint applications. |
| 16-19% | Slightly Damp | Marginal. May be acceptable in some situations, but higher risk of adhesion issues. |
| 20%+ | Wet / Saturated | Not suitable for painting. Requires further drying time. |
Frequently Asked Questions (FAQ)
Q1: Can I paint pressure-treated wood right after I buy it?
A1: No, it’s generally not recommended. Pressure-treated wood is saturated with preservatives and moisture. Painting too soon can trap moisture, leading to paint failure like peeling and blistering. Always allow it to dry first.
Q2: What’s the quickest way to dry pressure-treated wood for painting?
A2: The best way is to let nature do its work by allowing good airflow and exposure to sun and warm temperatures. You can speed up the process by ensuring the wood isn’t stacked tightly and has good ventilation. Avoid artificial heat sources that can dry the surface too quickly, causing cracking.
Q3: Does the color of the paint matter for pressure-treated wood?
A3: Yes, color can impact performance. Lighter colors absorb less heat, which can help reduce wood expansion and contraction, potentially extending the paint job’s life. Darker colors can fade more quickly and absorb more heat.
Q4: What kind of paint should I use on pressure-treated wood?
A4: A high-quality exterior 100% acrylic latex paint is usually the best choice. It offers flexibility, durability, and good adhesion to wood that expands and contracts. Always use a good exterior primer designed for wood first.
Q5: How do I know if my pressure-treated wood is dry enough?
A5: You can use the simple water drop test: sprinkle water on the surface. If it soaks in within a few minutes, it’s likely dry enough. For a more accurate reading, use a wood moisture meter; aim for 15% moisture content or lower.
Q6: What if I see green streaks in my pressure-treated wood? Does that affect painting?
A6: Those green streaks are usually a sign of the copper-based preservatives used. As the wood dries, these streaks typically fade to a light brown or gray. They don’t usually affect paint adhesion once the wood is dry, but it’s still best to wait until the wood has dried thoroughly and pass the moisture test.
Q7: Can I stain pressure-treated wood instead of painting it?**
A7: Yes, you can stain pressure-treated wood. Similar to painting, you’ll need to wait for the wood to dry sufficiently. Stains penetrate the wood rather than forming a surface film, so proper drying is still essential for the stain to adhere and look its best. Always test a small area first.
Conclusion: Patience is Your Best Tool
Painting pressure-treated wood is a rewarding DIY project that can significantly enhance the beauty and longevity of your outdoor structures. The most critical step, and often the one that gets rushed, is allowing the wood enough time to dry. Remember our guidelines: aim for at least 30-60 days, test with the water drop method or a moisture meter, and prepare the surface meticulously.
By investing a little patience upfront, you’ll achieve a paint job that adheres beautifully, resists the elements, and makes your project look fantastic for years to come. So, take your time, follow these steps, and enjoy the process. Happy painting!