How Long to Wait: Proven Stain Guide
Quick Summary
Wait at least 3-7 days before staining pressure-treated wood. This allows moisture to escape, ensuring better stain adhesion and a longer-lasting finish. Always test for dryness before applying any stain.
Welcome to the shop! Ever found yourself staring at a freshly built deck or fence, eager to give it that beautiful, rich color, only to wonder, “When can I actually apply this stain?” It’s a common question, and getting it wrong can lead to blotchy finishes and a lot of frustration. Don’t worry, we’ve all been there! Understanding the proper waiting period is crucial for a professional-looking result that lasts. Let’s break down exactly how long you need to wait before you can grab that stain brush and bring your project to life. We’ll cover everything you need to know to get it right the first time.
Understanding Wood Moisture and Staining
Wood is like a sponge, and when it’s treated or freshly cut, it holds a lot of moisture. Pressure-treated wood, in particular, is infused with chemicals and water under pressure. If you try to stain wood that’s still too wet, the stain won’t be able to penetrate properly. Instead, it will sit on the surface, leading to uneven color, peeling, and a finish that just doesn’t look good. Think of it like trying to paint a damp wall – the paint won’t stick well. We want that stain to soak into the wood fibers to create a durable and beautiful color. So, patience is key!
Why the Waiting Game? The Science Behind It
The primary reason for waiting is moisture content. Wood needs to dry to a certain level for stains to adhere correctly. For most exterior wood projects, including decks and fences made from pressure-treated lumber, a moisture content of 15% or less is ideal before staining. If you stain too early, the excess moisture in the wood will prevent the stain from penetrating. This can result in:
- Uneven Color (Blotching): The stain will soak into some areas more than others, creating a splotchy appearance.
- Poor Adhesion: The stain won’t bond well with the wood fibers, making it prone to peeling and flaking.
- Reduced Durability: The finish won’t last as long, requiring more frequent reapplication.
- Chemical Reactions: In some cases, residual chemicals from the treatment process can interfere with the stain if the wood isn’t adequately dry.
According to the Forest Products Laboratory, proper wood drying is essential for the performance of finishes. Allowing the wood to acclimatize and dry naturally is a fundamental step in any successful finishing project.
How Long to Wait: Proven Stain Guide for Pressure-Treated Wood
This is the big question, right? How long do you wait before staining pressure-treated wood? While there’s no single, exact answer that applies to every single piece of wood, there are reliable guidelines and testing methods to ensure you’re ready. The general consensus and best practice is to wait:
- Minimum: 3-7 days
- Ideal: 2-4 weeks (or longer, depending on conditions)
These timeframes are not set in stone because several factors influence drying time:
- Weather Conditions: Sunny, warm, and breezy weather will dry wood much faster than cool, damp, or humid conditions.
- Wood Treatment: Some pressure-treated woods are “newer” formulas that may dry faster than older types.
- Wood Species: Different types of wood have varying porosity and drying rates.
- Exposure: Wood that is fully exposed to sun and air will dry faster than wood that is shaded or has limited airflow.
It’s always better to err on the side of caution. If in doubt, wait a little longer!
Testing Your Wood: The Surefire Way to Know
Waiting the recommended time is a good start, but the most reliable way to know if your wood is ready for stain is to test its moisture content. Here are a couple of simple, beginner-friendly methods:
1. The “Feel” Test (Less Reliable, But a Starting Point)
While not scientifically accurate, you can get a general idea by touching the wood. If it feels cool to the touch, especially on a warm day, it’s likely still holding a lot of moisture. Dry wood will feel warmer and more like the ambient air temperature.
2. The Water Drop Test (Simple & Effective)
This is a fantastic, low-tech way to check. Place a few drops of water on the surface of the wood. If the water beads up and sits on the surface, the wood is likely still too wet. If the water soaks into the wood within a few minutes, it’s a good sign that the wood is dry enough to accept stain.
Here’s how to do the Water Drop Test:
- Find a few spots on your project that represent the average dryness (e.g., some in the sun, some in shade).
- Place 3-4 drops of water on each spot.
- Wait 5-10 minutes.
- Observe:
- Water beads up: Wood is too wet.
- Water soaks in: Wood is likely ready for staining.
3. Using a Moisture Meter (The Professional Approach)
For the most accurate reading, a wood moisture meter is your best friend. These are relatively inexpensive and incredibly useful for any DIYer. They have pins that you insert into the wood to get a digital reading of the moisture content percentage.
How to use a moisture meter:
- Turn on your moisture meter.
- Select the correct wood type setting (if available – usually softwood/hardwood).
- Gently push the pins into the wood surface.
- Read the percentage displayed.
- Aim for 15% or lower for exterior projects.
You can find reliable moisture meters from brands like General Tools or Wagner Meters.
Staining Different Types of Wood: Beyond Pressure-Treated
While pressure-treated wood has its own specific needs, other wood types also require a waiting period, though it might be shorter.
| Wood Type | Typical Drying Time (after construction/exposure) | Ideal Moisture Content | Notes |
|---|---|---|---|
| Pressure-Treated Lumber | 3-7 days (minimum) to 2-4 weeks (ideal) | 15% or less | Check with water drop or moisture meter. Dries slower in humid/cool weather. |
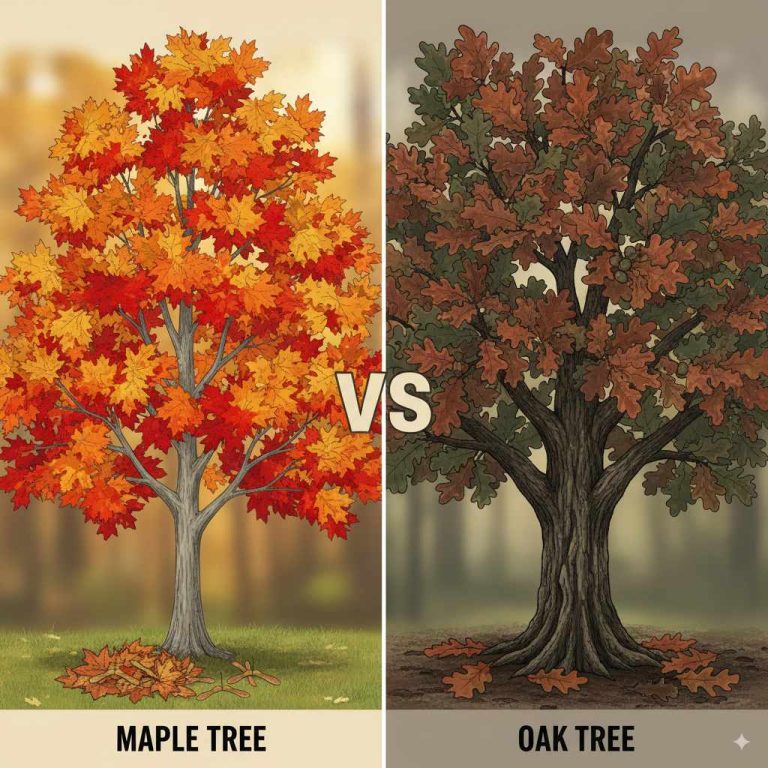
| Cedar/Redwood | 2-7 days | 12-15% | Naturally resistant to rot and insects, but still needs to dry for stain adhesion. |
| Pine/Fir (Untreated) | 1-3 days | 10-12% | Dries relatively quickly, but check moisture content. Very absorbent. |
| Hardwoods (Oak, Maple, etc.) | 2-5 days | 8-12% | Typically used for indoor projects. Dries faster but can still absorb moisture. |
Remember, these are general guidelines. Always test your specific wood.
Preparing Your Wood for Staining
Once you’ve confirmed your wood is dry, proper preparation is key for a flawless finish. Think of it as getting your canvas ready!
1. Cleaning the Surface
Over time, wood can accumulate dirt, dust, mold, or mildew. You’ll want to clean the surface thoroughly.
- For light dirt: A stiff brush and a bucket of warm water with a mild detergent (like dish soap) is usually enough. Rinse thoroughly with clean water.
- For tougher grime or mildew: Use a dedicated deck cleaner or a solution of 1 part bleach to 3 parts water. Always wear gloves and eye protection. Scrub gently with a stiff brush and rinse very well. Ensure all cleaning residue is removed.
Allow the wood to dry completely after cleaning before proceeding. This might take another 24-48 hours depending on the weather.
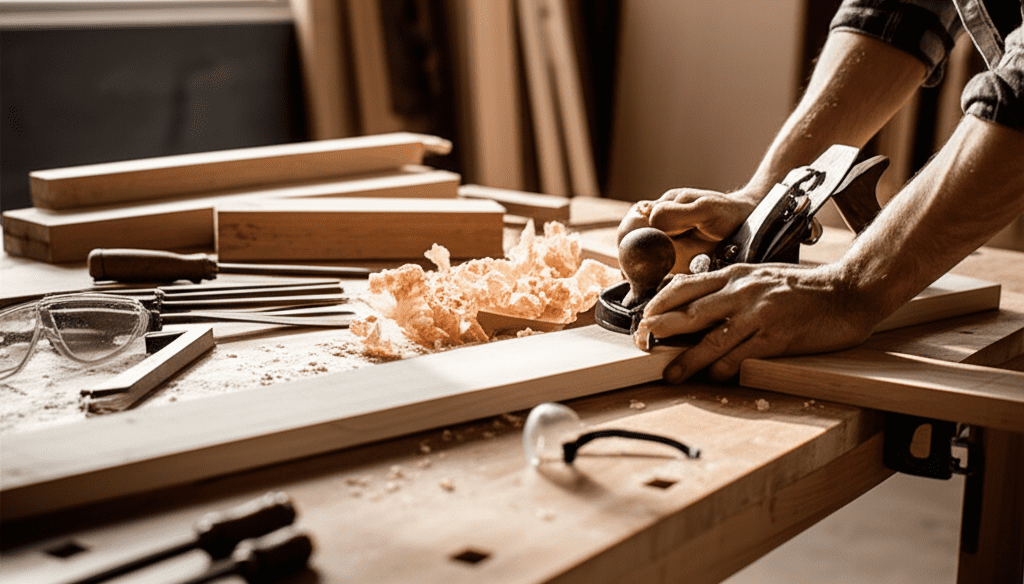
2. Light Sanding
Sanding opens up the wood’s pores, helping the stain penetrate more evenly and adhere better. It also removes any fuzzy fibers that might have been raised during the initial drying or cleaning process.
- Grit: For most projects, start with a medium-grit sandpaper (like 80 or 100 grit) to remove any rough spots or mill glaze.
- Finishing Touch: Follow up with a finer grit (120 or 150 grit) for a smoother finish.
- Technique: Always sand in the direction of the wood grain.
- Clean Up: After sanding, use a leaf blower, shop vacuum, or a damp cloth to remove all the dust. Dust left on the surface will prevent the stain from adhering properly.
The Woodworking Network offers great tips on sanding techniques that can help you achieve a smooth surface.
Applying the Stain: Tips for Success
Now for the fun part! Applying the stain can transform your project.
Choosing the Right Stain
There are two main types of stains for exterior wood:
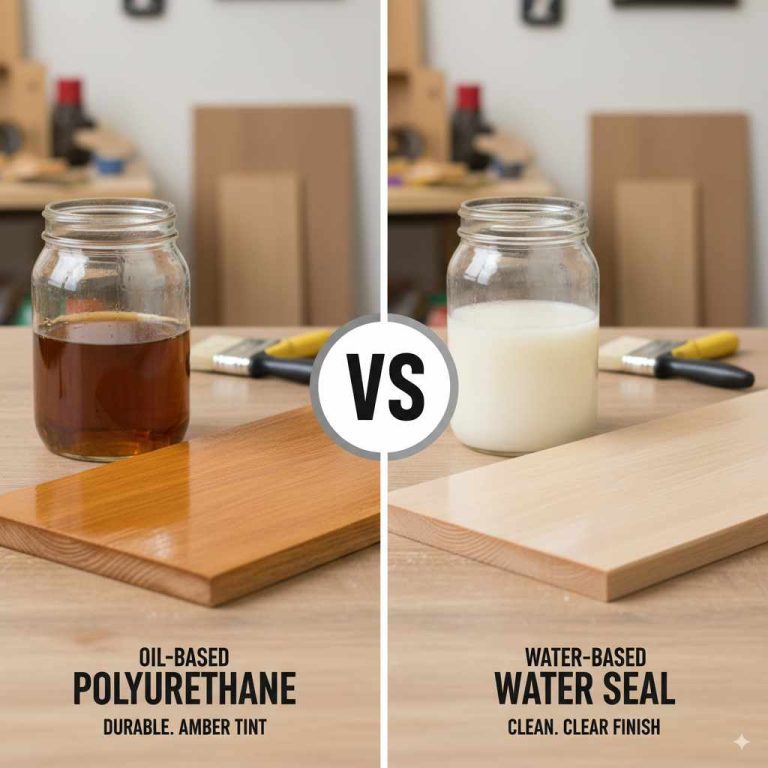
- Oil-Based Stains: These penetrate the wood deeply, offering excellent protection and a rich, natural look. They are generally more durable and easier to reapply over themselves.
- Water-Based Stains: These are easier to clean up and dry faster. They can offer good protection but may not penetrate as deeply as oil-based stains.
Consider the look you want and the maintenance you’re willing to do when choosing.
Application Methods
You have a few options for applying stain:
- Brush: A good quality natural bristle brush is excellent for getting stain into all the nooks and crannies.
- Roller: A stain roller can speed up application on large, flat areas like decks.
- Pad Applicator: These are great for even coverage and less mess.
- Sprayer: While the fastest, sprayers can be wasteful with stain and require careful masking to avoid overspray.
Staining Best Practices
- Work in Sections: Don’t try to stain the entire project at once. Work on a few boards or a manageable section at a time.
- Apply Evenly: Apply the stain in long, even strokes, following the direction of the wood grain.
- Wipe Off Excess: After letting the stain penetrate for the time recommended by the manufacturer (usually 5-15 minutes), wipe off any excess stain that hasn’t soaked in with a clean, lint-free cloth. This is crucial to prevent the stain from becoming sticky or creating a glossy film.
- Second Coat: If you want a deeper color, wait for the first coat to dry (check manufacturer instructions, usually 4-24 hours) and apply a second coat, wiping off the excess again.
- Follow Manufacturer Instructions: Always read and follow the specific instructions on your stain product for application, drying times, and recoating.
Factors Affecting Stain Drying and Curing
We’ve talked about initial drying, but it’s also important to understand curing. Drying is when the surface is no longer wet to the touch. Curing is when the stain fully hardens and achieves its maximum durability. This can take several days or even weeks.
Factors that affect both drying and curing include:
- Temperature: Most stains perform best and dry/cure within a specific temperature range (often 50-85°F or 10-30°C).
- Humidity: High humidity slows down drying and curing.
- Airflow: Good ventilation helps the solvents evaporate, speeding up the process.
- Stain Thickness: Applying the stain too thickly will significantly increase drying and curing times.
You can find helpful guidance on stain drying and curing times from resources like This Old House.
Troubleshooting Common Staining Issues
Even with the best intentions, you might run into a few hiccups. Here’s how to fix them:
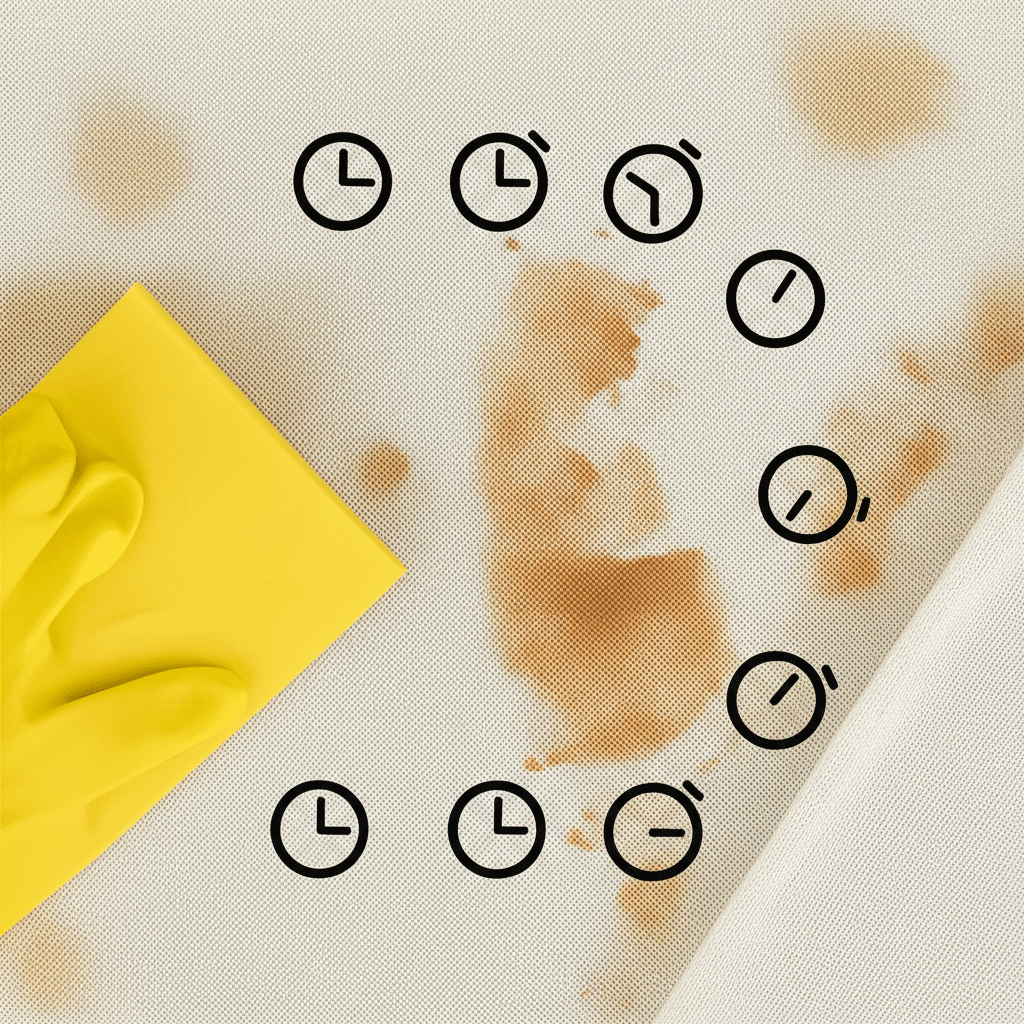
- Blotchy Finish: This is usually due to uneven moisture content or inadequate prep. If caught early, you might be able to lightly sand the blotchy areas and reapply stain, ensuring you work in consistent sections and wipe off excess uniformly. For severe blotching, you may need to use a wood conditioner before restaining or consider a solid stain or paint.
- Peeling or Flaking: This is a strong indicator that the wood was too wet when stained, or the surface wasn’t properly prepared. You’ll need to remove the failing finish with a scraper or sandpaper and start over, ensuring proper drying and prep this time.
- Sticky Surface: This usually happens when excess stain wasn’t wiped off properly. You can try wiping the sticky areas with a clean cloth dampened with mineral spirits (for oil-based stains) or water (for water-based stains) to remove the uncured film. If that doesn’t work, you may need to lightly sand the area.
Frequently Asked Questions (FAQ)
Q1: Can I stain pressure-treated wood right after it’s installed?
A1: No, it’s not recommended. Pressure-treated wood is saturated with water during the treatment process. You need to let it dry out for at least 3-7 days, and ideally longer, before applying any stain to ensure proper adhesion and a lasting finish.
Q2: How do I know if my pressure-treated wood is dry enough?
A2: The best methods are the water drop test (water should soak in, not bead up) or using a wood moisture meter. Aim for a moisture content of 15% or less.
Q3: What happens if I stain pressure-treated wood too soon?
A3: Staining too early can lead to a blotchy finish, poor stain adhesion, peeling, and a shorter lifespan for your stain job because the moisture prevents the stain from penetrating the wood fibers.
Q4: Does rain affect how long I need to wait to stain?
A4: Yes, absolutely. If it rains after you’ve installed your wood, it will need to dry out again. Always re-test the moisture content after any significant moisture exposure.
Q5: Can I use a sealer instead of a stain on pressure-treated wood?
A5: Yes, you can. Sealers typically offer protection without adding color. However, the same drying principles apply: the wood must be dry enough for the sealer to penetrate and bond properly. Always check the manufacturer’s recommendations for drying time before sealing.
Q6: What’s the difference between drying and curing for stains?
A6: Drying means the surface is no longer wet to the touch. Curing is the process where the stain fully hardens and reaches its maximum durability, which can take several days or even weeks after the initial drying.
Conclusion
Waiting for your wood to dry before staining is one of the most critical steps for a beautiful, long-lasting finish. By understanding why it’s important, using simple tests like the water drop or a moisture meter, and following proper preparation and application techniques, you can achieve professional results that you’ll be proud of. Remember, patience in the prep stage saves you a lot of headaches and re-work down the line. So, take your time, test your wood, and get ready to enjoy the satisfaction of a perfectly stained project!