How Much Per Square Foot To Refinish Hardwood Floors: Essential Cost
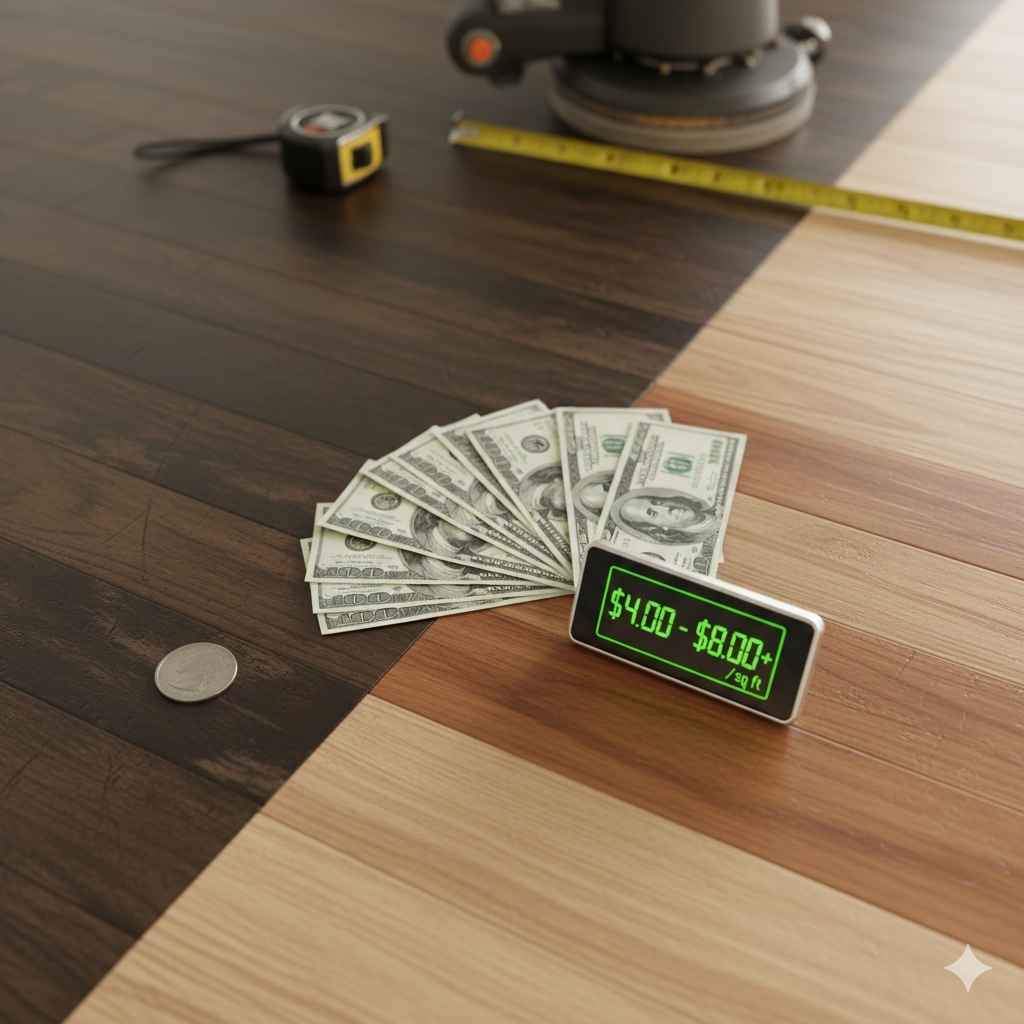
Refinishing hardwood floors typically costs between $3.00 and $8.00 per square foot for a standard DIY or professional job. The final price depends heavily on the condition of your floors, the type of finish chosen, and whether you handle the sanding yourself.
Welcome! If you’re staring at dull, scratched hardwood floors and wondering if you can afford to bring them back to life, you are not alone. Figuring out the cost is often the biggest hurdle. Many folks worry that refinishing means ripping out the old wood or spending a fortune. Don’t stress! Refinishing is usually much simpler and more affordable than replacing, especially if you roll up your sleeves and tackle some of the prep work. We are going to break down exactly what you should budget for—per square foot—so you can get beautiful, lasting floors without any budget surprises. Let’s dive into the numbers so you can start planning your dazzling floor transformation today.
Understanding the Refinishing Cost Spectrum
When talking about how much per square foot to refinish hardwood floors, the answer isn’t one flat number. It’s a range because refinishing involves several steps, and you control how much of that labor you want to handle. Think of it like baking a cake: you can buy the mix, or you can make everything from scratch. Both result in a cake, but the effort and cost differ!
For homeowners, the cost generally breaks down into two main paths: DIY (Do-It-Yourself) or hiring a professional crew.
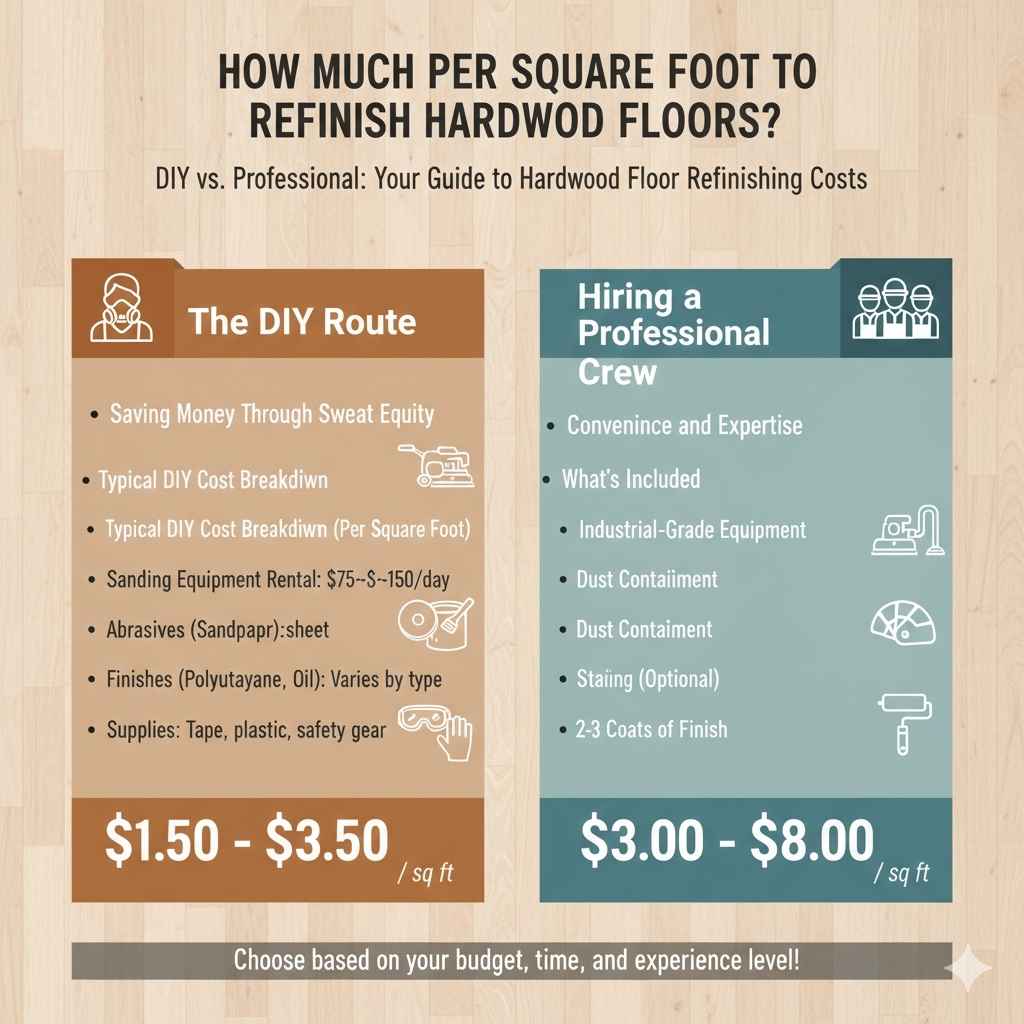
The DIY Route: Saving Money Through Sweat Equity
If you are ready to rent the sander and put in the work, you can save significantly. The cost here covers supplies, rental fees, and your chosen finish.
Typical DIY Cost Breakdown (Per Square Foot)
- Sanding Equipment Rental: This can range from $75 to $150 per day for the drum sander, plus edger rentals.
- Abrasives (Sandpaper): Depends on the grit needed, usually $0.50 to $1.50 per sheet, or bundled kits work well.
- Finishes (Polyurethane, Oil): This is a major variable. Water-based finishes are typically pricier than oil-based, but dry faster.
- Supplies: Tape, plastic sheeting, safety gear (respirator is critical!), rags, and brushes.
For a true DIY refinish, most folks land between $1.50 and $3.50 per square foot. This assumes you already own basic safety gear and have access to some standard tools.
Hiring a Professional Crew: Convenience and Expertise
Hiring professionals means you pay for their time, expertise, and the guarantee that the job will be done right the first time. They have industrial-grade equipment that often provides a smoother finish than rental machines. This is the easiest way to know exactly how much per square foot to refinish hardwood floors—it’s one single quoted number.
Professionally, the cost generally falls between $3.00 and $8.00 per square foot. This usually includes sanding, dust containment, staining (if desired), and application of two or three coats of finish. Higher-end finishes or specialty stains will push this price closer to the $8.00 mark.
Cost Factors That Influence the Price Tag
Why is there such a wide range, from $1.50 to $8.00? Several specific factors dictate the final price. Understanding these helps you budget accurately.
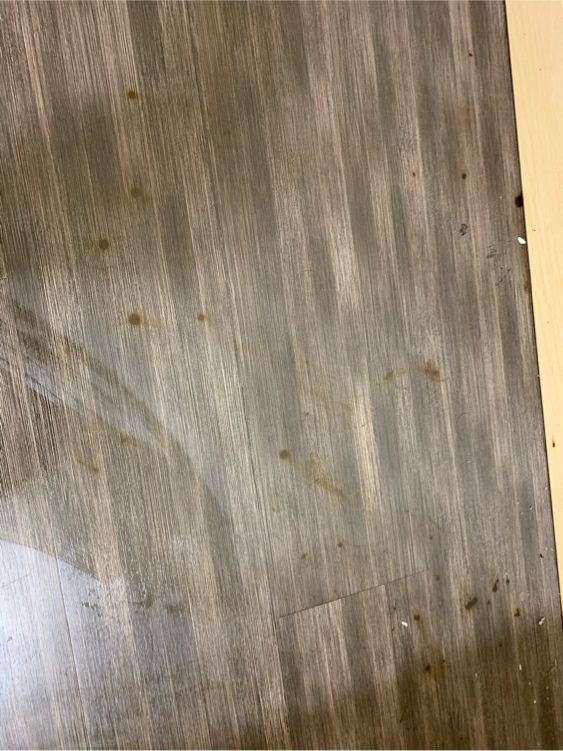
1. Floor Condition: The Scratches and Wear
This is the biggest factor. Are your floors just dull, or are they deeply scratched, cupped, or water-damaged?
- Light Wear (Buff and Recoat): If the finish is only slightly worn but the wood beneath is fine, you might only need a light abrasive screen and a fresh coat of finish. This is the cheapest option, often running $1.50 to $2.50 per square foot, even professionally.
- Full Refinishing (Sanding Needed): If the stain is gone, or the wood is damaged, you need to sand down to the raw wood. This requires multiple passes with increasingly fine sandpaper, significantly increasing labor and material costs. This is where you hit the $3.00 to $8.00 range.
- Deep Repairs: If boards are broken, severely cupped, or you need to replace significant sections, expect to pay extra. Repairing structural issues is usually billed separately from the standard sanding and finishing rates.
2. Finish Type: Durability vs. Dry Time
The top coat protects your beautiful wood. Choosing the right one affects both the upfront cost and the long-term maintenance.
Comparison of Common Finishes
| Finish Type | Pros for Homeowners | Typical Cost Implication (Per SF) |
|---|---|---|
| Oil-Based Polyurethane | Very durable, rich color depth, lower material cost. | Lower end of the range ($0.50–$1.00 for materials) |
| Water-Based Polyurethane | Dries fast (less downtime), very low odor, clearer look. | Higher end of the range ($0.75–$1.50 for materials) |
| Hardwax Oils (Natural Look) | Penetrates wood, easy spot repair, natural matte feel. | Often mid-to-high due to specialized product cost. |
A quick tip from my workshop: Water-based finishes often cost more upfront for materials, but they let you get back on your floor in 24 hours, which saves you time and inconvenience!
3. Staining vs. Natural Finish
If you want to change the color of your wood, a stain must be applied after sanding and before the protective topcoat. Staining adds one extra step and requires an extra day of drying time, which professionals charge for.
- No Stain (Natural Finish): Cheapest and fastest.
- Stain Added: Adds $0.50 to $1.50 per square foot to the professional labor cost.
4. Location and Accessibility
This might sound strange, but geography matters! If you live in a major metropolitan area, labor rates will naturally be higher than in a rural setting. Furthermore, if your floors are on the third story of a house with narrow stairs and no elevator, the crew will charge more for the time it takes to haul heavy sanders and drums up and down.
The Step-by-Step Cost Breakdown: DIY vs. Pro
To truly understand how much per square foot to refinish hardwood floors, let’s look at what you are actually paying for in terms of labor.
Phase 1: Preparation and Sanding (The Heavy Lifting)
This phase removes the old finish and smooths the wood. This is where the most dust is generated!
DIY Labor (Your Sweat Equity)
- Clear the Room: Moving furniture (free, but time-consuming).
- Protect Non-Floored Areas: Taping off baseboards, covering vents and doors with plastic sheeting (a must for dust control).
- Sanding: You must make several passes (usually 3 to 4) using progressively finer grit sandpaper on a large floor sander and an edger for the perimeter. This takes careful technique to avoid dips or swirls.
Pro Labor Cost Consideration
Professionals use commercial-grade, dust-free containment systems (like those from Laguna or Clarke). Their powerful sanders remove material faster and more evenly. Their fee covers the specialized skill needed to operate this equipment without gouging your floor.
Phase 2: Staining (If Desired)
If you are staining, the professional process involves applying the stain evenly, allowing proper dwell time, and then wiping off the excess. For DIYers, applying stain evenly without lap marks requires a steady hand and good ventilation.
Phase 3: Finishing (The Protection Layer)
This is where you apply the durable coating. Most standard jobs include two or three coats.
- Application: Professionals use lambswool applicators or specialized floor polishers to ensure even, bubble-free coats.
- Drying Time: Each coat needs to dry fully before the next can be applied. This limits how fast the job can be completed.
For reliable, high-quality floor finishing information, resources like the National Wood Flooring Association (NWFA) offer detailed guides on best practices that professional contractors adhere to.
Quick Reference Table: Comparing Total Costs
This table gives you a clear picture of the typical cost expectations based on the labor you choose. This focuses on standard oak flooring.
| Service Level | Typical Cost Range (Per Square Foot) | What’s Usually Included | Best For |
|---|---|---|---|
| Basic DIY (Sander Rental Only) | $1.50 – $3.00 | Materials, rentals, and 100% of your labor. | Budget-focused, experienced DIYers. |
| Professional (Standard Polyurethane) | $3.50 – $5.50 | Sanding, finishing (2-3 coats), basic cleanup. | Reliable results with minimal personal effort. |
| Professional (Premium/Stain/Low VOC) | $5.50 – $8.00+ | High-end finishes (e.g., high-solids UV cure or specialized oils), full dust mitigation. | Showcase spaces or complex floor types. |
Tools You Must Master (If Going DIY)
The tools you rent are critical. If you’ve never used them, practice on scrap wood first! Safety is non-negotiable when dealing with sanding dust and finishing fumes.
Essential Tool Checklist for DIY Refinishing
- Drum Sander: This heavy machine does the bulk of the sanding. Rent the smallest size you can manage—these things have serious power.
- Edge Sander (The ‘Edger’): This smaller, circular sander gets the wood right up against the baseboards where the drum sander can’t reach.
- Personal Protective Equipment (PPE): A high-quality, properly fitted respirator (rated for fine dust and organic vapors), eye protection, and hearing protection. Do not skimp here. Sanding dust is fine enough to penetrate standard dust masks and can seriously harm your lungs.
- Quality Applicators: For applying polyurethane, use new lambswool applicators or T-bar applicators for the smoothest, most professional-looking coats.
Remember, sanding dust can linger for days. Investing in quality plastic sheeting and good sealing tape (like 3M Blue Tape) for doorways and vents is vital to keep dust out of your HVAC system and other rooms.
Beyond the Square Foot: Hidden Costs to Anticipate
When calculating how much per square foot to refinish hardwood floors, contractors often quote based on square footage. However, these small extras can quickly add up if you aren’t prepared.
1. Furniture Moving and Protection
If the contractor has to move extremely heavy items, or if your house layout makes the job complicated (many small closets, tight corners), expect a small surcharge.
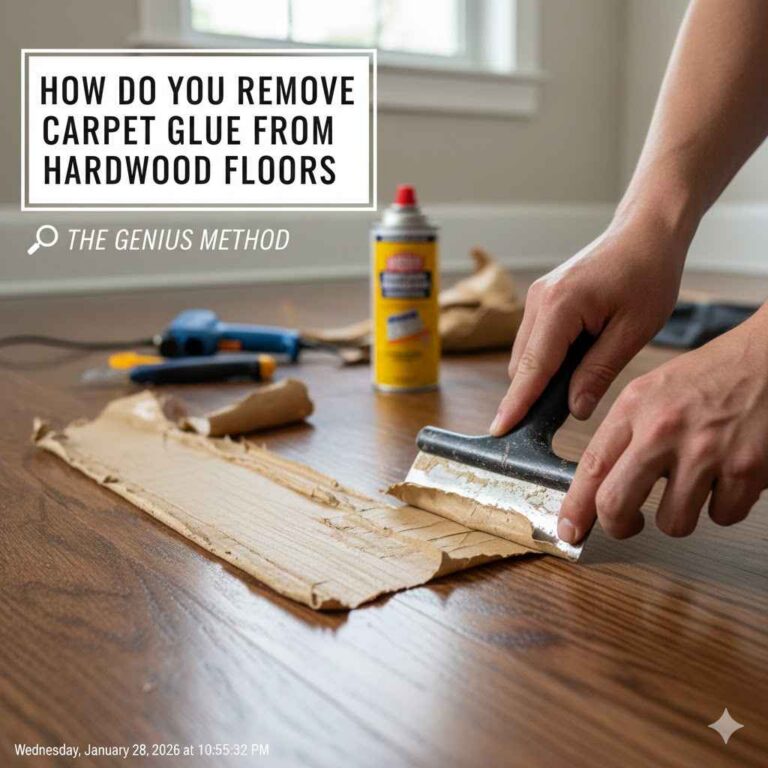
2. Removal of Old Carpet or Transition Strips
If you currently have carpet installed over the wood, the removal and disposal fees are often separate from the refinishing quote.
3. Baseboard Removal and Reinstallation
For the best possible finish, especially if sanding very close to the wall, the baseboards might need to be pulled off and then nailed back on. If you hire a professional, they often subcontract this carpentry work, adding $1.00–$2.00 per linear foot.
4. VOCs and Odor Control
High-quality, low-VOC (Volatile Organic Compounds) finishes cost more than standard solvent-based finishes but are much better for indoor air quality. If you choose these premium, low-odor options, the per-square-foot cost will trend toward the higher end of the range ($6.50+).
Tips for Getting the Most Accurate Professional Quote
When you call contractors, being prepared helps you compare apples to apples. Don’t just ask, “What is your price per square foot?” Ask about the process.
Questions to Ask Every Flooring Contractor
- How many coats of finish do you apply? (Three is standard for high durability.)
- What specific type and brand of finish do you recommend for my traffic level?
- Do you include dust containment systems in your quoted price?
- Is the staining process included, or is that an added fee?
- What is your sanding schedule (grit sequence)?
- What is the warranty on the finish application?
A great contractor will be happy to walk you through the entire process, not just quote a single number. Their confidence in explaining the steps reassures you that their price reflects quality workmanship. As the U.S. Department of Energy suggests when looking at home improvement projects, comparing detailed bids ensures you get the best value for your investment.
Refinishing vs. Screening and Recoating: Which Is Right for You?
This is a crucial distinction that directly impacts how much per square foot to refinish hardwood floors. You might not need the full, costly sanding process!
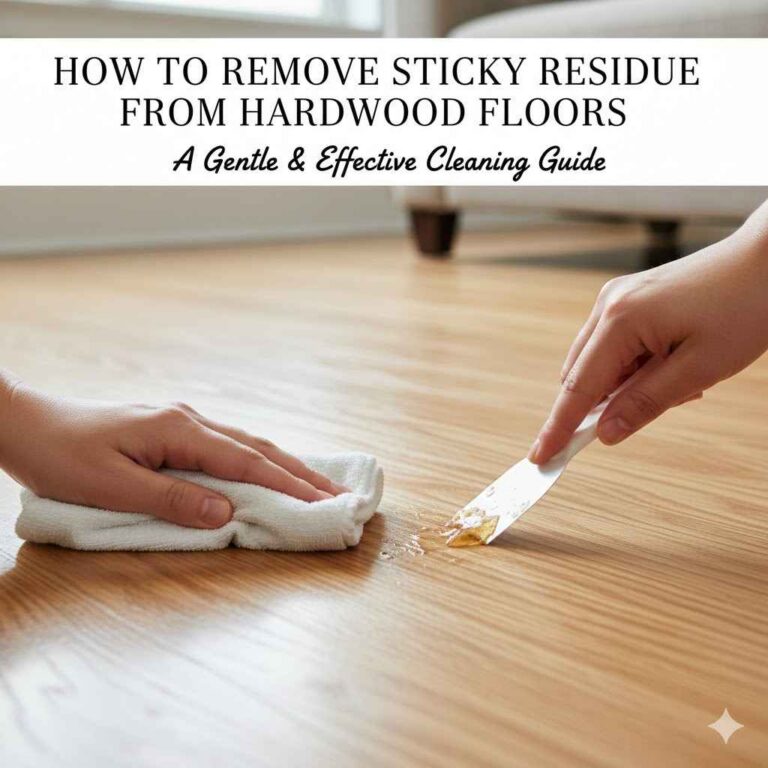
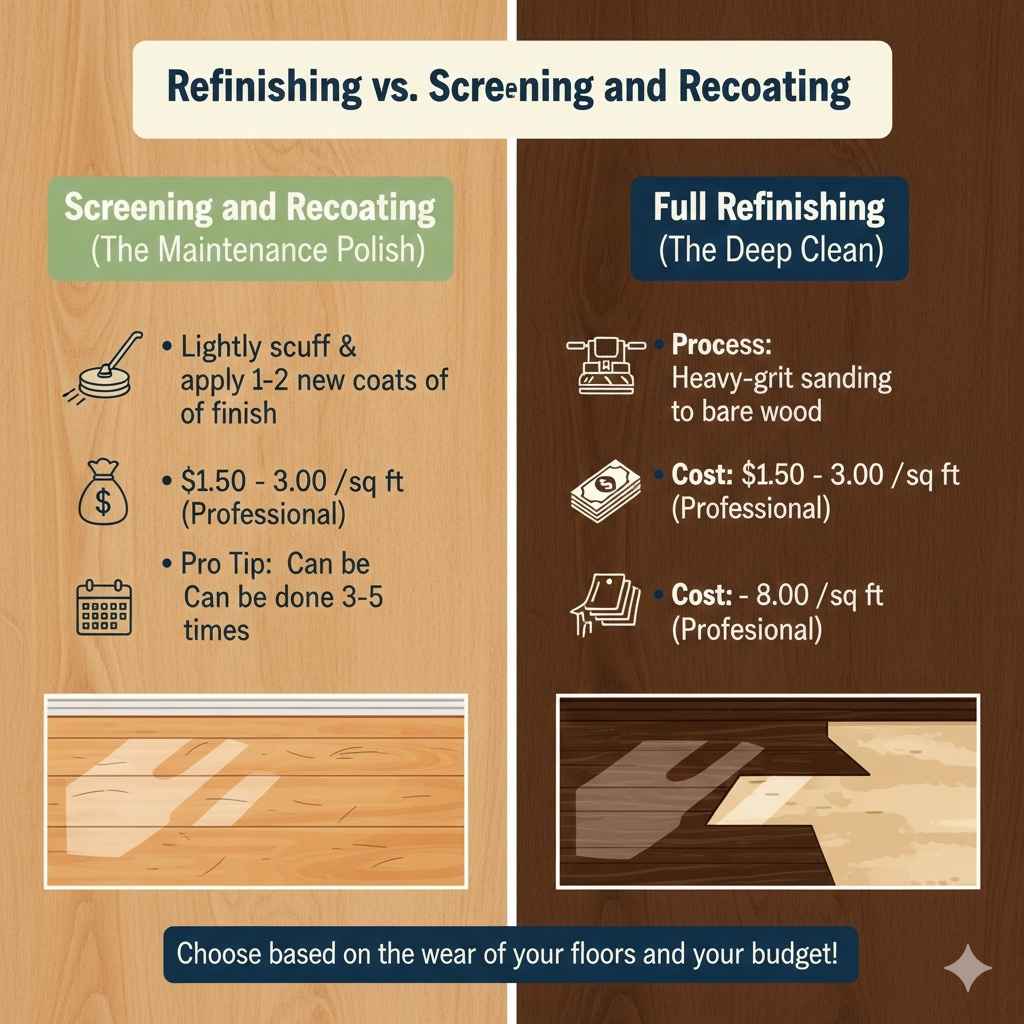
Screening and Recoating (The Maintenance Polish)
This is for floors that are merely dull, have surface scratches, but still have a good layer of original polyurethane finish remaining.
- Process: The floor is lightly scuffed with an abrasive screen (usually 120 grit or higher) to create a “key” for the new finish to adhere to. Then, one or two new coats of finish are applied.
- Cost: Much cheaper, typically $1.50 to $3.00 per square foot, even professionally.
- Pro Tip: You can usually safely screen and recoat 3–5 times over the life of your floor before needing a full sanding.
Full Refinishing (The Deep Clean)
This is necessary when the original finish is worn completely through to the bare wood, or if you are changing the color.
- Process: Heavy-grit sanding removes all old finish and stain, leveling the wood surface.
- Cost: The standard higher range, $3.00 to $8.00 per square foot.
If you see patches where the wood is dark and shiny (still protected) right next to areas that are dull and matte (where the finish is gone), you likely need a full sanding.
Frequently Asked Questions (FAQs) for Beginner Homeowners
Q1: How long does the entire refinishing process take?
For a professional sanding and applying three coats of standard polyurethane, expect the job to take 3 to 5 days, depending on the finish curing time. If you use fast-drying water-based finishes, this can sometimes be condensed.
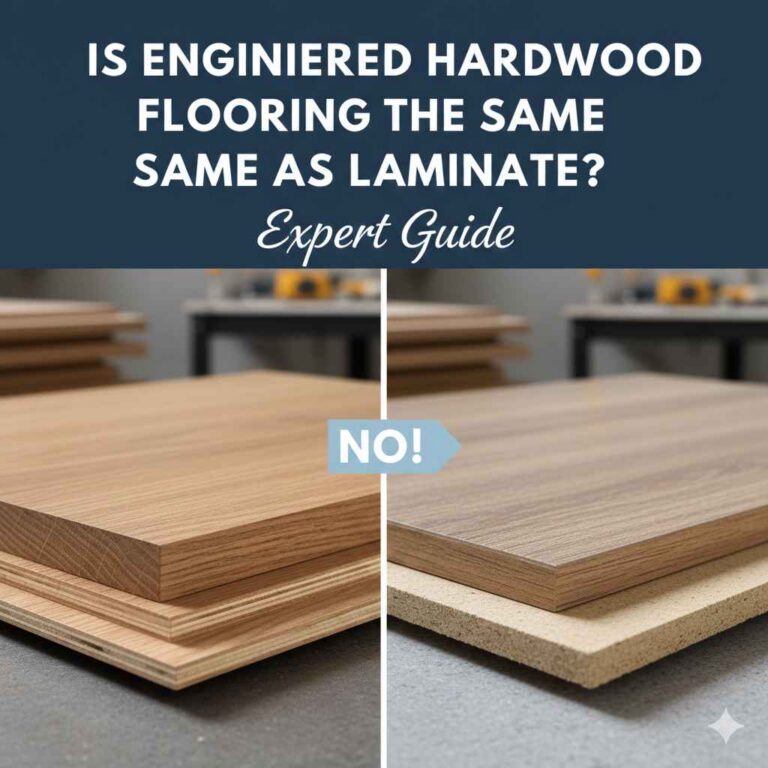
Q2: Can I refinish engineered hardwood floors?
Usually, no. Engineered wood has a very thin top layer (veneer) of real wood. If the veneer layer is only 1/8 inch thick or less, sanding it more than once or twice is risky and could expose the sub-layer underneath. Always check the manufacturer’s specs.
Q3: Is sanding hardwood floors dangerous for pets?
Yes. Not only are the sanding fumes toxic during the process, but most finishes, especially oil-based ones, release strong VOCs while curing. Pets must be completely out of the house during sanding, staining, and the initial 24–48 hours of finish curing. Use low-VOC options if you have sensitive animals.
Q4: What is the simplest DIY project? Screening and recoating.
If your floors only have light scuffs and a visual test shows plenty of old finish remaining, screening and recoating is much easier. It requires only one rental pass (using a buffer with a screening pad) and skips the heavy, nerve-wracking drum sanding.
Q5: How many years does a refinished floor typically last?
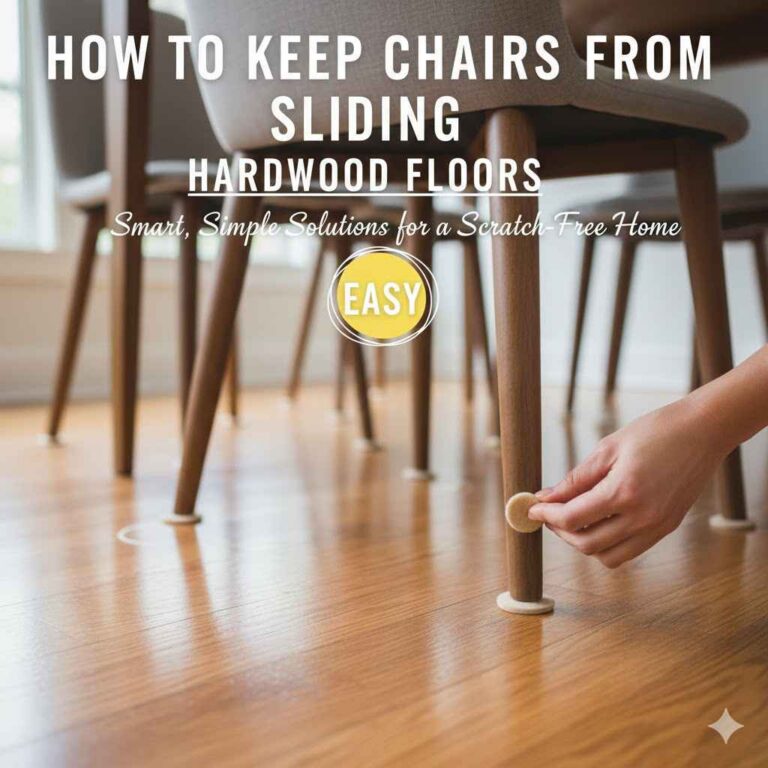
With a quality professional job using two or three coats of good polyurethane, a refinished floor can look great for 10 to 20 years, depending on the traffic and how well you maintain it afterward (e.g., using felt pads on furniture).
Q6: Why is the cost sometimes listed in linear feet instead of square feet?
Sometimes, contractors use linear feet when quoting very small repairs, stair treads, or baseboard removal, as these measurements are linear. However, for the main floor area, square footage is the standard metric for calculating materials and time.
Conclusion: Gaining Confidence in Your Refinishing Budget
Deciding how much per square foot to refinish hardwood floors doesn’t have to feel like a guessing game. You now have the tools to assess your floor’s condition and understand the true value of professional versus DIY labor. If your budget is tight, investing your sweat equity into sanding can save you $2 to $4 per square foot!
Remember, the key to saving money while getting a great result is preparation. If you hire a pro, ask detailed questions about their materials and process. If you do it yourself, invest in high-quality safety gear and take your time with the sanding prep. Hardwood floors are an investment that truly pays off in beauty and home value. With this knowledge, you’re ready to get accurate quotes and start planning the next phase of your rewarding home improvement project. You’ve got this—those beautiful floors are closer than you think!