How Much Sealant for Tubeless Tires: Your Guide to a Smooth Ride
Hey there! So, you’re diving into the world of tubeless tires and wondering how much sealant you need to keep those wheels rolling smoothly? I get it. When I first switched to tubeless tires on my mountain bike, I was clueless about sealant amounts and ended up with a gooey mess in my garage. After some trial and error, a few punctures, and a lot of learning, I’ve got this down to a science. I’m thrilled to share everything I know about how much sealant to use for tubeless tires with you!
Whether you’re a cyclist, a car enthusiast, or just curious about keeping your tires puncture-free, this guide is packed with practical tips for folks in the USA. I’ll keep it simple and fun, so anyone can follow along. Grab a cold drink, and let’s get those tires sealed right!
Why Sealant Matters for Tubeless Tires
Let’s start with why sealant is such a big deal. Tubeless tires don’t have inner tubes, so they rely on sealant to plug small punctures and keep air inside. When I got my first flat on a rocky trail, the sealant saved the day by sealing a tiny hole in seconds. It’s like having a mini repair crew inside your tire!
Sealant also helps maintain air pressure and prevents slow leaks. I noticed my tires stayed inflated longer after adding the right amount of sealant. Using too little can leave you stranded with a flat, while too much can make a mess or unbalance your tire. Getting the amount right is key to a smooth, worry-free ride. Let’s figure out how much you need.
Understanding Tubeless Tire Sealant
Before we talk about amounts, let’s break down what sealant is. It’s a liquid, usually latex-based, that sloshes around inside your tire. When a puncture happens, the sealant flows to the hole and hardens to plug it. I used a popular brand like Stan’s NoTubes for my bike, and it worked like magic on small cuts.
Sealants come in different types—some are for bikes, others for cars or trucks. Bike sealants are thinner, while automotive ones are thicker for bigger tires. I learned to check the label to make sure it matches my tire type. Knowing your sealant and tire size helps you figure out the right amount. Let’s look at the factors that affect how much you need.
Factors That Determine Sealant Amount
I used to think one size fits all for sealant, but I was wrong. Several things decide how much you need, and here’s what I’ve learned:
- Tire size: Bigger tires need more sealant. My 29-inch mountain bike tires take up more space than my 26-inch road bike tires.
- Tire type: Mountain bike tires, with their knobby treads, need more sealant than slick road tires. I found my gravel tires fall in between.
- Riding conditions: If you ride on rough trails with thorns, you need more sealant. I upped my amount for desert rides in Arizona.
- Sealant brand: Some brands recommend specific amounts. I always check the bottle’s instructions.
- Climate: Hot weather can dry out sealant faster. In my humid Midwest summers, I refresh the sealant more often.
- Vehicle type: Car or truck, tubeless tires need way more sealant than bike tires. I helped a friend with his Jeep, and we used gallons!
Knowing these factors helps you avoid under- or over-filling. It’s like seasoning a recipe—just the right amount makes it perfect.
How Much Sealant for Bicycle Tubeless Tires
Let’s get to the nitty-gritty: how much sealant for bike tires? I’ve tried this on road, gravel, and mountain bikes, and here’s what works:
- Road bike tires (700c, 23-32mm): I use 1-2 ounces (30- 60ml) per tire. These tires are small and smooth, so they need less. My road bike’s 25mm tires take about 1.5 ounces.
- Gravel bike tires (700c or 650b, 35-50mm): I add 2-3 ounces (60- 90ml) per tire. Gravel tires see more debris, so I used 2.5 ounces for my 40mm tires.
- Mountain bike tires (26”, 27.5”, 29”, 2.0-3.0” wide): I go with 3-4 ounces (90- 120ml) per tire. My 29×2.4” mountain bike tires take 4 ounces for rough trails.
- Fat bike tires (3.8-5.0” wide): I use 6-8 ounces (180- 240ml) per tire. I helped a friend set up his fat bike, and we used 7 ounces for his 4.8” tires.
I always start with the higher end if I’m riding in puncture-prone areas. For example, I used 4 ounces in my mountain bike tires for a rocky Colorado trip, and it saved me from multiple flats. Check your sealant’s label, as some brands suggest slightly different amounts.
How Much Sealant for Automotive Tubeless Tires
If you’re working on car or truck tires, the sealant amounts are much bigger. I helped my neighbor set up tubeless tires on his off-road Jeep, and here’s what I learned:
- Passenger car tires (14-18” rims, e.g., 205/55R16): Use 8-12 ounces (240- 360ml) per tire. My sedan’s 16” tires took 10 ounces each.
- SUV or light truck tires (17-20” rims, e.g., 265/70R17): Add 12-16 ounces (360- 480ml) per tire. My friend’s SUV used 14 ounces for 18” tires.
- Heavy-duty truck or off-road tires (20-24” rims, e.g., 35×12.50R20): Use 16-24 ounces (480- 720ml) per tire. We put 20 ounces in each of the Jeep’s 35” tires.
- Commercial vehicle tires (e.g., semi-trucks): These can take 32-64 ounces (1-2 liters) per tire. I haven’t done this myself, but I checked with a mechanic friend.
Car sealants are often thicker and designed for higher pressures. I used a commercial sealant for my neighbor’s Jeep, and it handled desert punctures like a champ. Always follow the manufacturer’s guidelines, as automotive sealants vary widely.
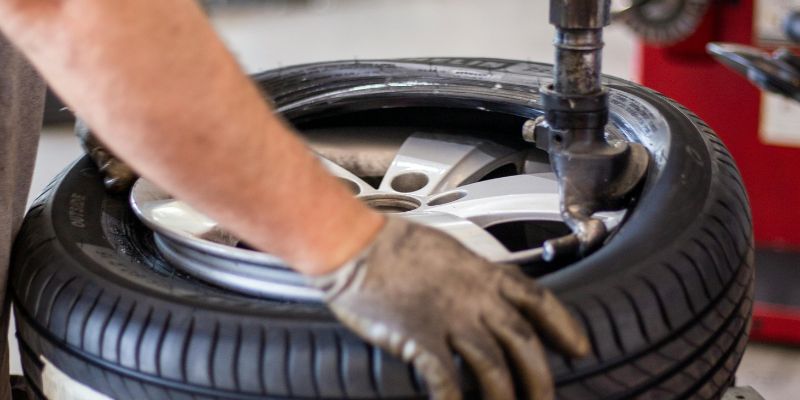
Tools and Materials for Adding Sealant
Getting the sealant into your tire is half the battle. I made a mess the first time, but now I’ve got the right tools. Here’s what I use:
- Sealant bottle or injector: A bottle with a nozzle or a sealant injector makes it easy. I got an injector for $10.
- Valve core remover: To take out the valve core for easier filling. Mine cost $5.
- Pump or compressor: To inflate the tire after adding sealant. I use a floor pump for bikes and a portable compressor for cars.
- Rags or paper towels: To clean up spills. I learned this after getting sealant on my hands!
- Gloves: To keep your hands clean. I use cheap nitrile gloves.
- Tire levers: For bike tires, to remove and remount the tire if needed. My $8 set works great.
- Sealant: Pick a brand for your tire type. I spent $15 on a 16-ounce bottle for my bike.
My total cost was about $40 for tools, but you might already have a pump or rags. For cars, a compressor is key, and I borrowed one from a friend.
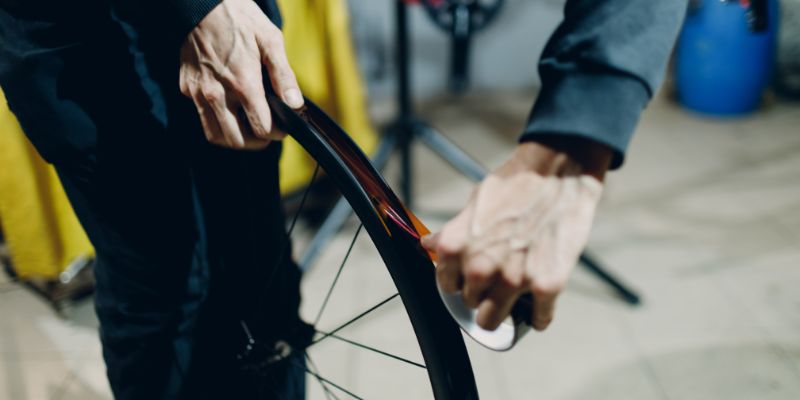
Step-by-Step Guide to Adding Sealant to Bicycle Tires
Let’s walk through how I add sealant to my bike tires. This is the method I used for my mountain bike, and it’s worked every time:
- Deflate the tire: Remove the valve core with a valve core remover to let out air. I set the core aside carefully.
- Add sealant: If the tire’s off, pour sealant directly into it. If it’s mounted, use an injector to push sealant through the valve stem. I injected 4 ounces into my 29” tire.
- Reinstall the valve core: Screw the core back in tightly. I used my fingers first, then the remover for a snug fit.
- Inflate the tire: Use a pump or compressor to inflate to your desired pressure. I pumped my tire to 30 PSI for trail riding.
- Spread the sealant: Spin the wheel and shake it side-to-side to coat the inside. I rolled my bike around the driveway for a minute.
- Check for leaks: Look and listen for air escaping. I sprayed soapy water on the tire to spot bubbles, but mine sealed perfectly.
- Let it sit: Leave the tire upright for a few hours to let the sealant settle. I propped my bike overnight.
This took me about 15 minutes per tire. The first time was slower, but now it’s a breeze. It’s like filling a water bottle—just measure and pour!
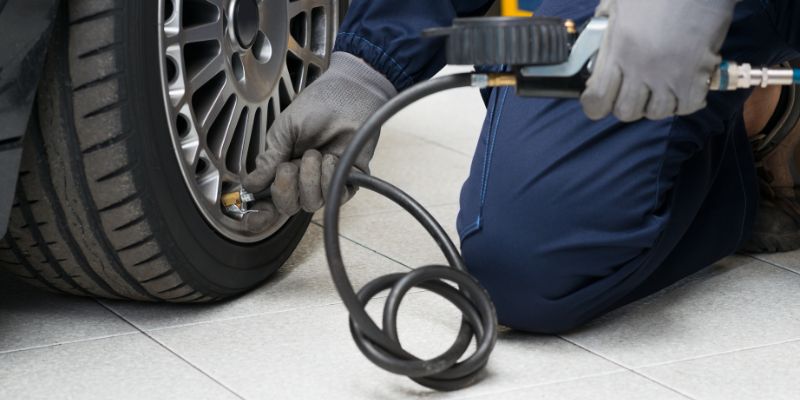
Step-by-Step Guide to Adding Sealant to Automotive Tires
For car or truck tires, the process is similar but uses more sealant. Here’s how I helped my neighbor with his Jeep:
- Deflate the tire: Remove the valve core to release air. I used a valve core remover and set the core in a safe spot.
- Add sealant: Use a large injector or pour sealant through the valve stem. We pushed 20 ounces into each 35” tire with a commercial injector.
- Reinstall the valve core: Screw it back in tightly. I double-checked with the remover to avoid leaks.
- Inflate the tire: Use a compressor to inflate to the recommended pressure. We set the Jeep’s tires to 35 PSI for off-roading.
- Spread the sealant: Drive the vehicle slowly for a few minutes to coat the tire. We drove around the block at 10 MPH.
- Check for leaks: Spray soapy water on the tire to look for bubbles. Our tires were solid, no leaks.
- Monitor pressure: Check tire pressure after a day to ensure it holds. We rechecked the Jeep’s tires, and they were perfect.
This took about 20 minutes per tire, mostly because of the larger sealant volume. It’s a bit messier, but the results are worth it.
Troubleshooting Sealant Issues
Sometimes, things don’t go perfectly. Here’s how I fixed some problems:
- Sealant clogs the valve: If sealant blocks the valve, remove the core and clean it with water. I had this happen, and a quick rinse fixed it.
- Tire won’t seal: If air leaks, add more sealant or check for a big puncture. I added an extra ounce to a leaky bike tire, and it sealed.
- Too much sealant: If the tire feels sluggish, you used too much. I overfilled once and had to remove some with a syringe.
- Sealant dries out: If it’s been months, refresh the sealant. I check my bike tires every 3-6 months and add 1-2 ounces.
These fixes are simple and keep your tires rolling. Don’t panic if you hit a snag—it’s part of the process!
Comparing Sealant Amounts by Tire Type
To help you choose the right amount, here’s a table based on my experiences:
| Tire Type | Sealant Amount | Best For | Notes |
|---|---|---|---|
| Road Bike (23-32mm) | 2-3 oz (60- 90ml) | Smooth roads, light tires | Use less for low puncture risk |
| Gravel Bike (35-50mm) | 3-4 oz (90- 120ml) | Mixed terrain, debris | Increase for rough gravel |
| Mountain Bike (2.0-3.0”) | 6-8 oz (180- 240ml) | Trails, rocks, thorns | Max for aggressive riding |
| Fat Bike (3.8-5.0”) | 8-12 oz (240- 360ml) | Check the manufacturer specs | High volume for big tires |
| Car (14-18” rims) | 12-16 oz (360- 480ml) | City driving, light off-road | Check manufacturer specs |
| SUV/Truck (17-20” rims) | 16-24 oz (480- 720ml) | Off-road, heavy loads | More for rugged terrain |
| Heavy-Duty (20-24” rims) | Snow, sand, and extreme terrain | Extreme off-road, big tires | Use commercial sealant |
I use this as a guide, but tweak amounts based on conditions. It’s like a cheat sheet for sealant success!
Maintaining Your Tubeless Tires
Once your tires are sealed, a little care keeps them puncture-free. Here’s what I do:
- Check sealant every 3-6 months: I add 1-2 ounces to bike tires if they’re dry. Car tires last longer, but I check them yearly.
- Monitor tire pressure: I check pressure weekly to catch slow leaks. My bike tires drop a bit if the sealant’s low.
- Clean valve stems: I remove and rinse valve cores monthly to prevent clogs. It takes 2 minutes.
- Replace sealant as needed: If sealant is lumpy or ineffective, I clean the tire and add fresh sealant. I did this after a year on my mountain bike.
These habits keep my tires ready for any adventure. It’s like oil changes for your car—regular maintenance pays off.
Safety Tips for Adding Sealant
Working with sealant can be messy, so safety is important. Here’s what I keep in mind:
- Wear gloves: Sealant is sticky and hard to clean off skin. I wear nitrile gloves to stay clean.
- Work in a ventilated area: Some sealants have a strong smell. I do this in my garage with the door open.
- Protect your eyes: If sealant splashes, it stings. I wear safety glasses just in case.
- Clean spills immediately: Sealant can damage floors or clothes. I keep rags handy to wipe up drips.
These tips make the job safe and stress-free. No one wants a sealant disaster!
Why I Love Tubeless Tires
Using the right amount of sealant has made my tubeless tires a game-changer. Every time I hit a trail or cruise off-road without a flat, I’m grateful for that sloshy liquid inside. It’s not just about avoiding punctures—it’s about enjoying the ride without worry. I’ve saved money on tubes and repairs, and the process is so satisfying to master. Whether you’re bombing down a mountain or exploring backroads, tubeless tires with the right sealant make every trip better.
Conclusion
There you have it—a complete guide to how much sealant you need for tubeless tires! I’ve been through the spills and thrills of setting up tubeless systems, and I’m excited to share these tips with you. From bike tires to monster truck wheels, you now know how to pick the perfect sealant amount for a smooth, puncture-free ride. This is a fun, budget-friendly project that anyone can tackle with a few tools and some know-how. So, grab that sealant bottle, measure it out, and hit the road or trail with confidence. Your tires will thank you, and you’ll love the freedom of worry-free driving or riding. Happy sealing!
Frequently Asked Questions
How much sealant do I need for a 29-inch mountain bike tire?
I use 3-4 ounces (90- 120ml) for a 29-inch tire. I go with 4 ounces for rough trails to be safe.
Can I use too much sealant in my tires?
Yes, too much can unbalance the tire or clog the valve. I overfilled once and had to remove some to fix a wobbly ride.
How often should I add sealant to my bike tires?
I check every 3-6 months and add 1-2 ounces if it’s dry. Hot or dry climates might need more frequent checks.
Is car tire sealant different from bike tire sealant?
Yes, car sealants are thicker and designed for higher pressures. I used a commercial sealant for my neighbor’s Jeep, not my bike sealant.
What if my tubeless tire keeps leaking after adding sealant?
Add more sealant or check for a large puncture. I had a leaky tire that needed an extra ounce to seal properly.