How To Attach Christmas Lights To Ceiling: Genius Essential Guide
Quick Summary:
Easily and securely attach Christmas lights to your ceiling using simple tools like command hooks, staples, or clips. This guide provides beginner-friendly methods for a festive, damage-free display, ensuring your holiday decorations shine safely and beautifully all season long.
Hello there! As the holiday season approaches, one of the most magical ways to bring that festive spirit indoors is by adorning your ceiling with twinkling Christmas lights. It’s a simple touch that can transform a room into a cozy wonderland. But, let’s be honest, figuring out how to attach them without damaging your paint or ceiling can feel a bit daunting. Many of us have wrestled with sticky tape that won’t hold or screws that leave unsightly holes. If you’re looking for a foolproof way to hang your lights this year, you’ve come to the right place! We’re going to walk through some straightforward, renter-friendly, and DIY-approved methods that will make your ceiling sparkle. Get ready to create a stunning holiday display with confidence!
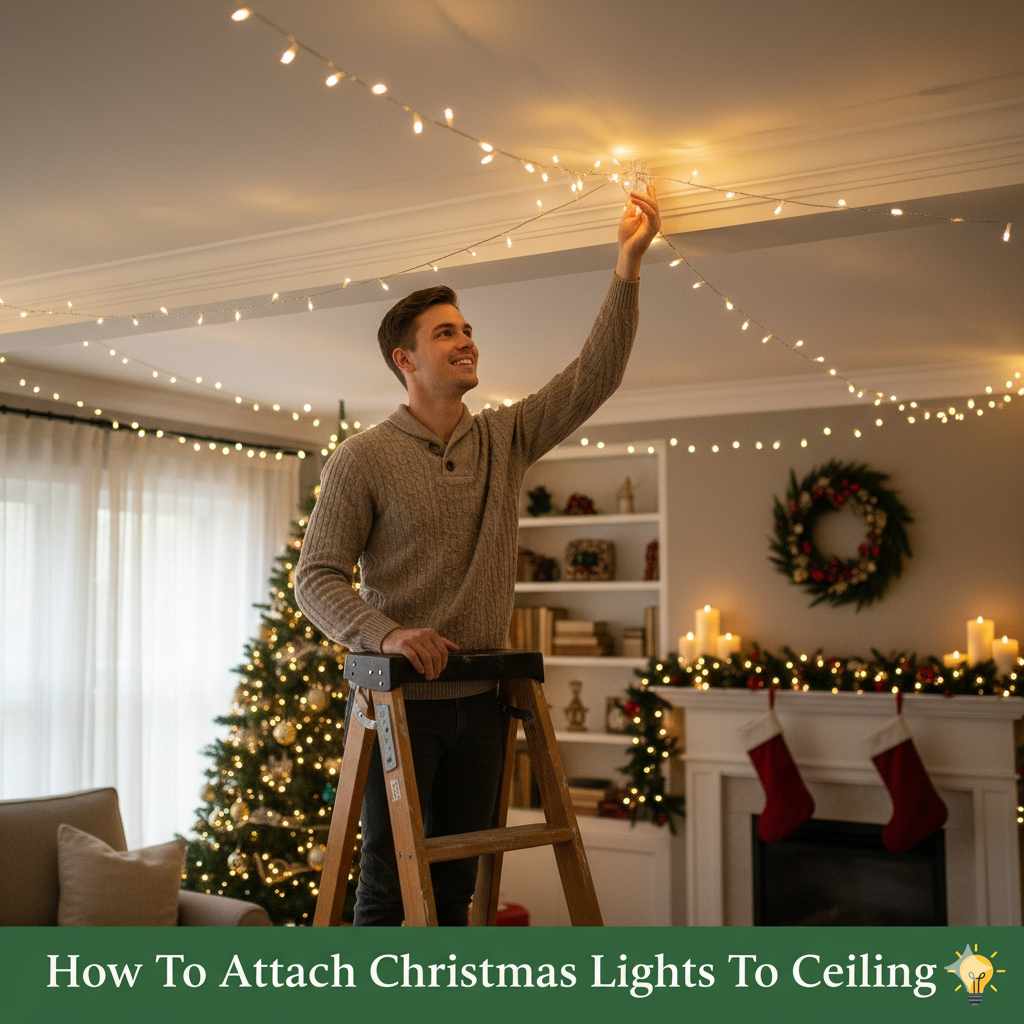
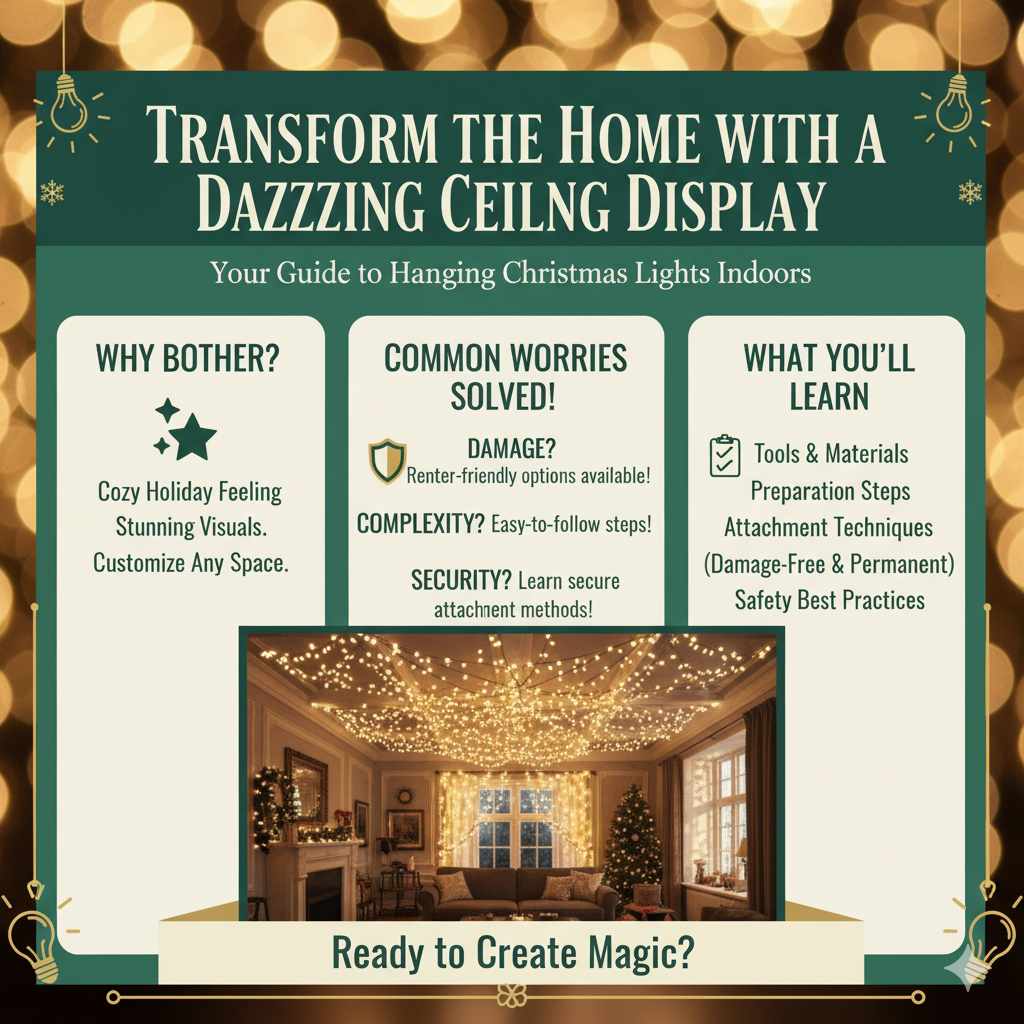
Transform Your Home with a Dazzling Ceiling Display
Imagine stepping into your living room and being greeted by a canopy of warm, twinkling lights. It’s the quintessential cozy holiday feeling, and your ceiling is the perfect canvas to create it! Hanging Christmas lights on the ceiling can seem like a challenge, especially if you’re worried about leaving marks or dealing with complicated installations. Many people struggle with finding methods that are both secure and renter-friendly. But don’t let that stop you from achieving that magical holiday glow. With a few simple tools and techniques, you can easily attach your lights for a stunning display that will impress everyone.
This guide is designed to break down the process into easy-to-follow steps. We’ll cover various methods, from damage-free options to more permanent solutions, so you can choose what works best for your home and your comfort level. You’ll learn about the tools you need, how to prepare your ceiling, and the best practices for a safe and beautiful installation. Let’s get started on making your home the brightest spot on the block!
Step 1: Plan Your Ceiling Light Display
Before you even think about touching a light string, a little planning goes a long way. This is where you’ll decide on the overall look and feel of your ceiling display. Think about the kind of atmosphere you want to create. Do you envision a starry night sky, a gentle cascade of lights, or a more structured, geometric pattern? Your vision will guide your choices for attachment methods and light placement.
Consider Your Ceiling Type
The material and texture of your ceiling are crucial factors. Is it smooth plaster, textured drywall, popcorn ceiling, or wood paneling? Different surfaces require different attachment methods. For instance, popcorn ceilings can be tricky because the texture makes it hard for adhesives to get a good grip, and staples can cause significant damage. Smooth surfaces are generally the easiest to work with.
- Smooth Drywall/Plaster: Ideal for most adhesive solutions and gentle fasteners.
- Textured Drywall: May require stronger adhesives or specific clips designed for texture.
- Popcorn Ceiling: Adhesives can be unreliable; consider lightweight lights and methods that don’t require strong adhesion.
- Wood Paneling: Can often accommodate small nails or staples if you’re comfortable with minor, easily repairable holes.
Design Your Layout
Sketch out your desired pattern. Will the lights run in straight lines, follow the contours of the room, or create a specific shape? Measure the space to estimate how many strands of lights you’ll need. It’s always a good idea to have a little extra length. Consider where you’ll need to plug them in and how you’ll manage the cords. A clear plan prevents mid-installation changes and ensures a professional-looking result.
For a starry night effect, you might drape individual fairy lights across the ceiling. For a more dramatic look, consider zig-zagging longer strands. If you have ceiling beams, you can use those as natural anchor points.
Choose Your Lights Wisely
The type of lights you choose impacts how you’ll hang them.
- LED String Lights: Energy-efficient, long-lasting, and they generate very little heat, making them safer for indoor use. They are also lightweight, which is a big plus for ceiling installations.
- Fairy Lights (Micro-LEDs): Tiny bulbs on thin, flexible wires. They are excellent for creating delicate, starry effects and are very easy to manipulate and hang.
- Incandescent Lights: While classic, they generate more heat and use more energy. If you use them, ensure they aren’t touching anything flammable and are spaced well.
Consider the color temperature of the bulbs (warm white, cool white, colored) to match your desired ambiance.
Step 2: Gather Your Essential Supplies
Having the right tools and materials on hand before you start makes the whole process smoother and safer. Don’t underestimate the power of being prepared!
Essential Tools and Materials:
Here’s a list of items you might need, depending on the method you choose:
- Christmas Lights: Your chosen strands (LEDs are recommended for safety and efficiency).
- Ladder or Step Stool: A sturdy one is crucial for reaching the ceiling safely. Ensure it’s placed on a stable surface.
- Measuring Tape: For planning your layout and spacing.
- Pencil: For marking placement points lightly.
- Command Hooks/Clips: Available in various sizes and weight capacities. Look for clear options to blend in.
- Adhesive Light Clips: Specifically designed for hanging lights, often with a clear plastic clip and strong adhesive backing.
- Painter’s Tape or Masking Tape: For temporary placement or testing adhesive spots.
- Staple Gun (Optional): For a more permanent, but potentially damaging, method. Use small staples and target the wire only.
- Small Hooks/Screws (Optional): For a more permanent installation, if you own your home and don’t mind small holes.
- Zip Ties or Wire Ties: To manage excess cord length and keep wires tidy.
- Extension Cords: Ensure they are in good condition and rated appropriately.
- Safety Glasses: Always a good idea when working overhead.
- Cleaning Supplies: For preparing the ceiling surface (e.g., mild soap and water, rubbing alcohol).
Safety First!
Working on a ladder can be risky. Always have someone spot you, especially when you’re reaching or balancing. Ensure your ladder is fully extended and locked, and never overreach. If you feel unsteady, get down and reposition the ladder. The goal is a beautiful display, not an injury!
Step 3: Prepare Your Ceiling Surface
A clean and dry surface is key to ensuring your chosen adhesive or fasteners will hold securely. This step is especially important for methods using Command hooks or adhesive clips.
Cleaning the Area
Gently wipe down the areas where you plan to attach your lights. Dust, grease, or grime can prevent adhesives from sticking properly.
- For most smooth surfaces, a damp cloth with a little mild dish soap followed by a thorough rinse with clean water is sufficient.
- For stubborn spots or if you’re concerned about adhesive residue later, a wipe with rubbing alcohol can help ensure a clean surface for the adhesive.
Make sure the ceiling is completely dry before proceeding. This might take an hour or more, depending on humidity. Don’t rush this part!
Testing Adhesives (Optional but Recommended)
If you’re using a new type of adhesive hook or clip, or if you’re concerned about your paint, consider testing it in an inconspicuous spot first. Apply one hook, leave it for a few hours or a day, and then gently pull it off. Check for any paint peeling or residue left behind. This small test can save you a lot of potential headaches later.
Step 4: Attaching Your Christmas Lights – Choose Your Method!
Now for the fun part! Here are several methods to attach your Christmas lights, ranging from totally damage-free to more permanent solutions. Pick the one that best suits your needs and your home.
Method 1: Command Hooks and Adhesive Clips (Damage-Free & Renter-Friendly)
This is often the go-to for renters or anyone who wants a hassle-free, damage-free installation. Command products are designed to hold strong and remove cleanly.
- Select the Right Hooks: Choose Command hooks or specialized light clips that have a weight rating suitable for your lights. Clear hooks blend in best.
- Mark Placement: Lightly mark where you want your hooks to go with a pencil. Ensure these marks align with your planned layout.
- Apply the Hooks: Clean the surface as described in Step 3. Follow the instructions on the Command packaging precisely. This usually involves pressing the hook firmly onto the surface for 30 seconds and waiting at least an hour (sometimes longer) before hanging anything.
- Hang Your Lights: Gently hang the wire of your light string onto the hooks. For clips, you can often snap the wire into place.
- Manage Cords: Use additional smaller Command hooks or clips to secure any dangling cords along walls or baseboards to keep them tidy and out of the way.
- Removal: When it’s time to take them down, follow Command’s removal instructions carefully. Usually, this involves stretching the adhesive strip straight down until it releases.
Pros: No damage, easy to apply and remove, widely available, good variety of sizes and weight limits.
Cons: Can be more expensive than other options, adhesive might not stick well to very rough or dirty surfaces, requires waiting time before hanging.
Method 2: Small Staples (Use with Caution!)
This method is more permanent and carries a higher risk of minor damage, but it’s very secure if done carefully. It’s best for those who own their homes and are comfortable with very minor repairs.
- Choose Your Staples: Use a staple gun with the smallest, thinnest staples you can find. Aim for staples that are just long enough to penetrate the light wire and slightly into the ceiling material.
- Position the Lights: Drape your lights according to your planned layout.
- Staple Carefully: Hold the light wire taut against the ceiling. Position the staple gun so that the staple will go over the wire and secure it to the ceiling. The staple should not go through the wire itself. Only staple the insulated wire, never the bulb or socket.
- Space Appropriately: Space staples about 1-2 feet apart, or as needed to keep the lights securely in place without sagging.
- Be Gentle: Don’t force the staple. A gentle push should be enough.
- Removal: When removing, use a flathead screwdriver or a putty knife to carefully pry the staples out. You may need to fill tiny holes or touch up paint.
Pros: Very secure, relatively inexpensive if you already own a staple gun.
Cons: Can cause damage (holes, paint chips), requires careful execution, not suitable for renters, potential safety hazard if done improperly.
Method 3: Small Nails or Screw Hooks (Permanent Installation)
If you own your home and want a very secure, long-term solution, small nails or screw hooks are an option. These create small, easily repairable holes.
- Choose Your Fasteners: Opt for small finishing nails or small screw hooks. Screw hooks are particularly useful as they provide a loop to easily attach and detach light strings.
- Mark Placement: Mark the exact spots for your nails or hooks.
-
Install Fasteners:
- Nails: Gently tap the nail into the ceiling, leaving enough exposed to hook the light wire around.
- Screw Hooks: Start a small pilot hole with a thin drill bit (optional, but makes it easier) and then screw the hook into the ceiling until it’s secure.
- Hang Lights: Drape your light strings over the nails or secure them to the screw hooks.
- Cord Management: Use additional fasteners or zip ties to keep cords tidy.
- Removal: When removing, pull nails out with pliers or a claw hammer. Unscrew hooks. Small nail holes or screw holes can be easily filled with spackle or wood filler and then painted over.
Pros: Very secure, can hold heavier lights, screw hooks allow for easy on/off.
Cons: Creates holes that need repair, not suitable for renters, requires basic tool usage.
Method 4: Cup Hooks for Wood Ceilings or Beams
If you have exposed wood beams or wood-paneled ceilings, cup hooks are a fantastic, secure option. They screw directly into the wood.
- Choose Cup Hooks: Select cup hooks that are appropriately sized for your light strings.
- Mark Placement: Decide on your pattern and mark where each hook will go.
- Install Hooks: You can often screw these in by hand, or use a screwdriver through the eye of the hook for extra leverage. Ensure they are screwed in firmly.
- Hang Lights: Drape the light string’s wire over the hooks.
- Cord Management: Use zip ties or extra hooks to keep cords neat.
- Removal: Unscrew the hooks. The screw holes are usually small and easy to repair if needed.
Pros: Very secure in wood, easy to install, allows for easy light attachment/removal.
Cons: Only suitable for wood surfaces, requires making holes.
Method 5: Clear Fishing Line (For Lightweight Fairy Lights)
For very light fairy lights, especially in a large room, you can create a “floating” effect using clear fishing line. This requires anchoring points, but the line itself is nearly invisible.
- Identify Anchor Points: You’ll need secure points to tie off the fishing line. This could be ceiling light fixtures, smoke detectors, or small screw hooks placed strategically.
- Measure and Cut: Measure the distance between your anchor points and cut lengths of fishing line accordingly. Add a little extra for tying knots.
- Attach Lights to Line: Use tiny pieces of clear tape or small clear zip ties to attach the fairy light wire to the fishing line at intervals.
- Tie Off: Securely tie the fishing line to your anchor points. Ensure the knots are tight and won’t slip.
- Adjust Tension: Make sure the fishing line is taut enough to support the lights without sagging too much, but not so tight that it pulls on the anchor points.
Pros: Creates a magical, floating effect, nearly invisible.
Cons: Only suitable for very lightweight lights, requires secure anchor points, can be time-consuming to set up.
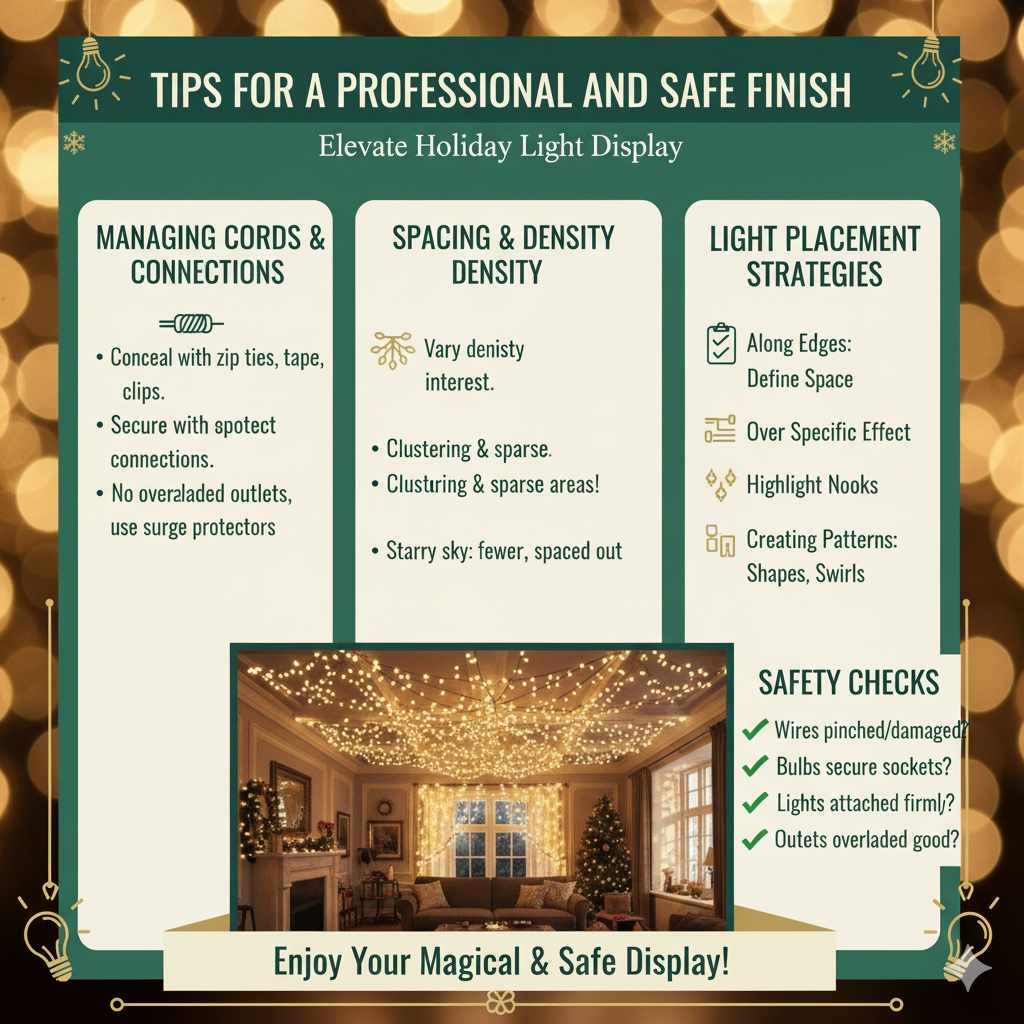
Step 5: Tips for a Professional and Safe Finish
Once your lights are attached, a few extra touches can elevate your display from good to spectacular, while also ensuring safety.
Managing Cords and Connections
Visible cords can detract from the magic. Use zip ties, tape, or additional small clips to run cords along the ceiling edge, down walls, or behind furniture. Ensure all connections are secure and protected from moisture. Never overload electrical outlets; use power strips with surge protectors if necessary.
Spacing and Density
Don’t be afraid to let the lights be the star! Varying the density – clustering some lights together and leaving other areas sparser – can create visual interest. If you’re going for a starry sky effect, fewer lights spaced further apart can look more authentic than a dense covering.
Light Placement Strategies
- Along Edges: Running lights along the perimeter of the room can define the space and create a warm glow.
- In the Center: A central chandelier effect with lights radiating outwards can be stunning.
- Over Specific Areas: Highlight a reading nook or a dining area with a focused light display.
- Creating Patterns: Use your pencil marks to create geometric shapes, swirls, or even constellations.
Safety Checks Before Powering On
Before plugging everything in, do a final visual check:
- Are any wires pinched or damaged?
- Are the bulbs securely in their sockets?
- Are the lights securely attached to the ceiling?
- Are extension cords in good condition and not creating tripping hazards?
- Are the lights plugged into appropriate outlets without overloading?
A quick safety check can prevent accidents and ensure your lights function beautifully throughout the holiday season.
Troubleshooting Common Issues
Even with the best planning, you might run into a snag. Here are a few common problems and how to solve them:
| Problem | Possible Cause | Solution |
|---|---|---|
| Adhesive hooks falling off | Surface not clean/dry; too much weight; humidity; improper application | Re-clean surface thoroughly with rubbing alcohol, let dry completely. Ensure hook weight rating is sufficient. Reapply hook following instructions precisely, pressing firmly and waiting full cure time. |
| Lights sagging significantly | Attachment points too far apart; lights too heavy for method | Add more attachment points closer together. Use a stronger hanging method if possible (e.g., screw hooks instead of adhesive clips). Ensure lights are properly supported. |
| Visible cords ruining the look | Poor cord management planning | Use additional small clips, zip ties, or tape to secure cords along edges or behind furniture. Consider painting cords to match the wall color if they run down a wall. |
| Paint peeling when removing hooks | Weak paint adhesion to surface; adhesive too strong for paint | Use a hairdryer on a low setting to warm the adhesive before pulling gently. Try a different type of damage-free hook or tape. For severe issues, minor paint touch-up will be needed. |
| Bulbs not lighting up | Loose bulb; blown fuse; faulty strand | Check that all bulbs are screwed in tightly. Check the fuse in the plug (most LED strands have a small fuse). If one section is out, it might be a faulty strand that needs replacing. |
Frequently Asked Questions (FAQ)
What are the best ways to attach Christmas lights to a ceiling without causing damage?
The best methods involve using damage-free hanging solutions like Command hooks, temporary adhesive clips, or even carefully placed staples that can be easily removed. These options secure your lights while minimizing or eliminating any marks on your ceiling.
Are Command hooks safe for ceilings?
Yes, Command hooks are designed to hold strongly but remove cleanly without damaging most surfaces, including painted ceilings, when used according to the manufacturer’s instructions. Always ensure the surface is clean and dry before applying.
Can I use staples to attach Christmas lights?
Yes, you can use staples, but it requires caution. Use a staple gun with very small staples, and only staple the wire of the light string, not the bulbs themselves. This method is best for temporary displays and requires careful removal to avoid minor ceiling damage.
How do I hang lights on a textured ceiling?
Textured ceilings can be trickier. For textured surfaces, Command hooks or adhesive clips are often the most reliable. Ensure you use products specifically designed for textured walls or ceilings, or consider using the adhesive strips provided with some light clips for a stronger hold.
How far apart should I space my light attachment points?
The spacing depends on the type of lights and how you want them to hang. For most string lights, spacing attachment points every 1-3 feet should provide adequate support and allow the lights to drape naturally without sagging too much.
What kind of lights are best for ceiling decoration?
LED string lights are ideal. They are energy-efficient, generate less heat (making them safer for indoor use), and come in various styles, from delicate fairy lights to classic C9 bulbs. Their lightweight nature also makes them easier to hang.
How do I run the power cord safely?
Always use extension cords rated for outdoor use if they will be near windows or doors, and ensure they are not pinched or damaged. Route cords away from foot traffic and secure them neatly to prevent tripping hazards. Never overload electrical outlets
Conclusion
And there you have it! Attaching Christmas lights to your ceiling doesn’t have to be a frustrating chore. By taking the time to plan your design, gather the right supplies, and choose a method that suits your home and comfort level, you can create a truly magical holiday atmosphere. Whether you opt for the renter-friendly ease of Command hooks, the secure simplicity of screw hooks, or another clever technique, the result will be a beautifully illuminated space that fills your home with warmth and festive cheer.
Remember, safety is paramount. Always use a sturdy ladder, have a spotter when needed, and double-check your connections before powering up. With these steps, you’re well on your way to enjoying a dazzling ceiling display that will be the envy of all your guests. So go ahead, get creative, and let your holiday lights shine bright!