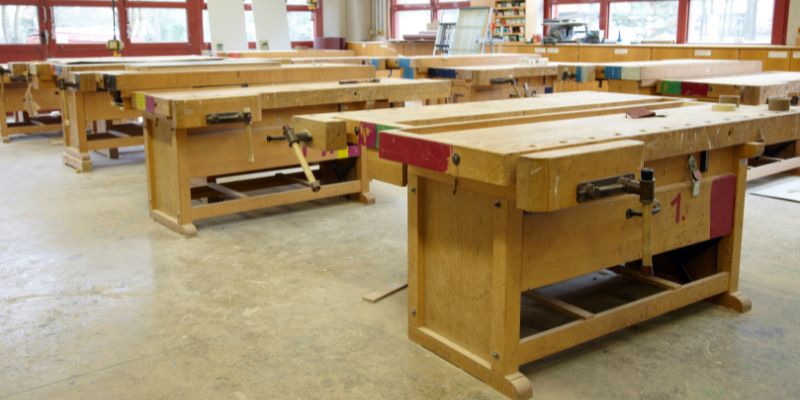
How To Build A Durable DIY Workbench Top Easily
In the realm of woodworking and fabrication, the significance of a sturdy and functional surface cannot be overstated, particularly when considering the design and construction of a DIY workbench top. This foundational element serves as the interface for various tasks, from assembly and finishing to precision cutting and sanding. The selection of materials, thickness, and surface treatments plays a pivotal role in enhancing durability and usability. Additionally, integrating features such as built-in storage and vice attachments can optimize workflow and efficiency.
To explore the multifaceted considerations that will elevate your workbench into an indispensable tool, continue reading.
Creating The Perfect DIY Workbench Top For Your Projects
A DIY workbench top is an essential project for woodworking enthusiasts and hobbyists alike, providing the perfect surface for various tasks. This summary outlines the key aspects of constructing a durable and functional workbench top, including material selection, design considerations, and assembly techniques. Understanding these elements will enable you to create a personalized workspace that meets your specific needs, enhancing both efficiency and enjoyment in your DIY projects. Discover how a well-crafted workbench top can elevate your home workshop.
Understanding the Importance of a Workbench Top
Explanation of workbench top functionality. Benefits of a sturdy and reliable workbench top.
A workbench top is essential for any DIY project. It provides a strong and stable surface for cutting, assembling, and crafting. With the right materials, a workbench top can withstand heavy tools and materials. This durability leads to significant benefits:
- Improved Safety: A sturdy surface reduces the risk of accidents.
- Enhanced Creativity: A reliable area encourages experimentation.
- Increased Efficiency: Organized space boosts productivity.
Having a solid workbench top makes all tasks easier and more enjoyable!
Choosing the Right Materials for Your Workbench Top
Comparison of different materials (wood, MDF, plywood, etc.). Factors to consider (cost, durability, ease of use).
Choosing the right materials for your workbench top can feel a bit like picking toppings for a pizza—everyone has their favorites! Wood is sturdy and looks great, but may cost more. MDF offers a smooth surface and is easy to work on, but it can warp if it gets wet. On the other hand, Plywood is versatile and tough enough for most tasks.
When deciding, keep in mind factors like cost, durability, and ease of use. Here’s a quick comparison to make it easier:
| Material | Cost | Durability | Ease of Use |
|---|---|---|---|
| Wood | High | Very High | Moderate |
| MDF | Low | Medium | High |
| Plywood | Medium | High | Moderate |
Pick wisely, and remember: a workbench can’t fix your poor pizza choices!
Essential Tools for DIY Workbench Top Construction
List of necessary tools (saw, drill, clamps, etc.). Tips for selecting the right tools for your project.
Building a DIY workbench top requires some handy tools. Here are the essentials:
- Saw: For cutting wood to size.
- Drill: For making holes and driving screws.
- Clamps: To hold pieces together while working.
- Measuring Tape: Ensures accurate measurements.
- Square: To check and maintain right angles.
Choose tools based on your project’s size and complexity.
Start with the basics and add advanced tools as needed. Quality matters! Better tools lead to better results.
Step-by-Step Guide to Building Your Workbench Top
Detailed instructions from planning to finishing. Safety precautions to consider during the process.
Building a workbench top is a fun project. First, plan your measurements and materials. Choose sturdy wood for strength.
Use these steps:
- Gather tools: saw, drill, screws, and sandpaper.
- Cut the wood to size according to your plan.
- Assemble the pieces securely using screws.
- Sand the surface until smooth.
- Finish with a protective sealant.
Remember to wear safety goggles and a mask. Keep your workspace tidy to avoid accidents.
Enjoy your new workbench top!
Common Mistakes to Avoid When Building a Workbench Top
List of frequent errors beginners make. Advice on how to troubleshoot and correct issues.
Many newcomers often rush and skip important details. One common error is choosing the wrong materials. Not all wood is strong enough to handle heavy tasks. Another mistake is improper measurements.
If you measure twice and cut once, you might avoid a few cringe-worthy moments!
To troubleshoot, check your design before the final cut. Ask a friend for a second opinion or build a smaller test version.
The key is to stay calm—wood can forgive a few mistakes, but it won’t forgive panic!
| Common Mistakes | How to Fix |
|---|---|
| Using weak materials | Choose sturdy wood, like plywood or hardwood. |
| Poor measurements | Double-check all sizes before cutting. |
| Skipping sanding | Always sand for a smooth finish to avoid splinters! |
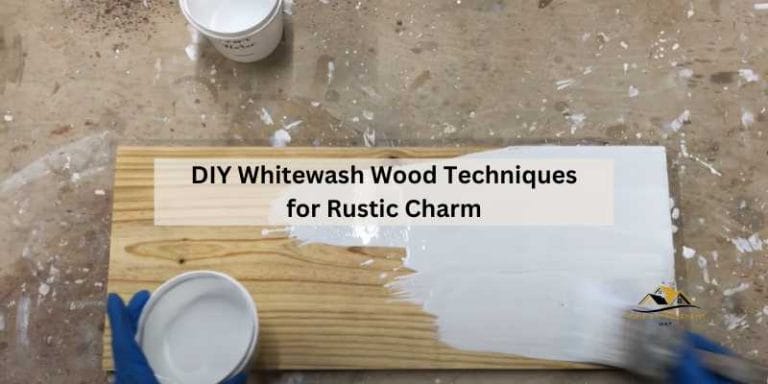
Finishing Touches for Your Workbench Top
Suggestions for sanding and sealing. Optional upgrades (vices, builtin storage, etc.).
To make your workbench top perfect, focus on these final steps. Start by sanding the surface until it’s smooth. This helps your projects look better and feel nice to the touch. Then, apply a sealant to protect the wood from stains and damage.
Consider these fun upgrades:
- Add a vice for holding materials securely.
- Include built-in storage for tools and supplies.
- Install a power strip for easy access to electricity.
These ideas can help you create a workbench that’s not only functional but also tailored to your needs.
Maintaining Your DIY Workbench Top
Tips for regular upkeep and care. How to repair and refresh your workbench top over time.
Taking care of your workbench top is like giving it a spa day! Regular upkeep keeps it happy and healthy. Wipe off stains right away.
Check for scratches and fill them with wood filler. If your bench looks tired, keep it refreshed with a good sanding and a coat of varnish. To help you remember, here’s a little table:
| Task | Frequency |
|---|---|
| Wipe Down | Every Use |
| Inspect for Damage | Weekly |
| Sand and Refinish | Every Year |
With these tips, your DIY workbench top will be the envy of all! Who knew a bench could look so good?
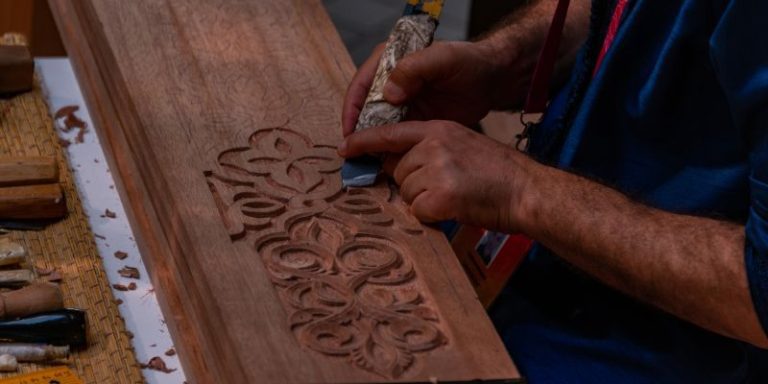
DIY Workbench Top Variations and Customization Ideas
Creative ideas for custom designs. Inspiration from different styles and uses.
Creating a DIY workbench top opens the door to fun and creativity. You can use old wood for a rustic look or bright colors for a cheerful workspace. Add hooks for tools, or create a chalkboard section for notes.
Why not measure your cereal box and add a snack holder? Eye-catching designs can inspire you to work better. Here are some custom ideas:
| Style | Customization Ideas |
|---|---|
| Rustic | Use reclaimed wood and add a varnish finish. |
| Modern | Incorporate metal accents and a sleek surface. |
| Colorful | Paint sections in your favorite colors or patterns. |
Each design adds flair and can make your DIY workbench top truly unique!
Resources and Further Learning
Recommended books, websites, and videos for more information. Community forums and groups for sharing experiences and tips.
Learning about creating a DIY workbench top can be exciting! Here are some great resources to help you:
- Books: Look for titles like “The Complete Manual of Woodworking” and “Workbench Design Book. ”
- Websites: Visit sites like Instructables and The Family Handyman for step-by-step guides.
- Videos: Check YouTube channels like DIY Creators for visual instructions.
Joining community forums, like Reddit’s woodworking group, offers a chance to share experiences and get tips from fellow enthusiasts.
Conclusion
In conclusion, creating a DIY workbench top not only enhances your workspace but also allows for customization tailored to your specific needs. With the right materials and tools, you can build a sturdy and functional surface that elevates your projects. Embrace the satisfaction of craftsmanship by embarking on this rewarding DIY project today!
FAQs
What Materials Are Best For Constructing A Durable Diy Workbench Top?
For a durable DIY workbench top, hardwood plywood or laminated particle board are excellent choices due to their strength and resistance to warping. Solid hardwood, like maple or oak, provides exceptional durability and can withstand heavy use. Additionally, using a thick epoxy coating can enhance surface durability and resistance to stains and moisture. Finally, incorporating a MDF (medium-density fiberboard) layer can offer a smooth, flat surface ideal for various projects.
How Thick Should A Workbench Top Be To Support Heavy Projects And Tools?
A workbench top should ideally be at least 1.5 to 2 inches thick to support heavy projects and tools effectively. This thickness provides the necessary strength and stability for demanding tasks. Additionally, the choice of material, such as hardwood or laminates, can also influence durability. For extremely heavy-duty use, consider even thicker tops or reinforcing supports.
What Are Some Effective Methods For Finishing And Protecting A Diy Workbench Top?
Effective methods for finishing and protecting a DIY workbench top include applying a clear polyurethane finish, which provides durability and water resistance. Tung oil or linseed oil can be used for a natural look while enhancing the wood’s grain and providing some moisture protection. You can also consider using a wax finish for a more traditional aesthetic, though it may require more frequent reapplication. Lastly, adding a layer of epoxy resin can create a tough, glossy surface that is resistant to stains and impacts.
How Can I Incorporate Storage Solutions Into A Diy Workbench Top Design?
To incorporate storage solutions into a DIY workbench top design, consider adding drawer units or shelving beneath the work surface for easy access to tools and materials. You can also include a pegboard or magnetic strips on the sides or back of the bench for hanging frequently used tools. Incorporating built-in storage compartments or cubbies directly into the workbench top can help keep smaller items organized. Finally, using totes or bins that fit under the workbench can maximize space while keeping the area tidy.
What Dimensions Should I Consider When Determining The Size Of My Workbench Top For Optimal Usability?
When determining the size of your workbench top, consider the available space in your workshop to ensure it fits comfortably without overcrowding. The height should be ergonomic for your working stance, typically around waist height, to reduce strain during tasks. Depth should allow room for tools and