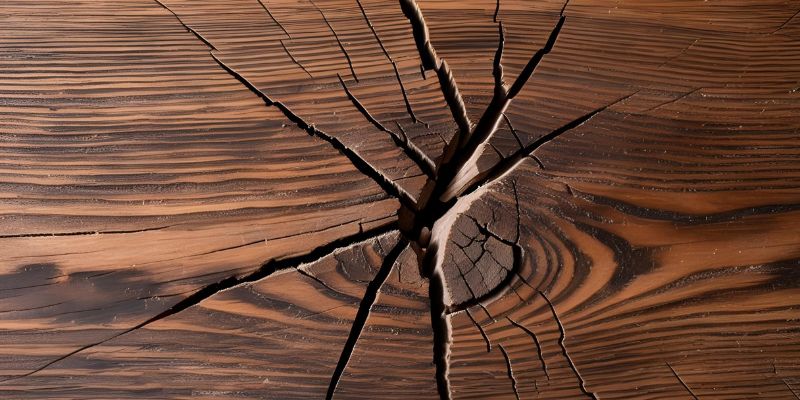
How to Fix Cracked Wood (Splits, Checks & Shakes)
Cracked wood presents a significant challenge in woodworking and furniture restoration, often resulting from environmental factors like humidity fluctuation and temperature changes. Understanding the underlying mechanisms of wood movement and the types of cracks—whether surface fissures or deeper splits—is essential for effective repair. Utilizing techniques such as adhesive bonding, epoxy fills, or moisture regulation can restore both the aesthetics and structural integrity of the wood. This article delves into the intricacies of diagnosing cracked wood and explores innovative methods to rejuvenate your treasured pieces, ensuring their longevity and beauty.
Discover the full spectrum of restoration possibilities that await!
Data Callout: The Real Moisture Range
The USDA Forest Products Laboratory’s Wood Handbook recommends indoor wood moisture content of about 6% in the dry Southwest up to 11% along the humid Gulf Coast — roughly 30-50% relative humidity in most conditioned homes. Outside that range in either direction is what actually causes cracking or warping — Source: USDA Forest Products Laboratory.
Understanding Wood Cracks
Wood can crack for different reasons. Here are some common types of cracks:
- Surface splits: Thin cracks on the surface, often from dryness.
- Checks: Deeper cracks that form along the wood’s growth rings.
- Shakes: Disruptions due to movement of the wood itself.
Several factors cause these cracks:
- Moisture loss: Dry air can make wood shrink.
- Temperature changes: Rapid shifts can stress the wood.
- Aging: Older wood naturally becomes more fragile.
Understanding these aspects helps in preventing and fixing cracks.
Best Wood Filler Pick
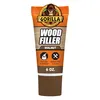
Gorilla Wood Filler, Walnut Color – $8.68
Matches this guide’s fill-and-sand method for checks — water resistant formula holds up better than basic putty once cured.
- Best for: Filling checks and small gaps before sanding
- Why we picked it: Water resistant, stainable, trusted brand
- Main drawback: Color match is limited to a few wood tones
Compare more crack repair supplies
 Option 1 PC-Woody Wood Repair Epoxy Kit – $13.61
|
 Option 2 Abatron Wood Restoration Kit – $46.99
|
 Option 3 Gorilla Wood Filler, Golden Oak – $8.68
|
As an Amazon Associate we earn from qualifying purchases.
Tools and Materials Needed
To repair cracked wood, you need the right tools and materials. Here are some essentials:
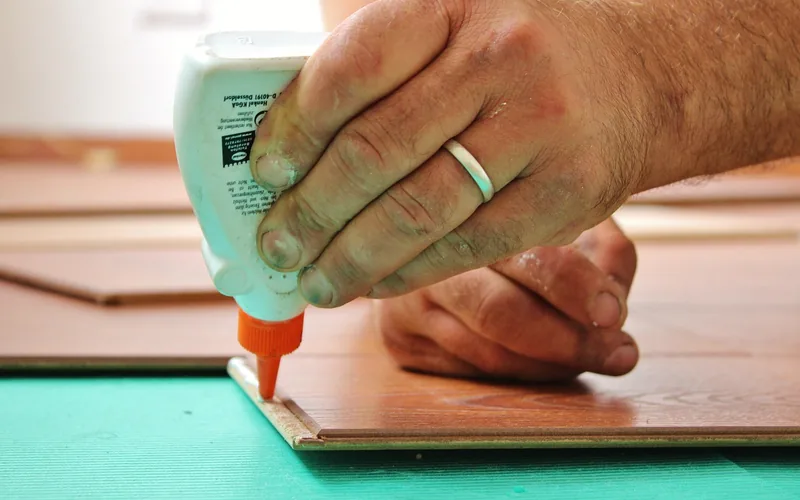
- Wood Glue: Helps bond the cracked pieces together — see Elmer’s glue vs. wood glue if you’re unsure which to use.
- Clamps: Hold the wood in place while the glue sets.
- Putty Knife: Useful for spreading fillers smoothly.
- Sandpaper: Helps create a smooth finish after repair.
Additionally, consider these materials:
- Wood Fillers: Fills gaps and cracks for a seamless look — see our guide on expanding foam filler for larger gaps.
- Epoxy Resin: Provides a strong, long-lasting bond.
- Wood Wax: Adds shine and protects the surface.
- Finishes: Enhances the wood’s appearance and durability.
Preparation Steps for Repair
Before you start fixing that cracked wood, it’s time to play detective. Assess the damage first. Check if it’s a deep crack or just a tiny boo-boo. This helps you pick the right repair method.
If it looks like a mini canyon, you might need glue or filler. Next, clean the crack and the area around it. Dust and dirt are like party crashers; they ruin your repair!
| Assessment | Cleaning Method |
|---|---|
| Check crack depth | Use a soft cloth |
| Determine repair type | Brush away debris |
With a clean slate, your repair will stick like glue to a desert cactus—perfectly!
Repair Techniques for Different Types of Cracks
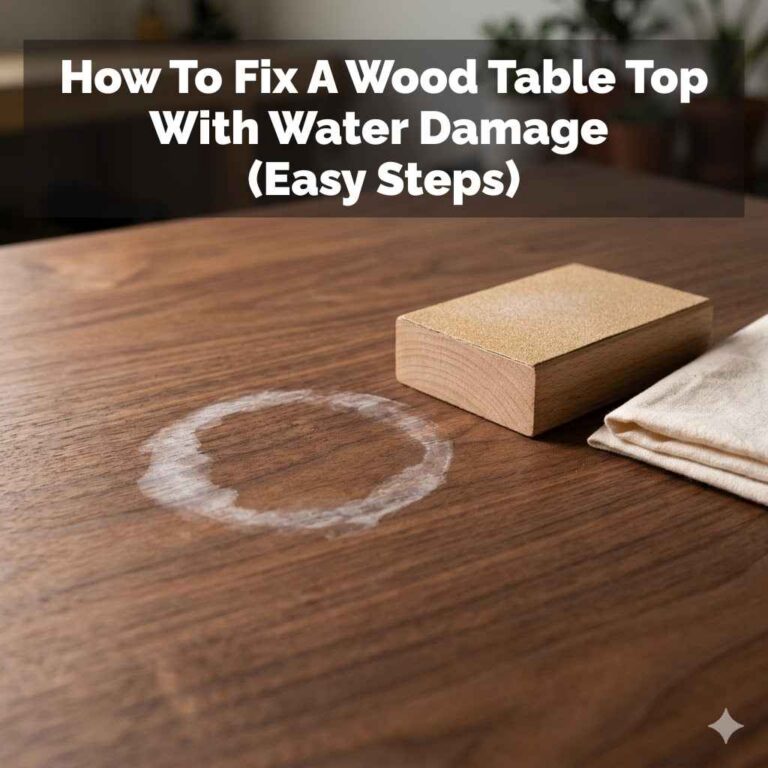
Different cracks in wood need different repair methods. For surface splits, use wood glue and clamps. First, clean the split, apply glue inside, and press the wood together with clamps for a few hours. For checks, fill them with wood filler, then sand the area smooth to match the wood.
Lastly, for shakes, mix epoxy resin and apply it to the cracks. Let it cure before sanding it down to a flush finish.
- Surface Splits: Glue and clamp.
- Checks: Fill with wood filler and sand.
- Shakes: Reinforce with epoxy resin.
Finishing Touches
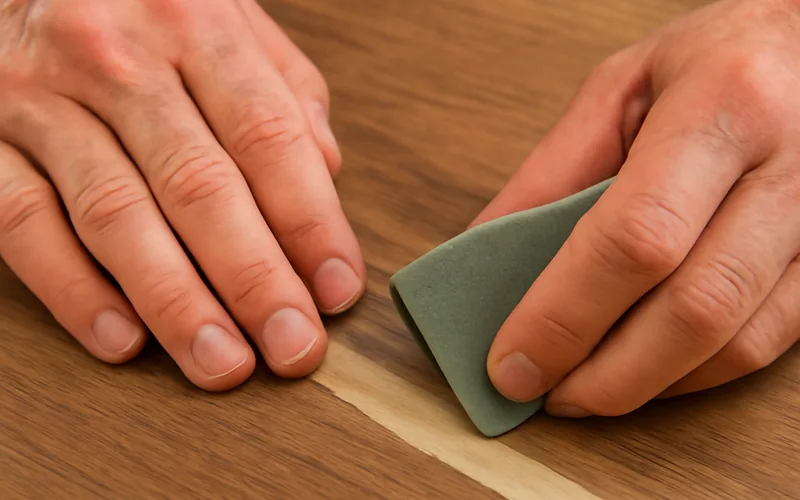
After you’ve fixed those pesky cracks, it’s time for the finishing touches! First, grab some sandpaper and smooth out the repaired area. It’s like giving your wood a gentle spa day. A smooth finish makes everything look neat and nice.
Next, you can pick from different finishing options. Here’s how they stack up:
| Option | Description |
|---|---|
| Stains | Add color and show wood grains. Like a makeover but for furniture! |
| Paints | Completely change the look. Perfect for bold styles! |
| Sealants | Protects the wood.Think of it as a superhero cape! |
Choose what suits your style, and your wood will be happy and shiny!
“Too much moisture, and it warps, swells, or even rots. Too little, and it cracks, splits, or loses strength.”
— Larry Loffer, Senior Technician, Wagner Meters
Preventing Future Cracks
To keep wood from cracking, maintain the right humidity and temperature. Aim for a humidity level between 30% and 50%. Use a humidifier in dry months. Avoid placing wood near heating sources.
- Check wood products regularly for signs of damage.
- Apply protective treatments like sealants or oils.
These steps help keep wood strong and beautiful for years.
Frequently Asked Questions
What Are The Most Common Causes Of Cracks In Wood Surfaces?
The most common causes of cracks in wood surfaces include changes in humidity and temperature, which can lead to expansion and contraction of the wood. Inadequate drying or curing of the wood during manufacturing can also contribute to cracking. Additionally, the natural aging process of wood can result in the development of cracks over time. Finally, exposure to harsh environmental conditions or pests can exacerbate these fractures.
What Materials And Tools Are Needed To Repair Cracks In Wood?
To repair cracks in wood, you will need wood glue or epoxy for filling the cracks, sandpaper for smoothing the surface, and a putty knife for applying the filler. Additionally, clamps may be useful to hold the pieces together while the adhesive cures. For finishing, you might need wood stain or paint to match the repaired area with the surrounding wood. A clean cloth or brush can also help with applying the finish.
How Can I Determine If A Crack In Wood Is Superficial Or A Sign Of Underlying Issues?
To determine if a crack in wood is superficial or indicative of underlying issues, carefully examine the depth and width of the crack. Superficial cracks typically only penetrate the surface and may be less than a few millimeters deep, while deeper cracks may expose the internal structure of the wood. Additionally, assess for signs of moisture damage, mold, or insect activity around the crack, as these can signal more serious problems. If in doubt, consulting a professional can provide a thorough evaluation and guidance.
What Is The Best Method For Filling And Sanding Cracked Wood To Achieve A Seamless Finish?
The best method for filling and sanding cracked wood involves first cleaning the crack and applying a high-quality wood filler that closely matches the wood color. Once the filler has dried, sand the area smoothly with progressively finer grit sandpaper until it’s flush with the surrounding wood. Then, wipe the surface clean before applying a finish or stain to achieve a seamless look. Finally, consider sealing the entire surface to protect against future cracks.
How Can I Prevent Future Cracks In Wood Furniture Or Structures?
To prevent future cracks in wood furniture or structures, maintain a consistent indoor humidity level between 30-50% by using a humidifier or dehumidifier as needed. Avoid placing wood items in direct sunlight or near heating sources, as extreme temperature changes can cause expansion and contraction. Regularly apply wood conditioner or polish to keep the wood nourished and maintain its integrity. Lastly, ensure proper ventilation in your home to minimize moisture fluctuations that can lead to cracking.
Conclusion
In summary, fixing cracked wood is a manageable task that can restore the beauty and functionality of your wooden surfaces. By identifying the cause, choosing the right repair techniques, and applying proper care, you can effectively address cracks and extend the life of your wood pieces. Regular maintenance will help prevent future damage, ensuring your wood remains stunning for years to come.
Sponsored / affiliate links. As an Amazon Associate I earn from qualifying purchases. I may earn additional commission from eligible campaigns.