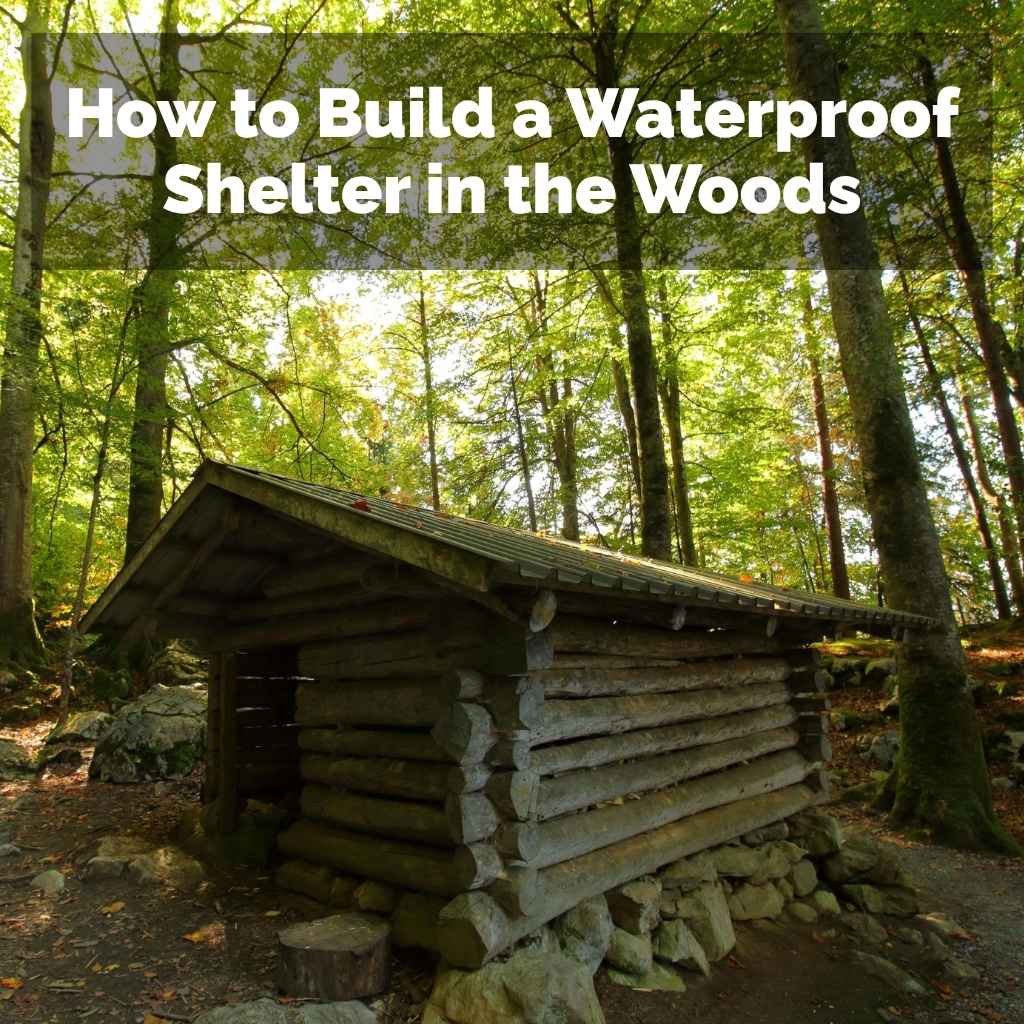
How to Build a Waterproof Shelter in the Woods
Many people want to know how to build a waterproof shelter in the woods. For beginners, this can seem tricky. You might worry about staying dry when it rains or snows.
It’s a common challenge, but it doesn’t have to be hard. We will show you a simple way to make sure you stay safe and dry. This guide will take you step-by-step through building a shelter that works.
Let’s get started and learn the basics.
Building a Waterproof Shelter for Survival
Learning how to build a waterproof shelter in the woods is a key skill for anyone who enjoys the outdoors. It’s about more than just staying dry; it’s about safety and comfort. A good shelter protects you from the elements, like rain, wind, and cold.
This keeps you from getting hypothermia, which is a dangerous drop in body temperature. Knowing how to build one can make a big difference in your outdoor experiences. This section covers why a waterproof shelter is so important and what makes a good one.
Why Shelter Is Essential
A shelter is your primary defense against the weather. Without it, you can quickly lose body heat. This is especially true if you get wet.
The human body needs to stay within a narrow temperature range to function well. When exposed to rain and wind, your body can lose heat much faster. This can lead to fatigue, confusion, and eventually, hypothermia.
Hypothermia is a serious medical condition. It can happen even in cool, not freezing, temperatures if you are wet. Symptoms include shivering, slurred speech, and drowsiness.
In severe cases, it can be fatal. A waterproof shelter helps prevent this by keeping you dry and reducing wind exposure.
Beyond immediate survival, a shelter provides mental comfort. Knowing you have a safe place to rest and recuperate helps reduce stress. This is important for maintaining good judgment and morale when you are in the wilderness.
Key Features of a Waterproof Shelter
A truly waterproof shelter has several key features. First and foremost, it must shed water effectively. This means it should have a sloped roof or walls that allow rain and snow to run off easily.
The materials used should also be water-resistant or waterproof.
Another important feature is insulation. While keeping water out is primary, a good shelter also traps some body heat. This can be achieved through the design and by using natural materials found in the woods.
The shelter should also be windproof. Wind can strip away body heat very quickly, even if it’s not raining. A solid structure that blocks wind is vital.
Finally, ventilation is important to prevent condensation from building up inside, which can make things damp.
Gathering Materials for Your Woodland Shelter
Now that you know why a waterproof shelter is important, let’s talk about what you need to build one. This section focuses on finding the best materials in the woods. You’ll learn what natural items are most useful and how to gather them safely.
We will also touch on any basic tools you might want to carry.
Natural Building Materials
The woods offer a wealth of natural materials to build with. Your primary needs will be for structure, covering, and insulation.
- Branches and Logs These form the framework of your shelter. You’ll need stronger, thicker branches for the main supports and smaller ones for the walls and roof structure. Look for fallen deadwood. Avoid cutting live trees unless it is an emergency and you know how to do it properly and ethically. Deadwood is often drier and easier to work with.
- Leaves and Pine Needles These are excellent for insulation and waterproofing. Large piles of dry leaves or pine needles can be layered thickly onto your shelter’s frame. They trap air, which is a great insulator, and can shed a surprising amount of rain if packed densely.
- Bark Large pieces of bark, especially from fallen trees, can be used as shingles to cover the roof and walls. Birch bark is especially useful due to its natural water-repellent qualities. Make sure the bark comes from dead or fallen trees to avoid harming living ones.
- Grass and Ferns Long, dry grasses and ferns can be woven or layered to create a waterproof thatch. They can also be used as additional insulation.
Tools and Gear
While you can build a shelter with just your hands, a few basic tools can make the process much easier and the shelter more effective.
- Knife or Multi-tool A good knife is invaluable. You can use it to cut smaller branches, shape materials, and prepare cordage.
- Saw (optional) A small folding saw can help you cut thicker branches for a sturdier frame.
- Cordage (optional) Natural cordage can be made from plant fibers, but carrying a length of strong rope or paracord is very useful for lashing branches together.
- Tarp or Poncho (optional) If you are carrying a tarp or poncho, it can serve as a waterproof layer for your roof, significantly improving its effectiveness.
Remember to practice Leave No Trace principles. Only use dead and fallen materials whenever possible. If you must cut anything, do so responsibly.
Choosing the Right Location For Your Shelter
The location where you decide to build your shelter is as important as the materials you use. A well-chosen spot can enhance the shelter’s effectiveness and your safety. This section explains how to pick the best place in the woods to set up your shelter.
Assessing the Environment
Before you start building, take time to look around. You want a spot that offers natural advantages.
- Natural Windbreaks Look for areas that are already protected from the prevailing wind. This could be the lee side of a hill, behind a dense group of trees, or near large rocks. A natural windbreak means your shelter has to do less work to keep you warm.
- Drainage Avoid building in low-lying areas or the bottoms of valleys. Rainwater flows downhill, and these spots can quickly become flooded or waterlogged. Look for slightly elevated ground.
- Proximity to Resources Being near a water source is good, but don’t build right on the bank, as this can be a hazard during floods or attract animals. Being close to fallen branches and other building materials is also a plus.
Safety Considerations
Safety should always be your top priority when choosing a location.
- Avoid Hazards Stay away from dead trees that might fall (widowmakers), steep slopes that could cause rockfalls or landslides, and areas with signs of recent animal activity like dens or large droppings.
- Sunlight and Shade Consider how the sun hits the spot. In colder weather, a spot that gets morning sun can help warm your shelter. In hot weather, shade is more important.
- Visibility If you are in a survival situation and want to be found, choose a spot that is somewhat visible from the air or from trails. However, if you are seeking seclusion, choose a more hidden location.
A common mistake is to rush into building without scouting the area. Take your time. A few extra minutes spent choosing the right spot can save you hours of work and make your shelter much more comfortable and safe.
Constructing Your Basic Waterproof Shelter
With materials gathered and a good location chosen, it’s time to build. This section provides straightforward steps on how to build a waterproof shelter in the woods using natural materials. We’ll cover a simple, effective design.
Step-by-Step Construction
We will describe building a lean-to shelter, a common and effective design for one or two people.
- Find Support Beams Locate two sturdy trees that are about 6-8 feet apart. If trees are not available, you can use two strong upright poles. You’ll need a long, strong beam to rest horizontally between these supports. This will be the ridgepole of your shelter. Secure this ridgepole firmly, ideally about 3-4 feet off the ground. You can use natural forks in the trees or lash it in place if you have cordage.
- Lean Rafters Against the Ridgepole Gather many strong branches, about 6-10 feet long. Lean these branches against the ridgepole, spacing them closely together. The angle should be about 45 degrees. These will form the main structure of your roof. Make sure the thicker ends are resting on the ground.
- Add Secondary Support and Lattice Lay smaller branches horizontally across the rafters. This creates a lattice work. This lattice will hold your insulating and waterproofing materials. Pack these closely.
- Apply Insulation and Waterproofing Layers This is the most crucial step for making it waterproof. Start layering leaves, pine needles, moss, or grass over the lattice. Begin at the bottom and work your way up, overlapping each layer like shingles on a roof. This ensures that water runs down the outside, not into your shelter. Pile these materials on very thickly – at least a foot thick if possible. The denser and thicker the layer, the more waterproof it will be.
- Reinforce and Seal Gaps Inspect the shelter from the inside and outside. Fill any gaps or thin spots with more insulating material. You can also use large pieces of bark as an outer layer for extra waterproofing.
Tips for Better Waterproofing
To ensure your shelter truly keeps you dry, keep these tips in mind:
- Layering is Key Think of it like shingles on a house. Each layer of leaves or bark should overlap the one below it. This allows water to run off the exterior surface without seeping in.
- Thick Insulation Don’t skimp on the insulation. A thin layer of leaves will not offer much protection from heavy rain. Aim for at least a foot of compressed material. The trapped air within the leaves is what provides insulation, and a thick layer creates many air pockets.
- Steep Angle The steeper the angle of your roof, the faster water will run off. A 45-degree angle is generally good.
- Natural Materials First While a tarp is excellent, rely on natural materials. Practice using them. Pine needles and dry leaves are your best friends for creating a watertight seal.
- Check for Leaks Once your shelter is built, go inside and look for light filtering through. These are potential leak spots. Add more material to those areas from the outside.
Building a shelter takes time and effort. Don’t get discouraged if your first attempt isn’t perfect. Every shelter you build will teach you something new about how to build a waterproof shelter in the woods.
Maintaining and Improving Your Shelter
Once your shelter is built, the work isn’t entirely done. To ensure it remains effective, especially during extended stays or worsening weather, you need to maintain it. This section provides advice on keeping your shelter in good condition and how you might improve it.
Regular Inspections and Repairs
Weather can be harsh on a shelter. Rain can wash away material, and wind can dislodge it. Regular checks are important.
- Check for Thin Spots Periodically, inspect the roof and walls from the outside, especially after rain or strong winds. Look for areas where the insulating material has thinned out or been blown away. Add more material to these spots.
- Reinforce the Frame Make sure the main supports are still stable. If branches have shifted, reposition them and re-secure them if possible.
- Clear Debris Keep the area around your shelter clear of fallen branches or debris that could weigh down the roof or block drainage.
- Dry Out the Interior If you notice dampness inside, try to air it out. You can prop open the entrance or use a small fire (safely, away from the shelter itself) to help dry the air.
Enhancing Your Shelter
There are several ways to make your shelter even better, increasing its comfort and waterproofing.
- Build a Raised Bed Sleeping directly on the ground can draw heat away from your body. Creating a raised platform inside your shelter using logs or branches can significantly improve insulation. Cover this platform with soft, dry leaves or grass for comfort.
- Create a Fire Pit Area If conditions allow and it’s safe, consider creating a designated fire pit area near your shelter. This provides warmth and can help dry out the interior air. Ensure the fire is a safe distance away to prevent accidental ignition of your shelter.
- Add an Outer Layer If you have a tarp or a large piece of waterproof material, you can drape it over your natural shelter for an extra layer of waterproofing. This is highly effective against heavy rain.
- Improve Ventilation While you want to keep the shelter sealed from wind and rain, some airflow is needed. You can create small, adjustable vents to manage condensation without letting in too much cold air.
The goal is to create a space that is not just a roof over your head, but a truly protected environment. Continuous improvement makes a huge difference in your comfort and safety when spending time outdoors.
Frequently Asked Questions
Question: How do I choose the best location for my shelter?
Answer: Look for a spot that is protected from wind, on higher ground to avoid flooding, and near building materials. Also, avoid areas with obvious animal signs or falling trees.
Question: What natural materials are best for waterproofing?
Answer: Thick layers of dry leaves, pine needles, moss, and bark are excellent. Overlapping them like shingles is key to shedding water effectively.
Question: Can I build a waterproof shelter without tools?
Answer: Yes, it’s possible with a lot of effort. A knife can significantly help with shaping and preparing materials, but a shelter can be made using only found materials and your hands.
Question: How thick should the insulating layer be?
Answer: Aim for at least one foot of compressed leaves or pine needles. The thicker the layer, the better it insulates and sheds water.
Question: What is the most common type of simple shelter?
Answer: A lean-to shelter is very common. It uses a natural support like a fallen log or a ridgepole between two trees, with branches leaning against it to form a roof.
Final Thoughts
Learning how to build a waterproof shelter in the woods is a practical skill for staying safe and comfortable outdoors. By choosing a good location, gathering suitable natural materials, and using simple construction techniques, you can create effective protection from rain and wind. Focus on layering your materials to shed water and don’t be afraid to make your shelter thicker for better insulation.
With a little practice, you can build a reliable shelter that keeps you dry and warm in the wilderness.