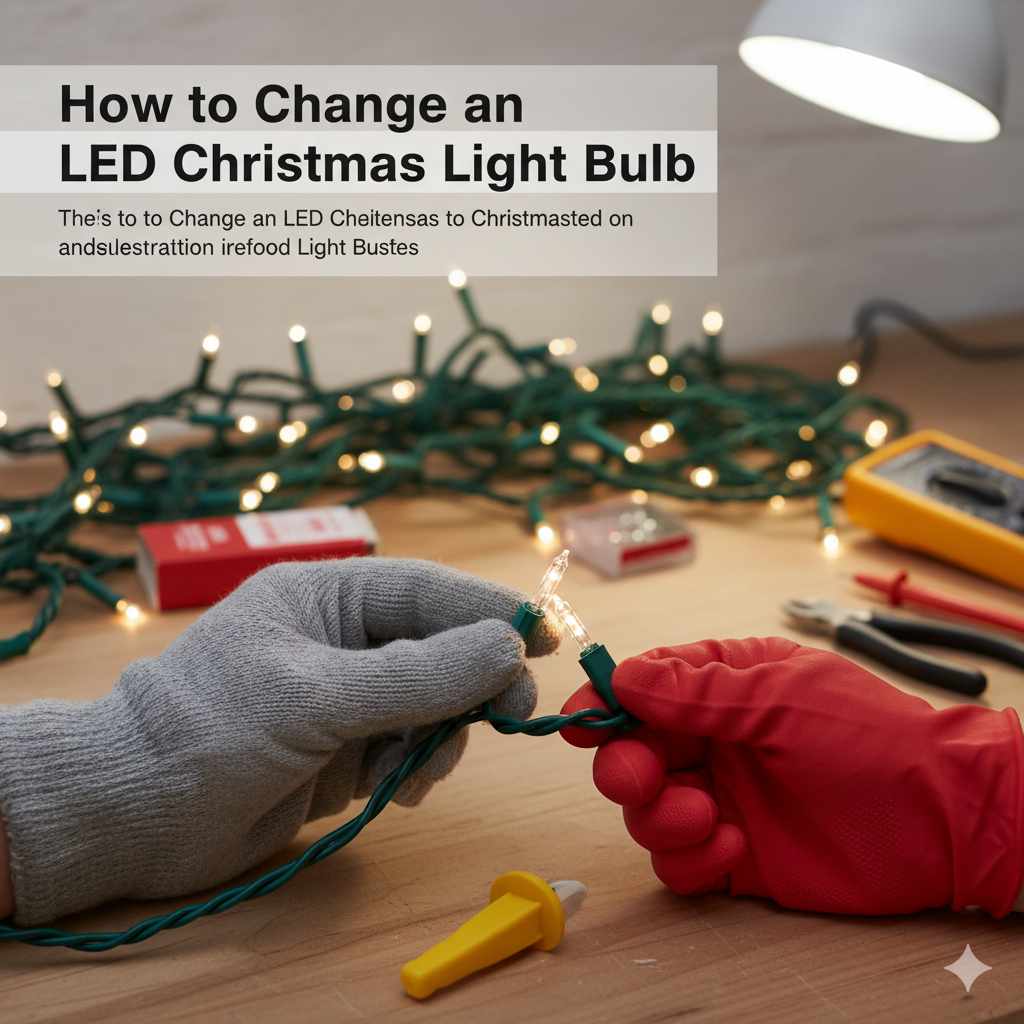
How to Change an LED Christmas Light Bulb: Genius Fix
Bolded Quick Summary (Top of Article)
Don’t let a few dead LED Christmas lights dim your holiday spirit! This guide offers a genius, beginner-friendly fix for how to change an LED Christmas light bulb. We’ll walk you through simple steps and essential tools to get your festive strands shining bright again, saving you money and hassle.
Ah, the twinkle of Christmas lights! It’s pure magic. But then, a section of your favorite LED strand goes dark. Frustrating, right? You might think it’s game over for those lights, but I’ve got good news! Most of the time, a few dark bulbs don’t mean you need to toss the whole string. With a little know-how, you can easily swap out a bad LED and bring your lights back to life. This guide will show you exactly how to change an LED Christmas light bulb, making your holiday decorating a breeze.
We’ll cover everything you need to know, from identifying the culprit bulb to safely making the replacement. No complicated tools or fancy skills required! By the end, you’ll feel confident tackling this common holiday issue and keeping your home merry and bright all season long.
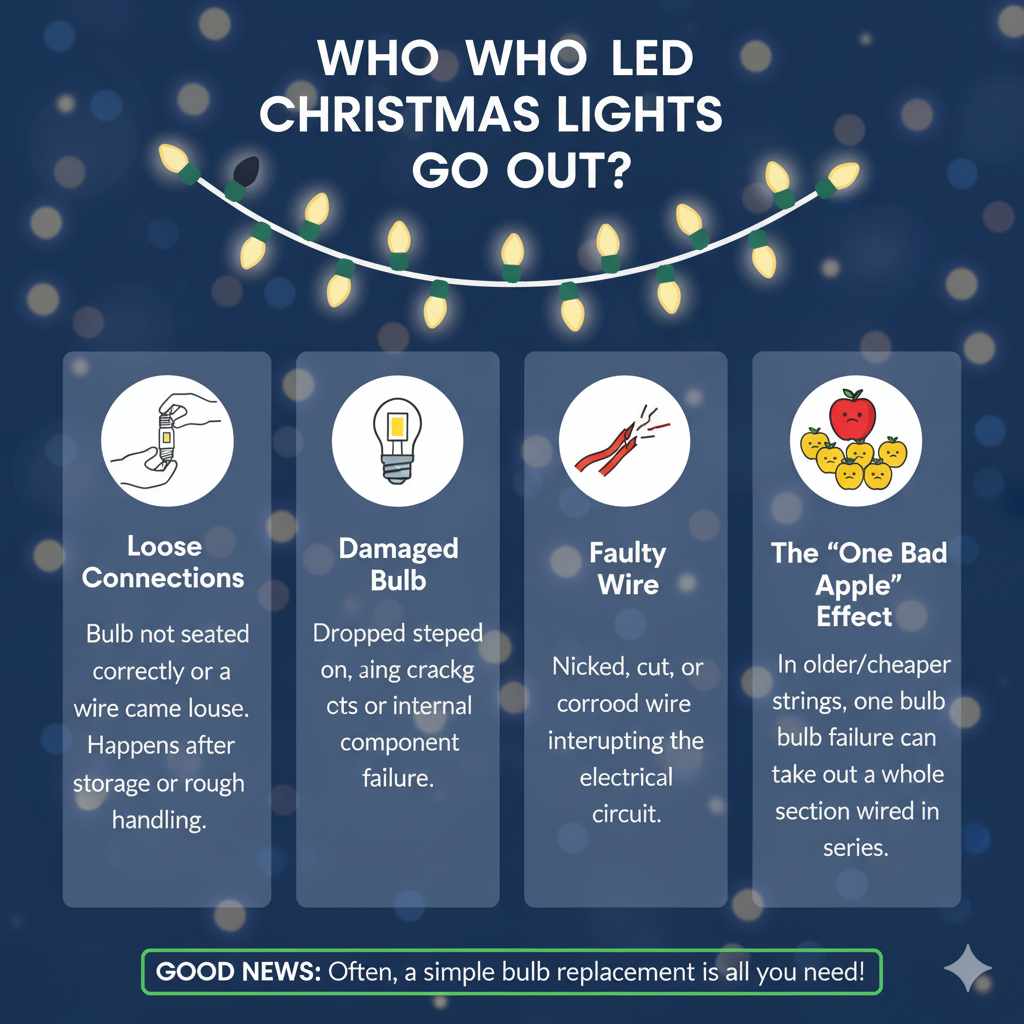
Why Do LED Christmas Lights Go Out?
LEDs are known for their durability and energy efficiency, often lasting for tens of thousands of hours. So, why do we sometimes find ourselves staring at a dark patch on our festive displays? It’s usually due to a few common reasons:
- Loose Connections: Sometimes, an LED bulb might not be seated correctly in its socket, or a wire connection can come loose. This is especially true after storage or if the lights have been handled roughly.
- Damaged Bulb: While tough, LEDs can still break if dropped or stepped on. A cracked bulb or damaged internal components can stop the flow of electricity.
- Faulty Wire: Occasionally, the wire connecting the LEDs can get nicked, cut, or corroded, interrupting the circuit.
- The “One Bad Apple” Effect: In some older or cheaper LED strings, if one bulb fails, it can sometimes take out a whole section of lights that are wired in series.
The good news is, for most of these issues, especially a single dead bulb, a simple replacement is often all that’s needed. Let’s get to the fix!
Tools You’ll Need to Change an LED Christmas Light Bulb
Before we dive into the steps, let’s gather what you’ll need. The great thing about this DIY fix is that it requires very few tools, and you might already have them around the house. Safety first, so make sure you have a safe workspace!
Essential Tools:
- Safety Glasses: Always protect your eyes, especially when working with small electrical components.
- Pliers (Needle-nose are best): These are crucial for gripping and gently pulling out the old bulb.
- Replacement LED Bulbs: Make sure they are the correct type and color for your light string.
- Wire Strippers/Cutters (Optional, for advanced fixes): If you need to repair a wire, these are helpful.
- Small Screwdriver Set (Optional): Some older or specialized light strings might have small screws.
- Multimeter (Optional, for troubleshooting): If you want to be extra sure which bulb is faulty, a multimeter can help. You can find affordable ones at most hardware stores. For example, a basic digital multimeter from The Home Depot can be a great investment for DIYers.
- Small Container: To hold the old bulbs and any small parts.
Step-by-Step Guide: How to Change an LED Christmas Light Bulb
Ready to get those lights shining again? Follow these simple steps. Remember to always unplug your lights before you begin any work to avoid electric shock.
Step 1: Safety First – Unplug Your Lights!
This is the most important step. Never attempt to change a bulb or inspect your lights while they are plugged into the power outlet. Go to the plug and disconnect it completely.
Step 2: Locate the Problem Area
Visually inspect your Christmas light string. Look for any bulbs that are clearly dark, cracked, or damaged. Often, a whole section of lights will go out if one bulb in the series has failed. If you can’t see an obvious culprit, you might have a loose connection or a break in the wire.
Step 3: Identify the Faulty Bulb
If multiple bulbs are out, or you can’t spot a damaged one, you may need to test them. For a single dark bulb, it’s usually the one that looks different or is the first one in the darkened section.
Pro Tip: If you have a multimeter, you can test the voltage across the sockets of the bulbs in the dark section. The bulb with zero voltage across it is likely the faulty one. You can learn more about using a multimeter from resources like TechRadar, which offers great beginner guides.
Step 4: Gently Remove the Old LED Bulb
This is where your needle-nose pliers come in handy.
- Carefully grasp the base of the suspect LED bulb with the pliers.
- Gently wiggle the bulb back and forth while pulling upwards. LEDs are usually press-fit into their sockets.
- Avoid yanking or pulling too hard, as you could damage the socket or the wires.
- If the bulb is stuck, try to get a better grip on the plastic base, not the glass part (if it has one).
Step 5: Install the New LED Bulb
Now it’s time to put in the replacement.
- Take your new, matching LED bulb.
- Align the pins of the new LED with the holes in the socket.
- Gently push the bulb straight into the socket until it sits snugly. You should feel a slight resistance, and it should feel secure.
- Do not force it. If it doesn’t go in easily, double-check that you have the correct bulb and that the pins are straight.
Step 6: Test Your Lights
Once the new bulb is in place, plug your Christmas lights back into the power outlet. If you’ve correctly identified and replaced the faulty bulb, the entire section (or the whole string) should light up again!
Step 7: Troubleshoot if Necessary
If the lights still don’t work, here are a few things to check:
- Is the new bulb seated correctly? Unplug again and double-check the fit.
- Are the wires okay? Inspect the wires around the socket for any visible damage.
- Did you get the right bulb? Ensure it’s the correct voltage and type.
- Is there another bad bulb? Sometimes, there’s more than one faulty bulb. You might need to repeat the process for the next bulb in the dark section.
- Is the socket damaged? If the socket itself looks broken, it might be time to consider retiring that strand.
When to Replace the Entire String
While it’s often possible to fix a section of LED Christmas lights, there are times when it’s more practical to replace the entire string. This usually happens when:
- Extensive Damage: If multiple sections are out, or if there are many broken bulbs or damaged wires, it might be more time-consuming and less cost-effective to repair.
- Frayed or Cut Wires: Any significant damage to the wiring poses a safety hazard. If you see frayed insulation, exposed wires, or cuts, it’s best to discard the string. According to the U.S. Consumer Product Safety Commission (CPSC), damaged cords are a significant fire risk.
- Old and Deteriorated Sockets: If the plastic sockets for the bulbs are cracked, brittle, or falling apart, they can’t hold the bulbs securely and may not make proper electrical contact, even with new bulbs.
- Persistent Issues: If you’ve replaced a bulb and another one quickly fails, or if you can’t find the source of the problem after a reasonable effort, the string might have an internal issue that’s not easily fixable.
Consider the age and condition of your lights. Newer LED strings are often more robust, but older ones can become more prone to issues over time.
Comparing LED vs. Incandescent Christmas Lights
Understanding the difference between LED and incandescent bulbs can help you appreciate why fixing LEDs is often straightforward. Here’s a quick comparison:
| Feature | LED Christmas Lights | Incandescent Christmas Lights |
|---|---|---|
| Energy Efficiency | Very high; use up to 80% less energy. | Low; generate a lot of heat as light. |
| Lifespan | Long; can last 25,000+ hours. | Short; typically 1,000-2,000 hours. |
| Durability | More durable; plastic lenses, no filament. | Fragile; glass bulb and delicate filament. |
| Heat Production | Minimal; stay cool to the touch. | High; can get very hot. |
| Fixability (Bulb Replacement) | Often easy to replace individual bulbs by swapping them out. | Difficult; often require special tools or replacement of the entire bulb/section if filament breaks. If one burns out, others in the series may go dark. |
| Cost | Higher upfront cost, but lower energy bills and longer life save money. | Lower upfront cost, but higher energy bills and frequent replacement add up. |
As you can see, the design of LED lights makes them more amenable to simple bulb replacement. The absence of a fragile filament means that if the LED itself is the problem, a new one can often seamlessly take its place.
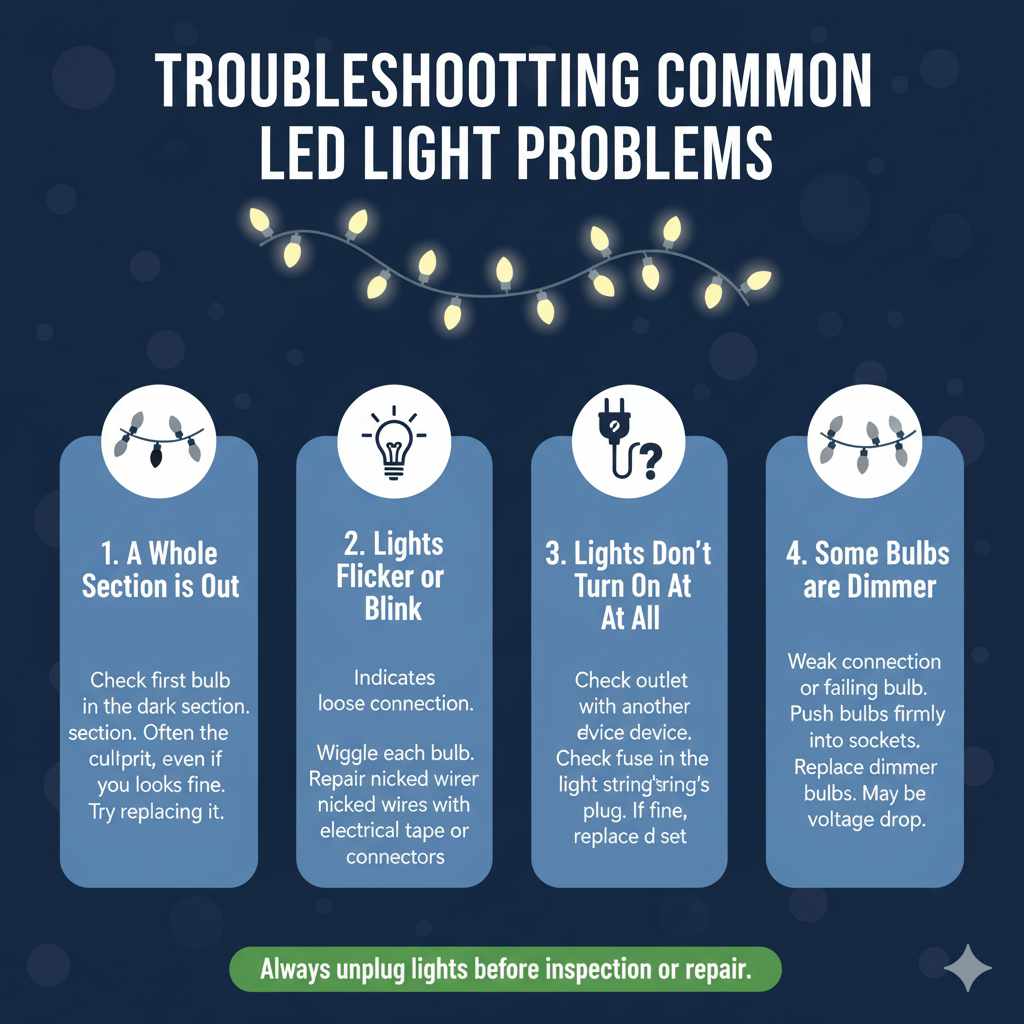
Troubleshooting Common LED Light Problems
Beyond just a single burnt-out bulb, you might encounter other minor issues with your LED Christmas lights. Here are a few common ones and how to tackle them:
1. A Whole Section is Out, But No Bulbs Look Damaged
This is a classic sign of a failed bulb that might not look obviously broken, or a loose connection within the string. Sometimes, the first bulb in the dark section is the culprit, even if it looks fine. Try replacing that first bulb.
2. Lights Flicker or Blink Inconsistently
Flickering can indicate a loose connection somewhere in the string, either at a bulb socket or within the wire itself. Unplug the lights and carefully inspect the entire length, wiggling each bulb in its socket. If you find a loose wire, you might need to repair it with electrical tape or, for a more robust fix, use wire connectors after stripping the ends. Always ensure any wire repair is done safely and securely.
3. Lights Don’t Turn On At All
If your entire string is dark, first check the power source. Is the outlet working? Try plugging in another device to confirm. If the outlet is fine, the problem could be the fuse (if your string has one – check the plug) or a more significant issue with the string itself. Many LED strings have a small fuse inside the plug. You can usually slide out a small compartment to check and replace it. If the fuse is fine, and the outlet is fine, the problem is likely within the light string and might require replacing the whole set.
4. Some Bulbs are Dimmer Than Others
This often points to a weak connection or a bulb that’s starting to fail. Unplug the lights and gently push each bulb firmly into its socket. If you can identify the dimmer bulbs, try replacing them with new ones. If the dimness persists across a section, it might indicate a voltage drop due to too many bulbs in a series or an issue with the power supply.
Frequently Asked Questions (FAQ) About Changing LED Christmas Light Bulbs
Q1: Do I really need to unplug my lights before changing a bulb?
A: Absolutely, yes! Safety is paramount. Unplugging your lights prevents the risk of electric shock, which can be serious. Always ensure the power is completely off before you touch any part of the light string.
Q2: How do I know if I have the right replacement LED bulb?
A: Check the packaging of your original lights or the string itself for specifications like voltage and color. Replacement bulbs should match these exactly. Using the wrong voltage can damage the string or the new bulb.
Q3: What if I can’t find the exact replacement bulbs for my LED Christmas lights?
A: If you can’t find an exact match, look for bulbs that have the same voltage rating and are designed for Christmas light strings. The color and brightness (lumens) should also be as close as possible to maintain the look of your display. Sometimes, buying a new, inexpensive string of lights and using its bulbs as replacements is a viable option if your old string is hard to match.
Q4: Can I replace an LED bulb with an incandescent one, or vice-versa?
A: No, you should not mix LED and incandescent bulbs on the same string. They operate on different voltage and current requirements. Mixing them can cause the LEDs to burn out quickly or the incandescent bulbs to fail prematurely, and can even be a fire hazard.
Q5: My LED lights have a fuse in the plug. Do I need to check that too?
A: Yes! If your entire string of lights isn’t working, the fuse is a common culprit. Most plugs have a small compartment that slides open, revealing one or two small glass fuses. If a fuse looks burnt or broken, replace it with one of the same rating (usually printed on the fuse itself or the plug). If the new fuse blows immediately, there’s likely a short circuit in the string.
Q6: What’s the best way to store my Christmas lights to prevent damage?
A: To prevent damage, avoid coiling lights too tightly. Consider using a light storage reel, wrapping them around a piece of cardboard, or hanging them on hangers. Store them in a cool, dry place away from direct sunlight and moisture to extend their lifespan.
Conclusion
There you have it! Changing an LED Christmas light bulb is a simple, rewarding DIY task that can save you money and keep your holiday decorations shining bright. By following these steps and keeping safety in mind, you can easily tackle those dark spots and ensure your home is filled with festive cheer. Remember, a little bit of effort can go a long way in making your holidays merry and bright.
Don’t let a few dead bulbs get you down. With the right tools and a little patience, you’re now equipped to handle this common holiday hiccup. So go ahead, inspect those strands, swap out those bulbs, and enjoy the beautiful glow of your perfectly lit Christmas display!