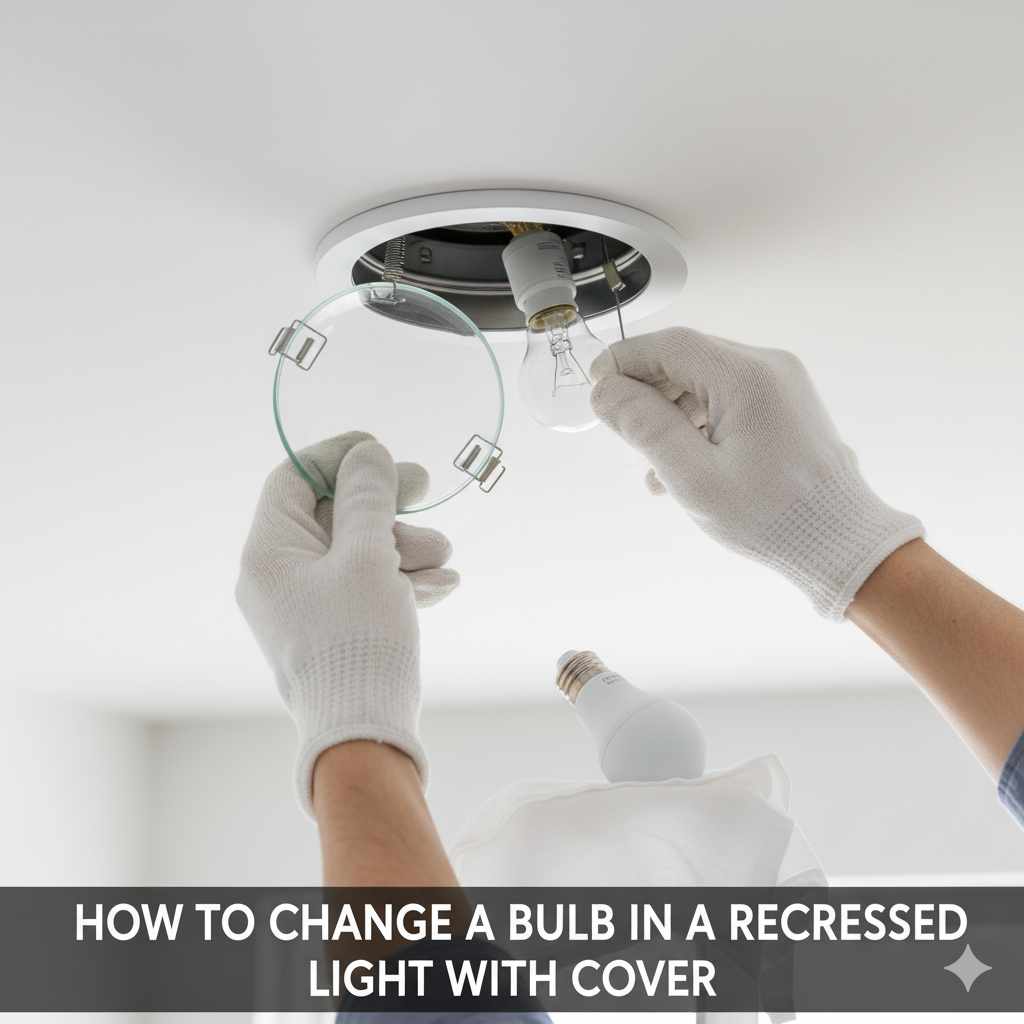
How to Change Bulb in Recessed Light with Cover: Proven Essential
Quick Summary:
Changing a bulb in a recessed light with a cover is a simple DIY task. Ensure power is off, gently remove the cover, unscrew the old bulb, screw in the new one, replace the cover, and restore power. This guide provides essential, step-by-step instructions for a safe and successful bulb replacement.
Hello there, fellow DIY enthusiasts! Md Meraj here. Ever find yourself staring up at a dark recessed light, wondering how on earth you’re supposed to get that bulb out, especially when there’s a cover in the way? It’s a common little puzzle that can leave you feeling a bit stuck. But don’t you worry! Changing a bulb in a recessed light with a cover is a straightforward process, and I’m here to walk you through it, step by careful step. We’ll make sure you can tackle this with confidence, keeping safety and simplicity at the forefront. Get ready to brighten up your space again – it’s easier than you think!
Why This Skill is Essential for Homeowners
Recessed lights, those sleek, built-in fixtures that seem to disappear into your ceiling, are a modern homeowner’s dream. They offer clean lines and excellent illumination without taking up visual space. However, like any light fixture, their bulbs eventually burn out. When this happens in a recessed light that has a cover – often a glass lens or a decorative trim – it can seem a bit daunting for beginners. Knowing how to safely and effectively change these bulbs is a fundamental home maintenance skill. It saves you the cost of calling a handyman for a simple task, allows you to choose the right type of bulb for your needs, and ensures your home stays well-lit and welcoming.
Think about it: a burnt-out bulb in a hallway can be a safety hazard, or a dark spot in your kitchen can make cooking less enjoyable. Being able to handle this yourself means you’re in control of your home’s comfort and functionality. Plus, with the variety of LED bulbs available today, changing a bulb is also a great opportunity to upgrade to more energy-efficient and longer-lasting options, saving you money on your electricity bills over time. This guide is designed to demystify the process, making it accessible for everyone, regardless of prior experience.

Essential Tools and Materials You’ll Need
Before we dive into the steps, let’s gather what you’ll need. Having the right tools makes the job much smoother and safer. Don’t worry if you don’t have everything; most of these are common household items or easily found at your local hardware store.
Here’s a quick checklist:
- Replacement Bulb: Make sure you have the correct type and wattage for your fixture. Check the old bulb or the fixture housing for specifications.
- Step Ladder or Sturdy Stool: For safely reaching the light fixture. Ensure it’s stable and on a level surface.
- Gloves (Optional but Recommended): To keep the new bulb clean (oils from your fingers can shorten its lifespan) and to protect your hands.
- Soft Cloth or Paper Towel: For wiping down the cover if needed.
- Screwdriver (if applicable): Some covers are secured with screws.
- Putty Knife or Flathead Screwdriver (for prying, use with extreme caution): Only if the cover is snug and doesn’t have obvious fasteners.
- Safety Glasses: To protect your eyes from dust or debris.
Choosing the right bulb is crucial. For recessed lighting, you’ll often see designations like “recessed downlight” or “can light” bulbs. Common types include:
- BR (Bulged Reflector) bulbs: These have a built-in reflector.
- R (Reflector) bulbs: Similar to BR but with a more parabolic reflector.
- MR (Miniature Reflector) bulbs: Smaller bulbs often used in track lighting or smaller recessed fixtures.
- LED Retrofit Kits: These are integrated units that replace the entire bulb and sometimes the trim, offering significant energy savings and longevity.
Always check the maximum wattage your fixture can handle to prevent overheating. You can usually find this information on a sticker inside the fixture’s housing, often visible when the bulb is removed.
Step-by-Step Guide: How to Change a Bulb in Recessed Light with Cover
Let’s get to it! Follow these steps carefully, and you’ll have that new bulb shining in no time.
Step 1: Safety First – Turn Off the Power!
This is the MOST important step. Never attempt to change a light bulb while the power is on. Go to your home’s electrical panel (breaker box) and locate the breaker that controls the lights in the room where you’ll be working. Flip the breaker to the “OFF” position. To be absolutely sure, try flipping the light switch for the fixture you’re working on. If the light doesn’t turn on, you’ve successfully cut the power.
For extra peace of mind, you can even place a piece of tape over the light switch so no one accidentally flips it back on while you’re working. Safety is paramount in any home improvement task, and this is no exception. Understanding basic electrical safety can prevent serious injury.
Step 2: Accessing the Bulb – Removing the Cover
This is where the “with cover” part comes into play. Recessed light covers vary, but here are the most common types and how to handle them:
Type A: Spring Clips or Tension Mount Covers
Many recessed lights have a glass or plastic lens held in place by small metal spring clips or a tension ring.
- How to remove: Gently push upwards on the cover to relieve tension on the clips, and then carefully pull the cover down. Sometimes, you might need to gently pry the edge of the cover with your fingers or a very gently applied flathead screwdriver or putty knife if it’s snug. Work your way around the edge, releasing the tension. Some covers might have small screws holding them in place; if so, you’ll need your screwdriver.
Type B: Screw-In Covers
Some covers, especially older or decorative ones, might screw directly into the light fixture housing.
- How to remove: Grasp the cover firmly and turn it counter-clockwise. It might be a bit stiff, so a gentle but firm grip is key. If it’s very tight, you can try a rubber jar opener or a rubber glove for better traction.
Type C: Trim Ring Covers
Often, the bulb is accessible after removing the main trim ring of the recessed light. This trim ring is usually held in by spring clips that attach to the can itself.
- How to remove: Look for the trim ring that encircles the bulb opening. It’s often held in place by two or three spring-loaded metal tabs that slide into slots in the main housing (the “can”). You’ll need to carefully pull the trim ring down. Sometimes, you can get a grip on the edge and pull it straight down. If it’s stuck, you might need to gently push the spring tabs inwards towards the can while pulling down.
Important Note: Be gentle! These parts can be fragile, especially older plastic or glass. If you encounter significant resistance, double-check if there are hidden screws or clips you might have missed. Forcing it can lead to breakage, making the repair more complex.
Step 3: Unscrewing the Old Bulb
Once the cover is off and you have clear access to the bulb, you can unscrew it. Make sure the bulb is cool to the touch before you start. If it’s hot, wait a few minutes for it to cool down.
- How to unscrew: Grip the bulb firmly but gently and turn it counter-clockwise. It should unscrew easily. If it’s stuck, don’t force it too hard, as you could break the glass. Sometimes, a slight wiggle while turning can help. If the bulb breaks, turn off the power at the breaker immediately and wear thick gloves and safety glasses. You can often remove the base of a broken bulb with needle-nose pliers.
Step 4: Installing the New Bulb
Now for the exciting part – the new bulb! Ensure you have the correct replacement bulb ready.
- How to install: Carefully take your new bulb. If it’s an LED or CFL bulb, avoid touching the glass part directly with your bare hands. Oils from your skin can reduce its lifespan. If you do touch it, wipe it clean with a lint-free cloth. Align the bulb’s base with the socket and screw it in clockwise. Turn it until it’s snug, but don’t overtighten. It should feel secure without excessive force.
Step 5: Reattaching the Cover
With the new bulb in place, it’s time to put the cover back on. This is essentially the reverse of how you took it off.
- For Spring Clip/Tension Mount Covers: Carefully align the cover with the opening and gently push it upwards until the clips engage and hold it securely in place.
- For Screw-In Covers: Align the threads and screw the cover clockwise until it’s snug.
- For Trim Ring Covers: Guide the trim ring back up into the housing. You should feel or hear the spring clips engage with the can. Ensure it’s seated evenly all around.
Make sure the cover is secure and sits flush against the ceiling. This helps maintain the fixture’s intended appearance and function, and importantly, prevents dust from accumulating directly on the bulb.
Step 6: Restore Power and Test
Head back to your electrical panel and flip the breaker back to the “ON” position. Then, go to the light switch and turn it on. Your new bulb should light up!
If it doesn’t light up, turn the power off again at the breaker and double-check that the bulb is screwed in properly and that you have the correct bulb type. Sometimes, a faulty new bulb can happen, or the socket might have an issue, but usually, a quick re-check solves the problem.
Choosing the Right Bulb: A Quick Comparison
The type of bulb you choose can impact your lighting experience, energy costs, and how often you’ll be performing this task. Here’s a look at common options:
| Bulb Type | Pros | Cons | Typical Lifespan (Hours) | Energy Use (Example for 60W Equivalent) |
|---|---|---|---|---|
| Incandescent | Low initial cost, warm light quality. | Very inefficient, short lifespan, fragile, phased out in many regions. | ~1,000 | ~60W |
| Halogen | Brighter than incandescent, good color rendering. | Less efficient than LED/CFL, hotter than LEDs. | ~2,000 | ~43W |
| CFL (Compact Fluorescent Lamp) | Energy-efficient, longer lifespan than incandescent. | Can contain mercury, warm-up time, not ideal for frequent on/off switching. | ~8,000 – 10,000 | ~13-15W |
| LED (Light Emitting Diode) | Highly energy-efficient, very long lifespan, instant on, durable, various color temperatures. | Higher initial cost (though decreasing), some have poor dimming capabilities, quality varies. | ~15,000 – 50,000+ | ~8-10W |
For most recessed lighting applications today, LED bulbs are the top recommendation. They offer the best balance of energy efficiency, longevity, and performance. When selecting an LED bulb for a recessed fixture, look for terms like “dimmable” if you have a dimmer switch, and consider the “beam angle” – a wider angle is usually better for general room illumination from recessed lights.
You can find more information on bulb types and energy efficiency from resources like the U.S. Department of Energy’s Energy Saver website, which provides excellent guidance on making smart lighting choices for your home.
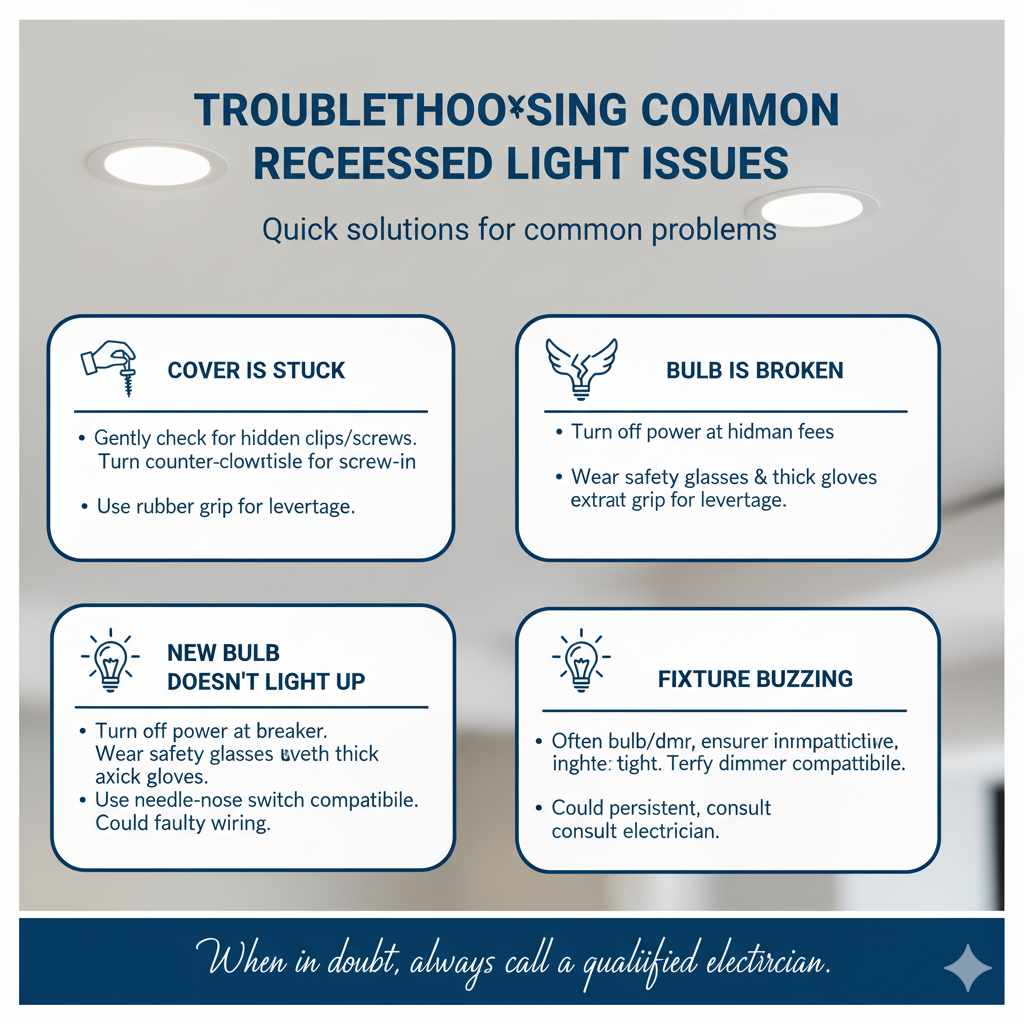
Troubleshooting Common Issues
Even with the best instructions, sometimes things don’t go perfectly. Here are a few common problems and how to solve them:
- Cover is stuck: Gently try to find hidden clips or screws. If it’s a screw-in type, ensure you’re turning it the right way (counter-clockwise to loosen). A rubber grip can help. Avoid excessive force.
- Bulb is broken: Turn off power at the breaker immediately. Wear safety glasses and thick gloves. Use needle-nose pliers to grip and unscrew the metal base of the broken bulb.
-
New bulb doesn’t light up:
- Check the breaker again.
- Ensure the bulb is screwed in all the way (but not overtightened).
- Try the bulb in another fixture to see if it works.
- Check if the fixture has a dimmer switch; ensure the bulb is compatible with dimmers if you have one.
- Fixture makes a buzzing sound: This could indicate an issue with the bulb (especially with some CFLs or incompatible dimmers), the socket, or the wiring. If it persists after changing the bulb, it might be time to consult an electrician.
Remember, if you’re ever unsure or uncomfortable, it’s always best to call a qualified electrician. Working with electricity can be dangerous if not done correctly.
Frequently Asked Questions (FAQ)
Q1: How do I know if the power is truly off?
A: After flipping the breaker, test the light switch for that fixture. If the light does not turn on, the power is off. For absolute certainty, you can use a non-contact voltage tester near the switch or fixture, but simply confirming the light switch doesn’t work is usually sufficient for bulb changes.
Q2: Can I replace a recessed light bulb with an LED?
A: Yes, absolutely! In fact, it’s highly recommended. Just ensure the LED bulb is the correct size and base type for your fixture, and check that it’s compatible with your dimmer switch if you have one. Also, be mindful of the fixture’s maximum wattage rating, though LEDs use significantly less power, so this is rarely an issue.
Q3: My recessed light cover is glass. How do I handle it safely?
A: Handle glass covers with care. Ensure you have a stable footing on your ladder. If the glass feels loose, support it with one hand while you work with the other to remove any retaining clips or screws. If you need to remove it completely, it’s often best to have someone hand you tools or the new bulb, or place the removed glass cover safely on a stable surface nearby.
Q4: What if the old bulb breaks when I’m trying to unscrew it?
A: First, turn off the power at the breaker box immediately. Then, wear safety glasses and thick gloves. You can often remove the remaining metal base of the bulb using needle-nose pliers. Turn the pliers to grip the edge of the metal base and twist counter-clockwise.
Q5: My recessed light has a decorative trim. How do I remove that?
A: Decorative trims are often held in place by spring clips attached to the main housing (the “can”). You typically need to pull the trim ring straight down. You might need to gently push the spring clips inwards towards the can while pulling down, or simply get a firm grip on the trim and pull steadily. Once the trim is down, you should have access to the bulb.
Q6: How tight should I screw in the new bulb?
A: Screw the bulb in until it feels snug and secure. Do not overtighten, as this can damage the bulb’s base or the socket, and make it difficult to remove later. A gentle snugness is all that’s needed.
Conclusion
And there you have it! Changing a bulb in a recessed light with a cover is a manageable DIY task that can be accomplished safely and efficiently by following these steps. You’ve learned the importance of turning off power, how to tackle different types of covers, the best practices for installing a new bulb, and even some troubleshooting tips for common issues.
By equipping yourself with the right tools and a little know-how, you can confidently maintain your home’s lighting, saving time and money. This skill is a valuable addition to your home improvement repertoire, empowering you to keep your living spaces bright and comfortable. So next time you see a dark recessed light, don’t hesitate – you’ve got this!