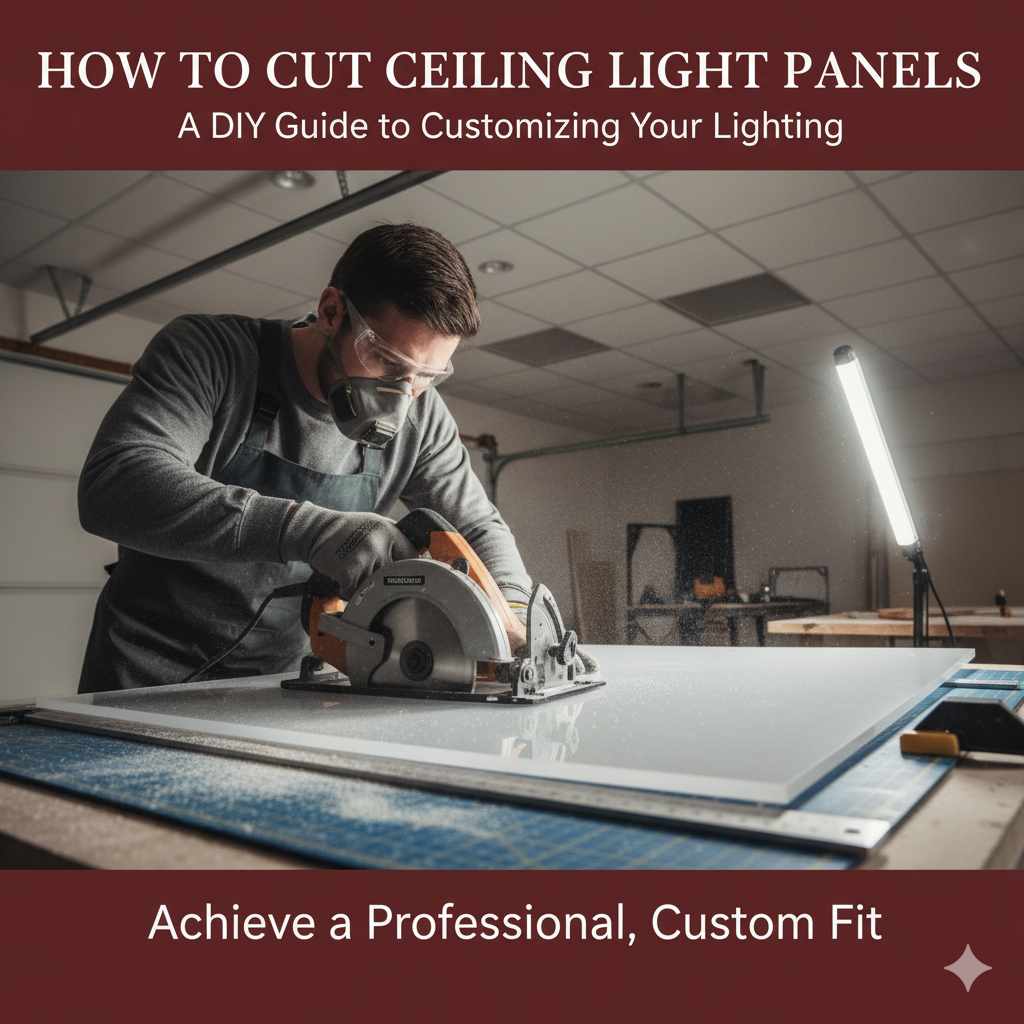
How to Cut Ceiling Light Panels Without Cracking Them
Score acrylic or polycarbonate ceiling light panels with a utility knife along a strip of masking tape, then snap along the line — plastic under 3/16 inch cuts cleanly this way with no saw needed. Cutting too fast with a power blade melts the edge instead of slicing it. This guide covers cutting acrylic and polycarbonate panels, cutting a drywall opening to fit one, and picking the right blade for each material.
Gathering Your Tools and Materials
Having the right tools before you start makes the whole process smoother and the cut cleaner. Here’s what you’ll need:
Essential Tools for Cutting Ceiling Light Panels
- Safety glasses: cutting plastic and drywall both throw dust and sharp debris.
- Measuring tape: get the opening or panel measurement exact before you cut.
- Pencil or fine-tip marker: for marking cut lines clearly on the panel or protective film.
- Masking tape: applied along the cut line, it prevents chipping and jagged edges on plastic panels.
- Utility knife: for scoring and snapping thinner acrylic or polycarbonate panels.
- Jigsaw with a fine-tooth or plastic-cutting blade: for thicker panels, drywall, or wood framing.
- Straight edge or ruler: clamped down, it guides both scoring and power-tool cuts.
- Dust mask: especially important when cutting drywall.
- Drop cloth or old sheets: to catch debris and protect the floor below.
Materials You Might Be Cutting
- Drywall: often the material you’re cutting into to create the opening for the panel.
- Acrylic or polycarbonate: the diffuser material most modern light panels are made from.
- Glass: uncommon for DIY cutting — usually pre-cut or professionally handled.
- Wood: sometimes used for framing or decorative trim around a panel.
Best Plastic-Cutting Pick
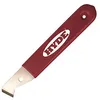
Hyde Tools Plastic Cutting Tool – $7.91
A purpose-built scoring tool for the score-and-snap method this guide recommends for acrylic and polycarbonate panels under 3/16 inch thick.
- Best for: thin acrylic or polycarbonate light panel diffusers
- Why we picked it: a dedicated carbide tip scores cleaner than a utility knife on repeated passes
- Main drawback: not designed for panels thicker than about 3/16 inch – use a jigsaw instead
Compare more cutting tool options
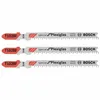 Option 1 Bosch Clean-Cut Plexiglas Jigsaw Blades – $8.19
|
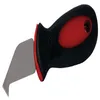 Option 2 Red Devil Plexiglass Scoring Tool – $8.06
|
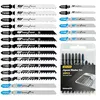 Option 3 20-Piece T-Shank Jigsaw Blade Set – $5.29
|
As an Amazon Associate we earn from qualifying purchases.
Why Cutting Ceiling Light Panels Might Be Necessary
Ceiling light panels come in standard sizes, but your ceiling opening might not match one exactly. You might be replacing an older, larger fixture, fitting a panel into a custom frame, or trimming a pre-cut panel slightly to sit flush. A poorly cut panel leaves gaps and an uneven edge, which defeats the point of upgrading the lighting in the first place.
Step-by-Step Guide: How to Cut Ceiling Light Panels
Step 1: Measure Twice, Cut Once
Take precise measurements of the opening before touching any tools. If you’re fitting a panel into an existing frame, measure the frame opening. If you’re cutting a new hole in drywall, measure the panel and add the clearance the manufacturer specifies. Transfer the measurement onto the panel or ceiling material with a pencil.
Step 2: Prepare Your Workspace
Lay a drop cloth on the floor below the work area. If you’re cutting into the ceiling itself, turn off power to that circuit at the breaker before you start — see the U.S. Consumer Product Safety Commission’s electrical safety guidelines for more on working safely near ceiling wiring.
Step 3: Cutting Different Materials
Cutting Drywall for Panel Installation
If you need to create an opening in drywall for your light panel:
- Mark the opening: draw the exact shape on the ceiling using your measurements.
- Score the line: score deeply with a sharp utility knife, making multiple passes through the paper and gypsum.
- Use a jab saw or jigsaw: insert the blade tip into the scored line — drill a pilot hole first for a jigsaw blade.
- Cut slowly and steadily: let the tool do the work; forcing it causes a rough edge or a broken blade.
- Support the cutout: hold the drywall piece as you finish the cut so it doesn’t fall and tear the paper facing.
Cutting Acrylic or Polycarbonate Light Panels
If the light panel itself needs to be trimmed:
- Mark your cut line: use a fine-tip marker, ideally on the protective film if it’s still on the panel.
- Tape the line: run a strip of masking tape along both sides of the cut line — this is what actually prevents the jagged edges and cracks that ruin most DIY plastic cuts.
- Score and snap (panels under 3/16 in.): score deeply along the taped line with a utility knife or dedicated scoring tool, clamp the panel at the line, then snap it cleanly.
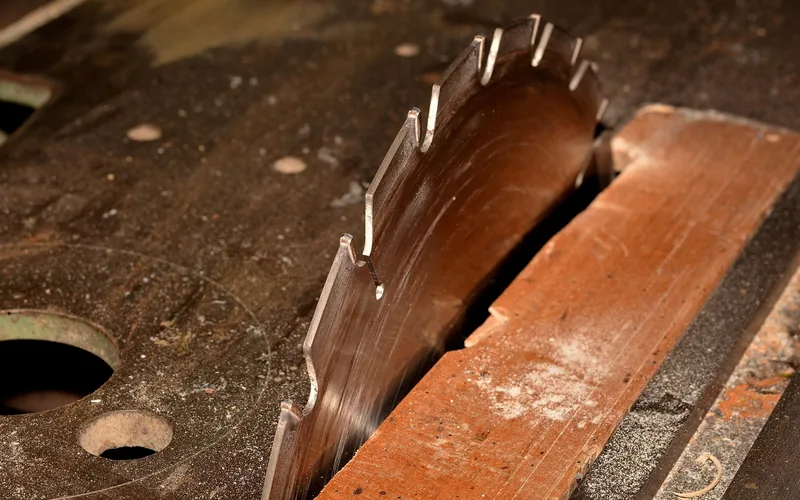
- Use a jigsaw for thicker panels: a fine-tooth, plastic-cutting blade (13+ TPI) keeps the cut clean without melting the edge.
- Cut slowly: plastic melts if the blade moves too fast, leaving gummy, rough edges.
- Support the panel: clamp it to a workbench so it can’t vibrate or crack mid-cut.
Cutting Wood Trim or Framing
- Mark clearly with a sharp pencil and a square.
- Use the right saw: a handsaw, jigsaw, circular saw, or miter saw depending on the cut and thickness.
- Clamp securely before cutting to prevent movement.
- Cut with a guide for straight lines.
Step 4: Finishing Touches and Installation
Inspect the edges once the cut is done. Sand rough spots or burrs with fine-grit sandpaper on plastic, or patch minor drywall gaps with a drywall patch kit. Clean up all dust before installing the panel, and confirm it sits in the opening without being forced.
Choosing the Right Blade for Your Saw
The blade matters as much as the saw. The wrong one leaves a messy, splintered, or melted cut. Here’s a quick guide:
| Material Being Cut | Recommended Blade Type | Teeth Count / Configuration | Notes |
|---|---|---|---|
| Drywall | Carbide-tipped wood/drywall blade | Coarse teeth, large gullets | Fast, rough cuts. A fine-tooth wood blade in a jigsaw gives a cleaner edge. |
| Acrylic / Polycarbonate | Plastic-cutting or fine-tooth wood blade | High tooth count (60–80 TPI), triple-ground | Prevents chipping and melting – look for blades labeled specifically for plastic. |
| Wood | General-purpose or fine-tooth wood blade | Medium to high tooth count (24–60 TPI) | More teeth for a cleaner cut, fewer teeth for a faster rough cut. |
📊 Standard drop-ceiling light panels come in two sizes — 2×2 ft (actual 23.75″ × 23.75″) and 2×4 ft (actual 23.75″ × 47.75″) — sized to fit a T-bar grid with a small reveal on each edge. Measure your grid opening before assuming a pre-cut replacement will fit. — Source: Kastlite, Light Cover Measurement Guide
Safety First! Essential Precautions
- Wear safety glasses. Always, no exceptions.
- Wear a dust mask when cutting drywall or wood.
- Disconnect power at the breaker before working near electrical fixtures.
- Secure your workpiece with clamps before cutting.
- Keep blades sharp — a dull blade needs more force and is more likely to slip.
- Clear the area of children and pets before you start.
- Work in a well-ventilated area.
For more detailed guidance, OSHA’s hand and power tool safety resources cover proper use of the saws and blades referenced in this guide.
Common Mistakes to Avoid
- Improper measurement: the most frequent error — double-check before you cut.
- Skipping the masking tape on plastic: the single biggest cause of chipped or cracked panel edges.
- Cutting too fast: especially with plastic, this causes melting or cracking.
- Not supporting the material: leads to vibration, inaccurate cuts, or breakage.
- Ignoring safety gear: eye injuries and respiratory irritation are both preventable.
- Forcing the tool: let the blade do the work — forcing it damages the tool, the material, or both.
“Using masking tape is recommended, as it helps prevent jagged edges or big cracks that can occur when cutting these panels.”
Tips for a Professional Finish
- Practice on scrap first if you’re nervous about the tool or technique.
- Clamp on a straight-edge guide for jigsaw or circular saw cuts to keep the line perfectly straight.
- Score before you cut on plastic or thin wood — it guides the blade and prevents initial splintering.
- Clean up as you go — a clear workspace is safer and faster.
- Check the panel’s lip or flange before cutting — some designs need extra clearance to seat properly in the opening.
FAQ: Your Ceiling Light Panel Cutting Questions Answered
What’s the easiest way to cut a hole in my ceiling for a light panel?
For a drywall ceiling, score the line with a sharp utility knife, then follow it with a jab saw or a jigsaw fitted with a fine-tooth blade. Always turn off power at the breaker first.
Can I use a regular kitchen knife to cut ceiling light panels?
No. A kitchen knife isn’t rigid or sharp enough for drywall or plastic panel material. Use a dedicated utility knife or a saw blade built for the material.
How do I cut a prismatic or acrylic panel without cracking it?
Tape both sides of the cut line with masking tape before scoring — this is what actually prevents the cracking most DIYers run into. For panels under 3/16 inch, score and snap; for thicker panels, use a jigsaw with a fine-tooth plastic blade and cut slowly.
What size are standard drop-ceiling light panels?
Most fit a 2×2 ft grid (actual size 23.75″ × 23.75″) or a 2×4 ft grid (actual size 23.75″ × 47.75″). Measure your grid opening directly rather than assuming a pre-cut replacement panel will match.
What if I make a mistake and the cut is too big?
Small mistakes can often be fixed with drywall patching compound or a slightly larger trim piece. For larger errors on the drywall opening itself, you may need to cut a new piece of drywall or adjust the panel’s mounting plan.
Do I need to wear a mask when cutting ceiling panels?
Yes, especially when cutting drywall or wood — both create fine dust that irritates the lungs. A basic dust mask is a simple, important safety step.
How do I clean up the dust after cutting?
Vacuum the floor, walls, and surrounding surfaces with a brush attachment first, then wipe remaining fine dust with a damp cloth. Clean your tools too, since dust buildup dulls blades faster.
Conclusion
Cutting ceiling light panels is manageable once you match the technique to the material: masking tape and a score-and-snap for thin acrylic, a fine-tooth jigsaw blade for anything thicker, and a scored, supported cut for drywall openings. Measure twice, tape the line, and let the blade do the work.
Sponsored / affiliate links. As an Amazon Associate I earn from qualifying purchases. I may earn additional commission from eligible campaigns.