How to Install Recessed Lighting in a Ceiling
Recessed lighting installs into a hole cut to the housing’s exact template size, wired directly into an existing ceiling circuit or a new switch leg. The one detail that trips up most first-time installs: if insulation will touch the housing, it must be IC-rated (insulation contact) — a non-IC housing needs a 3-inch air gap or it becomes a fire hazard. This guide covers planning your layout, cutting and wiring safely, and choosing the right housing for your ceiling.
New to the fixture type itself? Our overview of what recessed lighting is and how IC ratings work covers the terminology this guide assumes you already know, and our full lighting and ceiling fan guides cover related fixture types.
Quick Answer
Turn off power at the breaker, mark light positions 4-6 feet apart, cut holes with a hole saw sized to your housing’s template, run and connect the wiring (black to black, white to white, ground to ground), snap the housing into the hole, and add a bulb and trim. Confirm whether your housing needs an IC rating before you buy — that single spec determines whether it’s safe to touch ceiling insulation.
Tools And Materials Required
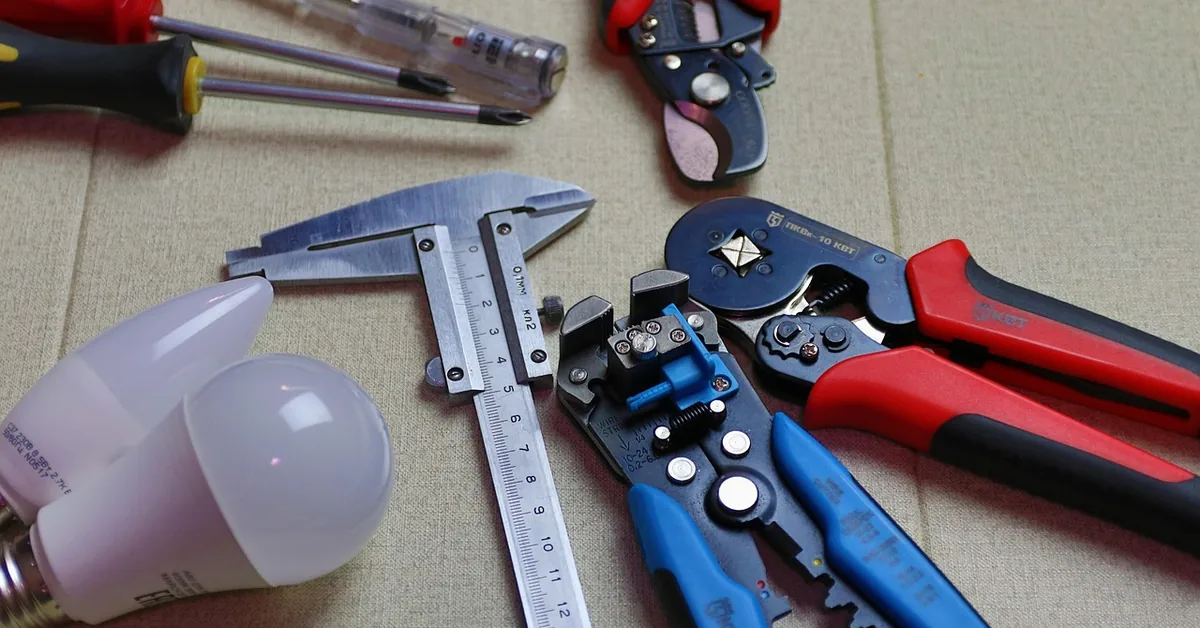
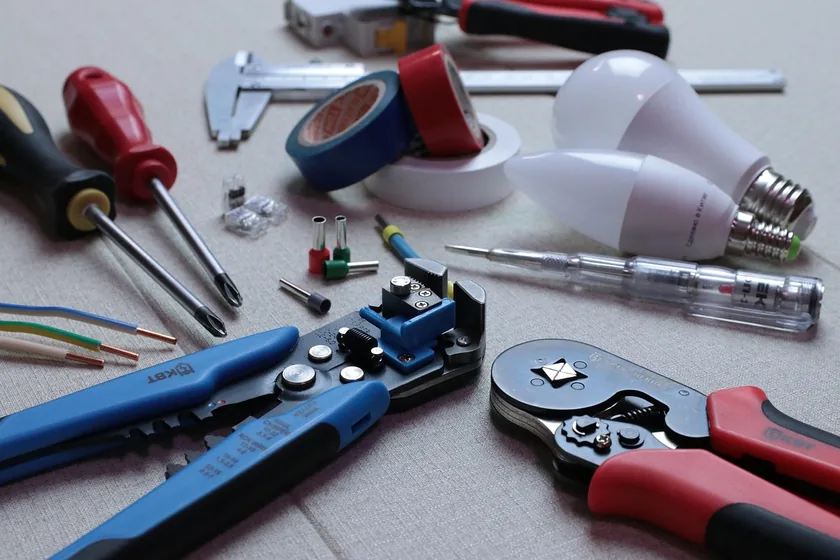
Gather a power drill, a tape measure, a stud finder, wire strippers or cutters, and a stepladder before you start. For materials, you’ll need a recessed light kit matched to your ceiling type (new-construction or remodel housing), enough NM-B cable to reach each fixture, wire nuts, and safety goggles. A hole saw sized to your specific housing’s template (commonly 4, 5, or 6 inches) makes cutting far more accurate than a jigsaw.
Best Recessed Lighting Kit Pick
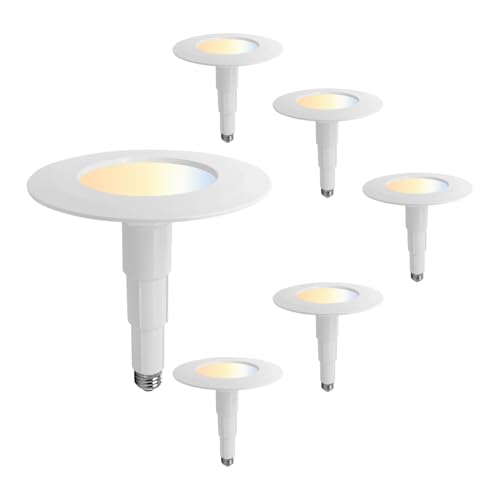
Amico 12-Pack 5/6″ LED Recessed Can Lights – $49.98
These retrofit kits use a universal E26 base like a regular bulb, matching the “Installing the Light Fixtures” section above — no separate housing purchase needed if you’re retrofitting an existing hole.
- Best for: Whole-room jobs needing 8-12 fixtures (most 12×12-15×15 rooms)
- Why we picked it: Selectable 2700K-6000K color temperature on every unit means you pick the color on install day instead of returning bulbs that don’t match
- Main drawback: 7.2-inch trim ring is larger than the housing itself, so it won’t hide a hole cut oversized for a smaller trim style
Compare more recessed lighting kit options
 Option 1 Feit Electric 5/6″ LED Retrofit Kit – $39.97
|
 Option 2 FREELICHT 6-Pack 6″ Retrofit LED Lights – $32.99
|
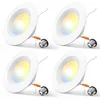 Option 3 Amico 4-Pack 5/6″ LED Recessed Lights – $22.99
|
As an Amazon Associate we earn from qualifying purchases.
Planning Your Layout
Measure the room first — larger rooms generally need more fixtures, and accurate measurements make the rest of the layout easier to plan on paper before you touch the ceiling. Think about how the room is actually used: kitchen task lighting works best directly over counters and the sink, while living rooms usually look better with fixtures spaced more evenly across the whole ceiling rather than clustered in one area.
A common spacing rule of thumb is 4 to 6 feet between fixtures, and roughly half that distance from any wall. Lights spaced too close together create hot spots of brightness; too far apart and you’ll get dark gaps between them. Keeping fixtures in a straight, evenly spaced line also just looks more intentional and professional once the trim is in.
Safety Precautions
Turn off power to the circuit at the breaker before doing anything else, and confirm it’s actually dead with a voltage tester rather than trusting the breaker label. Wear safety glasses and gloves throughout the job — cut drywall edges and exposed wire ends are both sharp enough to cause a real cut.
📊 IC-rated housings are not optional where insulation is present: per UL 1598 housing standards, a non-IC-rated fixture requires at least 3 inches of clearance from insulation on all sides, while IC-rated (“insulation contact”) housings are built to have insulation packed directly against them without becoming a fire hazard. Check your attic before buying — it decides which housing type you need. Source: Recessed light housing standards, Wikipedia
Preparing The Ceiling
Mark each fixture location with a pencil, keeping your spacing measurements consistent from the plan you made earlier. Before cutting anything, check the ceiling cavity for obstructions — existing wiring, plumbing, or ductwork — and use a stud finder to locate joists so you can avoid cutting through one. If you find an obstruction at a planned location, shift that light’s position slightly rather than cutting around the problem.
Cutting Holes
Use the paper or plastic template that comes with your housing to trace the exact hole size on the ceiling — this is more reliable than eyeballing a hole saw diameter. If your kit didn’t include a template or you’re buying the hole saw separately, see our hole saw sizing guide for the most common housing diameters. Recheck the area for wires and pipes one more time before cutting.
Cut with a hole saw sized to that template, applying steady, light pressure rather than forcing it — pushing too hard can crack the surrounding drywall. Wear eye protection; drywall dust and small debris come down as you cut.
Wiring The Lights
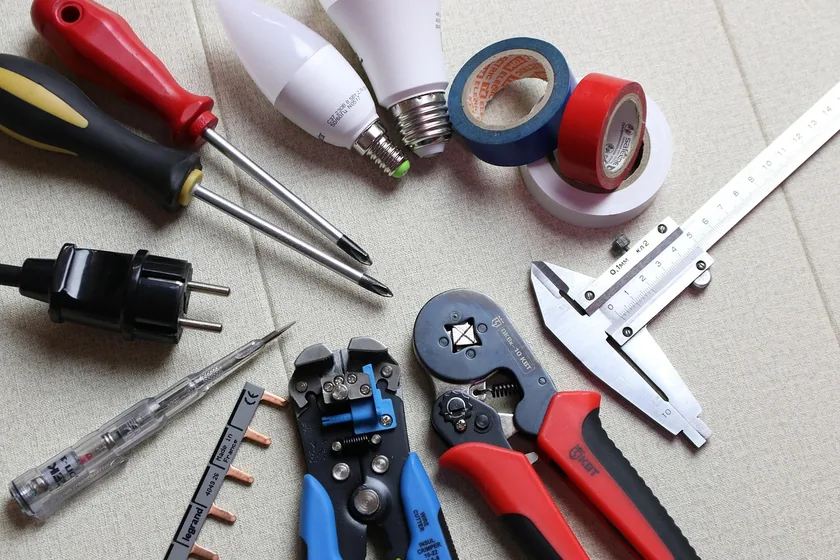
Connecting to the power source comes first. With the breaker off, locate the circuit you’re tying into, confirm it’s dead with a voltage tester, then match wire colors — black to black, white to white, ground to ground — and secure each connection with a wire nut. Wrap the nuts with electrical tape for extra security, then restore power briefly to confirm the connection works before closing anything up. For gauge selection and circuit-limit specifics, see our dedicated recessed lighting wiring guide.
Securing the wiring afterward keeps the installation safe long-term. Use cable staples or clips to fasten wiring to the ceiling joists, keep runs neat rather than looping loose wire around the cavity, and group parallel runs together with cable ties. Loose wire inside a ceiling cavity is both a fire risk and a future troubleshooting headache.
Installing The Light Fixtures
With the hole cut to match your housing’s exact fixture size, connect the fixture’s own wire leads to your circuit wiring the same way — matching colors, secured with wire nuts. Double-check that no bare wire is exposed and nothing was nicked while cutting.
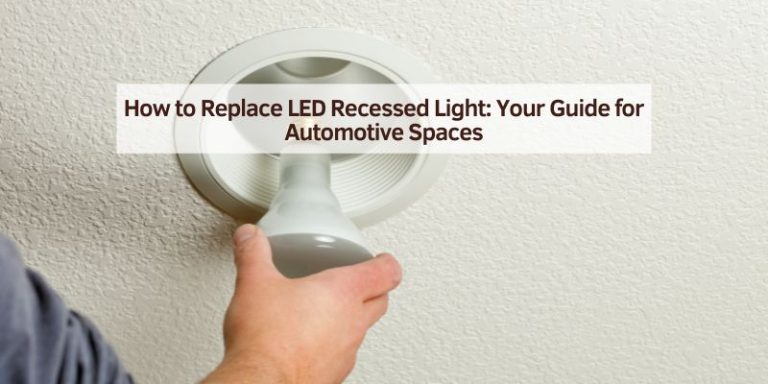
Push the housing up into the hole and let its spring clips or mounting ears grab the drywall from behind — most retrofit housings are designed to install without any screws. Give it a gentle tug to confirm it’s seated firmly and doesn’t shift before moving to the next fixture.
Testing And Adjusting
Once every fixture is wired and seated, it’s time to confirm the whole circuit actually works correctly before you install trim and call the job done.
Turning On Power
Restore power at the breaker and flip the switch to test each light. Avoid touching any exposed wiring while power is on. Every fixture should light up immediately — if one doesn’t, recheck its wire connections first, then confirm the bulb itself is seated properly. A loose bulb is a more common culprit than a wiring fault.
Checking Light Functionality
Look for even brightness across every fixture and test any dimmer through its full range. Flickering usually points to a loose connection rather than a bad bulb, so inspect the wiring again if you see it. Listen for buzzing too — a healthy LED fixture runs silent, and a hum usually means an incompatible dimmer or a loose fixture.
Finishing Touches
Trim is what makes the installation look finished rather than functional. Baffle trim reduces glare, reflector trim throws more light into the room, and adjustable (gimbal) trim lets you aim the beam at art or a task area. Fit the trim so it sits flush with the ceiling surface, then cycle the switch once more to confirm everything still works with the trim in place.
Clean up drywall dust with a damp cloth on both the ceiling and the trim itself, and account for every tool and scrap of wire before you consider the job done — a stray offcut left in the ceiling cavity is an easy thing to forget and a real fire risk later.
Frequently Asked Questions
Can I install recessed lighting myself?
Yes, if you have basic electrical knowledge and the right tools. Always turn off power at the breaker before starting, and follow your specific housing’s manufacturer instructions — template size and wiring layout vary between brands. For complex jobs, like running new circuits or working in a finished ceiling with no attic access, hiring a licensed electrician is the safer call.
Can recessed lights be installed in an existing ceiling?
Yes — remodel-rated housings are designed specifically for this and mount through a cut hole using spring clips, without needing access from above. Choose a housing rated for your ceiling’s insulation situation, and verify you can safely route wiring to the fixture location before cutting.
How are recessed lights attached to the ceiling?
New-construction housings mount to joists with adjustable bar hangers before the ceiling drywall goes up. Remodel housings instead use spring clips or torsion springs that grip the drywall from behind once the housing is pushed into a pre-cut hole. Either way, the housing connects to the electrical wiring first, then the trim and bulb finish the installation.
How many recessed lights do I need for a 12×12 room?
A 12×12 room typically needs 4 to 6 recessed lights spaced 4-6 feet apart for even, general-purpose illumination. Task-heavy rooms like kitchens may want more, tighter-spaced fixtures directly over work areas, while ambient-only spaces can sometimes use fewer.
Conclusion
Installing recessed lighting comes down to four things done in order: plan your layout and spacing, cut holes to your housing’s exact template, wire each fixture correctly with the power off, and confirm everything works before adding trim. The one spec worth double-checking before you buy is the IC rating — get that wrong and you’ve created a fire risk, not just a lighting upgrade.
Sponsored / affiliate links. As an Amazon Associate I earn from qualifying purchases. I may earn additional commission from eligible campaigns.