How to Wire Recessed Lighting (14/2 vs 12/2 + Circuit Limits)
Wiring recessed lighting means running 14/2 cable on a 15-amp circuit (or 12/2 on 20-amp), then connecting each fixture black-to-black, white-to-white, and ground-to-ground with wire nuts — but the circuit’s total wattage, not the fixture count, sets the real daisy-chain limit. Overload that circuit and the breaker trips repeatedly, or wires overheat inside the ceiling. This guide covers wire gauge selection, daisy-chain wiring, IC-rated housing safety, and the switch wiring most tutorials skip.
Tools and Materials for Wiring
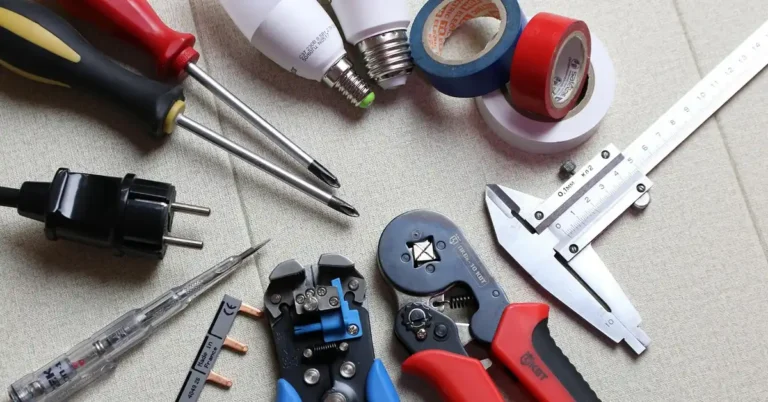
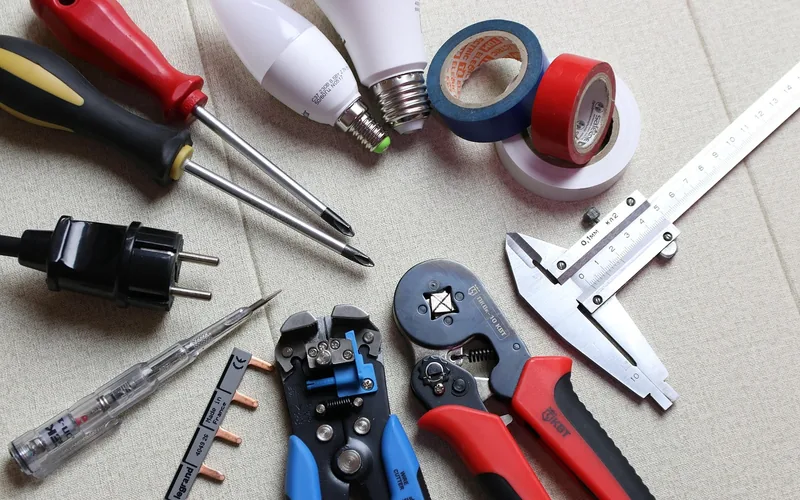
A non-contact voltage tester is the one tool you shouldn’t skip — it confirms a wire is dead before you touch it. Beyond that, you need wire strippers, wire nuts (or lever connectors), 14/2 or 12/2 NM-B cable matched to your circuit, cable staples, and a fish tape if you’re running new wire through finished walls or ceilings.
Safety Precautions Before You Touch a Wire
Turn off the breaker feeding the circuit, not just the wall switch — a switch only interrupts one leg of the circuit, and the fixture box can still be live. Confirm with a non-contact voltage tester at both the switch and the ceiling box before touching any conductor. Never twist wires together without wire nuts or listed connectors, and never bury a splice behind drywall where it can’t be reached again.
Best Voltage Tester Pick
Klein Tools NCVT1P Voltage Tester – $16.94
This is the exact check this guide calls for before touching any wire — clip it to a pocket and test the ceiling box even after the breaker is off, since a mislabeled panel is more common than it should be.
- Best for: Confirming a wire is dead before you touch it
- Why we picked it: Trusted brand, simple pen form factor, no calibration needed
- Main drawback: Non-contact testers can occasionally false-positive near other live wires
Compare more wiring essentials
 Connector Upgrade WAGO 221 Lever Nuts (28pc) – $20.95
|
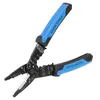 Core Tool Klein Tools 1025 Wire Stripper – $16.98
|
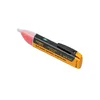 Premium Pick Fluke 1AC II VoltAlert – $24.98
|
As an Amazon Associate we earn from qualifying purchases.
Wire Gauge and Circuit Limits
The breaker size decides the wire, not the other way around. A 15-amp circuit takes 14 AWG (14/2 NM-B) cable; a 20-amp circuit requires 12 AWG (12/2 NM-B). Never run 14-gauge wire on a 20-amp breaker — the wire can overheat before the breaker trips. Fixture count matters less than total wattage: a 15-amp circuit safely carries roughly 1,440 watts of continuous lighting load, so ten 12-watt LED cans (120 watts total) leaves plenty of headroom on one circuit.
| Circuit Rating | Required Wire | Safe Continuous Load |
|---|---|---|
| 15-amp | 14 AWG (14/2 NM-B) | ~1,440 watts (80% of 1,800W) |
| 20-amp | 12 AWG (12/2 NM-B) | ~1,920 watts (80% of 2,400W) |
📊 NEC 210.19 requires branch-circuit wire to be sized for 125% of any continuous load (3+ hours) — which works out to limiting the load to 80% of the breaker’s rating, so a 15-amp circuit is only rated for about 1,440 continuous watts, not the full 1,800. — Source: NFPA (National Electrical Code, NFPA 70)
Wiring the Fixtures: Step by Step
With the power confirmed off, measure the distance between the power source and the first housing, then cut cable to length with extra slack — about 8 inches at each junction makes future troubleshooting easier. Run the cable through framing (using a fish tape for finished ceilings), keeping it away from sharp edges and stapled every 4–5 feet per most local codes.
- Turn off the power: Switch off the breaker feeding the circuit and confirm with a non-contact voltage tester before touching any wire.
- Select the wire gauge: Match 14/2 cable to a 15-amp circuit or 12/2 to a 20-amp circuit, never mixing gauges on the same run.
- Run the cable: Fish 14/2 or 12/2 cable from the power source to the first housing, leaving 8 inches of slack at each junction.
- Connect the first fixture: Twist black-to-black, white-to-white, and ground-to-ground with wire nuts, then tape each connection.
- Daisy-chain the rest: Run a single continuing cable from each housing to the next, never splitting two continuing cables from one can.
- Test before closing up: Restore power and test each light before securing cover plates and trim.
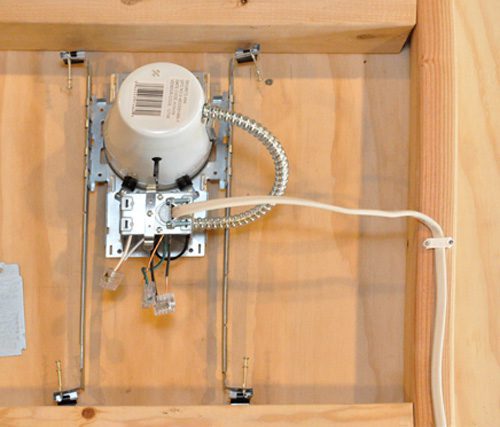
Strip about 3/4 inch of insulation from each wire, twist matching colors together clockwise, and cap with a wire nut sized for the conductor count — or use lever-style connectors, which grip more reliably in the cramped space of a can housing. Attach the ground wire last, then push the connections gently into the junction box so nothing pinches against the metal housing.
One rule most tutorials skip: you generally can’t run two continuing cables out of a single can in different directions — most fixture junction boxes are only rated for one power-in and one power-out. If a light needs to feed two more fixtures in different directions, install a separate 4×4-inch junction box nearby instead of overfilling the can’s built-in box.
IC-Rated Housings and Wiring Safety
If the ceiling has insulation above it, the housing must be IC-rated (Insulation Contact rated) — a non-IC can trap heat against insulation and become a fire risk. This matters for wiring too: IC-rated cans have a thermal cutoff built in that shuts the light off if it overheats, which can look like a wiring fault when it’s actually a housing mismatch. Always match the housing rating to the ceiling condition before you wire it, not after.
“The wiring itself is rarely what goes wrong — it’s almost always a loose wire nut or the wrong housing for the insulation above it that causes a callback.”
Wiring the Switch or Dimmer
The switch leg carries the same gauge wire as the rest of the circuit — don’t downsize it. At the switch box, connect the incoming hot wire to one terminal and the wire running to the lights to the other; neutral and ground pass through to the fixtures without connecting to a standard single-pole switch. If you’re installing a dimmer, check its wattage rating against your total fixture load first — most LED-compatible dimmers cap out well below what a standard incandescent dimmer allows, and exceeding it causes exactly the flickering covered below.
Testing the Wiring
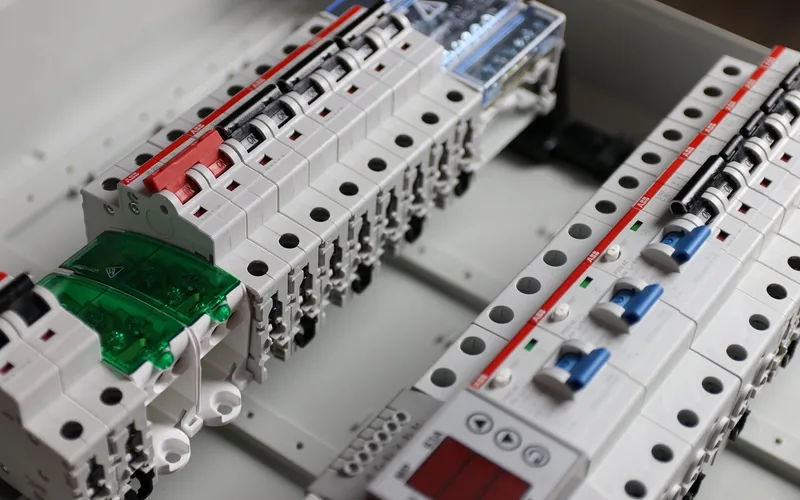
Before closing anything up, restore power and test every fixture from the switch. Check that each connection is tight by giving the wire nuts a gentle tug — a properly twisted connection won’t come loose by hand. Confirm the junction box cover is secure and no bare wire is exposed. Only after every light works reliably should you install trim and close up the ceiling.
Troubleshooting Wiring Problems
Most recessed lighting problems trace back to the wiring, not the fixture itself.
Flickering Lights
Flickering is usually a loose wire nut connection or an incompatible dimmer — standard incandescent dimmers often cause LED fixtures to flicker because they don’t switch cleanly at low loads. Check and re-tighten every wire nut first; if flickering continues, confirm the dimmer is explicitly rated for LED loads.
Inconsistent Brightness
Uneven brightness between fixtures on the same daisy-chained run usually means a voltage drop from a loose connection somewhere upstream, or mismatched bulb types across fixtures. Check connections at each housing in order, starting from the power source, and confirm every bulb is the same wattage and color temperature.
Frequently Asked Questions
What gauge wire do I need for recessed lighting?
Use 14 AWG (14/2 NM-B) cable on a 15-amp circuit, or 12 AWG (12/2 NM-B) on a 20-amp circuit. Never run 14-gauge wire on a 20-amp breaker — the breaker won’t protect the wire from overheating.
Can I daisy-chain recessed lights on the same circuit?
Yes, but only one continuing cable per can — a single power-in and a single power-out. If a fixture needs to feed two more lights in different directions, add a separate junction box near that can instead of overfilling its built-in box.
How many recessed lights can I put on one circuit?
It depends on total wattage, not fixture count. A 15-amp circuit safely carries about 1,440 continuous watts. Ten 12-watt LED cans use only about 120 watts total, so wattage rarely limits a residential LED recessed lighting run before other factors do.
Do I need a junction box for recessed lighting wiring?
Not for splices made inside a fixture’s own listed junction box while daisy-chaining between cans. But any splice made outside a fixture must sit inside an accessible junction box with a cover — never buried behind drywall or under insulation where it can’t be reached again.
Why do my recessed lights flicker after wiring them?
Usually a loose wire nut connection or a dimmer that isn’t rated for LED loads. Re-check and re-tighten every connection first, since that fixes the majority of flickering complaints, then confirm your dimmer switch explicitly supports LED fixtures.
Conclusion
Wiring recessed lighting comes down to three things: match the wire gauge to the circuit (14/2 for 15-amp, 12/2 for 20-amp), respect the single power-in/power-out limit on daisy-chained cans, and confirm every connection is tight before closing up the ceiling. Get those three right and the fixture selection, trim style, and layout spacing — covered in our broader recessed lighting installation guide — are the easy part.
For related projects, see our guides on wiring canless recessed lighting (no can housing required), how many recessed lights fit on one circuit, connecting recessed lights in a garage, and whether LED bulbs are worth the switch. For the full range of fixtures and wiring topics, visit our Lighting & Ceiling Fan hub.
Sponsored / affiliate links. As an Amazon Associate I earn from qualifying purchases. I may earn additional commission from eligible campaigns.