How To Clean a Wood Fence Without Pressure Washing Easy Trick
To clean a wood fence without a pressure washer, first wet the fence with a garden hose. Next, apply a gentle cleaning solution with a pump sprayer or brush and let it sit for 10-15 minutes. Gently scrub away grime with a soft-bristle brush, moving with the wood grain, and then rinse thoroughly from top to bottom.
Does your beautiful wood fence look a bit dull, gray, and unloved? Over time, dirt, mildew, and weather can take a toll. Many people immediately think a pressure washer is the only tool for the job. But here’s a secret: that high-powered stream of water can easily damage your fence, splintering the wood and forcing water deep into the grain. The good news is you don’t need one! There is a much safer, simpler, and surprisingly effective way to restore your fence’s natural beauty. I’m here to walk you through every step of this easy, gentle cleaning method. Let’s get that fence looking new again!
Why You Should Skip the Pressure Washer
Before we jump into the “how-to,” let’s talk about why leaving the pressure washer in the garage is a great idea for your wood fence. While they are amazing for cleaning concrete, they can be too aggressive for softer materials like wood, especially pine or cedar.
Here’s what can go wrong:
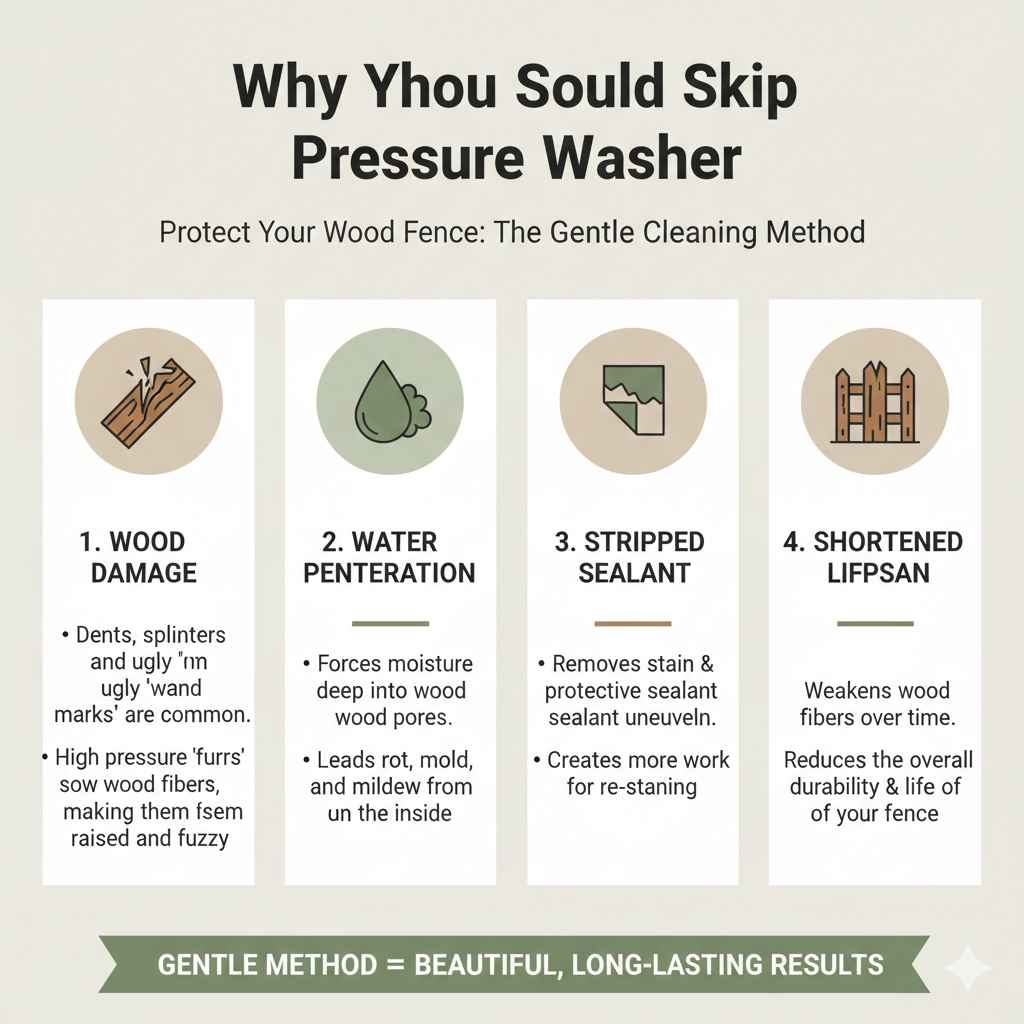
- Wood Damage: A high-pressure stream can create dents, splinter the surface, and leave ugly “wand marks” that are impossible to remove. This damage is often called “furring,” where the wood fibers get raised and fuzzy.
- Water Penetration: Power washers can force water deep into the wood pores. If this moisture doesn’t dry out completely, it can lead to rot, mold, and mildew from the inside out.
- Stripped Sealant: If your fence has any remaining stain or sealant, a pressure washer will likely strip it off unevenly, creating more work for you when it’s time to re-stain.
- Shortened Lifespan: All this damage adds up. Regularly using a pressure washer can weaken the wood fibers over time, reducing the overall lifespan of your fence.
Our gentle method avoids all these risks, cleaning your fence effectively while protecting your investment. It might take a little more elbow grease, but the beautiful, long-lasting results are well worth it.
Gather Your Supplies: Simple and Affordable
One of the best parts of this method is that you probably have most of these items already. No need to rent or buy expensive equipment!
- Garden Hose with a Spray Nozzle: A nozzle with adjustable settings (like “shower” or “fan”) is perfect.
- Two Buckets: One for your cleaning solution and one for clean rinse water.
- Soft-Bristle Brush: A long-handled deck brush is ideal to save your back. Make sure the bristles are nylon or a similar soft material, not a wire brush, which will scratch the wood.
- Pump Sprayer (Optional but Recommended): A simple 1- or 2-gallon garden sprayer makes applying the cleaning solution quick and even.
- Protective Gear: Safety first! You’ll want waterproof gloves, safety glasses or goggles, and old clothes you don’t mind getting dirty.
- Cleaning Solution Ingredients: We’ll cover a few options below, but you’ll likely need either white vinegar or powdered oxygen bleach.
- Plastic Sheeting or Tarps: To protect delicate plants or grass near the fence line.
Choosing the Right Cleaning Solution
You don’t need harsh chemicals to get a great result. There are several effective and safe options to choose from, depending on how dirty your fence is. The key is to avoid chlorine bleach (like laundry bleach), which can damage wood fibers and harm your plants.
Option 1: The Gentle Vinegar Solution (For Light Dirt and Grime)
This is my go-to for a general refresh. It’s non-toxic, cheap, and works great on light layers of dirt and mildew.
- Recipe: Mix one part white vinegar with four parts water in a bucket or pump sprayer. For a little extra cleaning power, you can add a small squirt of gentle dish soap.
Option 2: The Oxygen Bleach Powerhouse (For Mold, Mildew, and Algae)
If your fence has stubborn green or black stains from mold and algae, oxygen bleach is your best friend. It cleans deeply without harming the wood. Unlike chlorine bleach, it is environmentally friendly and breaks down into water and oxygen.
- Recipe: Follow the manufacturer’s instructions, but it’s typically a few scoops of powdered oxygen bleach (like OxiClean or a generic brand) mixed into a gallon of warm water. Stir until the powder is fully dissolved.
Option 3: Commercial Wood and Deck Cleaners
Your local hardware store has many pre-mixed cleaners specifically designed for wood fences and decks. They are very effective and convenient, but be sure to choose one that is labeled “biodegradable” and “plant-safe.”
Cleaner Comparison Table
| Cleaner Type | Best For | Pros | Cons |
|---|---|---|---|
| Vinegar Solution | Light dirt, dust, and minor mildew | Very affordable, non-toxic, safe for plants and pets | May not be strong enough for heavy stains or algae |
| Oxygen Bleach | Mold, mildew, algae, and grayed wood | Very effective, brightens wood, safer than chlorine bleach | Slightly more expensive, requires mixing |
| Commercial Cleaner | All types of dirt and stains | Convenient, formulated for wood, very effective | Can be expensive, must check for plant-safe ingredients |
Step-by-Step Guide: How to Clean Your Wood Fence
Alright, you’ve got your tools and your cleaner. Let’s get to work! The key is to work in small, manageable sections (about 5-10 feet at a time) to prevent the cleaner from drying on the fence.
Step 1: Prepare the Area
A little prep work goes a long way. First, check the weather forecast. You want a cool, overcast day with no wind. Direct sunlight can cause the cleaning solution to evaporate too quickly, reducing its effectiveness and leaving streaks.
- Move any patio furniture, grills, or planters away from the fence.
- Use your plastic sheeting or tarps to cover any delicate flowers, shrubs, or vegetable gardens that are right up against the fence. While our recommended cleaners are gentle, it’s always better to be safe.
- Trim back any grass or weeds touching the bottom of the fence so you can clean the entire surface.
Step 2: Give the Fence a Good Rinse
Before you apply any cleaner, thoroughly wet the section of the fence you’re about to work on with your garden hose. Use a gentle “shower” or “fan” setting. This pre-rinse does two important things: it loosens surface dirt and it prevents the wood from absorbing the cleaning solution too quickly, allowing it to work on the surface grime where it’s needed most.
Step 3: Mix and Apply Your Cleaner
Prepare your chosen cleaning solution in your bucket or pump sprayer according to the instructions. If using a pump sprayer, apply a nice, even coat to the wet section of the fence, starting from the bottom and working your way up. This prevents streaks from forming as the solution runs down.
If you’re using a bucket and brush, simply dip your long-handled brush into the solution and apply it generously to the wood, again working from the bottom up.
Step 4: Let the Solution Do the Work
This is an important step that many people rush. Let the cleaning solution sit on the fence for about 10-15 minutes. This “dwell time” gives the active ingredients a chance to break down the dirt, mold, and mildew. You may even see the gray or green color start to fade before your eyes!
Crucial Tip: Do not let the solution dry on the fence. If you see it starting to dry, lightly mist the area with your garden hose to keep it damp.
Step 5: Time for a Gentle Scrub
Now it’s time for a little elbow grease. Take your soft-bristle brush and gently scrub the fence. Always scrub in the direction of the wood grain to avoid scratching the surface. You don’t need to apply a lot of pressure; the goal is to agitate the dirt and grime that the cleaner has already loosened. Pay extra attention to areas with stubborn stains.
Step 6: Rinse Thoroughly
Once you’ve scrubbed the section, it’s time to rinse. This time, start rinsing from the top of the fence and work your way down. This ensures all the dirty, soapy water is washed completely away and doesn’t leave a film on the clean areas below. Rinse until the water running off the fence is clear.
Step 7: Move to the Next Section
You’ve done it! Now, simply repeat steps 2 through 6 on the next section of your fence, slightly overlapping with the section you just cleaned to ensure a uniform finish. Continue this process until your entire fence is sparkling clean.
Step 8: Let It Dry Completely
Patience is key. Your fence needs to dry completely before you can declare victory or apply any stain or sealant. This usually takes at least 24 to 48 hours, depending on the temperature and humidity. The wood should feel completely dry to the touch. This drying time allows any moisture absorbed by the wood to evaporate, which is critical for the long-term health of your fence.
What to Do After Cleaning: Protect Your Hard Work
Your fence looks fantastic! To keep it that way, the final and most important step is to protect it. A clean, bare wood fence is vulnerable to sun and moisture. Applying a quality stain or sealant will:
- Block UV Rays: Protects the wood from turning gray due to sun exposure.
- Repel Water: Prevents moisture from soaking into the wood, which causes rot and warping.
- Inhibit Mold and Mildew: Many modern sealants contain mildewcides that help prevent future growth.
Wait until your fence is 100% dry, then apply a stain or sealant following the manufacturer’s instructions. This single step can add years to the life of your fence and keep it looking great. For more in-depth information on wood finishes, the U.S. Forest Service’s research on finishing exterior wood provides excellent guidance.
Troubleshooting Tough Stains
Sometimes, you’ll run into spots that just don’t want to come clean. Here’s a quick guide for tackling them.
| Stain Type | Appearance | Recommended Action |
|---|---|---|
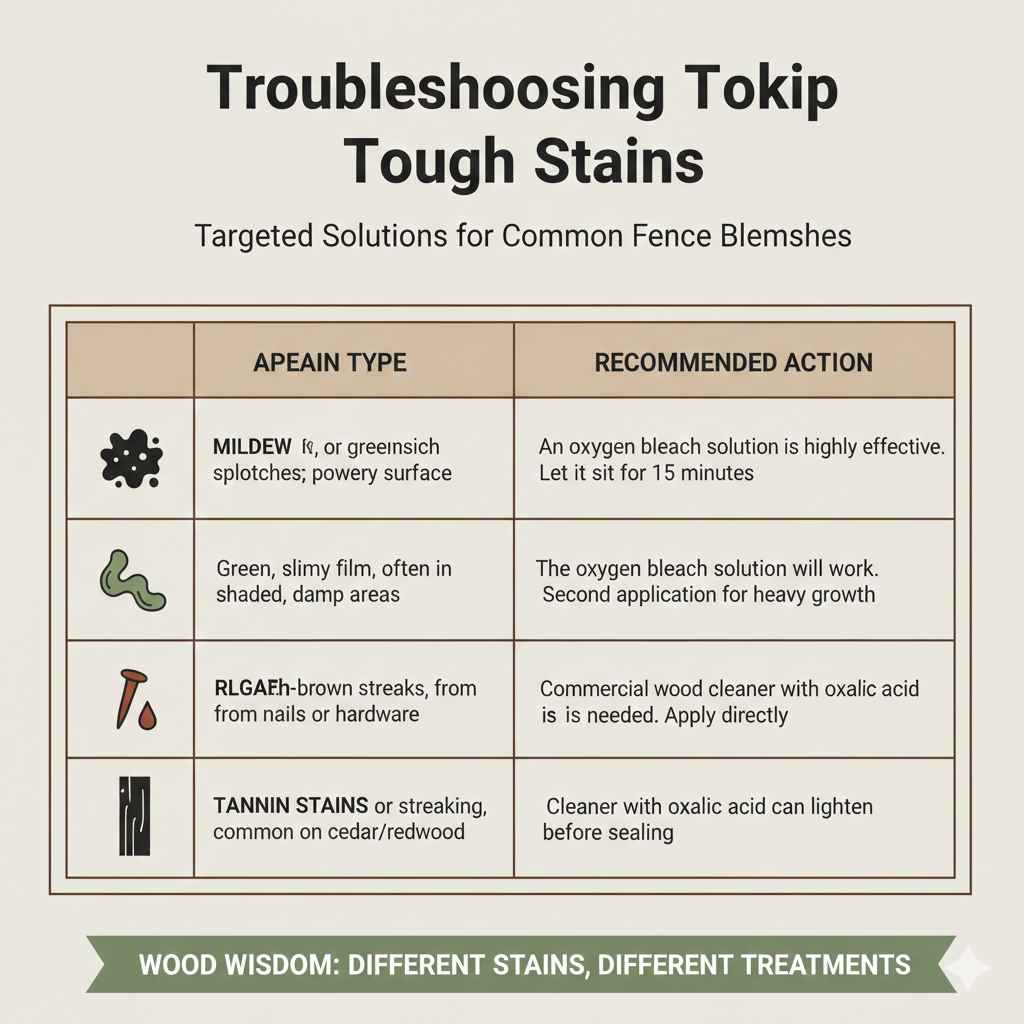
| Mildew | Black, gray, or greenish splotches; powdery surface | An oxygen bleach solution is highly effective. Let it sit for the full 15 minutes before scrubbing. |
| Algae | Green, slimy film, often in shaded, damp areas | The oxygen bleach solution will work well. A second application may be needed for very heavy growth. |
| Rust Stains | Reddish-brown streaks, usually coming from nails or hardware | A commercial wood cleaner containing oxalic acid is often needed. Apply directly to the stain. |
| Tannin Stains | Dark bleeding or streaking, common on cedar or redwood | This is a natural part of the wood. A cleaner with oxalic acid can help lighten these stains before sealing. |
Frequently Asked Questions (FAQ)
What is the best time of year to clean a wood fence?
The best time is during the spring or fall when temperatures are mild (between 50-80°F or 10-27°C). Avoid cleaning in direct, hot sunlight, as the cleaner will dry out too fast. A calm, overcast day is perfect.
Can I use regular chlorine bleach to clean my fence?
It’s strongly recommended that you do not. Chlorine bleach is very harsh. It can break down the lignin in the wood (the glue that holds wood fibers together), causing it to become brittle and weak. It’s also harmful to plants, grass, and soil.
How often should I clean my wood fence?
For most fences, a good cleaning every 1 to 2 years is sufficient to keep it looking fresh and prevent heavy buildup of dirt and mildew. If you live in a very damp or shaded area, you might need to clean it annually.
Will this method work on a very old, gray fence?
Yes, absolutely! You will be amazed at the results. The gray color is primarily dead wood fibers caused by UV damage. An oxygen bleach solution is particularly effective at removing this gray layer and revealing the warmer, natural wood tone underneath.
How long will it take to clean my fence this way?
This depends on the size of your fence and how dirty it is. For an average-sized fence, plan to spend a few hours on a weekend afternoon. The key is not to rush. Working in manageable sections makes the job feel less overwhelming.
Is it okay to use dish soap and water?
For very light cleaning, a solution of water and a small amount of gentle dish soap can work. However, it won’t be effective against mold or algae. For better results, adding white vinegar or using an oxygen bleach solution is recommended.
Do I really need to wear safety glasses and gloves?
Yes, always. Even gentle cleaners can splash and irritate your eyes or skin. Safety glasses protect you from accidental splashes, and gloves keep your hands from getting dry and irritated from being wet for a long period. It’s a simple precaution that makes the whole project safer.
Conclusion: A Beautiful Fence is Within Reach
There you have it! A simple, safe, and effective way to restore the beauty of your wood fence without ever touching a potentially damaging pressure washer. By using a gentle cleaning solution, a soft brush, and a bit of patience, you can wash away years of dirt and grime, revealing the beautiful wood underneath.
This method not only makes your fence look brand new but also protects it for the long term. Remember to let it dry completely and apply a quality sealant to lock in that fresh, clean look and shield it from the elements. Taking care of your fence is a rewarding project that adds major curb appeal to your home, and now you know you can do it yourself with confidence. Happy cleaning!